


 My Orders


AAV1100AWW Admiral Washer - Overview
Diagrams for AAV1100AWW
See every part. Know exactly what you need.


Enter a part description. DIY Heroes keep it simple, eg. "belt" or "pump".
Search filter:
Clear Filter
Your search term must have 3 or more characters.

$24.17
In Stock
Drive Belt - 51 inches long
Part #WP21352320
This V-style drive belt is about 51" long and 3/8" wide. This part is made to slip on the motor pulley to bring the basket up to the speed required and this makes the belt encounter wear and tear.

$18.31
In Stock

$29.56
In Stock
Lid Hinge Pin
Part #WP35-2045
This lid hinge pin is just over an inch long. It is all white in color and is made entirely of plastic. Sold individually.

$18.65
In Stock
Lid Hinge
Part #WP35-2044
This lid hinge in an inch and a half long and is used for some washing machines. It is all white in color and it is made entirely of plastic.

$143.38
In Stock
Washer Drain Pump
Part #WP35-6780
This pump helps expel water from the washing machine and is activated after the spin speed is maintained for a specific period of time. NOTE: This is a redesigned part. The pump now mounts on to the base of the washer - no mounting plate needed.

$73.65
In Stock
Transmission Pulley and Bearing Kit
Part #12002213
Also known as Thrust Bearing Kit. This kit includes the pulley, washer, thrust bearing, 2 upper race washers and 1 lower race washer. These parts are NOT available separately - they are ONLY available in this kit.
A worn bearing causes slow or no spin.

$90.93
In Stock
Suspension Springs - Kit of 6
Part #12002773
This package contains a new set of six springs. The suspension springs in your washer connect to the bottom of tub, and help to hold it in place. If your washer tub shakes, or moves around a lot during operation, it could mean that one or more of your springs are damaged or stretched. You will need to access the bottom of the tub for this...Read more repair by removing the front (and possibly the rear) panel. You will also need a pair of locking pliers to remove the old springs and reconnect the new ones. It is recommended to apply a small amount of grease to the bottom of the new springs before you reconnect them to the washer tub.
Read less

$11.52
In Stock
Washer Hose Clamp
Part #WP596669
This hose clamp extends from half an inch to an inch in diameter. It is made entirely of metal and is intended for use with Maytag brand washing machines.

$17.55
In Stock

$298.09
In Stock

$15.68
In Stock

$174.29
In Stock
Water Valve - 60/40
Part #WP21001932
This water valve is for 60% hot water and 40% cold - This is done to save on energy.
Manuals & Care Guides for AAV1100AWW
Click to downloadCommon Symptoms of the AAV1100AWW
How this model fails, and the parts that fix it.
Leaking
Fixed by
these parts
these parts


Show All
Burning smell
Fixed by
these parts
these parts


Show All
Will not drain
Fixed by
these parts
these parts

Show All
Spins slowly
Fixed by
these parts
these parts

Show All
Lid or door won’t close
Fixed by
these parts
these parts


Show All
Will not agitate
Fixed by
these parts
these parts
Show All
Will Not Start
Fixed by
these parts
these parts
Show All
Shaking and Moving
Fixed by
these parts
these parts


Show All
Spinning Issues
Fixed by
these parts
these parts
Show All
No hot or cold water
Fixed by
these parts
these parts

Show All
Noisy
Fixed by
these parts
these parts
Show All
Watch our pros, then fix it yourself.
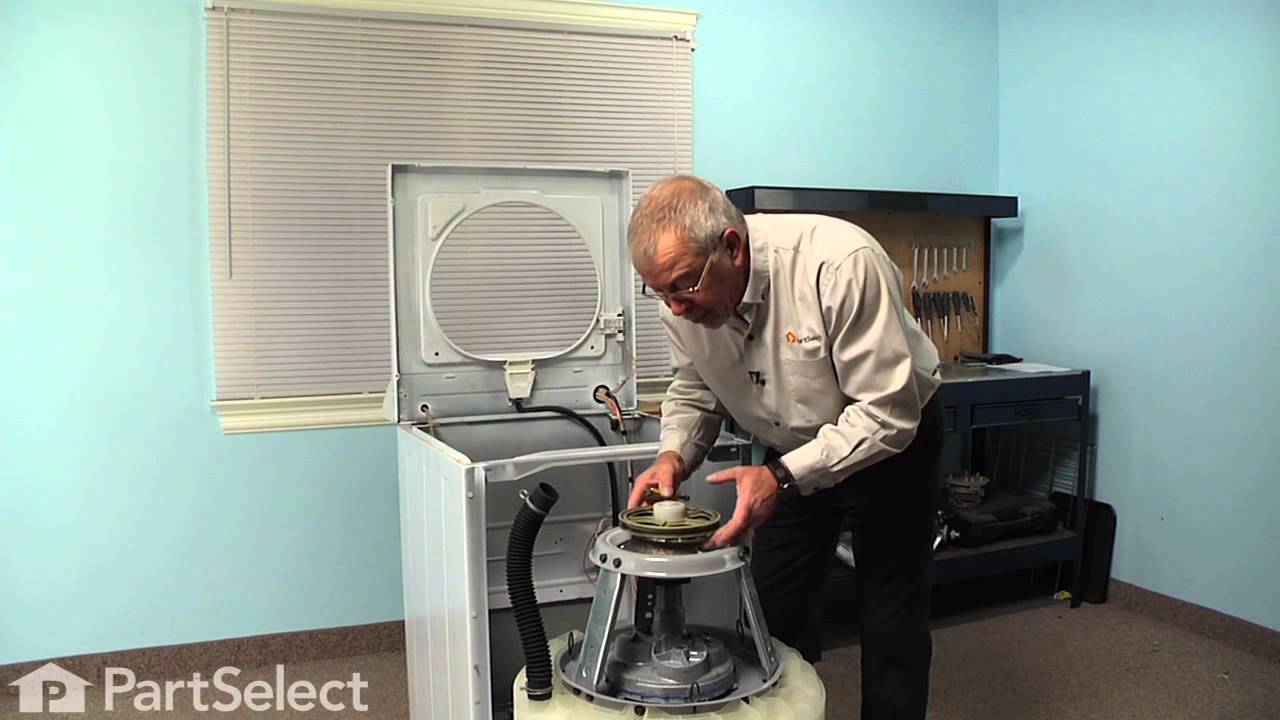


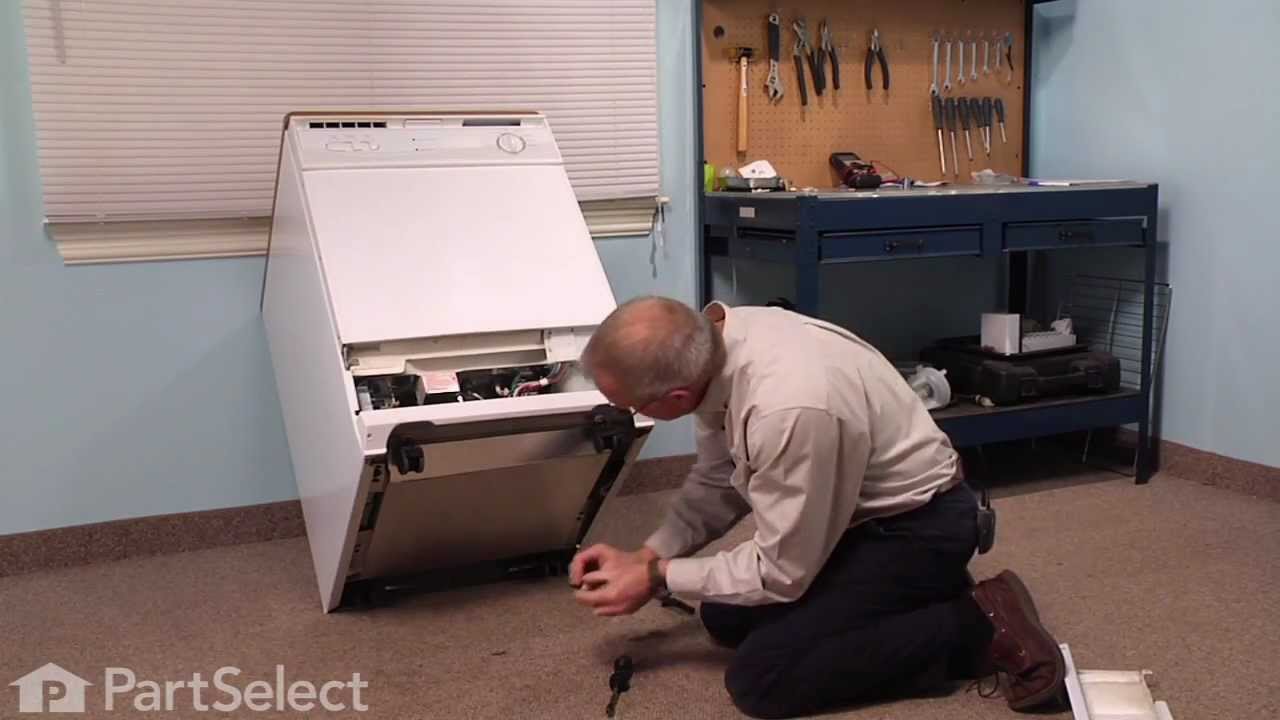
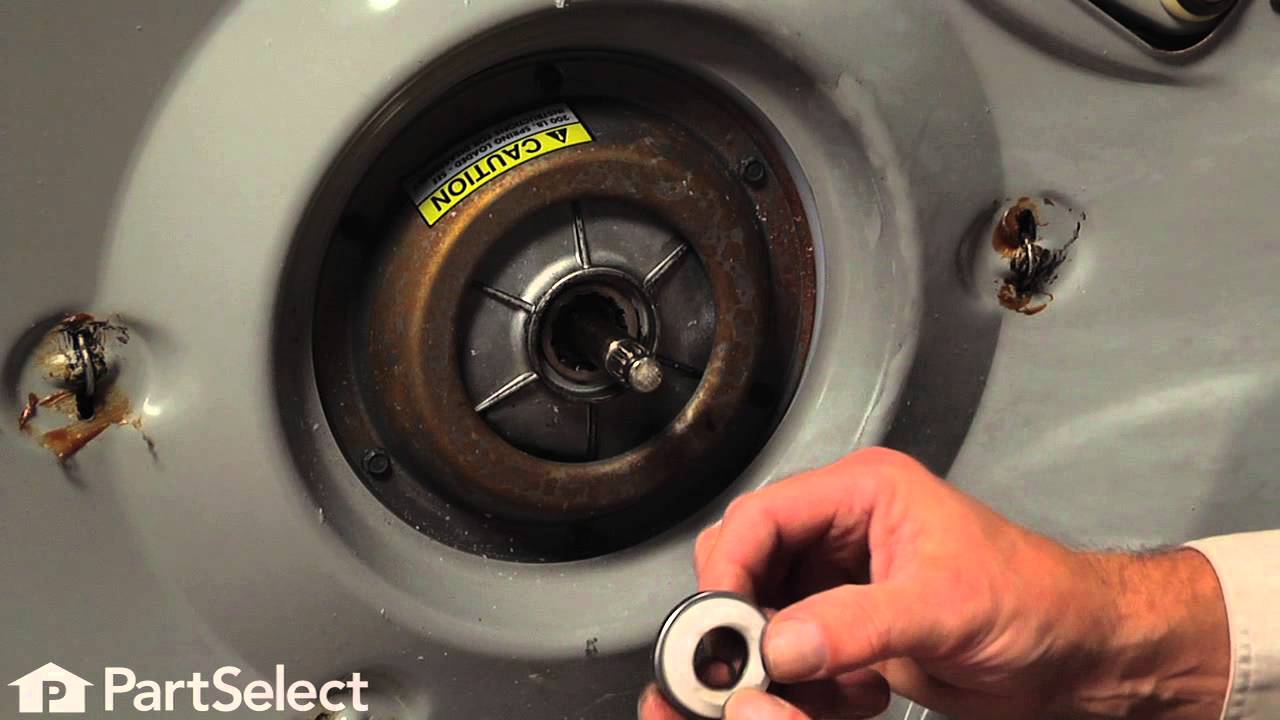
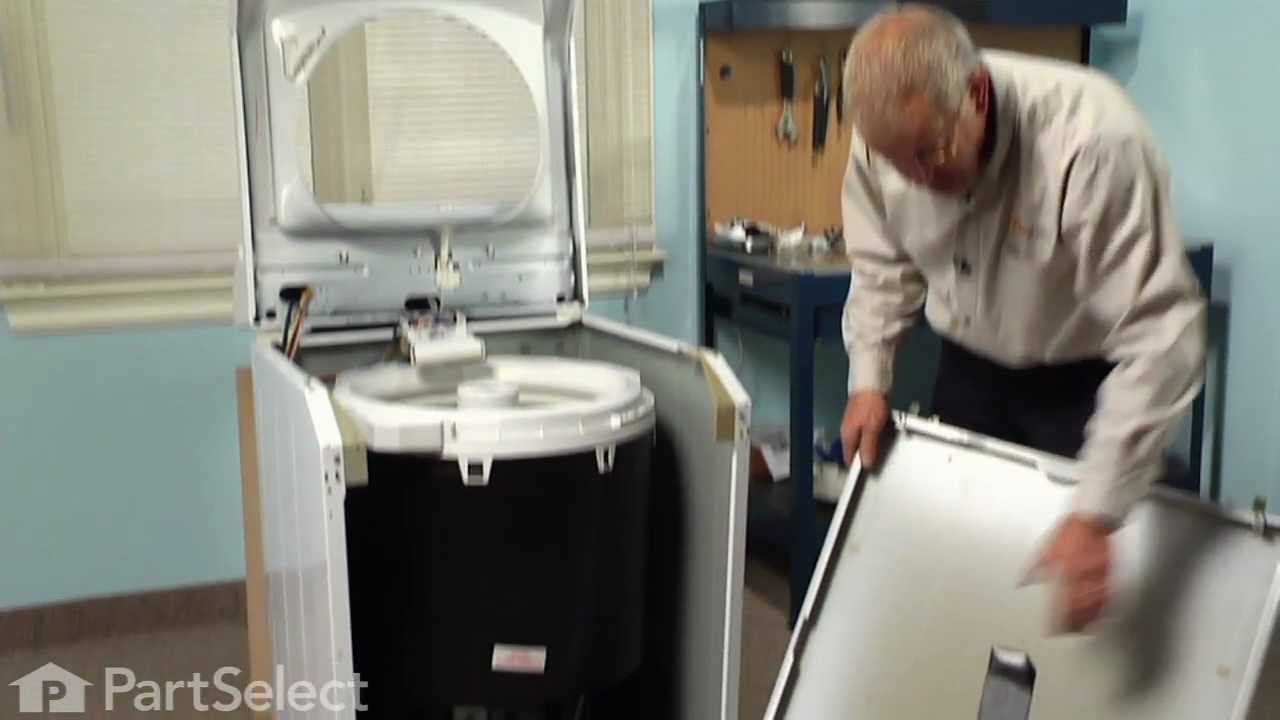

See how others fixed this model. Time, tools, difficulty, and steps that lead to victory!
View More
Search repair tips from other customers using simple keywords like "replace", "fit", "remove", "inspect". DIY doesn't mean you have to do it alone!
Search filter:
Clear Filter
Your search term must have 3 or more characters.
One of the plastic hinge pins brroke
518 of 524 people
found this instruction helpful.
I used a flat screw driver to push in on the releases so I could raise the top of the machine. I then used a torx tool to remove both parts of the hinge, and then used a #2 phillips screw driver, on the new screws I'd also ordered, to re-attach both of the hinge parts. Every thing went just as anticipated.
Other Parts Used:


Was this helpful?
Thank you for voting!
Pump was making a grinding noise
296 of 319 people
found this instruction helpful.
The pump is located behind a small panel on the back, lower left side of my washer. It's attached to the bottom frame with 3 screws. It has two hoses attached, each with one spring clamp. Lift one side of the washer and slip the drive belt off the pully. Release the spring clamps on the hoses with a pair of pliers and remove the hoses. A
... Read more
small amount of water will drain from the hoses and pump when removed. Remove the three screws holding the pump to the frame and remove the pump. Install the new pump in the same position. Reattach the hoses, replace the belt, and reinstall the cover panel. That's all there is to it.
Read less
Other Parts Used:


Was this helpful?
Thank you for voting!