

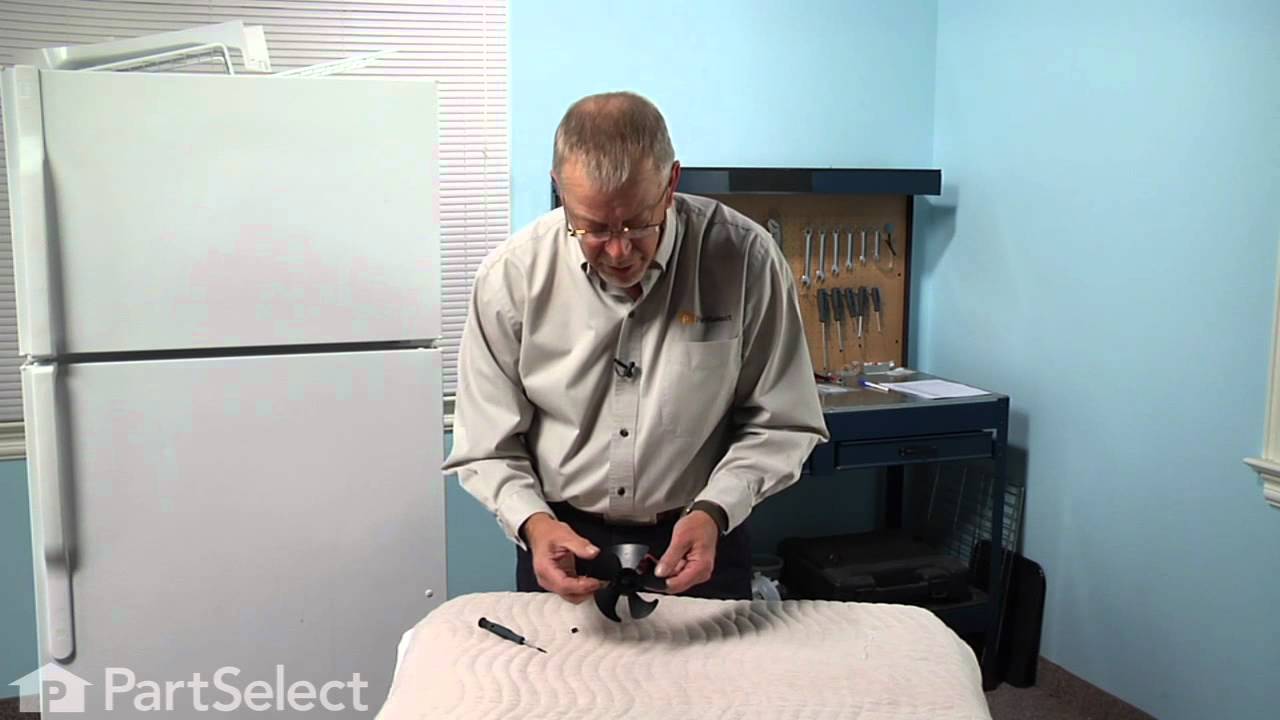



Compression Ring WR02X12149

Official part for General Electric, Hotpoint, Kenmore

Easy 

30 - 60 mins 

Part Location Diagram of WR02X12149 GE Compression Ring
See part 652 in the diagram
Replacing your General Electric Refrigerator Compression Ring
( Grid squares measure 1x1 inch )
Proudly Canadian
$13.95
Special Order
 Fits your ESS25LGMAWW!

About This Part

What it does. Why it matters. Everything you need to know for an easy fix.

Part #WR02X12149
Manufactured by GE for General Electric, Hotpoint, Kenmore

You May Also Need

Genuine OEM: Original Parts. Lasting Repairs.

Because quality isn't optional.

OEM stands for Original Equipment Manufacturer. This means that the company who made your appliance is also supplying the replacement part.

How Buying OEM Parts Can Save You Time and Money
Features OEM Generic
Genuine brand name
Guaranteed to fit
Superior Quality
Long term value

Part Videos

Watch our pros, then fix it yourself.

Replacing your General Electric Refrigerator Compression Ring

Replacing your General Electric Refrigerator Compression Ring

About this fix

Common problems and models this part fixes.

Easy 

30 - 60 mins 

What this part fixes:
  • Noisy
  • Fridge too warm
  • Freezer section too warm
Works with the following products:
  • Refrigerator
  • Freezer
Part# WR02X12149 replaces these:
AP3868937, 1169507, WR02X10509, WR02X10581, WR2X10509, WR2X10581

Repair Tips

See how others fixed this model. Time, tools, difficulty, and steps that lead to victory!

Easy 

30 - 60 mins 

Average repair rating from 26 real customers like you

Sort by:
  • 1
  • 2
  • 3
Sorry, we couldn't find any existing installation instruction that matched.
My refrigerator began to overheat and the everything was thawing!!
165 of 195 people found this instruction helpful.
  • Jeffrey from Tampa, FL
  • Really Easy
  • 15 - 30 mins
  • Nutdriver, Screw drivers
My refrigerator began to overheat and the everything was thawing!! The condenser fan motor had seized and I thought this is something even I can replace.

I did a Google search on the refrigerator model number. The link to your site looked promising and I clicked on it. I was taken to your web page for my refrigerator and I clicked on the schematic for the condenser assembly.

The schematic had the parts I needed labeled clearly so this layman could be sure to get the right ones.

I ordered the parts at 12:45PM Monday and selected overnight shipping. The parts arrived at 8:35AM Tuesday (Thank you FedEx). I installed the parts and my refrigerator is up and running again.

To get to the condenser fan motor I took off the back panel on the fridge that covers the condenser, fan and coil. The fan/motor assembly is attached to a bracket I removed with two screws. Pulled the bracket assembly out of the back of the fridge, removed the fan blade and then the motor, and put the new motor on the bracket and stuck the new fan blade on the motor spindle. The trickiest part was getting the complete assembly back in. Just went slowly and took my time. Reconnected the wires, no problems. I took pictures of everything that I disassembled BEFORE I disassembled it in case I wasn't sure how something went back in but this job was so simple I didn't need the pictures.

I’m not sure how I could improve on this except maybe you could ship a refrigerator technician, too, to do the install.

Thank you PartSelect everything worked out better than I could have hoped and I saved $220.00 compared to what a repair service was quoting.
Was this helpful?
Thank you for voting!
I Placed A Heat Gun In The Freezer Section To Defrost The Coils And Did Not Return In Time. The Heat From The Heat Gun Rose Upward And Melted All Of The Soft Plastic Parts. The Good News Was That The 16 Parts Were Not Expensive But The One Main Part That Was Needed To Put It All Back Together Took 3
63 of 113 people found this instruction helpful.
  • Guy from New Palestine, IN
  • Really Easy
  • 30 - 60 mins
  • Nutdriver
I replaced all of the plastic parts as well as the heat coil that is mounted at the bottom of the coils that keeps the coils from freezing up. If I had not melted the plastic parts the coil could have been replaced in 2 days, 1 day to receive the part and the next to do the work. This is the second time I have had to replace this heater.
Was this helpful?
Thank you for voting!
freezer and ice maker worked fine but bottom(cooler)did not cool innoff .Freezer compartment was also forming a lot of ice all over. l
62 of 94 people found this instruction helpful.
  • Israel from Concord, NC
  • Really Easy
  • Less than 15 mins
  • Nutdriver
Removed covers on the freezer compartment to gain access to the evaporator fan motor.The motor was turning but not fast innoff to move air true tthe evaporator coil.The evaporator fan it is the one that will cool the bottom and top of your refrigerator.
Was this helpful?
Thank you for voting!
High Pitch Noise from the Evaporartor Fan
53 of 78 people found this instruction helpful.
  • Murtaza from E. Amhurst, NY
  • A Bit Difficult
  • 30 - 60 mins
  • Nutdriver, Pliers, Screw drivers, Socket set
Firt Removed the Ice Maker Tray and the full ice maker assembly. Removed the plastic shroud that sits over the fan assembly. Since the original connector (or the plug)for the motor had also a temperature sensor attached to it and did not know how to remove and trabsfer to the new motor connector I spliced the new motor to the old connector. It was fairly straight forward. Overall the job was not that difficult and since I was trying to be more meticulous it took a little longer. An average person can do it in around 30 to 45 minutes.
Was this helpful?
Thank you for voting!
the evporator fan motor was noisy and ran constantly
46 of 65 people found this instruction helpful.
  • roger from st. ignace, MI
  • Easy
  • 30 - 60 mins
  • Nutdriver
First I removed the two plastic fan compartment covers mounted on the top of the freezer. Next I removed the ice maker by loosening the two bracket screws and unpluging the electrical connector. Be careful, I burned my hand on the heating element located on the bottom of the unit under the cube tray. I then removed the screws holding the back panel in place and pushed out the ice maker plug to remove the panel. I then removed the fan bracket screws and the electrical connector. Two screws hold the fan in place. I also replaced the two blue grommets, at the top and bottom of the fan module just to be safe. Installation was in the reverse. Note: this model apparently is hard on evaporator fans as this is the third one in four years!
Was this helpful?
Thank you for voting!
Evap Fan was sqeeling
41 of 60 people found this instruction helpful.
  • David from Raleigh, NC
  • Difficult
  • 1- 2 hours
  • Nutdriver
First I removed the shelf and light cover, then removed 3 screws from the ice make. Then I removed 6 screws from the moter cover (back wall of the freezer) and removed it. I then removed the 2 screw holding the moter. This is where the soldering iron comes in. The wire leads from the old motor were molded into a 3" rubber holder and the end wire plastic connector held 6 prongs (2 from a thermo tube). The new motor only held the 4 moter prongs, 2 were empty. To resolve this problem I cut the wires on both the new and old motor. I then attached the old connector to the new moter with the soldering iron and shrink tubing. Replaced all the parts I had removed and started it up. Works like a champ.....
Was this helpful?
Thank you for voting!
loud whinning noise of fan in freezer section
41 of 70 people found this instruction helpful.
  • Daniel from MIAMI, FL
  • Easy
  • 30 - 60 mins
  • Nutdriver, Pliers, Screw drivers
1. content of freezer was put in an ice box
2. panel covering rear of freezer compartment was removed, a few screws
3. old fan now accessible was removed an new fan mounted.
4. modular wiring plug broke, wires had to be soldered and wrapped in heat shrunk insulation
5. compartment was cleaned an rear inside panel closed

Thanks for all those who shared their experience and the schematics available on website. It gave me the confidence to to this myself. Its my second repair in freezer (previous being a defective heater)
Was this helpful?
Thank you for voting!
Noisy Evap Fan Motor
27 of 33 people found this instruction helpful.
  • Vera from Alexandria, VA
  • Really Easy
  • Less than 15 mins
  • Screw drivers
Could not haven been easier. Simply unplug fridge, remove air duct mounted on rear panel, release panel itself, pull fan blade off, disconnect grounding wire, detach fan motor bracket, disconnect wire harness to release fan motor, install new fan motor and reconnect, secure with bracket, reconnect grounding wire, reposition fan blade onto motor shaft, reinstall rear panel and secure screws. Remount air duct and plug appliance back in. VOILA. All done in less than 15 minutes!!!
Was this helpful?
Thank you for voting!
The condensor fan in the unit appeared to have been chewed by a mouse and would not function and the lower door was too low.
20 of 31 people found this instruction helpful.
  • Eugene from Marion, TX
  • Easy
  • 1- 2 hours
  • Screw drivers, Socket set
The condensor fan in the unit appeared to have been chewed by a mouse and would not function. We had a service call to verify this and ordered the parts. Delivery was extremely quick and we were able to complete the repair and place the unit back into service within 2 hours.

All that was necessary was to remove the bottom cardboard cover, replace the fan and grommets, and replace the door bushings.

Thanks!!
Was this helpful?
Thank you for voting!
Motor vibration
18 of 24 people found this instruction helpful.
  • Steven from Columbus, OH
  • Really Easy
  • 15 - 30 mins
  • Nutdriver
I pulled the inside cover in the freezer off, pulled the motor out of the bracket, replaced the fan blade , motor, and grommet and that was pretty much it. Very easy to replace. Parts select was fast and had the cheapest price available.
Thanks
Steven Roffey
Was this helpful?
Thank you for voting!
  • 1
  • 2
  • 3

DIY Questions and Expert Answers

1 question answered by our Repair Experts.

Ask our experts a question about this part and we'll get back to you as soon as possible!

Sort by:
  • 1
Sorry, we couldn't find any existing answers that matched.Try using some different or simpler keywords, or submit your new question by using the "Ask a Question" button above!
Rafeek - For model number GTH17GBEDRBB
January 4, 2020
Evaporated fan making noise the shaft is loosen
Chris Boyle Profile
Hello Rafeek and thank you for writing. The compression ring PS1015726 could be lost or faulty. You should also check the fan grommet PS963756. It is recommended to replace both parts at the same time. We hope this helps. Please contact us anytime.
$16.74
Special Order
Evaporator Fan Grommet - Red
Was this helpful?
Thank you for voting!
  • 1

This Part Also Fits These Models

Don't see your model? Use our Fit Checker to confirm!

Check Part Fit
Part #WR02X12149
Brand
Model Number
Description
General Electric
36211XBMERWW
Refrigerator
General Electric
36211XBMFRWW
Refrigerator
General Electric
36211XBRERWW
Refrigerator
General Electric
36211XBRFRWW
Refrigerator
General Electric
36411XBRERWW
Refrigerator
General Electric
36411XBRFRWW
Refrigerator
General Electric
37511KBSARWW
Refrigerator
General Electric
37511KBSERWW
Refrigerator
General Electric
38181KBPARWW
Refrigerator
General Electric
38181KBPCRWW
Refrigerator
General Electric
38181KBRARWW
Refrigerator
General Electric
38185KBPARBB
Refrigerator
General Electric
38185KBPCRBB
Refrigerator
General Electric
38185KBRARBB
Refrigerator
General Electric
38187KBPARCC
Refrigerator
General Electric
38187KBPCRCC
Refrigerator
General Electric
38187KBRARCC
Refrigerator
General Electric
38341FBMERWW
Refrigerator
General Electric
38341FBMFRWW
Refrigerator
General Electric
38351HBMERWW
Refrigerator
General Electric
38351HBMFRWW
Refrigerator
General Electric
38351HBRERWW
Refrigerator
General Electric
38351HBRFRWW
Refrigerator
General Electric
38371PBRBRWW
Refrigerator
General Electric
38451HBRERWW
Refrigerator
General Electric
38451HBRFRWW
Refrigerator
General Electric
38471PBRBRWW
Refrigerator
General Electric
38471PBRDRWW
Refrigerator
General Electric
38471PBRERWW
Refrigerator
General Electric
38471PBRFRWW
Refrigerator