


 My Orders


110214 Kenmore Washer - Overview
Models starting with 110214
Click on the best match to narrow your results.
Enter a part description. DIY Heroes keep it simple, eg. "belt" or "pump".
Search filter:
Clear Filter
Your search term must have 3 or more characters.

No Longer Available
Touch-Up Paint - White
Part #72017
This 18 ml bottle of white appliance touch-up paint is used to cover scratches or marks on your appliance. The white touch-up paint can be used on refrigerators, microwaves, ranges, clothes dryers, and freezers. This is a genuine OEM part and includes a brush applicator. Please remember to wear gloves to protect your hands when applying this paint.

$39.32
In Stock
Drive Hub Kit
Part #W10528947
This drive hub kit helps your washer spin and agitate properly by connecting the basket to the motor. If your washer isn’t spinning, is noisy, or wobbles too much, this part might be the fix. It’s a simple DIY repair with easy-to-follow instructions and usually includes everything you need to get your washer working again.

$86.45
In Stock
Lid Latch Assembly
Part #W10404050
The point of the lid switch is for the tub to stop spinning when the washer lid is opened. It is a safety precaution just in case someone decides to stick their hand inside the washer while the tub is spinning.

$17.26
In Stock

$97.10
In Stock
Washer Water Inlet and Valve Assembly
Part #WPW10683603
If your washer isn’t filling properly, keeps running water, or has a leak at the back, the water inlet valve might be the problem. This part controls how much hot and cold water enters the machine and helps keep the temperature balanced. It also makes sure the washer doesn’t overfill. Swapping out a worn valve can fix issues like slow fills, leaks, or uneven water temps and get your laundry routine back on track.

$9.85
In Stock

$37.25
In Stock
Washer Drain Hose
Part #W11244231
The drain hose carries used water from the washer to your house drain.

$48.35
In Stock
Lid Latch Strike
Part #WPW10240513
This part is the replacement lid latch or latch assembly for your top-load washer. The lid latch holds your washer door closed, and allows the washer to run its cycle. If the lid latch is damaged, your washer door may not close properly and you may not be able to run your washer. The latch is found under the lid and can be screwed out and...Read more replaced. You will need a Phillips-head screwdriver for this repair. This part is sold individually and is and OEM part from the manufacturer.
Read less

$90.28
In Stock

$10.40
In Stock

$11.61
In Stock

$15.35
In Stock
Washer D-Shaped Knob Insert
Part #WP8536939
This insert is sold individually. Knob not included. Knob is sold separately.
Common Symptoms of models starting with 110214
How this model fails, and the parts that fix it.
Will not agitate
Fixed by
these parts
these parts


Show All
Will Not Start
Fixed by
these parts
these parts


Show All
Leaking
Fixed by
these parts
these parts


Show All
Spinning Issues
Fixed by
these parts
these parts
Show All
Lid or door won’t close
Fixed by
these parts
these parts

Show All
Shaking and Moving
Fixed by
these parts
these parts


Show All
Spins slowly
Fixed by
these parts
these parts
Show All
Locking Issues
Fixed by
these parts
these parts
Show All
Will not drain
Fixed by
these parts
these parts
Show All
No hot or cold water
Fixed by
these parts
these parts
Show All
Water Filling Issues
Fixed by
these parts
these parts
Show All
Draining Issues
Fixed by
these parts
these parts
Show All
Cycle Not Advancing
Fixed by
these parts
these parts
Show All
Noisy and Marks Left on Clothes
Fixed by
these parts
these parts
Show All
Timer Not Working
Fixed by
these parts
these parts

Show All
Watch our pros, then fix it yourself.
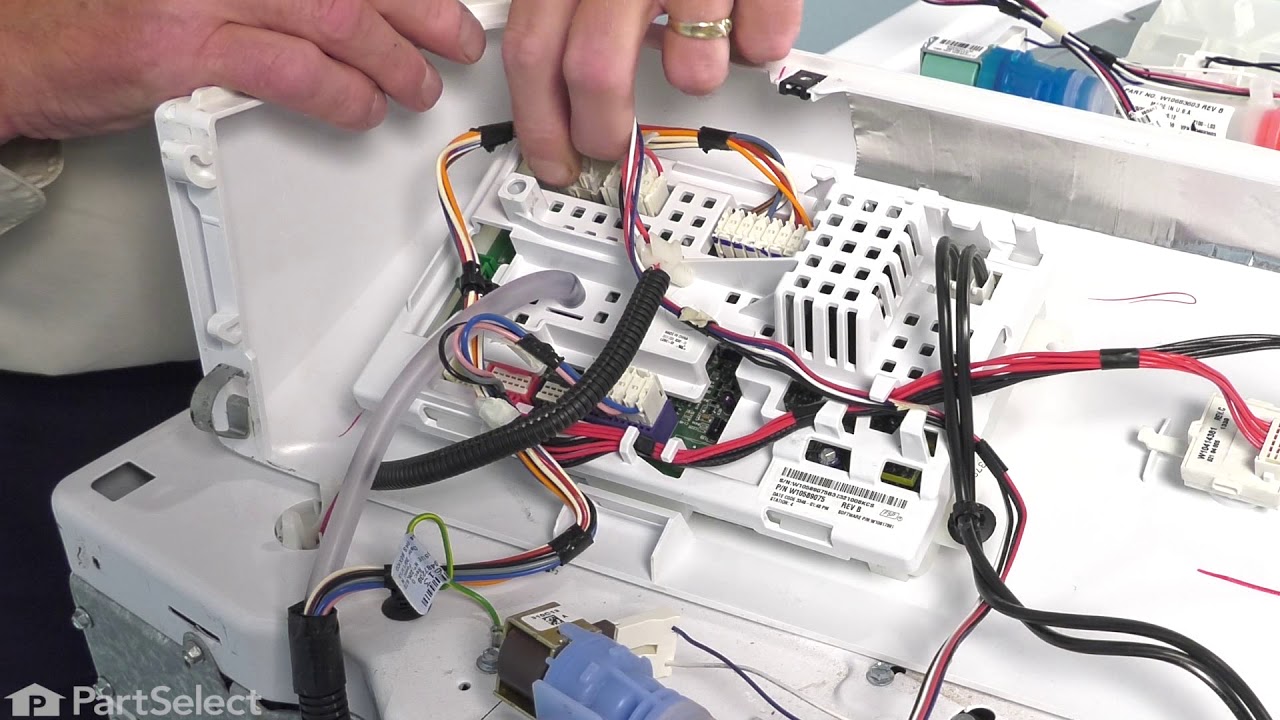
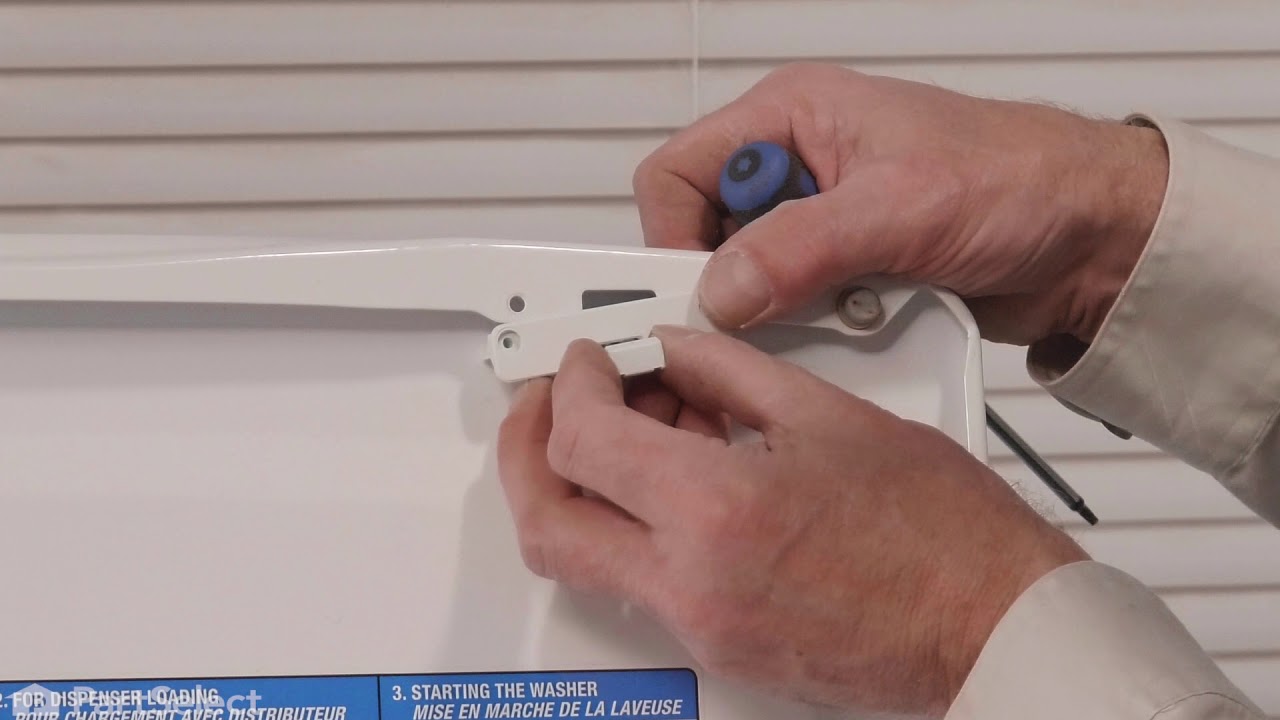
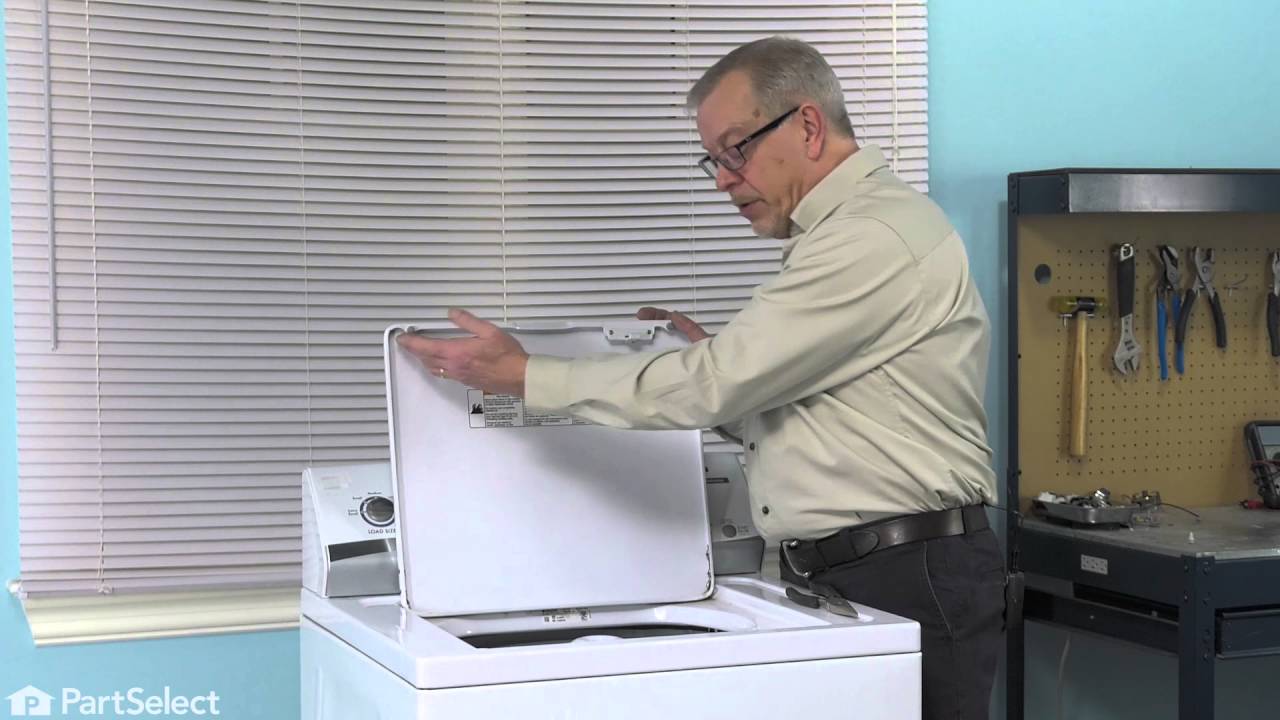
See how others fixed this model. Time, tools, difficulty, and steps that lead to victory!
View More