Real ratings from other people who bought this part.
Average Rating:
★★★★★
★★★★★
3 Reviews
5.0
Out of 5
5 Stars
3
4 Stars
0
3 Stars
0
2 Stars
0
1 Star
0
Search reviews left by others. DIY doesn't mean you have to do it alone. Use simple keywords like "fit", "broken", "easy", or "quality" to find reviews that match!
Search filter:
Clear Filter
Your search term must have 3 or more characters.
Sort by:
Prev
1
Next
Sorry, we couldn't find any existing reviews that matched. Try using some different or simpler keywords.
★★★★★
★★★★★
Antonio J - March 3, 2022
Verified Purchase
Easy fix. You check the YouTube video how to doit.
Very easy to change the part . Follow the youtube video. And it takes you 10 min to fix. The inky problem is 2 years I replace the same part. I don't if was the quite but I'm guessing the part will last longer?.
★★★★★
★★★★★
Antonio J - July 23, 2020
Verified Purchase
Easy to install.
The perfect fix for my fridge problem . The part is super easy to installed. The issue of my fridge not making ice is fixed. And the super fast delivery of the part was amazing.
★★★★★
★★★★★
Derek L - February 23, 2021
Verified Purchase
Ice maker repair
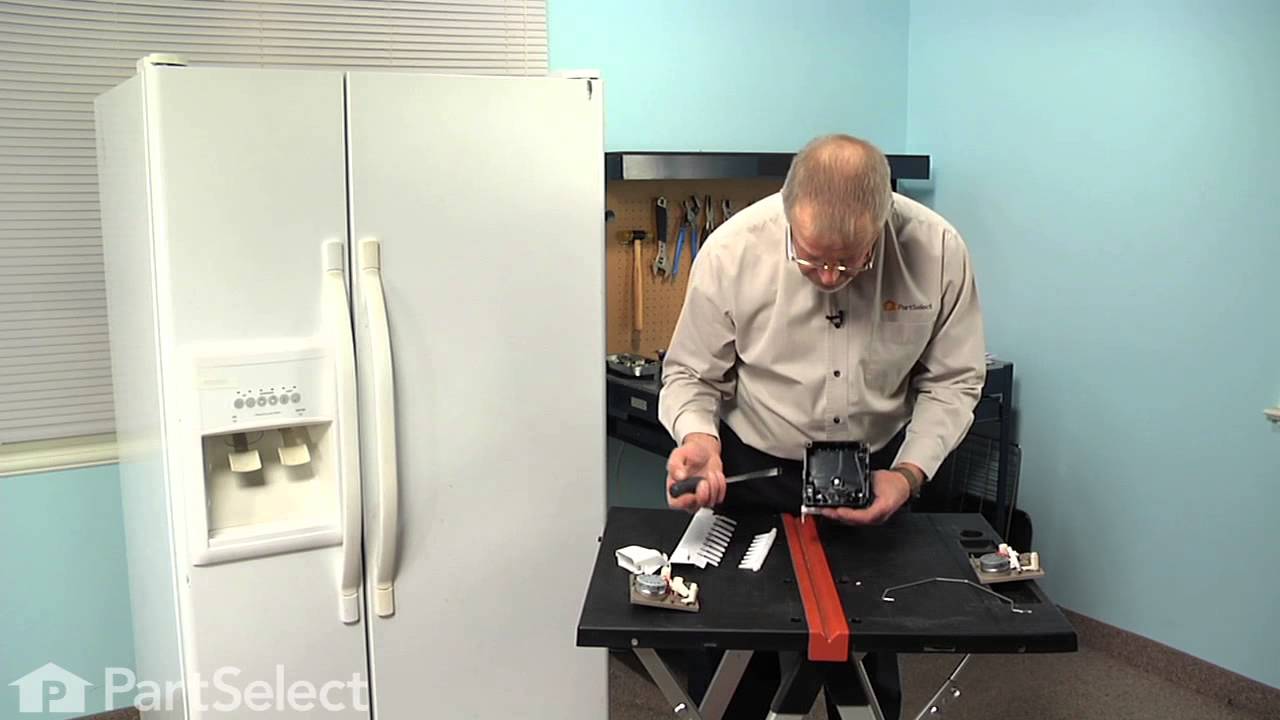
The motor was easy to replace and solved the waterfall of water pouring out of the ice maker. What excellent service and quick shipping. Very knowledgeable staff and friendly The email of the part shipping included the how to video to replace the motor. Now that’s customer service! Part select is excellent to deal with. I will use them again.
Prev
1
Next
Repair Tips
See how others fixed this model. Time, tools, difficulty, and steps that lead to victory!
Easy
15 - 30 mins
Average repair rating from 26 real customers like you
Sort by:
Prev
1
2
3
Next
Search repair tips from other customers using simple keywords like "replace", "fit", "remove", "inspect". DIY doesn't mean you have to do it alone!
Search filter:
Clear Filter
Your search term must have 3 or more characters.
Sorry, we couldn't find any existing installation instruction that matched.
KITCHEN AID SIDE-BY-SIDE REFRIGERATOR ICE-MAKER stopped working due to a broken motor assembly.
56 of 77 peoplefound this instruction helpful.
ANDREW from DURANGO, CO
A Bit Difficult
30 - 60 mins
Nutdriver, Screw drivers
Changing the KITCHENAID MOTOR ASSEMBLY TO THE ICE-MAKER was fairly straightforward. The hardest part was figuring out WHAT was broken and how to fix it. I was determined to save myself hundreds of dollars by doing it myself and avoiding a visit by the 'repairman'.
1.) Went to KitchenAid website to look at Parts List for my
... Read more side-by-side refrigerator and ice maker assembly (a PDF file, easily downloadable) . The illustrations helped me visualize the assembly and various parts involved. 2.) Removed cover on front of ice maker. 3.) Removed hex-head screw on undersurface of icemaker on the right, which stablilizes a plastic cover for the electrical connector to the ice maker. Once this is off, it's then possible to slide the ice maker out. 4.) Slide the ice maker out from it's 'shelf' in the freezer. You won't be able to completely remove it until you disconnect the power supply. 5.) Disconnect the multi-pin power connector. (It's probably safest to unplug the refrigerator altogether before doing this, but I did not. No exposed metal wiring or connectors. No problems when I did it this way.) 6.) Once the ice-maker was out, remove the white cover from the motor assembly (on the left side of the unit). 7.) Remove the three screws from the black housing of the motor assembly. (This is where I discovered that the connector between the motor and drive-train was broken and needed to be replaced.) 8.) Remove and replace the drive system for the ice cube ejector. 9.) Then reverse the steps to reassemble.
This may seem a bit vague, but it's really quite straightforward once the ice maker is out of the freezer. The replacement motor assembly includes the motor, the motor housing, the drive-train, and the ice-cube ejector. Very easy to re-asemble.
Shopping for and ordering the part took some time since there are so many different after-market parts dealers. In all honesty, I'm glad I decided on PartSelect.com. They had a decent price, safe checkout, and timely delivery. All the essentials of a good online store.
Thanks, and good luck to the next guy who has to deal with a KitchenAid snafu.
Read less
Was this helpful?
Thank you for voting!
Ice Magic Plus stopped making ice
25 of 35 peoplefound this instruction helpful.
George from Hammond, LA
Really Easy
Less than 15 mins
Screw drivers
First I removed the icemaker from the freezer by removing two horizontal screws holding it to the side wall, and one vertical screw holding the front to a bracket coming off the side wall. Then I used a flat screwdriver to unlock the electrical plug. (After doing this, I realized that this wasn't necessary at all, and this part could have
... Read more been changed just as easily without removing the icemaker.) On the front, there is a white cover with Ice Maker Plus. Use a flat screwdriver to unlock the tangs and remove the cover. There are three screws in the corners that once removed, will allow the motor assy. to be gently pulled straight out. On the back of the part, you will see many gold lands that the timer touches. I don't think there was anything wrong with my motor. I had two spots where the gold plating was worn off, so I suspect it was not making contact, and the whole process would stop. Slide the new part in place making sure the teeth on the gears line up (not a big deal), and secure with the screws. Install cover and you're done. Mine has been making ice like it was brand new.
Read less
Was this helpful?
Thank you for voting!
Ice maker stopped working.
22 of 32 peoplefound this instruction helpful.
Scott from Fort Lauderdale, FL
Really Easy
15 - 30 mins
Nutdriver
Removed the icemaker to see if I could determine problem; motor was seized; got part numbers and ordered from you; parts arrived next day (even though overnight delivery wasnt' requested - so THANK YOU!); compared new parts to original to be sure of fit; reassembled unit; reinstalled in freezer, and waited for the sound of water filling t
... Read morehe tray. Producing like brand new again! Cancelled the service call w/ Sears for the following week (when it was convenient for them) Loved your service!
First I unplugged the unit, then I popped off the cover to the icemaker electronics. Removed 4 screws, pulled out the broken electronic panel, and replaced with the new one. Returned the screws and cover. The next moring the ice bin was full.
This must have saved me $300, and the inconvernience of waiting around for the repai
... Read morer man. He would have made two trips since he would never have had this part with him.
Old motor was not resetting back to proper position halting ice production.
13 of 14 peoplefound this instruction helpful.
Kevin from Spring, TX
Really Easy
Less than 15 mins
Nutdriver, Screw drivers
Removed the three motor screws pulled off old motor put new motor in place replaced screws and re-installed. It was producing ice three hours later. I originally tried to obtian these parts directly from Whirlpool in which twice they shipped me the wrong parts. Finally gave up on them and entered the whilrpool part number which crossref
... Read moreerenced to new part number which was correct the first try. Thank you!
Read less
Was this helpful?
Thank you for voting!
The Icee ejector arm stopped turning due to icecube jam.
9 of 12 peoplefound this instruction helpful.
Leonard from South Euclid, OH
Really Easy
Less than 15 mins
Nutdriver, Screw drivers
Not being a professional repair tech, I looked at this sites provided schematics of the ice-maker. I assumed due to the problem I had which parts to order. the parts arrived within 3 days and after I took the icemaker apart I quickly realized I ordered the wrong parts. I called and asked what to do. since I did not open the packaging for
... Read morethe "wrong" parts I was able to make a return. I then called back because I discoverd the part I really needed wasn't shown in the sketch. I was told that I needed to order a new motor and it would have the part I needed. I ordered the part and within 3 days it arrived. Once I had the new part I was able to quickly install. Now I have a icemaker that works better than new since ,now it does not seem to jam either.
To make the repair: First remove the 1/4" nut head screw on the under side of the ice maker. Remove the shroud covering the electrical connection. Slide out the maker and depress the locking clip. Disconect the electrical wires. Pull off the motor cover (no screws). Remove the three philips head screws from the motor housing. Gently remove the motor. Next loosen the screws and pull the "black motor-mounting harness" untill enough clearance to remove the ejector arm and deflector tray. The new kit will have a new ejector arm and deflector tray. Insallation is the reverse. The schematics were very helpfull. It was very simple and I saved a $150 service fee to have someone else do it for me. PS. When I called I was able to speak to real live Americans who were able to help me, were pleasant, polite, and professional, AND they did not treat me like I was stupid because I am not a professional repair man. I will definately use this service again. and recommend to all my DIY friends!!
Read less
Was this helpful?
Thank you for voting!
Would Not Make Ice.
8 of 10 peoplefound this instruction helpful.
Zach from Danville, IN
Really Easy
Less than 15 mins
Nutdriver
After lots of internet exploring and diagnosis, the icemaker comes right out, and with three screws out and in, the job is all but done. Don't pay anyone for this repair!!!!!
Was this helpful?
Thank you for voting!
Icemaker Would Not Produce Ice
8 of 8 peoplefound this instruction helpful.
ROBERT from INVERNESS, IL
Easy
15 - 30 mins
Nutdriver
Contacted sears home service to perform repair. Quote for repair was $307. 43. ( $196. 90 For labor ,$102. 58 For part) plus $75. 00 For service call. Based on the charge, I refused the repair and ordered the appropriate part from "part select" (733947) (wpl 8201515) motor module for a cost of $81. 84. To my surprise, the part arrived
... Read morethe next day and in 15 minutes the icemaker was in a position to make ice, and has been producing ice ever since. To perform the module replacement, I had to remove one screw with a nutdriver, pull the icemaker out, disconnect a wire harness, replace the module and do the reverse procedure to complete the installation. I saved a total of $225. 59 By doing this repair myself. A lesson learned. . . . . I will always investigate doing a repair myself with the help from the people at part select. Very professional and they sent the correct part the first time.
Read less
Was this helpful?
Thank you for voting!
ice maker not operating
6 of 7 peoplefound this instruction helpful.
Dennis from Sebastian, FL
A Bit Difficult
1- 2 hours
Nutdriver, Screw drivers
Unlug refrig or turn off refrig from its control panel On/OFF switch. For ease of work remove freezer shelve directly below the ice maker. Remove four screws from the bottom of the ice maker assembly, three that secure the ice maker and the other that holds a plastice shroud in place over the ice maker's power plug. The ice make
... Read morer is now ready to be removed; it will slide forward by pushing up on left and right side of the ice maker's mounting slide rails. Once the ice maker is moved forward it is easier to disconnect its power plug (depress a locking tab on the side of the connector and pull connector apart and remove ice maker assembly. Remove and replace motor module by removing three screws and and replace with new unit. Reverse ice maker removal proceure for installation. Once installation is completed turn on Power to Refrig, Ice making should begin after a few hours.
Ask our experts a question about this part and we'll get back to you as soon as possible!
We may have answered a similar question already! Search questions and answers left by others using simple keywords like "fit", "broken", "easy", or "quality" to find questions that match.
Search filter:
Clear Filter
Your search term must have 3 or more characters.
Sort by:
Prev
1
2
3
Next
Sorry, we couldn't find any existing answers that matched.Try using some different or simpler keywords, or submit your new question by using the "Ask a Question" button above!
Scott - For model number GSS26C5XXY00
November 6, 2018
My Whirlpool refrigerator (model gss26c5xxy00) is not making ice, but is dispensing water. Is this a sign that the ice maker module needs to be replaced? If so, where is it located? It appears to be at the top of the inside of the freezer door.Thanks
Hello Scott, Thank you for the question. I suggest checking to see if the ice maker is getting water. If no water is getting to the ice maker, you may have a defective water valve. PartSelect Number: PS11750831. You can also try to fill the ice mold with a glass of water to see if the ice maker is making ice as normal. If it does, I suggest testing the water valve. Hope this helps, good luck with this repair!
Ice maker making low winding noise and it will not make any ice. Do you have any suggestions?
Hello Robert,
Thanks for your question. The icemaker motor kit may need to be replaced, but we would also advise checking the water inlet valve with a multi-meter for continuity along with the cycling thermostat and replacing either if they do not show continuity.
I hope this helps.
Ice maker does not drop ice into bin. What could cause this? Arm is in down position. Ice is frozen but not dumping.
Hello Ronald, thank you for asking. First remove the ice maker and check for any bad connections under the panel on the end of it. If there are no bad or loose connections, you may need to replace either the Ice Maker Motor Kit part PS733947 or the Ice Maker itself part PS11749920. We hope this helps.
3 peoplefound this instruction helpful.
Was this helpful?
Thank you for voting!
Jerome - For model number 10659124800
January 29, 2020
Installed new ice maker in frig. It works , but makes ice very slowly. I noticed on the new unit, that the wiring was not wired the same as on my old ice maker. Coming out of the ice maker, the black and the white are the same, but going into the frig. Wall the white and black are reversed on the new wiring. I called, about this and was told to just use my old wiring that was in the frig. Which i did. ? Is there another adjustment to speed process up? Or is it wired wrong?
Hi Jerome, thank you for your question. You may actually just need to adjust how much water your ice maker is calling up from the valve. There is a little plastic screw on the motor that you can adjust for how long the water fills the ice maker. 7 to 9 seconds is a good time. Good luck with your repair.
2 peoplefound this instruction helpful.
Was this helpful?
Thank you for voting!
Staci - For model number WSF26C2EXB01
January 27, 2018
My unit is still making ice but the ice will not dispense out of the door. When you press the outside lever the unit makes a sound but nothing inside is moving to release the ice. Would this be an issue with the motor? I see that there are also comments about replacing the coupling or bracket but I am not seeing any physical sign that they may be damaged.
Hello Staci,
Thanks for your question. We would recommend testing the ice maker motor and the auger motor with a multimeter to check if there is any continuity. Replace either part if they do not show electrical continuity.
I hope this helps.
My ice maker is making ice but will not dispense ice , what is the problem.
Hello Vincent, thank you for your question. If the ice maker isn't dispensing the ice out of the ice tray and into the bucket, the most likely issue is the icemaker itself. We would recommend replacing the icemaker itself, part number PartSelect Number: PS11749920. I hope this helps!
2 peoplefound this instruction helpful.
Was this helpful?
Thank you for voting!
Jon - For model number 10651129210
August 1, 2018
I have Kenmore.Model # 10651129210 i am looking for complete unit ice maker.I don"t know part #
Hi Jon,
Thank you for your question. The part number listed under your model number for the ice maker is PS11752389. I hope this helps. Thank you and have a great day!
1 personfound this instruction helpful.
Was this helpful?
Thank you for voting!
Michael - For model number Ed5kvexvq00
November 16, 2018
Replaced inlet valve, replaced icemaker.Replaced water filter. Icemaker cycles. But no water comes to icemaker. Checked tube from inlet valve to icemaker, it is clear.What am i missing here. Is there some hidden switch or sensor that i missed?
Hello Michael,Thank you for contacting us. Checking the model number unfortunately we do not have this symptom listed, for more specialized assistance or to speak with someone about this, I would suggest calling the manufacturer of the appliance directly. Hope this helps!
1 personfound this instruction helpful.
Was this helpful?
Thank you for voting!
Our Ice Maker Stopped Making Ice. There Appears To Be Water Dripping Into The Ice Bin And Freezing - For model number wsf26c2exy02
February 2, 2018
Our ice maker stopped making ice. There appears to be water dripping into the ice bin and freezing on the bottom of the bin/auger. The ice tray itself appears to be frozen/full but not dumping. I also checked and note that the ice maker/level control led is not emitting light when the bin latch is manually held shut along with the freezer door latch. I’m fairly inexperienced and looking for help on what part to try first/most likely cause of the problem.Kind regards,
joe
Hello, Thank you for your inquiry. We would recommend checking the following parts to fix your issue: ice mode, thermostat, ice maker motor kit, the receiver control board and the led emitter control board. You can test the parts with a multimeter. If you are unfamiliar with how a multimeter functions, there are YouTube videos available to assist you. Hope this helps!
1 personfound this instruction helpful.
Was this helpful?
Thank you for voting!
Ronald - For model number ED5VHEXVQ4
May 10, 2019
The picture looks like the ice maker motor kit ps733947 comes with the ice maker ps11749920. Is that correct?
Hello Ronald, thank you for inquiring. Yes, you are correct that the Ice Maker Motor Kit is included in the Ice Maker. Both of these are the correct replacements for your model.
1 personfound this instruction helpful.
Was this helpful?
Thank you for voting!
Prev
1
2
3
Next
✖
Ask a Question
Ask our experts a question on this part and we'll respond as soon as we can.



 My Orders