


 My Orders


10644022600 Kenmore Refrigerator - Overview
Diagrams for 10644022600
See every part. Know exactly what you need.

Enter a part description. DIY Heroes keep it simple, eg. "belt" or "pump".
Search filter:
Clear Filter
Your search term must have 3 or more characters.

$69.99
In Stock
Whirlpool EveryDrop3 Refrigerator Water Filter
Part #EDR3RXD1
This advanced refrigerator water filter utilizes Triple Filtration Technology to reduce a wide range of contaminants, including mercury, lead, and trace pharmaceuticals, ensuring cleaner and safer water for drinking and food preparation. Certified to meet NSF standards, it is designed to deliver high-quality filtration performance across ...Read morecompatible refrigerator models. The filter should be replaced every six months or after filtering approximately 300 gallons to maintain optimal contaminant reduction. A noticeable decrease in water flow from the dispenser may also indicate the need for replacement. Installation is quick and tool-free, and it is recommended to flush at least two gallons of water through the system before use.
Read less

$15.31
In Stock
Refrigerator Lower Door Closing Cam
Part #WP2182179
The lower door closing cam is used in refrigerator doors, it can be located on the fresh food side or the freezer side. It helps hold the door open. This cam is made out of plastic, so it might crack or wear down over time. If your door will not open and close properly you may need to replace the door closing cam. To successfully install ...Read morethis part, you will need a 5/16 nut driver and a small flat blade screwdriver. Before you begin, unplug your appliance and disconnect the water supply. Lubricating this part may help with installation. This replacement part is sold individually. This part will fit both the left and right side of your refrigerator door. To make the repair, remove the top hinge cover, then the top hinge support. Lift the door from the bottom support and remove the old door cams. Replace the cams, using a little lubricant if necessary, and place the door back on the lower hinge support. Replace the top hinge support and your repair is complete!
Read less

No Longer Available
Touch-Up Paint - White
Part #72017
This 18 ml bottle of white appliance touch-up paint is used to cover scratches or marks on your appliance. The white touch-up paint can be used on refrigerators, microwaves, ranges, clothes dryers, and freezers. This is a genuine OEM part and includes a brush applicator. Please remember to wear gloves to protect your hands when applying this paint.

$48.43
In Stock
Refrigerator Bimetal Defrost Thermostat
Part #WPW10225581
If ice is building up in your freezer or if your freezer is getting too warm on the defrost cycle you may need to replace the bi-metal thermostat.

$43.83
In Stock

$96.02
On Order
Icemaker Control Assembly
Part #W10190935
This part is used to help tell the icemaker what to do - it turns the timing cams and the ejector blades. Motor is not sold separately.

$48.35
In Stock

$190.53
In Stock
Ice Maker Assembly - 8 Cube
Part #2198597
This icemaker can be used with 25-27 cubic feet refrigerators that have a vertical auger dispenser located on the freezer door. Reuse bottom bracket from the original icemaker and attach to the new.

$20.85
In Stock
Light Bulb - 120V 25W
Part #WPA3073101
This twenty-five watt microwave light bulb is two and a half inches long. It has a small, screw-in base and it carries 120V. This item sells in a quantity of one, though many microwaves require two.

$10.95
In Stock

$373.22
In Stock
Electronic Control Board
Part #W11629974
This set of two control boards helps your fridge know when to make ice and when to stop. One board sends a signal, and the other receives it—together, they tell the icemaker when to dump ice and when to refill with water. If your ice maker isn’t working right, this part might be the fix. Just make sure it fits your fridge model before ordering.

$97.99
Special Order
Ice Door Kit
Part #W10823377
This kit includes the ice door, support, spring and delay. The heater ribbon is no longer attached - the heater is no longer needed.
Manuals & Care Guides for 10644022600
Click to downloadCommon Symptoms of the 10644022600
How this model fails, and the parts that fix it.
Ice maker not making ice
Fixed by
these parts
these parts


Show All
Door won’t open or close
Fixed by
these parts
these parts


Show All
Ice maker won’t dispense ice
Fixed by
these parts
these parts

Show All
Light not working
Fixed by
these parts
these parts


Show All
Noisy
Fixed by
these parts
these parts


Show All
Leaking
Fixed by
these parts
these parts


Show All
Fridge too warm
Fixed by
these parts
these parts

Show All
Freezer not defrosting
Fixed by
these parts
these parts
Show All
Clicking sound
Fixed by
these parts
these parts
Show All
Not dispensing water
Fixed by
these parts
these parts


Show All
Freezer section too warm
Fixed by
these parts
these parts
Show All
Door Sweating
Fixed by
these parts
these parts

Show All
Fridge and Freezer are too warm
Fixed by
these parts
these parts
Show All
Frost buildup
Fixed by
these parts
these parts
Show All
Fridge too cold
Fixed by
these parts
these parts

Show All
Will Not Start
Fixed by
these parts
these parts


Show All
Freezer too cold
Fixed by
these parts
these parts
Show All
Ice maker dispenses too much ice
Fixed by
these parts
these parts

Show All
Too warm
Fixed by
these parts
these parts
Show All
Fridge runs too long
Fixed by
these parts
these parts
Show All
Won’t start
Fixed by
these parts
these parts
Show All
Ice maker dispenses too little ice
Fixed by
these parts
these parts
Show All
Door latch failure
Fixed by
these parts
these parts

Show All
Watch our pros, then fix it yourself.
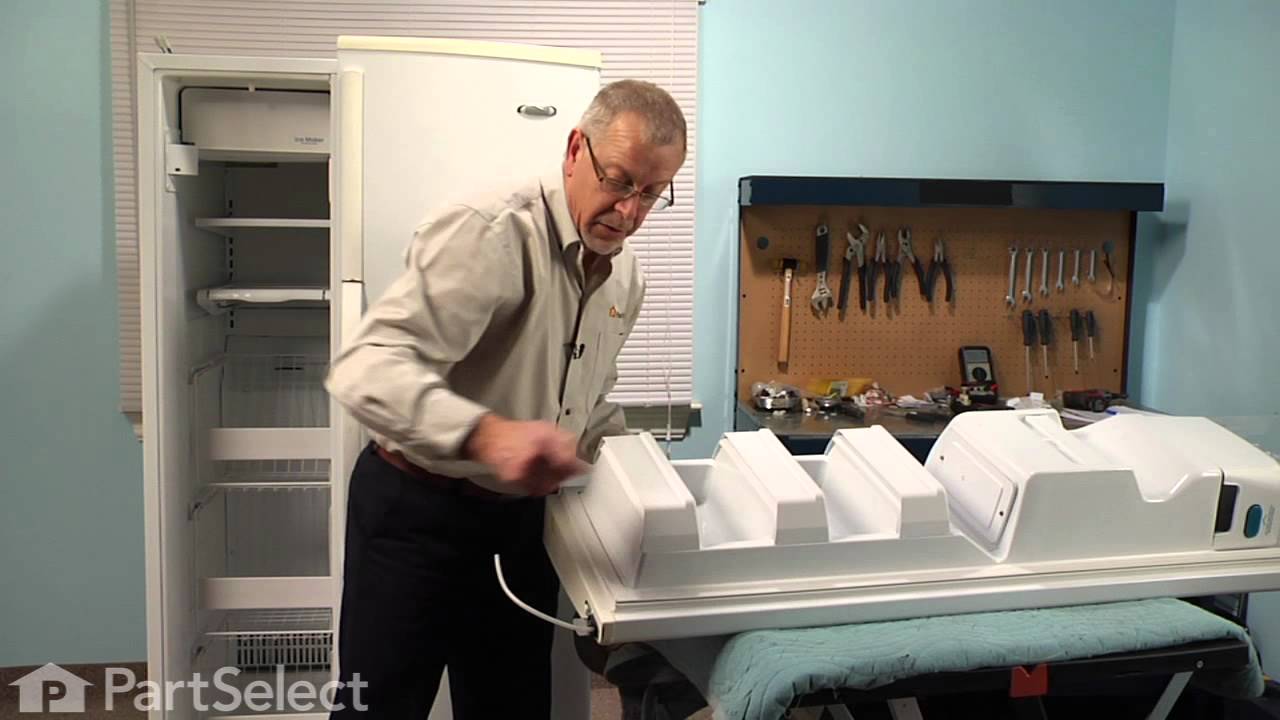
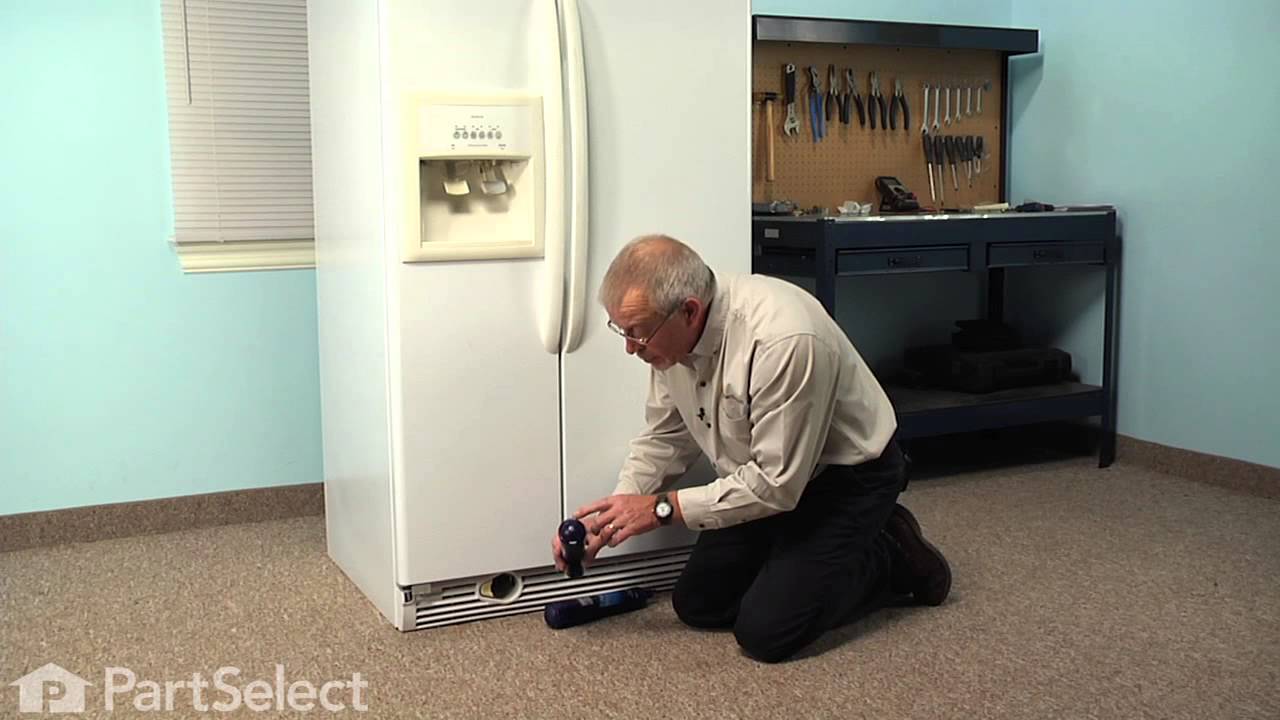
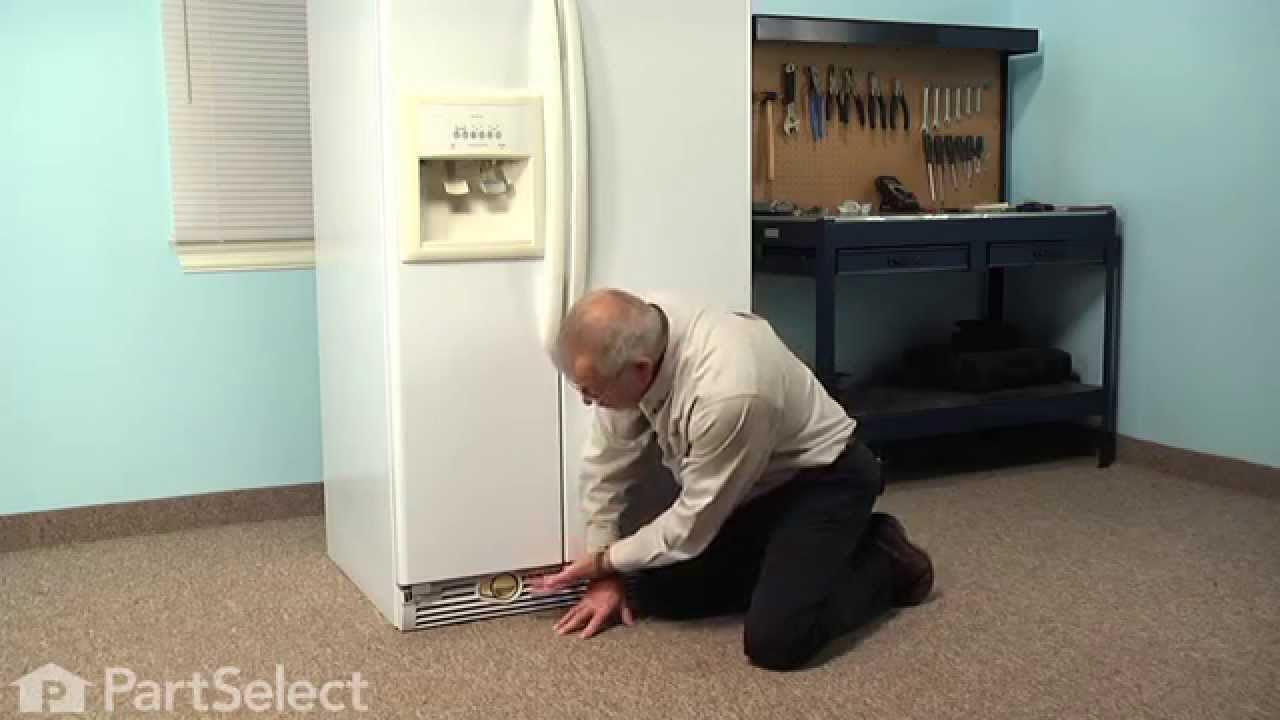
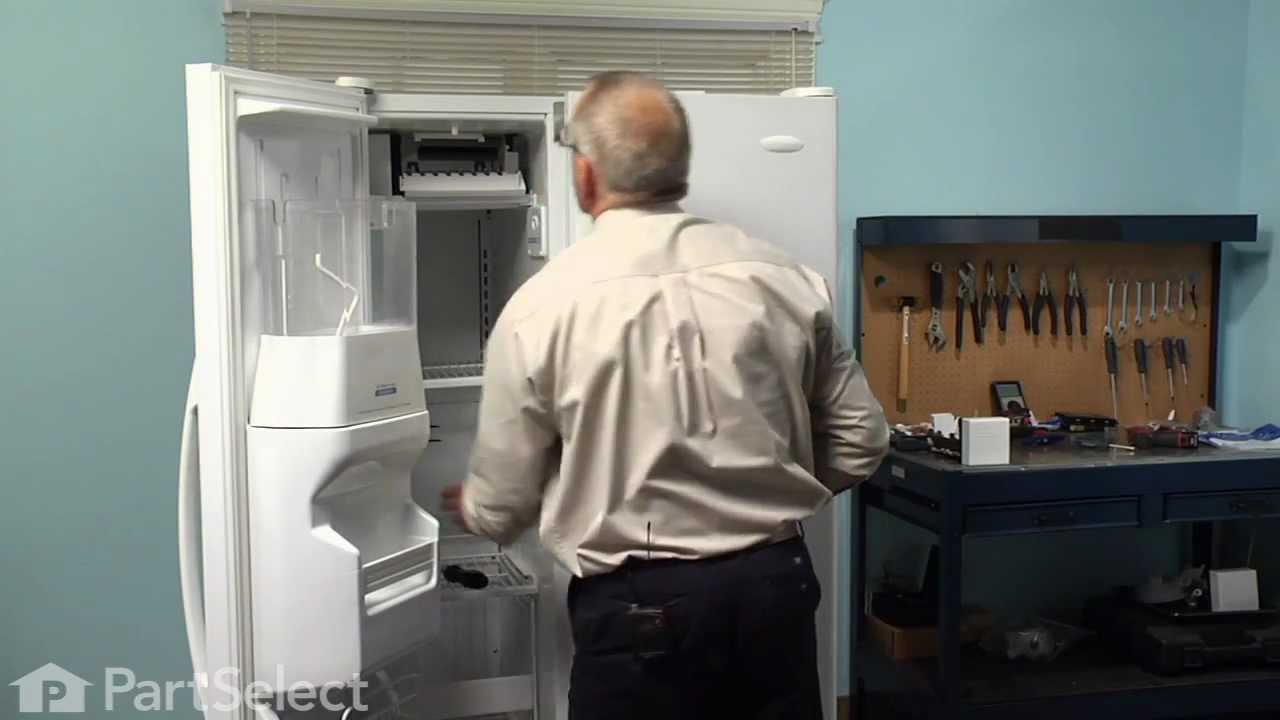
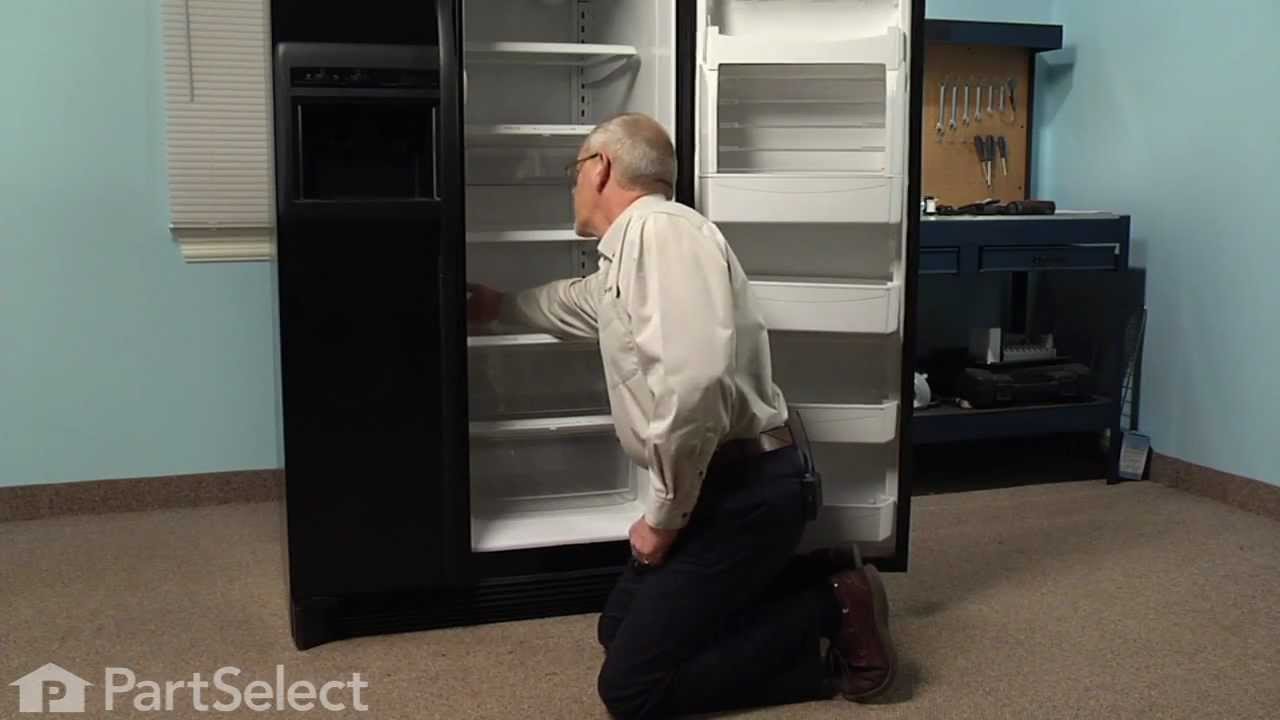
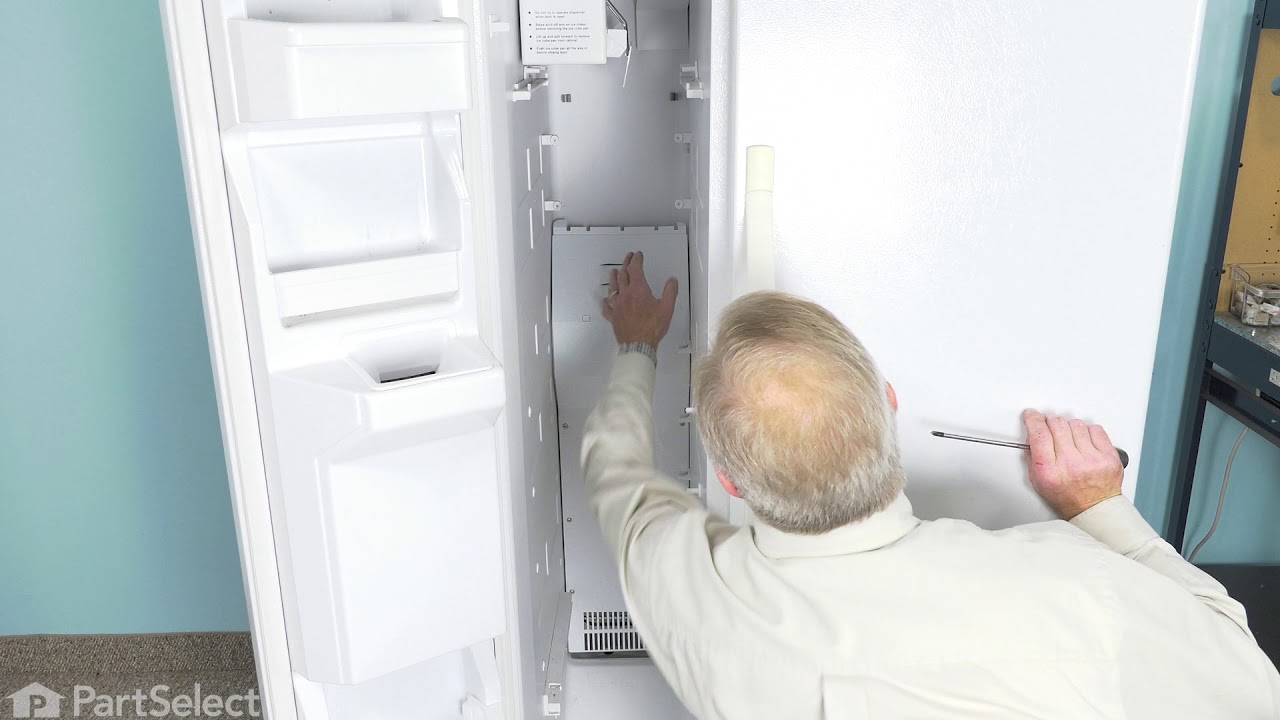
See how others fixed this model. Time, tools, difficulty, and steps that lead to victory!
View More