




Front Dispenser Bucket Auger Nut WR01X10315

Official part for General Electric, Hotpoint

Easy 

30 - 60 mins 

Part Location Diagram of WR01X10315 GE Front Dispenser Bucket Auger Nut
See part 320 in the diagram
Replacing your General Electric Refrigerator Front Dispenser Bucket Auger Nut
( Grid squares measure 1x1 inch )
Proudly Canadian
$17.89
Special Order
 Fits your GSS25LSWJSS!

About This Part

What it does. Why it matters. Everything you need to know for an easy fix.

Front Dispenser Bucket Auger Nut Specifications

Coarse thread
Part #WR01X10315
Manufactured by GE for General Electric, Hotpoint

You May Also Need

Genuine OEM: Original Parts. Lasting Repairs.

Because quality isn't optional.

OEM stands for Original Equipment Manufacturer. This means that the company who made your appliance is also supplying the replacement part.

How Buying OEM Parts Can Save You Time and Money
Features OEM Generic
Genuine brand name
Guaranteed to fit
Superior Quality
Long term value

Part Videos

Watch our pros, then fix it yourself.

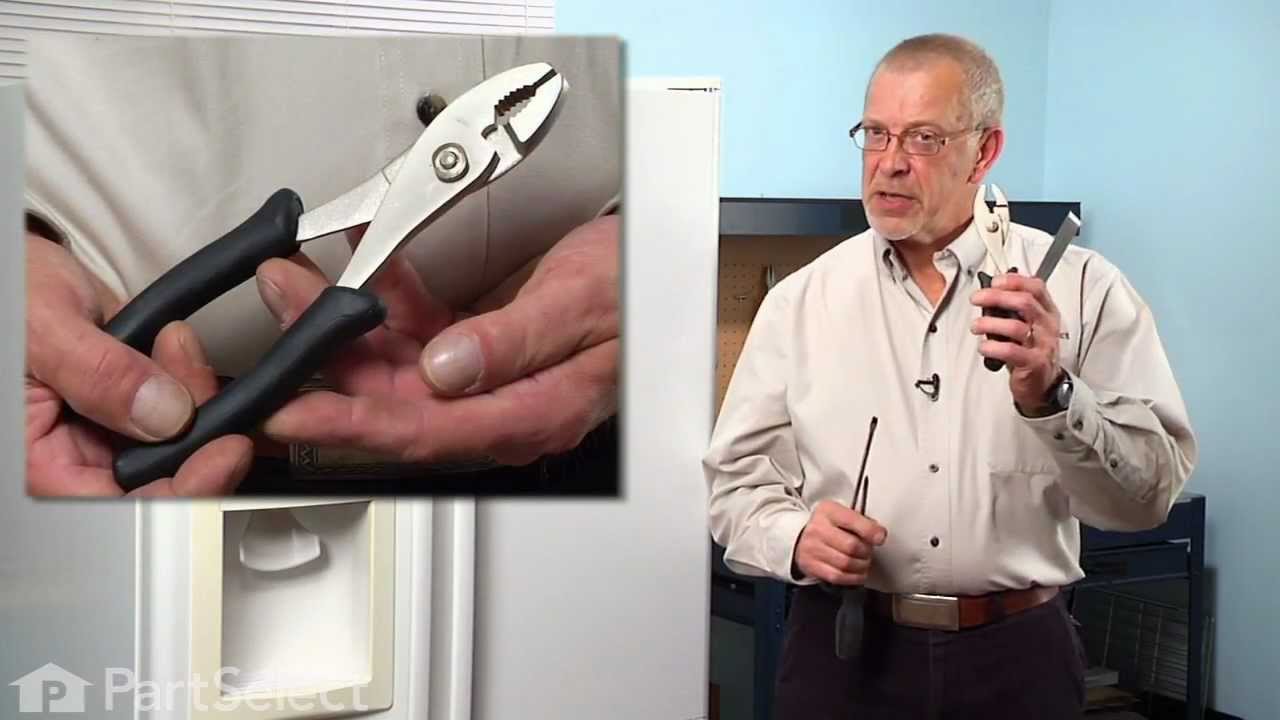
Replacing your General Electric Refrigerator Front Dispenser Bucket Auger Nut

Replacing your General Electric Refrigerator Front Dispenser Bucket Auger Nut

About this fix

Common problems and models this part fixes.

Easy 

30 - 60 mins 

What this part fixes:
  • Ice maker won’t dispense ice
  • Ice maker not making ice
Works with the following products:
  • Refrigerator
Part# WR01X10315 replaces these:
AP3425746, 944820, WR1X10315

Repair Tips

See how others fixed this model. Time, tools, difficulty, and steps that lead to victory!

Easy 

30 - 60 mins 

Average repair rating from 13 real customers like you

Sort by:
  • 1
  • 2
Sorry, we couldn't find any existing installation instruction that matched.
No ice
180 of 245 people found this instruction helpful.
  • James from Solon, OH
  • A Bit Difficult
  • 30 - 60 mins
  • Nutdriver, Screw drivers
Removed the plate on the back of the refrigerator, removed the bolt holding the water valve in place (didn't know you could cut the water line to get it off), Plugged in the new water valve and water lines, 15 minutes, very easy to do.
Removing the ice maker was easy, 2 bolts and a plug. Loosen 2 bolts, lift the ice maker off, unplug it. Put the water chute and ice guard on the new one, put it back on the bolts, spend 1/2 hr getting the plug back in (couldn't see past my own hand), Tighten the bolts and you're done.
Really not difficult, except that the plug was angled, and I had to go by feel.
Was this helpful?
Thank you for voting!
Broken Ice Bucket Auger, Cracked Crusher Cover, Chipped auger nut
19 of 33 people found this instruction helpful.
  • Robert from Folsom, CA
  • Really Easy
  • 15 - 30 mins
  • Pliers, Screw drivers
I watched the "how-to" video on the website and decided that I needed to disassemble the icemaker first (before ordering parts) so that I could make sure I was ordering all the parts necessary for a complete repair. Good thing I did. I didn't notice the cracked cover and chipped nut until I had the icemaker all apart. I then ordered the necessary parts. When they arrived 2 days later, I set up a table near my computer so I could re-assemble the unit as I watched the repair video...pausing the video as necessary. It all went without a hitch and worked perfectly when re-installed in the freezer. **Note: I left the old parts out of the ice bucket while I was waiting for the new ones to arrive...taped up the gaping holes in the ice bucket with blue painter's masking tape and re-installed the bucket in the freezer with the icemaker on...so I could still manually retrieve ice out of the bucket. I left the switch on the front of the freezer door in the "water" position to remind me that I couldn't dispense ice. Water dispensing worked fine. The video is the key. Impossible to make a mistake if you pay attention.
Was this helpful?
Thank you for voting!
Ice Maker auger blade broken
18 of 28 people found this instruction helpful.
  • Michael from Hanford, CA
  • A Bit Difficult
  • 30 - 60 mins
  • Pliers, Screw drivers
The ice machine auger blade broke a chunk off. I decided to try to replace it myself. I bought the new auger blade and then sat there and stared at it and the ice machine for a few, trying to figure out how to change out the part. Turns out it was a qute lengthy process. The auger is threaded on one end and the ice chopping blades are on it. So I had to take each blade off the old one and put it on the new one. The blades have to be positioned just right on the shaft so it's best to just draw a line down over all the blades so as to put them on the new auger successfully. The problem I had was the end cap that screwed on the end of the shaft. It was the part I ordered here. It is made of plastic with plastic threads and at first I couldn't figure out to get it off. Turns out the threads are opposite normal. By the time I figured that out, I had just about destroyed the cap using pliers to try to unscrew it. There is a washer and half moon clip that fastens on this end nut so if you mess the nut up, chances are you won't be able to get the half moon clip to go back on. I finally did it right and now how the ice maker working right again. A hard part for me was figuring out how to set the spring shaft that works a lever to either give cubed ice or crushed. I had to keep fiddle with it before I finally got that right. At first I was only getting crushed ice even with the cubed setting and then only getting cubed ice with the crushed ice setting. After some fiddling, I got both to work but to this day can't figure out what changes from the crushed setting to the cubed setting.
Was this helpful?
Thank you for voting!
Auger nut stripped out
16 of 33 people found this instruction helpful.
  • John from Bonney Lake, WA
  • Easy
  • 15 - 30 mins
  • Screw drivers
I had earlier replaced a broken auger but a new nut was not supplied with it. Turns out I stripped the nut getting it off. It seems the nut is a LEFT HAND THREAD.I tried to make do with the old one but it did not hold.
Was this helpful?
Thank you for voting!
Groove for retainer clip on auger nut was broken out.
13 of 26 people found this instruction helpful.
  • William from Nazareth, PA
  • Easy
  • 15 - 30 mins
  • Pliers, Screw drivers
After removing three screws on the ice bucket, it basicly came apart by itself. I needed to use pliers to remove the old nut because it had over tightened itself onto the shaft. Be careful here - it is a left hand nut - not a normal right hand nut! Reassembly was a snap putting the parts back together in reverse order. Unit has been working great since the repair.
Was this helpful?
Thank you for voting!
plastic crusher cover broke
12 of 15 people found this instruction helpful.
  • gary from downey, CA
  • Really Easy
  • 15 - 30 mins
  • Screw drivers
look very carefully at the picture you provided in the parts fish, removed the ice maker tray and the rest was very easy ,i saved alot of money and time doing it myself.
Was this helpful?
Thank you for voting!
The Auger had broken blades and cover broken
7 of 12 people found this instruction helpful.
  • Gregh from Wittmann, AZ
  • A Bit Difficult
  • 30 - 60 mins
  • Screw drivers
To take the ice dispenser apart is not difficult. A ring removal tool would have helped to remove the auger. The Auger nut was difficult to remove and I used a visegrip to pull it off. Once the retaining ring was removed the repair was easy.
Never did it before but figured it out.
Was this helpful?
Thank you for voting!
found a large lockwasher and washer in my tea glass
4 of 6 people found this instruction helpful.
  • David from niceville, FL
  • Easy
  • 15 - 30 mins
  • Pliers, Screw drivers, Wrench (Adjustable)
removed the ice, auger, bin assembly and slowly examined it and began disassembly until i found the broken part and then removed them .. i went online and found the parts almost instantly the parts came in 2 days , the repair video,s were most helpful so much so that i decided to replace the ice chute, door solenoid which looked difficult until i watched the repair video and read other peoples feed back well good luck ! DM
Was this helpful?
Thank you for voting!
Stripped threads auger nut
4 of 8 people found this instruction helpful.
  • JOHN from west End, NC
  • A Bit Difficult
  • 1- 2 hours
  • Pliers, Screw drivers
removed ice bucket from frig. removed screws to dis assemble the box to get to the auger assembly,removed stripped nut replaced reassembled be care not to let the rest of the assembly fall from auger there are a lot of blades and spacers to try to get back to proper position.
Was this helpful?
Thank you for voting!
A piece of the auger had broken off and it would not dispense ice
3 of 4 people found this instruction helpful.
  • david c. from INDN HBR BCH, FL
  • Easy
  • 30 - 60 mins
  • Pliers, Screw drivers
Did the job at my desk with your repair video on my PC. Step-by-step, I followed the video, pausing and restarting the video for each "task". Piece of cake. With your videos as back-up, I consider myself now an expert appliance repairman (I'm 86). What makes your videos different is that you show the "put it back together" process in as much detail as the "take it apart" process.
Was this helpful?
Thank you for voting!
  • 1
  • 2

DIY Questions and Expert Answers

Be the first to ask our experts a question about this part!

This Part Also Fits These Models

Don't see your model? Use our Fit Checker to confirm!

Check Part Fit
Part #WR01X10315
Brand
Model Number
Description
General Electric
A4425GDTABB
Refrigerator
General Electric
A4425GDTAWW
Refrigerator
General Electric
A4425GDTBBB
Refrigerator
General Electric
A4425GDTBWW
Refrigerator
General Electric
A4425GDTW
Refrigerator - GE Refrigerator Model A4425GDTW Parts
General Electric
BSS25GFPACC
Refrigerator
General Electric
BSS25GFPAWW
Refrigerator
General Electric
BSS25GFPCCC
Refrigerator
General Electric
BSS25GFPCWW
Refrigerator
General Electric
BSS25GFPDCC
Refrigerator
General Electric
BSS25GFPDWW
Refrigerator
General Electric
BSS25GFPECC
Refrigerator
General Electric
BSS25GFPEWW
Refrigerator
General Electric
BSS25GFPHCC
Refrigerator
General Electric
BSS25GFPHWW
Refrigerator
General Electric
BSS25JFRFWW
Refrigerator
General Electric
BSS25JFRJWW
Refrigerator
General Electric
BSS25JFTAWW
Refrigerator
General Electric
BSS25JFTBWW
Refrigerator - T Series
General Electric
BSS25JFTCWW
Refrigerator - T Series
General Electric
BSS25JFTDWW
Refrigerator
General Electric
BSS25JFTEWW
Refrigerator - T Series
General Electric
BSS25JFTGWW
Refrigerator
General Electric
BSS25JFTHWW
Refrigerator
General Electric
BSS25JFTIWW
Refrigerator
General Electric
BSS25JFTJWW
Refrigerator
General Electric
BSS25JFTNWW
Refrigerator
General Electric
BSS25JFTPWW
Refrigerator
General Electric
BSS25JSRFSS
Refrigerator
General Electric
BSS25JSRJSS
Refrigerator