




Air Inlet WP8268937
Official part for KitchenAid, Kenmore, Whirlpool, Maytag
A Bit Difficult
1- 2 hours
About This Part
What it does. Why it matters. Everything you need to know for an easy fix.
Air Inlet Specifications
You May Also Need
Because heroes deserve fewer surprise re-installs.
Genuine OEM: Original Parts. Lasting Repairs.
Because quality isn't optional.
OEM stands for Original Equipment Manufacturer. This means that the company who made your appliance is also supplying the replacement part.
| Features | OEM | Generic |
|---|---|---|
| Genuine brand name | ||
| Guaranteed to fit | ||
| Superior Quality | ||
| Long term value |
Part Videos
Watch our pros, then fix it yourself.
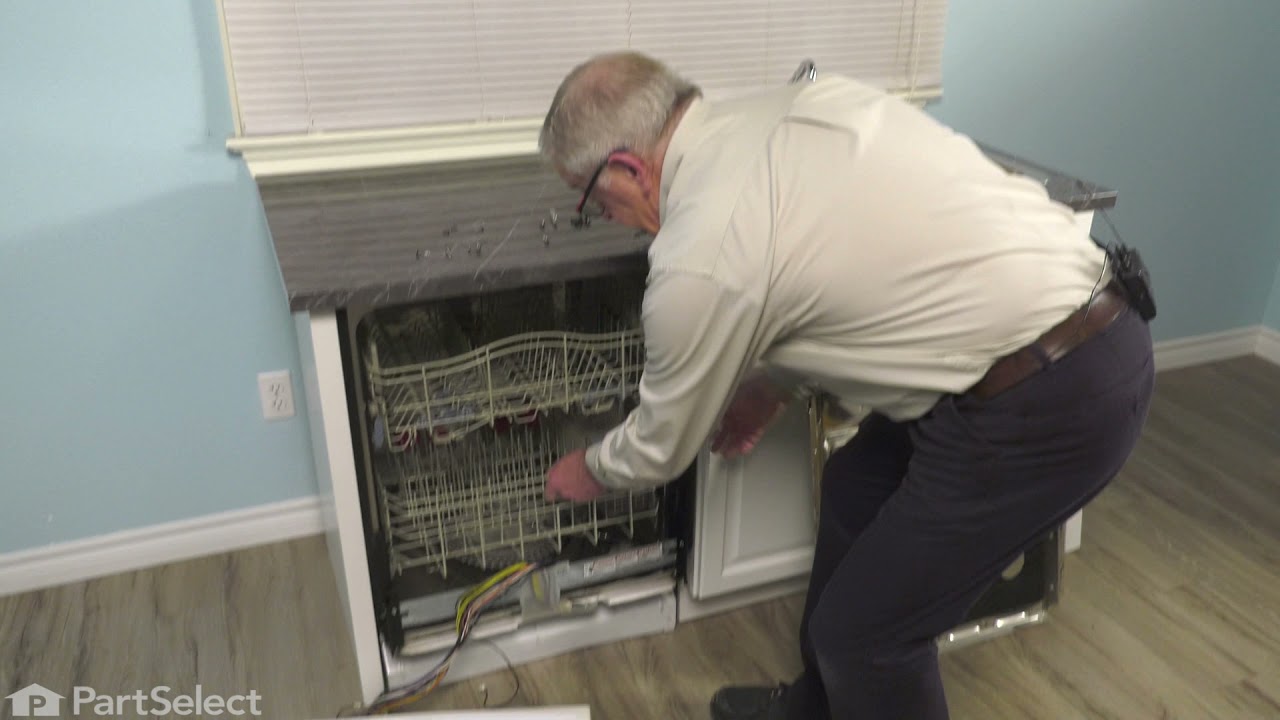
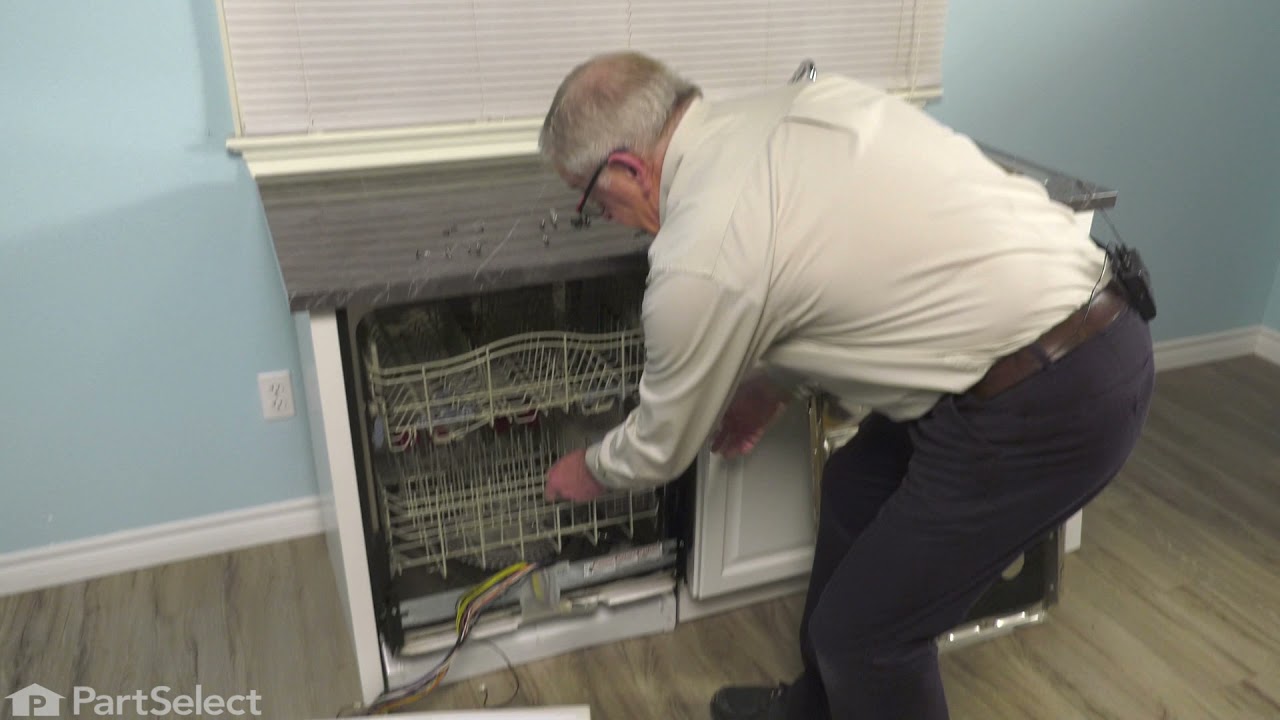
Replacing your KitchenAid Dishwasher Air Inlet
About this fix
Common problems and models this part fixes.
A Bit Difficult
1- 2 hours
Rated by verified customers
- Leaking
- Dishwasher
Customer Reviews
Real ratings from other people who bought this part.
Average Rating:
Out of 5
-
5 Stars 5
-
4 Stars 1
-
3 Stars 0
-
2 Stars 0
-
1 Star 0
Search reviews left by others. DIY doesn't mean you have to do it alone. Use simple keywords like "fit", "broken", "easy", or "quality" to find reviews that match!
- Prev
- 1
- Next
- Prev
- 1
- Next
Repair Tips
See how others fixed this model. Time, tools, difficulty, and steps that lead to victory!
A Bit Difficult
1- 2 hours
Average repair rating from 7 real customers like you
- Prev
- 1
- Next
Search repair tips from other customers using simple keywords like "replace", "fit", "remove", "inspect". DIY doesn't mean you have to do it alone!
-
Carl from North Haven, CT
-
A Bit Difficult
- 30 - 60 mins
-
Nutdriver
Here's my recommendation on the lower vent srtip repair. Turn off the power to the unit at you breaker panel. The air inlet strip is fastened to the backside of the inner stainleess steel door panel. To access the screws the outer door panel must be removed. Open the door and remove the six torx head screws that fasten the outer door panel to the stainless steel inner door. Don't remove the two torx screws top dead center as they hold the door latch. After removing the screws, raise the door up to the nearly closed position. Lift up the outer door panel handle and door bottom to disengage the outer panel from the inner stainless door. The next part is a little tricky since the vent strip hex head screws are at he bottom of the stainless door panel, facing out with the door closed. The lip of the bottom stainless pan is high enough to make it a tight fit to access the screws. There is also a steel bracket that is a door stiffener and holds electrical wiring. I found removing the bracket held by a 1/4" hex head screw on each side made access to the vent strip scews easier. Lay flat on the floor. With a 3/16" nutdriver or socket wrench each of the five vent strip screws can be removed. It's a tight fit between the bottom lip and door bottom, but it can be done. Remove the old vent strip and attach the new one. Make sure it fits snugly into the slot. Best to have an extra pair of hands at this point to hold the stip securely in place while screws are reinserted from the opposite side. Reassemble everything in reverse order.
It was when I had the outer door panel off that I noticed my problem was water getting past the upper round louver vent seal and thus running down the inside of the outer panel. Simple fix was to remove and clean the scale residue from the parts and door. Then reassemble the vent and twitst tighten the vent to compress the rubber seal on the inside face of the door.
-
robert from danvers, MA
-
Easy
- 15 - 30 mins
-
Screw drivers, Socket set
air inlet and replaced it. the small tabs on the ends of the old inlet had bent
up allowing the water to flow by
-
Tom from UNION GROVE, WI
-
A Bit Difficult
- 1- 2 hours
-
Nutdriver, Pliers, Screw drivers
-
Bruce from Waynesboro, PA
-
A Bit Difficult
- 1- 2 hours
-
Screw drivers, Socket set
PartSelect site is excellent and finding the correct part was relatively simple, although I was not absolutely sure I ordered the right part until it arrived--only one day after ordering, although I paid for the least S&H option.
-
Edward from Tucson, AZ
-
Very Difficult
- 1- 2 hours
-
Nutdriver, Socket set
-
Peter Del from BRISTOL, CT
-
A Bit Difficult
- 1- 2 hours
-
Nutdriver
On ... Read more day 1 I followed the instructions for removing the door panel to gain access, but, after many failed attempts to get the nut driver properly seated on the screw heads holding the air inlet to the door, I replaced the panel so the dishwasher could be used until I found a solution to the problem.
After doing online research, I discovered a nut driver with a flexible shaft; it looked like it would allow me to properly seat the nut driver on the screw heads. Next day, I was able to replace the air inlet with no problem. It took me a little over an hour from start to finish. Aligning the holes of the new air inlet with the holes on the door so it could be screwed in place was awkward and time consuming but persistence worked.
-
Matthew from POUGHKEEPSIE, NY
-
A Bit Difficult
- 30 - 60 mins
-
Screw drivers, Socket set
- Prev
- 1
- Next
DIY Questions and Expert Answers
Be the first to ask our experts a question about this part!
This Part Also Fits These Models
Don't see your model? Use our Fit Checker to confirm!
Check Part FitIn Stock
Item is in stock and is estimated to be delivered in 2-3 business days via Standard Shipping.
On Order
Item is not in stock and usually ships 3-5 business days from the time you place your order.
Special Order
Item is not in stock and usually ships 10-15 business days from the time you place your order.
NLA - No Longer Available
This item is no longer being made by the manufacturer, and cannot be added to your shopping cart.