Keep searches simple. Use keywords, e.g. "leaking", "pump", "broken" or "fit".
Sorry, we couldn't find any existing reviews that matched. Try using some different or simpler keywords.
★★★★★
★★★★★
Tony T - February 23, 2024
Verified Purchase
Fabulous service
They are fantastic to deal with and extremely fast service. We called for a part and the wrong part was sent, however the item arrived in half the time they said it would. When we called they apologized repeatedly and got the correct part off to us and we had it in our hands in 2 days. Will be dealing with them for all our needs in the future!
★★★★★
★★★★★
Warren B - July 13, 2023
Verified Purchase
Easy repair and excellent service as always!!
Replacement part worked perfectly! Was delivered to our home within days of ordering, and fixed the problem perfectly! The online how-to video was incredibly helpful and made the job actually quite fun!
★★★★★
★★★★★
Landon V - April 7, 2023
Verified Purchase
Easy repair
This part worked perfectly to fix our dryer.
★★★★★
★★★★★
Brian V - March 15, 2023
Verified Purchase
Laundry
Spare parts for dryer
★★★★★
★★★★★
Franca D - February 4, 2023
Verified Purchase
Just what I needed
Fast delivery, which was much appreciated. It was an easy repair and the video was super helpful. My dryer works great! Thank you!
★★★★★
★★★★★
Nicolas T - January 27, 2023
Verified Purchase
Easy repair
Parts arrived quickly, easy to install and worked perfect.
★★★★★
★★★★★
Wayne S - January 23, 2023
Verified Purchase
Easy repair great part
Part worked great
★★★★★
★★★★★
Yves M - January 6, 2023
Verified Purchase
Exact part, easy repair
Good part, fixed the dryer. Fast delivery
★★★★★
★★★★★
Rick D - November 26, 2022
Verified Purchase
Fast delivery and part is OEM.
Thanks to the Parts Select team. The thermal couple arrived promptly and my dryer is working like new:) thanks again!
★★★★★
★★★★★
Norman M - October 19, 2022
Verified Purchase
My mistake
Part was supposed to be correct but I never visually checked.Happy with their service.
< Prev
1
2
3
Next >
Customer Repair Stories
Average Repair Rating: 3.8 / 5.0, 363 reviews.
What's this?
< Prev
1
2
3
Next >
Sort by:
Search filter:
Clear Filter
Your search term must have 3 or more characters.
Keep searches simple. Use keywords, e.g. "leaking", "pump", "broken" or "fit".
Sorry, we couldn't find any existing installation instruction that matched.
Dryer was working, but no heat.
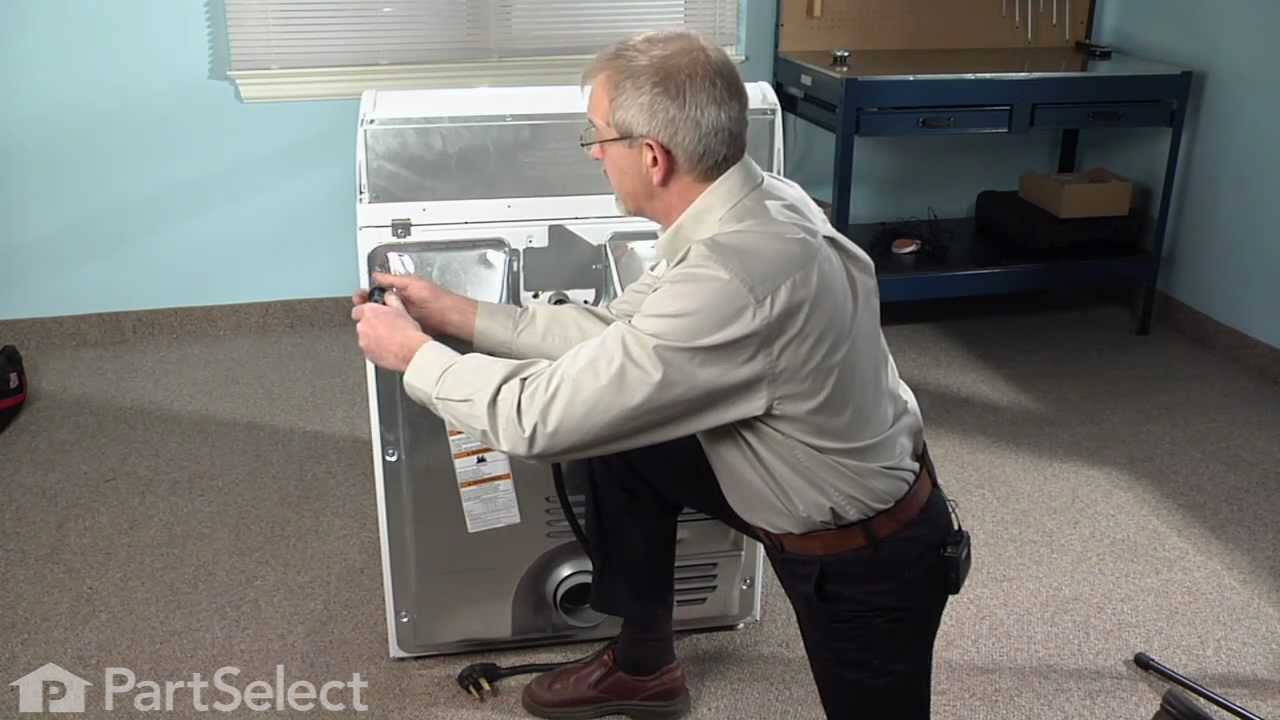
First I unplugged the dryer, then removed the back panel, this exposed most all of the wiring and I could see the heater coils. Not knowing what the problem was I started looking at the coils and could not see any broken parts. So then checked the thermal fuse for continuity I removed the two wires from it with a small pair of needle nose pliers, it was held in place by two screws, once they were removed the fuse came out easily, I checked continuity with a volt meter placing the meter on X1 Ohms and could not get a reading. I replaced with a new one and put it all back together the way I took it apart. Then I plugged it in and it worked first time, I now have warm dry clothes.
Other Parts Used:
ANTHONY from CHESHIRE, CT
Difficulty Level:
Easy
Total Repair Time:
15 - 30 mins
Tools:
Nutdriver, Pliers, Screw drivers
2965 of 3338 peoplefound this instruction helpful.
Was this instruction helpful to you?
Thank you for voting!
No heat but would run otherwise
Cleaning the lint out of the whole machine took quite a bit of time--it was everywhere. Underneath the lint trap was a collection that ultimately ruined the thermal fuse where it restricted the air flow considerably.
Ascertaining the problem was the most time consuming part.
The actual repair was quite simple and didn't take but 15-20 minutes.
Other Parts Used:
Dana from Grassvally, CA
Difficulty Level:
A Bit Difficult
Total Repair Time:
More than 2 hours
Tools:
Screw drivers
875 of 947 peoplefound this instruction helpful.
Was this instruction helpful to you?
Thank you for voting!
No Heat. Dryer keeps running but no heat to dry clothes.
Repair was very easy. We are in the internet age so I use it all the time to get info on how to repair any thing in the house including cars. This time it was my dryer. I typed up 'Kitchen Aid dryer has not heat'and pressed searched and PartSelect came up. Typed in the model number and looked up the comments on No Heat. They had pretty cool site that shows videos on how to repair this things too. Came to conlclusion that the THERMAL FUSE was the main problem. Ordered it and as well as the Igniter assy just to make sure and as well as save on the shipping just in case. Ordered on Sunday night and the shipped the next day. It arrived on Tuesday. Unfortunately had a little problem on the shipment. Called PartSelect and they are so awesome they shipped me new parts asap at no extra charge. Awesome Awesome! Parts came in Thursday and first installed the Thermal Fuse and BAAAM! problem solved. Did not need the igniter assembly. Now I have an extra part in storage. To replace the Thermal fuse. 1. Disconnect Dryer from power outlet. Remove the bolts on the back panel with a 1/4" socket. I used power drill because it is much faster. 2. Locate the Thermal Fuse. Disconnect wires and remove the bolt. Slide it up and pull. Install the new one and reconnect the wires. Replace the panel and plug the dryer.
That solved my problem. It should solve yours too. The whole process was less than five minutes.
First removed front and drum to check gas valve and igniter. No gas, no ignition. Checked power to devices; none (check hot line to ground, not to neutral.). Removed back of control panel looking for a relay or something. Found none, but did find a wiring diagram. That is where the site really came in handy. Studied wiring diagram together with the exploded view and pictures of each part to come up with a troubleshooting plan. Took the back off as well as a cover inside. Tested each part with meter, again going to ground and not across the device. Of course, the final device before the gas valve, a one time thermal fuse, was the bad part. At first assumed just a bad part. Later wondered if fuse did it's job and another part was bad. Ordered and installed new thermostat just in case. Put everything together after a complete cleaning and everything is fine so far. Not a particularly hard job because I had the wiring diagram and access to parts select site. Would have been much harder without them. Took a long time because almost the entire dryer had to come apart. But it got a good cleaning because of it and found a couple of bucks in change to help offset the cost. Can't imagine what a service call would have cost.
Followed electrical drawing from switch to motor, Thermal fuse was in the line and no power coming through it, removed wire and put together and tested, dryer turned on. Read statements from others at parts select and also bought thermostat because time stopped working last year. Installed both parts and cleaned dryer, works perfect including timer.
I started to repair this and got busy and ended up calling a repair service -- that was the first time. They repaired it for over $200 and said the cause was bad venting. I fixed the vent before using the fixed dryer but it blew again. So I ordered these parts and replaced them myself for a lot of savings. However, the dryer still overheated. Through lots of testing I found the root cause the repairman missed: The heating element had gotten so hot that the assembly holding it warped, hitting the element and shorting it. So a new element is on order. I still needed the parts I ordered here but the overall repair ended up more complicated and expensive. I was disappointed a paid repair person left without further diagnosis. If he had unplugged the vent and checked the heat on the exhaust vent (as I ended up doing) it would have been obvious more than a new thermal fuse/thermistor was necessary. Instead I wasted over $200 on his visit. So my advice is if you're at all handy, repair this yourself. The dryer has a service manual inside the front toe board that walks you through most diagnostics and tests. However, it took a little more than that for me to discover the heating element problem. This was a very dangerous situation that could have easily led to a fire, yet not found by a trained technician!
I first unplugged the electrical plug, then opened up the dryer, front and back. Once I had diagnosed the problem I unscrewed the thermal fuses and thermostat. Marked which color wire went to which connector and continued to replace one wire at a time. Re-attached the mounting screws, verified all wires were connected, plugged in dryer to test heat cycle. Once the dryer worked correctly I vacuumed all lint and covered it up.
When my dryer suddenly stopped functioning, without any prior signs of pending failure, I guessed that it had to be something simple, like a fuse. I did a google search and stumbled across a forum post that described the symptoms (wouldn't turn on), and the poster said that Whirlpool recommends replacing the thermostat whenever the fuse is replaced. The reason for this is that the likely cause of the fuse burning is that the thermostat is no longer properly regulating the temperature range of the heating element.
I disconnected the power source, and then I removed the back cover, and both parts were in plain view, so I simply replaced the wires one by one.
I spent nearly an hour trying to self-diagnose the problem before I wised up and found PartSelect.com. After reading just a couple of postings I went back and tested the thermal fuse. It was bad. Other posts suggested I replace the thermostat at the same time, so I ordered both. The parts arrived within three days and the actual repair took less than 10 minutes.
First, I replaced the heating element which was super easy but I still didn't have heat - frustrating! I then ordered the thermal cut-off kit and thermal fuse. I replaced the thermal fuse and still no heat. Then, I took one of the fuses from the kit and replaced that and finally got heat. There was another fuse in this kit that I still don't know where it goes but right now I don't need it. Had I known (by a volt tester) this would have been super easy to fix, but I didn't have one so it was trial and error. I did find out, however, that if the heating element goes it usually takes the fuse with it. The fuse I replaced (that finally gave me heat) was located in the casing just above the element. I hope this helps!
Ask our experts a question about this part and we'll get back to you as soon as possible!
332 questions answered by our experts.
< Prev
1
2
3
Next >
Sort by:
Search filter:
Clear Filter
Your search term must have 3 or more characters.
Keep searches simple. Use keywords, e.g. "leaking", "pump", "broken" or "fit".
Sorry, we couldn't find any existing answers that matched.Try using some different or simpler keywords, or submit your new question by using the "Ask a Question" button above!
Justin
July 20, 2017
I tried to turn my dryer on today and it wouldn’t budge. When I opened the door the lights wouldn’t turn on and there aren’t any lights on the control panel. It’s plugged in and I didn’t trip any breakers. Do you think it’s the thermal fuse or thermostat?
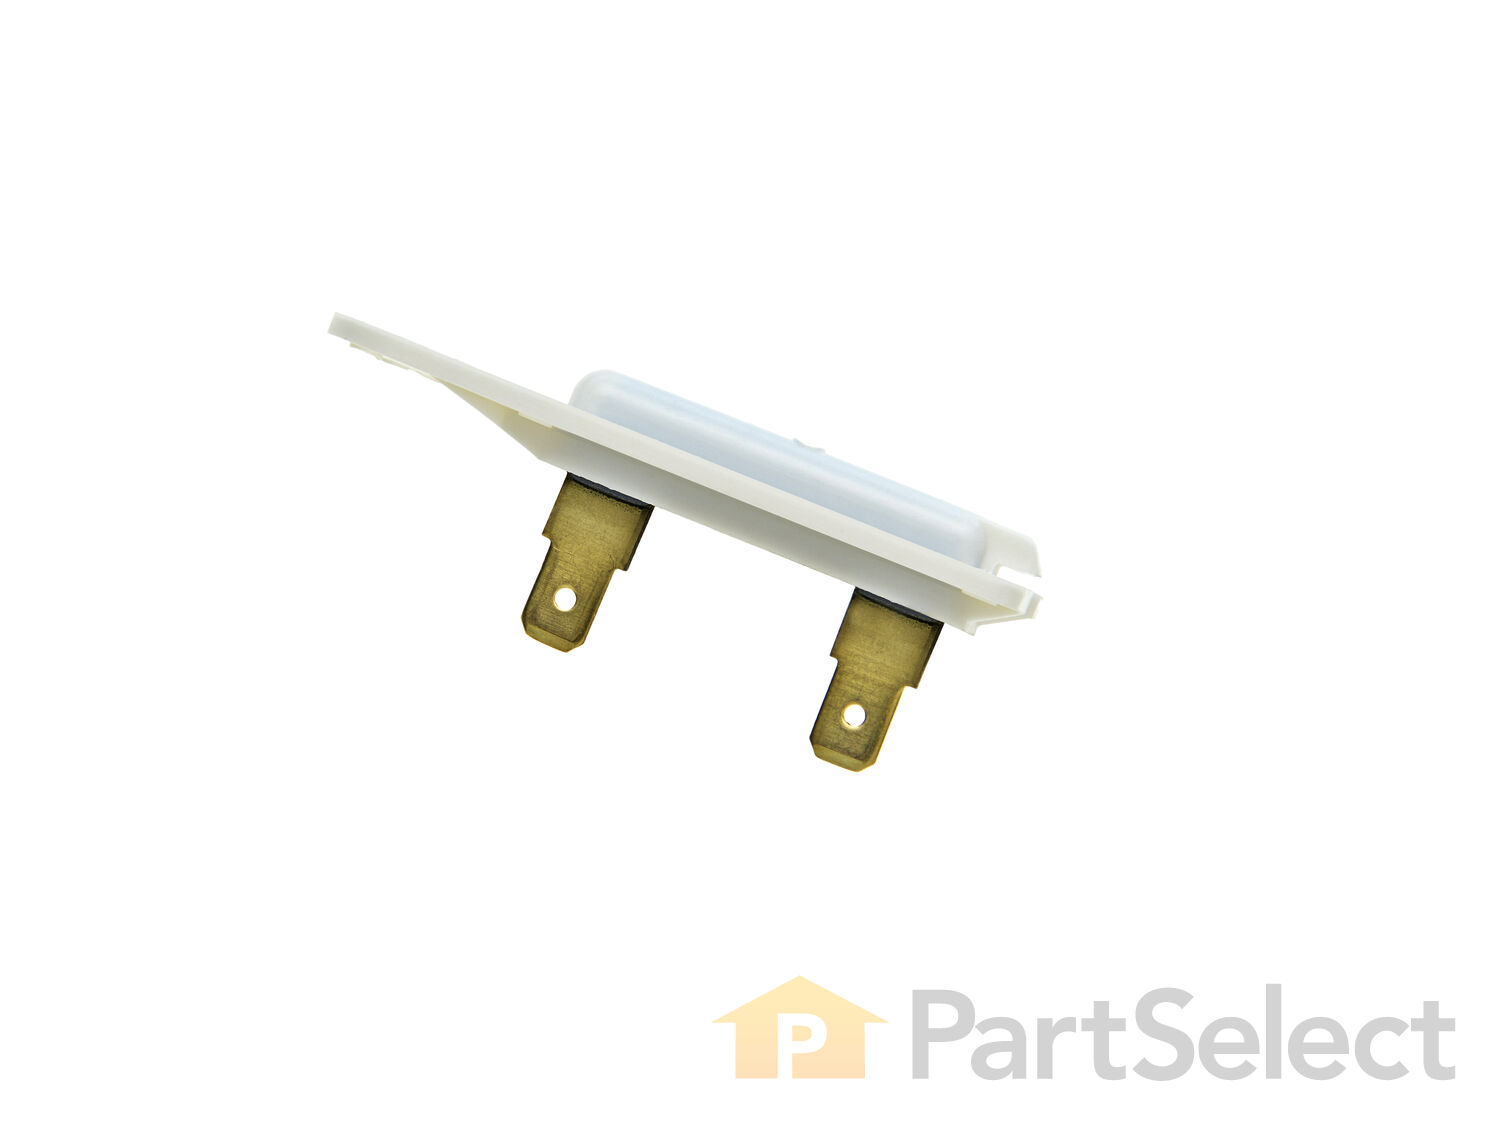
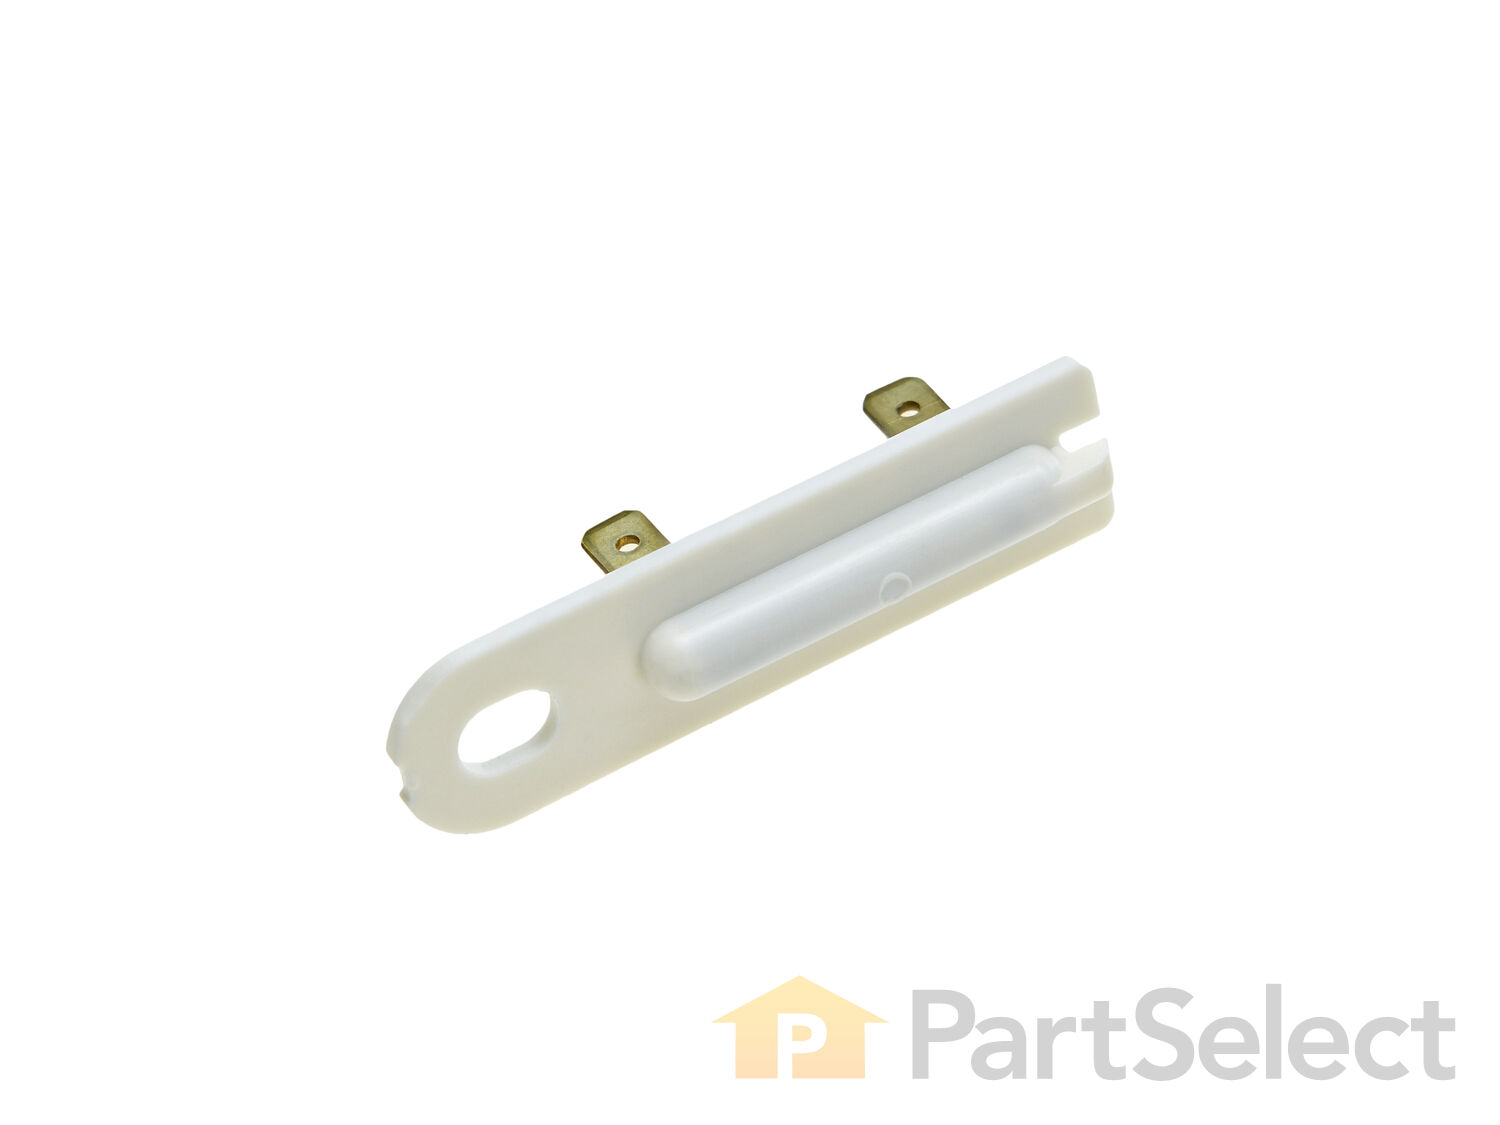
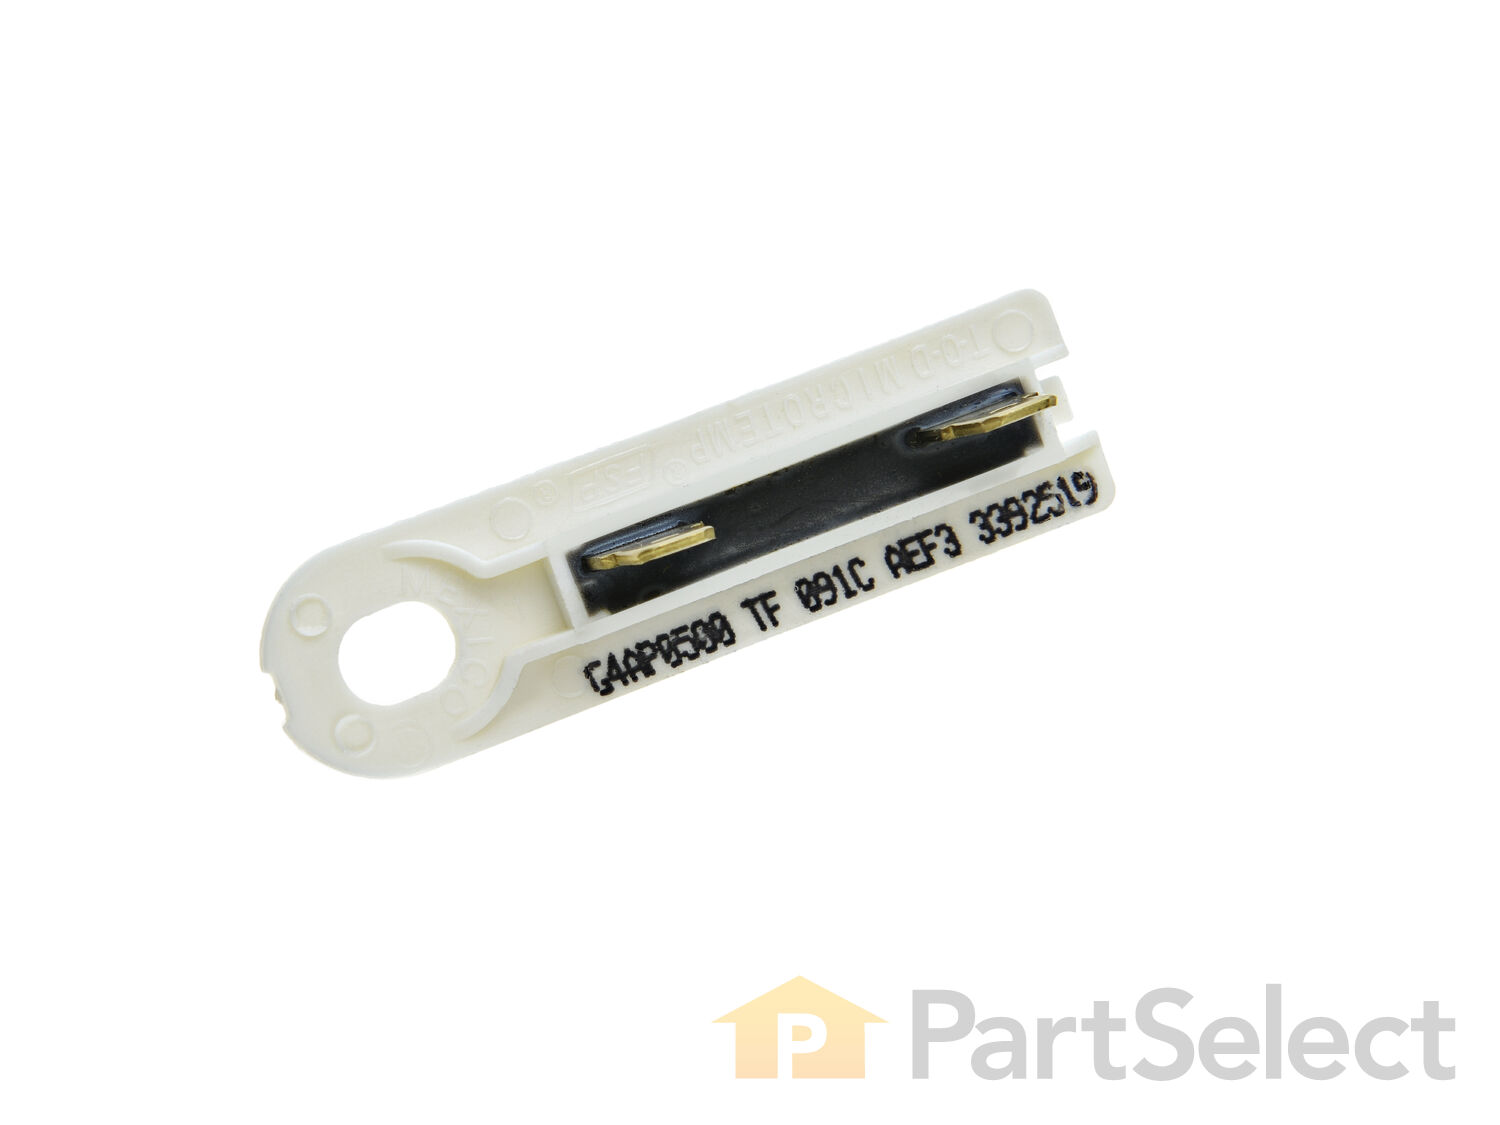
Hello Justin, thanks for getting in touch. This sounds like it is the thermal fuse WP3392519, but before replacing it you should inspect and test it for visible damage or indication of faultiness. If the thermal fuse is open and not working, your next check should be the exhaust ducting, since it is the most common reason for a thermal fuse to malfunction. Please let us know if you have further questions.
249 people found this helpful.
Was this helpful?
Thank you for voting!
Sandi
July 22, 2017
How do i check the thermal fuse
Hi Sandi,
That's a great question, you can use an multi meter and test the continuity of the fuse.If no current is detected, it means there's no continuity and the fuse is defective.
Good luck with this repair.
180 people found this helpful.
Was this helpful?
Thank you for voting!
Vickie
October 4, 2017
My dryer will start drying the clothes, but then after a few minutes, the heating stops. All the controls work - but the dryer seems to be only blowing room temperature air. I have cleaned the duct inside the dryer, and through the duct from the dryer to outside. I read that if the fuse was blown that the dryer would not start. Except for lack of heat throughout the cycle, the dryer thinks it is working just fine. What is my next step?
For model number GGW9250PW1
Hi Vickie, Thank you for the question. Normally with the Thermal Fuse the dryer would still run as normally but there will be no heat. So you would still have the appliance start and tumble but blow cold or room temperature air. If the fuse blows it just stops electricity going to the element its self not the appliance. Hope this helps!
162 people found this helpful.
Was this helpful?
Thank you for voting!
MARGARET
October 15, 2017
My dryer is not heating but still runs. Checked the thermal fuse and its not that.What else could it be?
For model number MEDX700XW0
Hi Margaret, Thank you for the question. If the Thermal Fuse has tested to be good, I suggest checking the High Limit Thermostat,PartSelect Number PS11741456.This hi-limit thermostat acts as as safety mechanism that keeps the dryer from overheating. Once the dryer temperature reaches a certain point, this piece will shut down power to the heating element. When defective it will not send power to the element in order for it to heat up to dry the clothes. Hope this helps!
68 people found this helpful.
Was this helpful?
Thank you for voting!
Alison
July 20, 2017
This is the third time in the past seven months that my dryer has blown a thermal fuse. The first time I didn’t think anything of it but after the third time I think there has to be something wrong. I clean out the lint trap every time… what should I check next?
Hi Alison, although there are a few causes to this issue, the most common one is the exhaust ducting. If there is too much heat trapped inside the ducting it will cause the thermal fuse to open. What you need to find is any air flow problems. Is there breakage or clogging in your duct? Is it too long? The next thing to check would be if the ducting has condensation or water in it, or if there are dryer sheets in the blower wheel. Lastly you can check the drum seal to see if it is malfunctioning. Best of luck!
59 people found this helpful.
Was this helpful?
Thank you for voting!
Dave
August 13, 2017
My dryer works just does heat up thinking thermal fuse thanks
For model number LEQ9858PW1
Hi Dave,
Thank you for your inquiry. If your dryer is not heating the most common parts to fix the issue are the heating element, the thermal fuse, the thermal cut-off kit, the high limit thermostat, the heating element connection wire kit and the internal bias thermostat to name a few. To verify which part is causing the issue, you will need a multimeter. I hope this helps. Thank you and have a great day!
49 people found this helpful.
Was this helpful?
Thank you for voting!
Pete
August 27, 2017
Where is the thermal fuse located
For model number WED9750WW0
Hi Pete,
That's a great question. The thermal fuse is located on the blower fan housing. To get to that part you will need a few tools: a hex socket, a putty knife, a flat head screwdriver, and also a phillips screwdriver. Please make sure to disconnect power to your appliance before ever attempting any repair. First you will want to remove the top panel screws. Place your top panel safely out of the way. Then take a look at your control panel. Press in the tabs on either side to pop it out of place. Disconnect the wire harness and then remove the screws to be able to move your circuit board bracket out of the way. Then remove the screws on the control bracket up front. Now you will want to remove the screws from the lower panel at the bottom of your machine. You can just lift that part right out. After that you will want to disconnect the moisture sensor and door switch wire harnesses. One set of wires should be yellow while the other set are brown, white, and blue. Then you will want to remove the screws at the bottom and top of your front panel. There are two mounting screws on the inside of your door panel. There are on either side of the filter. Remove those as well to be able to pull off the front panel. You will then remove the lower bulkhead screws and only loose the top screws. Don't take those ones off fully. Also remove the screw holding the blower housing in place as well. Then lift the bulkhead off the top screws and set it aside. After that you will remove the dryer belt from the motor pulley and pulley. I would suggest taking a picture of how the belt is installed on your appliance. So that you can reinstall it the same way. Use the belt to help you lift out the drum. Now you will have access to the thermal fuse inside of your machine. You can remove that part by unplugging it and removing the screw. To get your drum back into place, align its rim with the two rear rollers. Then follows these steps backwards and you will be able to put your machine b
43 people found this helpful.
Was this helpful?
Thank you for voting!
Susan
September 15, 2017
How to know, if i need the whole thermos kit? Or only the thermos fuze?
For model number LER4634JQ1
Hi Susan,
Thank you for your inquiry. To verify which part is causing the issue you will need to use a multimeter to check the continuity of each part. I hope this helps. Thank you and have a great day!
30 people found this helpful.
Was this helpful?
Thank you for voting!
Bradley
July 20, 2017
The dryer died mid cycle and I haven’t been able to turn it on since. I just can’t figure out what is happening. I already changed the thermal fuse, and it still isn’t starting. What should I look for next? And yes it does have power.
Hi Bradley, thanks for getting in touch. If you already replaced your thermal fuse and that has not fixed the problem, check your door switch to see if it is faulty. I hope this helps!
29 people found this helpful.
Was this helpful?
Thank you for voting!
Janice
July 24, 2017
This dryer has an end of cycle signal that buzzes when the dryer time has ended. It stopped functioning a couple of weeks ago and i could not find a part online that fixes that function. The closest one i can find is the thermal fuse. Is that the likely culprit or is there another one i should suspect?
For model number cabrio dryer WED62005w1
Hello Janice, thank you for getting in touch. The buzzer is located in the main control board for the dryer. You would need to replace the whole control board in order to replace the buzzer. Control board, part number: PS11746535 $211.87 Hope this helps!
26 people found this helpful.
Was this helpful?
Thank you for voting!
< Prev
1
2
3
Next >
✖
Ask a Question
Ask our experts a question on this part and we'll respond as soon as we can.
This silicone carbide igniter with ceramic holder kit includes the 3" flat igniter, bracket, 4" wire leads, and the plug. It can replace both round and flat igniters. This kit is used for many gas clothes dryers.
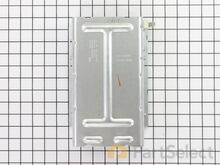
This heating element is strung with a coiled wire made of a nickel and a chrome alloy. This wire receives, but resists, a controlled electric current, causing the wire to heat up. The heat produced is used to dry the clo...
This part senses the flame for heat allowing the gas valve to open.This flame sensor is three inches long and is used for many gas clothes dryers.This flame sensor assembly is made of both plastic and metal.