Also known as Probe. The quick connect on this part may be different than your original part. If it doesn't fit, you have to cut off the quick connect and wire together with porcelain wire nuts.
This 40-watt appliance light bulb is a reliable replacement for use in select ranges, refrigerators, freezers, and microwaves. It provides bright, consistent lighting to help you see clearly inside your appliance. Installation is simple—just unscrew the old bulb and replace it with the new one. If the existing bulb is broken, disconnect p...Read moreower and use needle-nose pliers to safely remove the remaining base. Sold individually, this bulb is a commonly replaced part—consider keeping a spare on hand.
This broil element is found on the roof of the oven and heats food. The most common reasons you would need to replace this part is due to the oven not giving off enough heat, not turning on, or not baking your food at an even temperature. This could be due to the element being burnt out or broken. Make sure to unplug the oven before you b...Read moreegin. You will need to remove the oven from the wall to complete this repair. This is an OEM part that comes right from the manufacturer, ensuring the best quality.
This 3400-watt bake element has screw style connections. The bake element is located on the bottom of the oven cavity and supplies the heat for baking. If your oven is not heating evenly, element will not heat, or there is little to no heat when baking, you may need to replace the element. When replacing the element make sure to hold the ...Read morewires forward so the wires do not fall back through the rear of the oven. This is a genuine OEM bake element. Please remember to disconnect the power to your range before you start your repair.
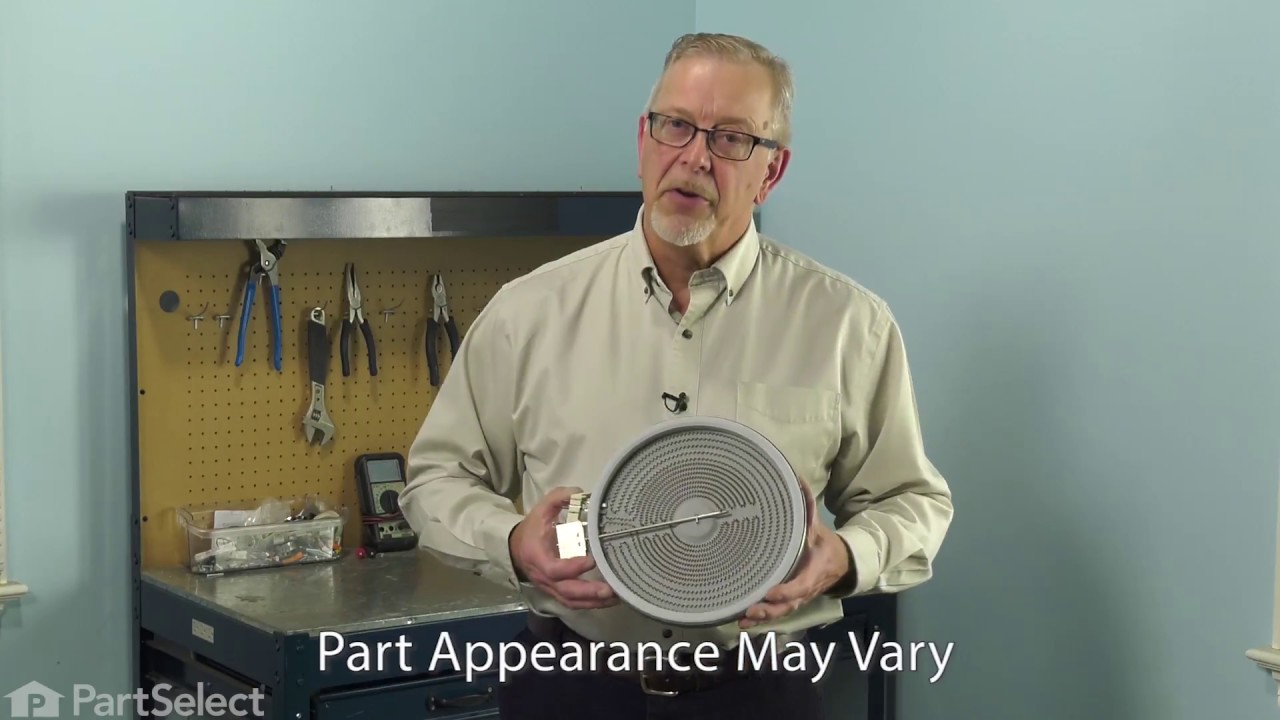
This cooktop element gives you two heating sizes in one—9 inches and 6 inches—so you can cook with different pots and pans easily. It heats up fast and evenly, helping meals cook just right. If your current burner isn’t working well or heating unevenly, this part is a great replacement. It’s built to last and fits many models. Just be sure to turn off the power before installing.
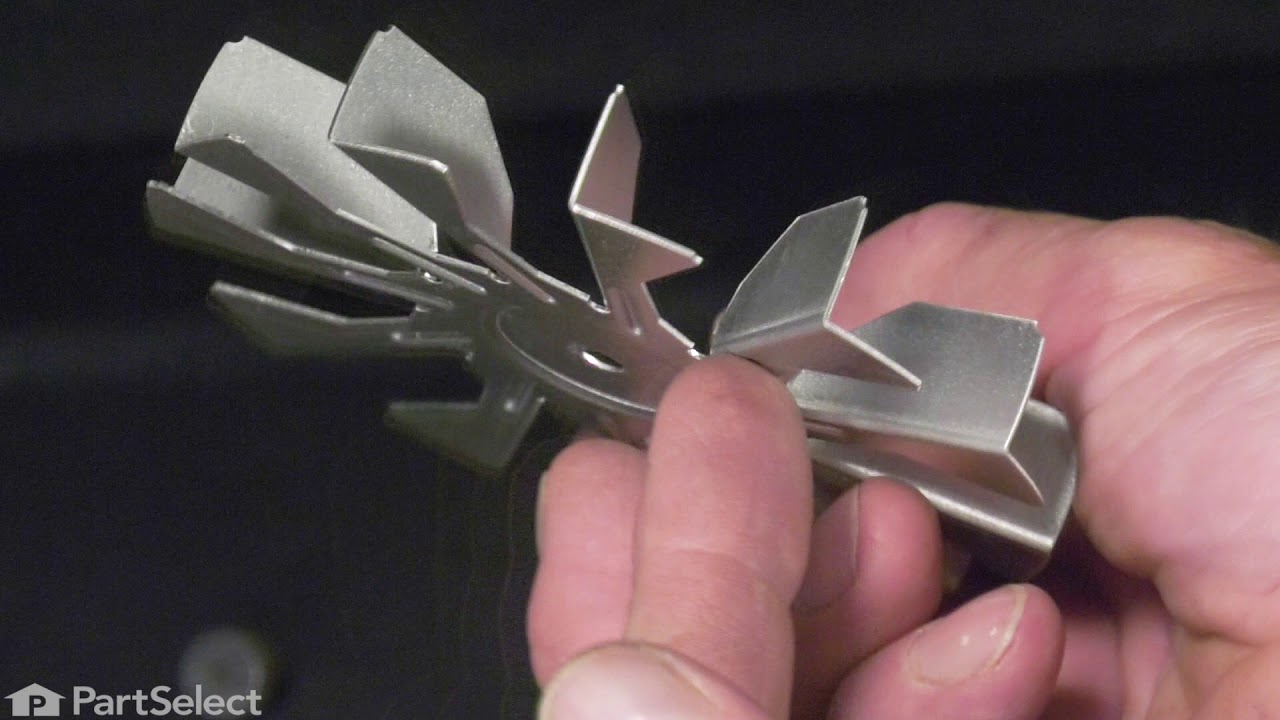
This convection fan blade is designed for use with various makes and models of range and oven and is sold as an individual part. Made of metal and measuring approximately 4.75-inches in diameter, this genuine OEM fan blade works with the convection motor to circulate and distribute heat evenly throughout the oven. If your oven is not gett...Read moreing hot enough or the heat is not circulating properly, or if the fan blade in your oven has become warped, damaged, or chipped, it needs to be replaced immediately. To replace the fan blade, disconnect your range from the power and locate the fan assembly. With the appropriate screwdriver and wrench, remove any assembly covers and the securing nut from the blade. Once the nut is removed, install the new blade and secure it and re-install the cover.
Ask our experts a question about this model and we'll get back to you as soon as possible!
We may have answered a similar question already! Search questions and answers left by others using simple keywords like "fit", "broken", "easy", or "quality" to find questions that match.
Search filter:
Clear Filter
Your search term must have 3 or more characters.
Sort by:
Prev
1
Next
Sorry, we couldn't find any existing answers that matched.Try using some different or simpler keywords, or submit your new question by using the "Ask a Question" button above!
Ruth - For model number PLES389ECH
December 28, 2019
My oven has the warming drawer that can be set on low, med, or high. What temperatures do the settings reach. Thanks
Hi Ruth, this information is not listed, all the information available is on page 15 of the manual. Thank you for your question and good luck with your repair!
1 personfound this instruction helpful.
Was this helpful?
Thank you for voting!
Mike - For model number PLES389ECH
February 27, 2023
Everything was fine- oven AND burners.
Then all of a sudden nothing would shut off! Had to turn off at breaker
I suspect the control unit
Thanks
Hello Mike, thank you for contacting us. According to our research, you may need to check the temperature sensor, part number PS820208, with an ohm meter. Testing the temperature sensor probe on your oven is easy. With the sensor at room temperature, measure the resistance between the two prongs at the end of the sensor connector. The resistance of the sensor should read approximately 1080–1090 ohms at room temperature. If the issue persists, we recommend replacing the control panel, part number PS1529329. Good luck with the repair!
Oven stopped working, will not get hot. Stove top is working
Hello Catherine, thank you for contacting us. Please check the temperature sensor, part number PS820208, and the bake element, part number PS1992188. You can test these parts with a multimeter for continuity. We hope this sorts out your problem!
See how others fixed this model. Time, tools, difficulty, and steps that lead to victory!View More
Search repair tips from other customers using simple keywords like "replace", "fit", "remove", "inspect". DIY doesn't mean you have to do it alone!
Search filter:
Clear Filter
Your search term must have 3 or more characters.
Oven not heating to desired temperature
155 of 244 peoplefound this instruction helpful.
Dan from Bellevue, ID
Easy
15 - 30 mins
Screw drivers
Replaced clock control by removing surface burner control knobs and plastic nuts, and then the cover over the oven control. Two screw hold the clock in place, after removal and disconnecting the plug-in you can reinstall the new clock control. The Heat Sensor inside the oven will also need to be replaced. It is located inside the oven
... Read moreand attached with two screws; the back of the oven will need to be removed to unplug. Reverse removal procedure and turn the power back on to the stove.
Read less
Was this helpful?
Thank you for voting!
Cord was not tightened enough by delivery crew.
109 of 174 peoplefound this instruction helpful.
Timothy from Spring Valley, AL
Really Easy
15 - 30 mins
Screw drivers, Socket set
PF alarm appeared on display. Noticed clicking when cord was moved. Had arced for some time and melted original block. New part slightly different. Only has 3 lugs, old one had six. Stack using washers provided. Take note of colors before disassembly. Use caution while working through access opening. The edges are sharp. Only tools neede
... Read mored are phillips screwdriver, deep socket for lug nuts. Nut driver optional. Hope this is helpful.
Read less
Was this helpful?
Thank you for voting!
Broil element wasn't working...
93 of 132 peoplefound this instruction helpful.
Kevin from Alexandria, VA
Really Easy
Less than 15 mins
Screw drivers
I pulled my unit out of the wall and noticed that the insulation around the top broiler element was a bit brown. Closer inspection revealed that the element had shorted somehow to the oven itself and caused the element to become non-functional. I tried measuring the resistance first, and it was within typical values for the other elemen
... Read morets, but I decided to replace the element anyway.
I ordered from PD and the part arrived just a few days letter by regular shipping. I undid the screws holding in the element, undid the wire connectors and replaced the broken element with the new one. The element worked like a charm and I was back in business for cooking.



 My Orders