


 My Orders


JGA8100ADB Jenn-Air Cooktop - Overview

Enter a part description. DIY Heroes keep it simple, eg. "belt" or "pump".
Search filter:
Clear Filter
Your search term must have 3 or more characters.

$18.27
In Stock
Burner Grate Pads - Kit of 5
Part #814323
These pads go on the bottom of your gas cooktop grates to prevent them from moving and scratching the top of your appliance.

$35.81
In Stock

$195.47
In Stock
Burner Head
Part #WP3403M075-10
This surface burner head is for ranges.
Surface burner head distributes the gas through holes or slots to create an even flame across the cooking area.
Shut off the gas supply and unplug the range before installing this part. Wear work gloves to protect your hands.

$86.53
In Stock

$9.85
In Stock
Brass Seal
Part #WP74005893
This is the replacement brass seal for your range or cooktop. It is made of brass and is approximately 1 inch in diameter. This part may also be known as the surface burner orifice holder seal. It prevents gas leaks between the surface burner orifice holder and the surface burner head. The main reason to replace this part is if the old se...Read moreal is damaged or missing, as gas can leak out. It is important that you unplug the range and shut off the gas supply before beginning this repair. This part is sold individually and is an authentic OEM part.
Read less

$261.93
In Stock
Cook Top Base
Part #WP2001F175-09
This sealed-burner gas range cooktop provides a smooth, durable cooking surface designed to contain spills and support grates and burner caps for optimal performance. Its sealed design helps protect internal components while maintaining proper flame patterns for efficient cooking. Ideal for replacing cracked, chipped, or warped tops, this...Read more component restores both the appearance and functionality of your range. Installation typically involves removing the old cooktop and securing the new one in place, and professional assistance is recommended for proper fit and safety.
Read less

$271.24
In Stock
Double Burner Grate - Black
Part #WP7518P483-60
This is one double burner grate - which means you get one grate that covers two burners.

$11.54
In Stock
Screw
Part #WP355214

$10.41
In Stock

$141.34
Special Order
Front Gas Tube
Part #WP7538P008-60

$160.26
Special Order
Venturi Burner Tube
Part #WP7538P009-60

No Longer Available
SHIELD-HT
Part #4005F791-80
Exact Part matches for your search term

$831.83
In Stock
Gas Burner Cartridge with Grates
This part number matches the current model number JGA8100ADB
Part #JGA8100ADB
Manufacturer's Number: JGA8100ADB For Designer Line gas and Dual-Fuel cooktops. One-piece sealed burners with porcelain-on-cast iron burner grates. Black with black grates, also available in white. May not be exactly as shown.
Common Symptoms of the JGA8100ADB
How this model fails, and the parts that fix it.
Will Not Start
Fixed by
these parts
these parts


Show All
Gas igniter glows, but will not light
Fixed by
these parts
these parts
Show All
Element will not heat
Fixed by
these parts
these parts
Show All
Gas smell
Fixed by
these parts
these parts
Show All
Watch our pros, then fix it yourself.
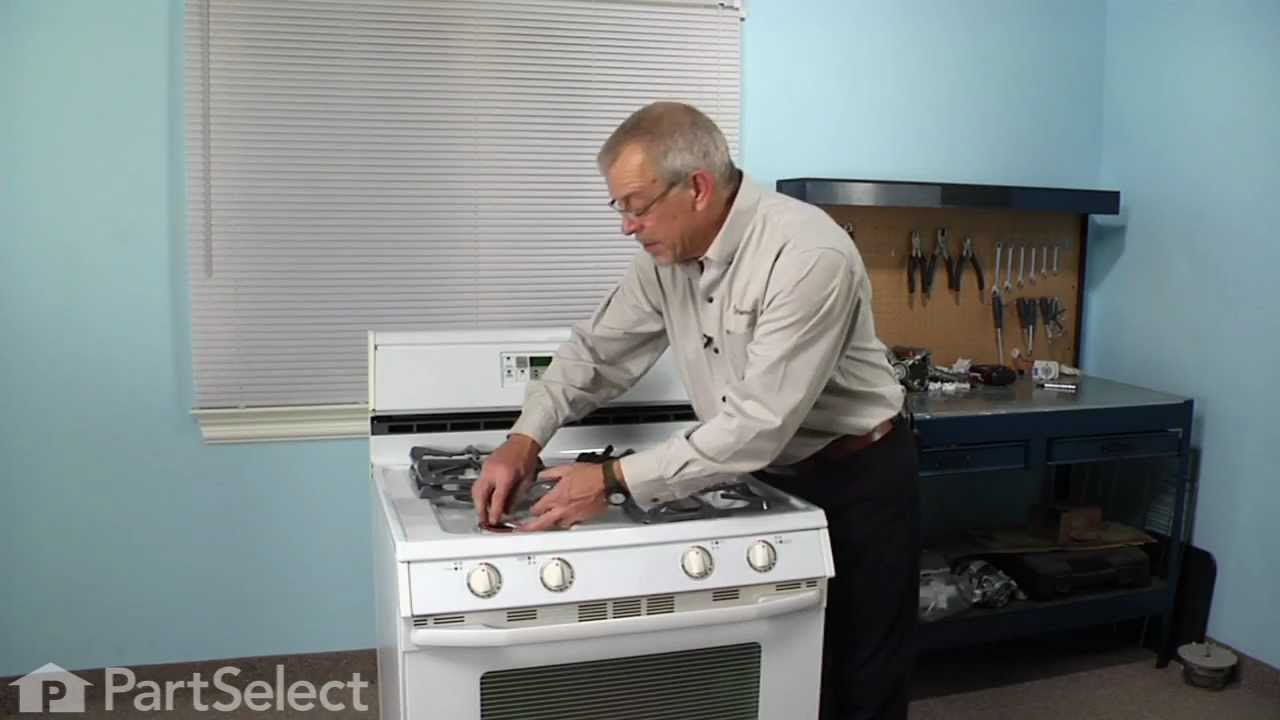
See how others fixed this model. Time, tools, difficulty, and steps that lead to victory!
View More
Search repair tips from other customers using simple keywords like "replace", "fit", "remove", "inspect". DIY doesn't mean you have to do it alone!
Search filter:
Clear Filter
Your search term must have 3 or more characters.
Gas burner head on stove top rusted out producing blue flame where there shouldn't be
73 of 76 people
found this instruction helpful.
Removed stove top module and unscrewed the bottom panel. Burner head rotated out fairly easily. I ordered both the burner unit and the igniter just to be safe even though the old igniter still worked. I used the other module as a guide to reassemble the unit. The new burner head was little difficult to rotate back in and did not rotat
... Read more
e quite as far as the original so the gas pipe was just a fraction out of alignment but there is some flex so it worked out OK when it was re-installed. Everything worked perfectly when I turned on the burner and there are no gas leaks and no blue flames where there shouldn't be!
Read less
Other Parts Used:


Was this helpful?
Thank you for voting!