


 My Orders


DV330AEW Samsung Dryer - Overview
Models starting with DV330AEW
Click on the best match to narrow your results.
- DV330AEW ( XAA 0003 ) Samsung Dryer (7.3 Cu. Ft. Electric Dryer)
- DV330AEW ( XAC 0001 ) Samsung Dryer (7.3 Cu. Ft. Front Load Electric Dryer)
- DV330AEW ( XAC 0004 ) Samsung Dryer (7.3 Cu. Ft. Front Load Electric Dryer)
- DV330AEW ( XAA 0002 ) Samsung Dryer (7.3 Cu. Ft. Electric Dryer)
- DV330AEW ( XAA 0005 ) Samsung Dryer (7.3 Cu. Ft. Electric Dryer)
- DV330AEW ( XAC 0003 ) Samsung Dryer (7.3 Cu. Ft. Front Load Electric Dryer)
- DV330AEW ( XAA 0001 ) Samsung Dryer (7.3 Cu. Ft. Electric Dryer)
- DV330AEW ( XAA 0004 ) Samsung Dryer (7.3 Cu. Ft. Electric Dryer)
- DV330AEW ( XAC 0002 ) Samsung Dryer (7.3 Cu. Ft. Front Load Electric Dryer)
- DV330AEW ( XAC 0005 ) Samsung Dryer (7.3 Cu. Ft. Front Load Electric Dryer)
- DV330AEW (XAA-01) Samsung Dryer (Samsung Dryer Dv330aew/Xaa-01)
- DV330AEW (XAA) Samsung Dryer (DRYER)
- DV330AEWXAC Samsung Dryer (Samsung Dryer Model DV330AEWXAC Parts)
Enter a part description. DIY Heroes keep it simple, eg. "belt" or "pump".
Search filter:
Clear Filter
Your search term must have 3 or more characters.

$210.59
In Stock

$73.65
Special Order
Thermostat
Part #WP35001092
This high-limit thermostat is a genuine OEM replacement component designed to prevent overheating in dryers by regulating internal temperature. Engineered to shut off the heating element when temperatures reach approximately 260°F and automatically reset at around 210°F, it ensures safe and efficient operation. A faulty thermostat can lea...Read mored to symptoms such as lack of heat, overheating, or premature cycle termination. Constructed from high-quality materials for durability, this part plays a critical role in maintaining appliance safety and performance. Installation should be performed with the appliance powered off and may require basic tools.
Read less

$91.76
In Stock

$237.43
In Stock
Heater Duct Assembly w/ Thermostats
Part #DC97-14486A
This genuine OEM heater duct assembly in your dryer directs hot air into the drum during operation. Generally, it can be found behind the drum or at the rear of the dryer. If this assembly becomes damaged, you may encounter problems such as clothes not drying properly or drying unevenly. This kit includes the housing with the heating element coil and attached insulators.

$122.71
On Order
Drive Belt
Part #6602-001655

$5.95
In Stock
Tapping Screw
Part #6002-000520
This manufacturer-approved screw is for refrigerators, including Kenmore refrigerator model. Avoid cross-threading refrigerator screw during installation.

$147.78
In Stock

$33.67
In Stock
Thermistor
Part #DC32-00007A

$37.55
In Stock
Thermal Fuse
Part #DC47-00015A
This thermal cut-off fuse (part number DC47-00015A) is for dryers. Thermal cut-off fuse DC47-00015A shuts off the heat if the dryer overheats. Unplug the dryer before installing this part. Wear work gloves to protect your hands.

$61.37
In Stock
Dryer Assembly Bracket Thermostat
Part #DC96-00887C

$12.30
In Stock
Moisture Sensor
Part #DC61-02627A

$5.95
In Stock
Retainer Clip
Part #DC61-01228A
Common Symptoms of models starting with DV330AEW
How this model fails, and the parts that fix it.
Not Heating
Fixed by
these parts
these parts


Show All
Noisy
Fixed by
these parts
these parts


Show All
Drum Not Spinning
Fixed by
these parts
these parts
Show All
Won’t Start
Fixed by
these parts
these parts

Show All
Too hot
Fixed by
these parts
these parts

Show All
Watch our pros, then fix it yourself.

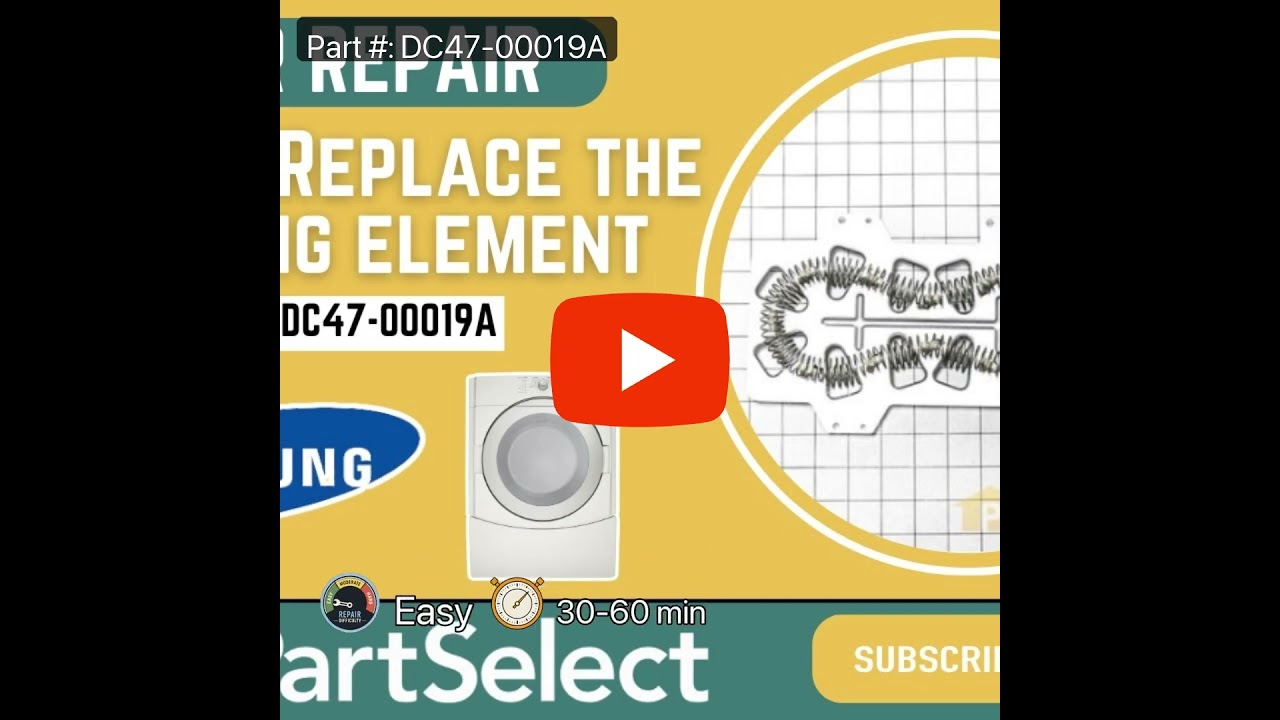


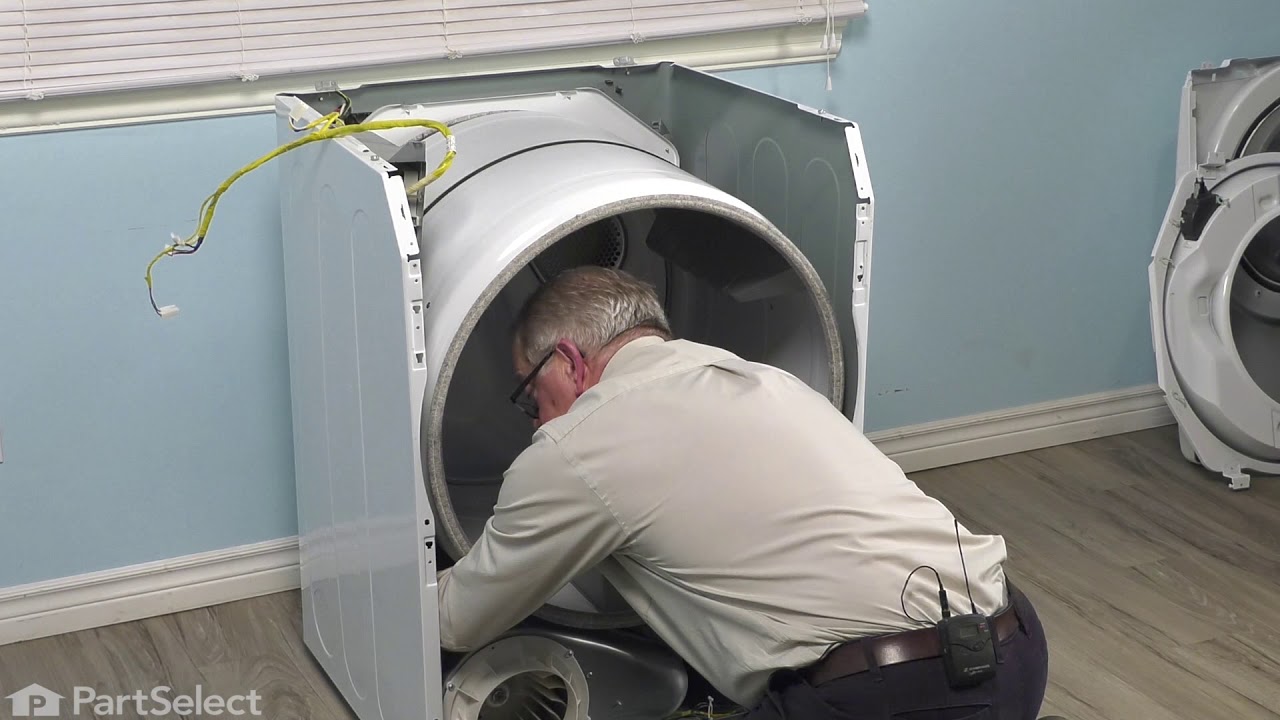

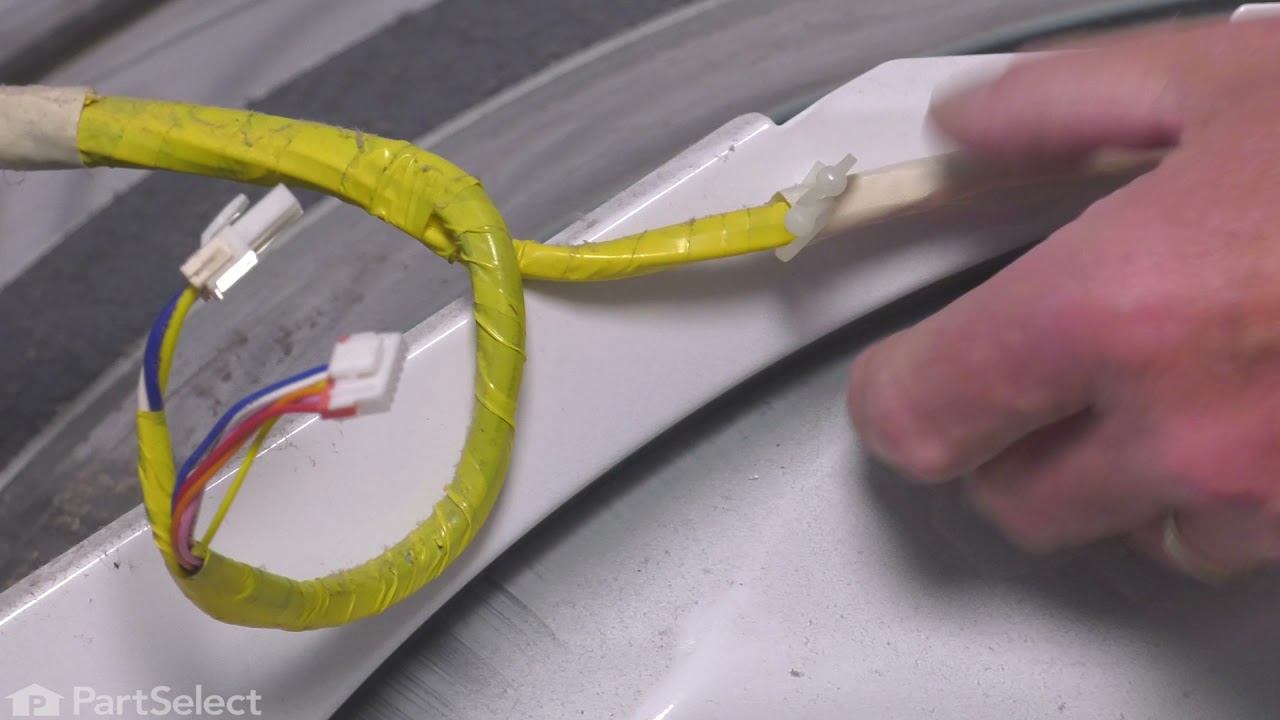

See how others fixed this model. Time, tools, difficulty, and steps that lead to victory!
View More
Search repair tips from other customers using simple keywords like "replace", "fit", "remove", "inspect". DIY doesn't mean you have to do it alone!
Search filter:
Clear Filter
Your search term must have 3 or more characters.
Dryer wasn’t heating
40 of 60 people
found this instruction helpful.
Well it went really well until the dryer was put back together as it still didn’t heat. The dryer was taken apart again. This time the thermistors &fuse was tested. Alas, the new fuse was faulty. After putting the car lid fuse back on n, the dryer worked again
Other Parts Used:


Was this helpful?
Thank you for voting!