


 My Orders


CRGR7900AS2 Frigidaire Dryer - Overview
Diagrams for CRGR7900AS2
See every part. Know exactly what you need.


Enter a part description. DIY Heroes keep it simple, eg. "belt" or "pump".
Search filter:
Clear Filter
Your search term must have 3 or more characters.

$56.24
In Stock
Rear Drum Bearing Kit
Part #5303281153
This kit includes one bearing, one ball shaft, one ball bearing, one ball bearing retainer, a small tube of high temperature lubricant, and installation screws.

$22.44
In Stock
Drum Belt
Part #134503600
This 88 3/4 inches long and 1/4 inch wide dryer drum belt goes around the dryer drum and the pulley to rotate the drum once the motor is activated.

$75.04
In Stock

$12.91
In Stock
Drum Support Bearing
Part #131825900
The rear drum support bearing helps support the dryer drum to rotate quietly and smoothly during operation. The bearing attaches on the inside of the rear panel of the dryer cabinet. If your dryer is making unusual noises or will not tumble, you may need to replace this part. It is white in color and made of plastic. This is a genuine OE...Read moreM part. Please remember to disconnect the power to your dryer before starting the repair.
Read less

$80.21
In Stock
Selector Knob
Part #134844410
This knob can be used with a washer or dryer and fits on a D-shaped shaft. It is sold individually.

$40.95
In Stock

$47.95
In Stock

$92.69
In Stock
Turn - Type Start Switch
Part #134398300
This part is used to start the dryer once you have selected a setting on the timer.

$41.95
In Stock
Lint Filter
Part #131450300
This white dryer lint filter screen collects lint as it passes through the dryer vent.

$47.95
In Stock
Front Upper Felt Seal with Adhesive
Part #5303937182
The upper felt seal for your dryer is attached to the top edge of the drum support area, and is held there by a high temperature adhesive. It creates a seal where the dryer door opens and closes, so that heat remains in the dryer while it tumbles. If your old upper felt seal is coming apart, you notice that hot air is leaking out the drye...Read morer door, or your clothes are taking too long to dry, you may need to replace the seal. When you order this part, it comes with the upper felt seal, as well as the required high-temperature adhesive.
Read less

$36.73
In Stock

$41.81
In Stock
Manuals & Care Guides for CRGR7900AS2
Click to downloadInstall
Installation Instructions
(1.76MB)
Install
Installation Instructions
(0.75MB)
Manual
Owner's Manuals
(0.3MB)
Manual
Owner's Manuals
(2.52MB)
Care
Use and Care Manual
(0.1MB)
Wiring
Wiring Diagram
(1MB)
Common Symptoms of the CRGR7900AS2
How this model fails, and the parts that fix it.
Noisy
Fixed by
these parts
these parts


Show All
Door won’t close
Fixed by
these parts
these parts


Show All
Marks left on clothes
Fixed by
these parts
these parts


Show All
Drum Not Spinning
Fixed by
these parts
these parts
Show All
Not Heating
Fixed by
these parts
these parts


Show All
Door Pops Open
Fixed by
these parts
these parts
Show All
Won’t Start
Fixed by
these parts
these parts

Show All
Touchpad does not respond
Fixed by
these parts
these parts

Show All
Too hot
Fixed by
these parts
these parts
Show All
Will Not Start
Fixed by
these parts
these parts
Show All
Watch our pros, then fix it yourself.
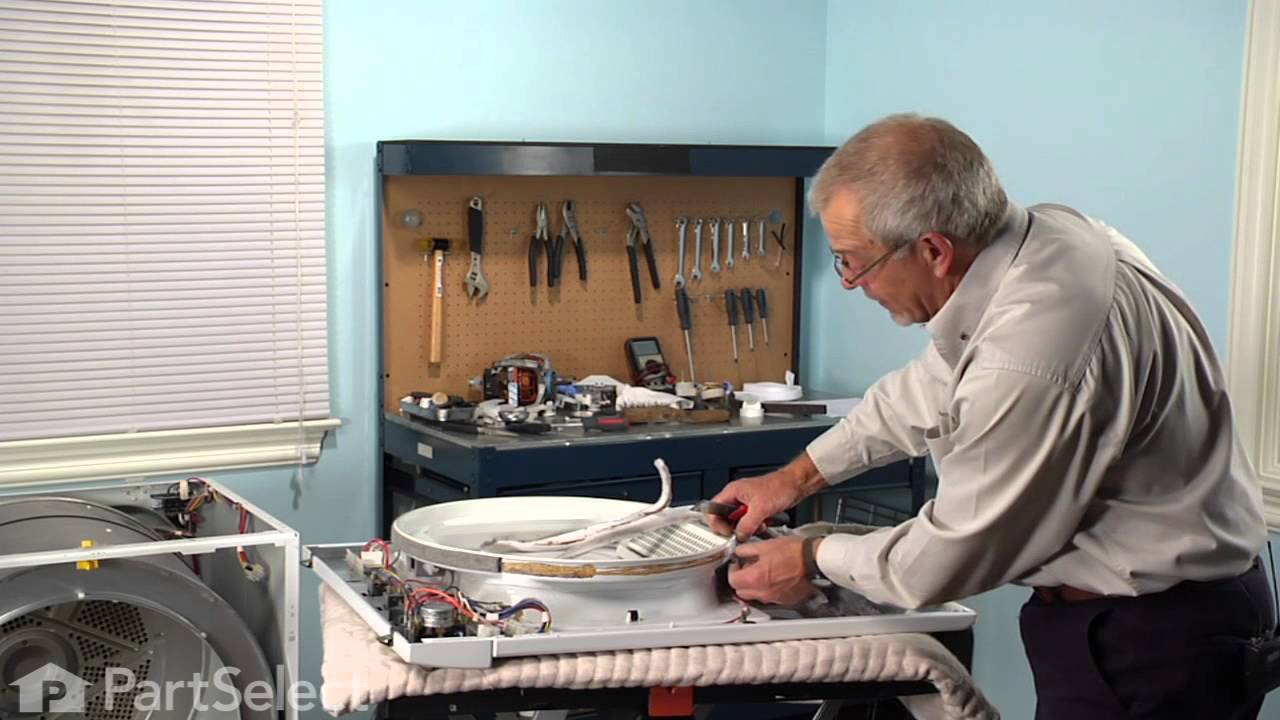
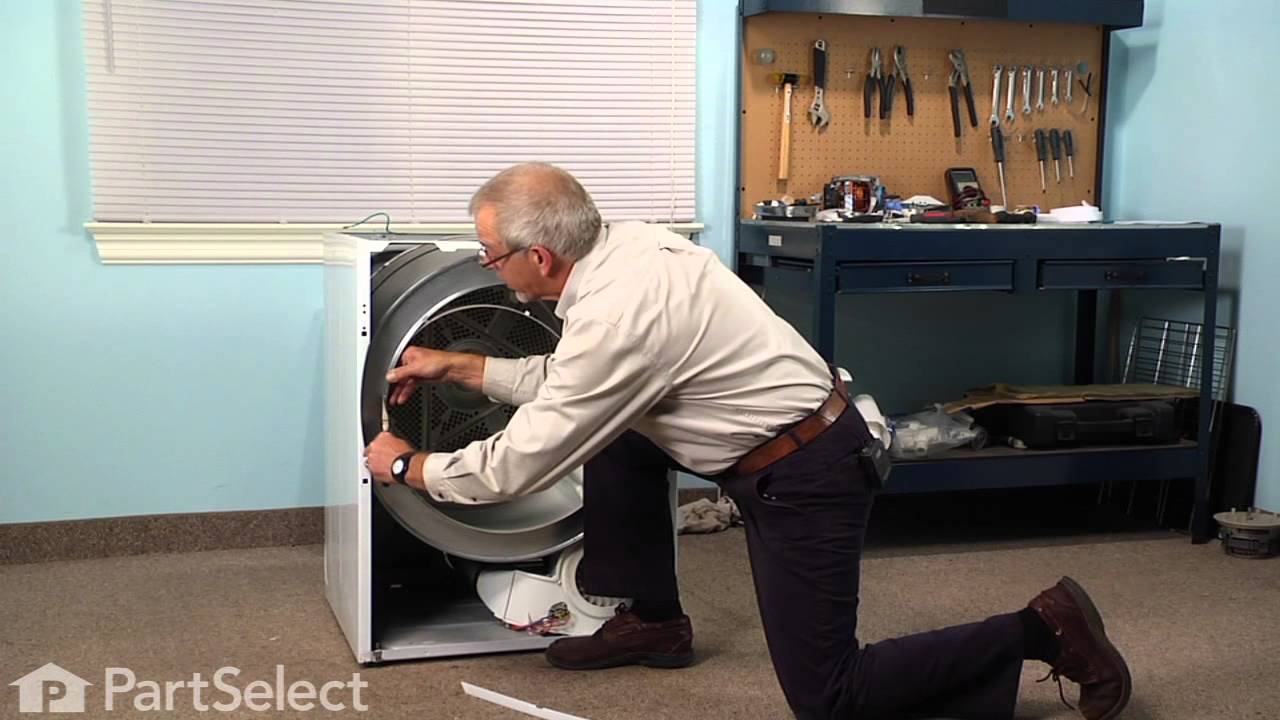
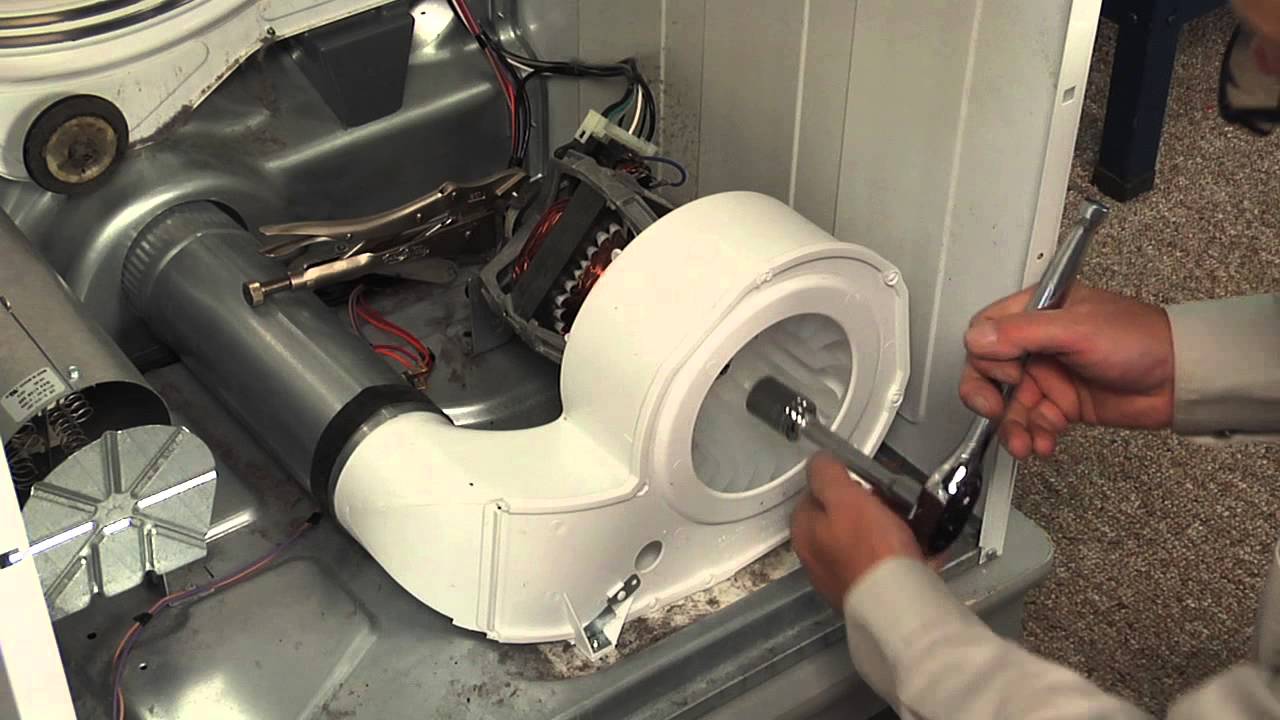
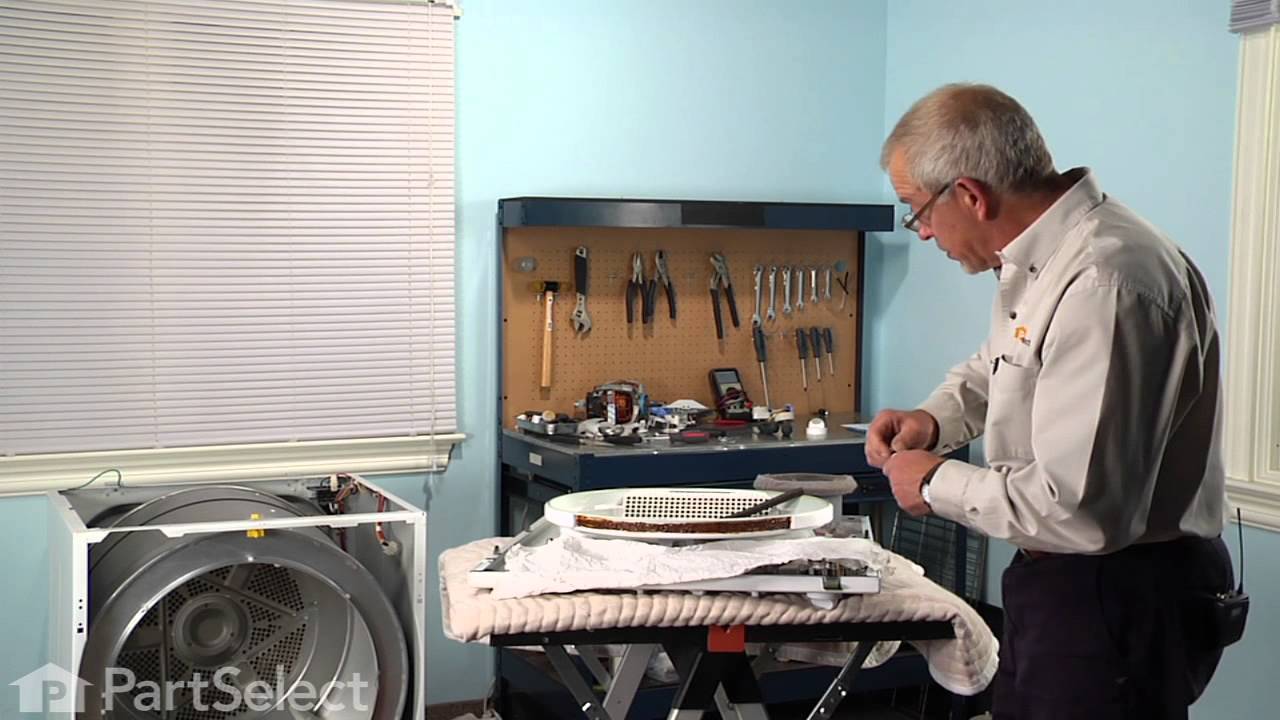
See how others fixed this model. Time, tools, difficulty, and steps that lead to victory!
View More
Search repair tips from other customers using simple keywords like "replace", "fit", "remove", "inspect". DIY doesn't mean you have to do it alone!
Search filter:
Clear Filter
Your search term must have 3 or more characters.
Dryer squealed like a pig and at times the drum stopped rotating
690 of 707 people
found this instruction helpful.
First thought the problem was a stretched drum belt or bad idler pulley. Ordered a new belt and idler assy plus spring. Replaced those items with relative ease following suggestions obtained at this site.However, problem persisted and I now suspected a bad drum bearing. Odered the bearing kit and replaced same using the following procedu
... Read more
re.
1. Removed the cover from the back of the dryer (held in place via two phillip head screws)
2. Pushed down on the idler assy and removed the idler spring to release the drum belt.
3. Inserted flat tip screwdriver between the top panel and the dryer main body in the front of the dryer to pry the top loose from the two retaining clips.
4. used phillips screwdriver to remove the two retaining screws (one left, one right) that hold the front panel to the main body of the dryer. (about a foot down from the top of the dryer).
5. disconnected the wiring plug on the top right hand side at the top of the dryer.
6. lifted the front panel slightly removing it from the main body and placed it to the side.
7. lifted the rear of the drum to release it from the bearing bracket and removed the drum belt.
8. Pulled the drum through the front of the dryer body and moved it to an open work area.
9. Reached into the Dryer and loosened the two
bearing bracket screws with a nut driver. Here's where another pair of hands would have come in handy. Holding the ground bar on the back of the drum with on hand, reached into the dryer and finished removing the bracket screws somehow managing not to drop the tiny grounding ball (size of a BB) Removed the badly damaged plastic bracket, grounding bar, and grounding ball and set
them aside to be discarded later.
10. Used impact driver with phillips attachment to remove two of the three screws that hold the bearing to the back of the drum (these are on the inside) The third screw's head stripped out and I had a very difficult time removing it. Had it not been for that, the job would have taken less than an hour.
11. I had my wife hold the bearing in place while I started the three retaining screws.
12. My wife also got behing the dryer and held the grounding bar in place while I installed the new bearing bracket . (this kept me from loosing the grounding ball)
I just reversed the rest of the procedures to install the drum belt, drum, front panel, etc.
The dryer works like new now, doesn't squeal.
Also replaced the on/off switch knob (just pulled the old one from the stem and slid the new one on.
Read less
Other Parts Used:


Was this helpful?
Thank you for voting!
Knob replacement
381 of 390 people
found this instruction helpful.
Just slipped them on and ready to go. Ordered them on thur and got em on Tues.
Other Parts Used:

Was this helpful?
Thank you for voting!