


 My Orders


81542 LG Dryer - Overview

Enter a part description. DIY Heroes keep it simple, eg. "belt" or "pump".
Search filter:
Clear Filter
Your search term must have 3 or more characters.

$52.75
In Stock
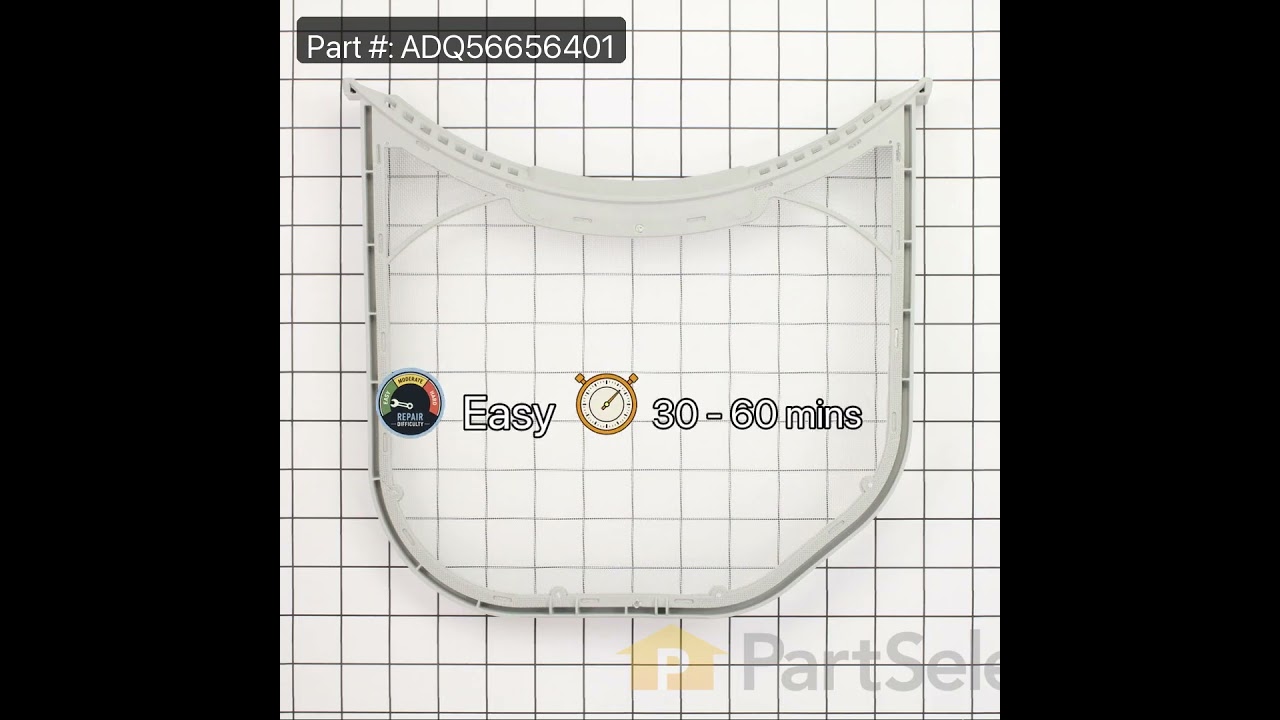
Dryer Lint Filter
Part #ADQ56656401
The Dryer's Lint Filter is used to collect lint during the dryer cycle as it passes through the dryer vent, in order to prevent damage to the machine. This manufacturer-approved part comes in gray, measures around 12 inches wide by 11 inches high, and is easy to install. It slides into the lint filter slot in your dryer. If there is visib...Read morele damage to the screen then it's time to replace the part. We recommend that you thoroughly clean the lint filter before every load, but even with good maintenance, this hard-working part is often damaged or worn over time. If your dryer isn't drying quickly, the filter may be responsible. The manufacturer has made an authorized substitution to the lint filter. Special details: When replacing lint screen ADQ56656401 you may need to also replace lint screen housing MCK49049101 and lint screen guide MEA49050001 to prevent items from catching on the lint screen, depending on your model.
Read less

$61.55
In Stock
Lint Screen Housing
Part #MCK49049101
This is an authentic dryer lint filter cover sourced directly from the manufacturer. It protects the more delicate lint filter in your dryer, so that it doesn’t get damaged and lint can’t mix in with your clothes. This product is gray in color and is made of plastic. It is sold individually. The manufacturer has modified the part and sugg...Read moreests replacing the filter guide, part number MEA49050001 and the lint filter, part number ADQ56656403. The filter screen part#ADQ56656401 will have to be replaced as well.
Read less

$53.85
In Stock

$20.85
In Stock
Moisture Sensor
Part #6500EL3001A
The moisture sensor, also known as a humidity sensor, works in conjunction with your dryer by helping determine the amount of moisture in the drum to reduce overdrying. If the timer doesn’t advance correctly, it is suggested to check the moisture sensor bar for damage. A damaged sensor can cause the automatic drying cycle to not work prop...Read moreerly and will need to be replaced. This is a genuine OEM part. Please remember to disconnect the power to the dryer before starting this repair.
Read less

$54.95
In Stock
Filter Guide
Part #MEA49050001
This is a replacement lint screen guide for your dryer. The lint screen guide attaches to the front bulkhead and supports the lint screen. If your lint screen will not stay in place, or if you are noticing marks left on your clothes, a broken lint screen guide could be to blame. The lint screen guide is approximately 13 inches wide on its...Read more straight edge. It is made of plastic and is sold individually. This is an OEM part, directly from the manufacturer.
Read less

$52.75
In Stock

$42.99
In Stock
Pulley Idle
Part #4560EL3001A

$59.35
In Stock
Dryer Thermostat Assembly
Part #6931EL3001F

$89.05
In Stock

$46.15
In Stock

$354.21
On Order

$100.02
In Stock
Exact Part matches for your search term

No Longer Available
Common Symptoms of the 81542
How this model fails, and the parts that fix it.
Marks left on clothes
Fixed by
these parts
these parts


Show All
Not Heating
Fixed by
these parts
these parts


Show All
Noisy
Fixed by
these parts
these parts


Show All
Won’t Start
Fixed by
these parts
these parts

Show All
Door won’t close
Fixed by
these parts
these parts

Show All
Clothes Still Wrinkled
Fixed by
these parts
these parts
Show All
Timer Not Working
Fixed by
these parts
these parts
Show All
Drum Not Spinning
Fixed by
these parts
these parts

Show All
Watch our pros, then fix it yourself.
See how others fixed this model. Time, tools, difficulty, and steps that lead to victory!
View More
Search repair tips from other customers using simple keywords like "replace", "fit", "remove", "inspect". DIY doesn't mean you have to do it alone!
Search filter:
Clear Filter
Your search term must have 3 or more characters.
Filter parts chipped - replaced
52 of 92 people
found this instruction helpful.
Removed existing parts using screwdriver, positioned new parts in dryer and re-inserted screws, tightened - done. Piece of cake, even for someone who cannot saw a straight line with a chop saw.
Other Parts Used:


Was this helpful?
Thank you for voting!