














7730 - Overview
Models starting with 7730
Click on the best match to narrow your results.
- 773000 Maytag Range
- 77302 LG Refrigerator (LG Refrigerator Model 77302 Parts)
- 77302 (ASWCSER) LG Refrigerator (Refrigerator)
- 77304 LG Refrigerator (LG Refrigerator Model 77304 Parts)
- 77304 (ABICSER) LG Refrigerator (Refrigerator)
- 77306 LG Refrigerator (LG Refrigerator Model 77306 Parts)
- 77309 LG Refrigerator (LG Refrigerator Model 77309 Parts)
Exact Part matches for your search term
[Viewing 1 of 1]
1IN CLEAN WATER PUMP
This part number matches the current model number 7730
PartSelect #: PS18929198
Manufacturer #: 7730
No Longer Available
Keep searches simple, eg. "belt" or "pump".

Light Bulb - 40W
PartSelect #: PS884734
Manufacturer #: 8009
This an authentic OEM 40-Watt replacement light bulb, used in a number of household appliances. It is specially designed to withstand extreme temperatures, which is why these replacement bulbs are mos...
$24.14
In Stock

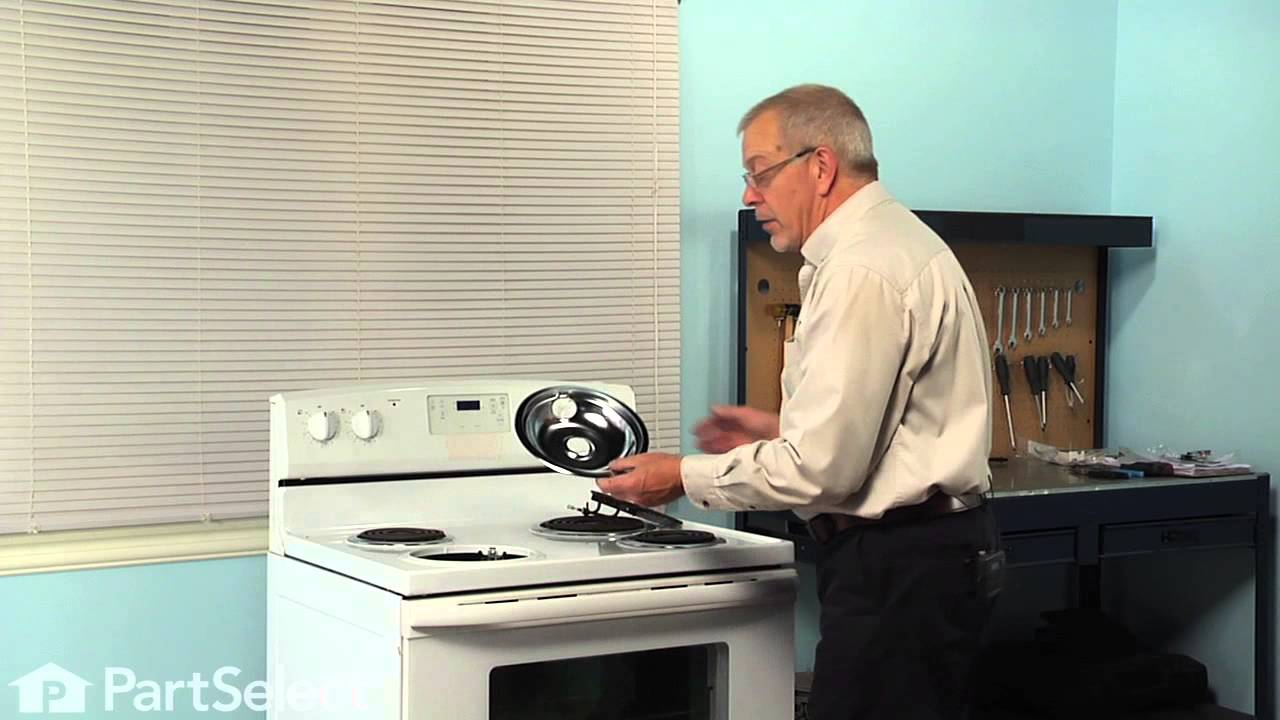
Chrome Drip Bowl - 8 inch
PartSelect #: PS11750107
Manufacturer #: WPW10196405
This manufacturer-certified drip bowl is also known as a drip pan, and it is designed for use with cooktops and ranges. It sits below 8-inch burner elements and catches drips and spills from the cookw...
$16.95
In Stock

Range Surface Burner Plug-In Block Kit
PartSelect #: PS340571
Manufacturer #: 330031
This newer-style terminal block kit includes two metal brackets, two pre-crimped wires with terminals, two ceramic wire nuts, a heat shrinking tube, and a mounting screw.
$21.95
In Stock

Drawer Rail Guide - Right Side
PartSelect #: PS3524837
Manufacturer #: 4975JJ2028C
This guide rail, also known as a drawer slide rail, is a genuine OEM replacement part for the freezer section of your refrigerator. This slide rail supports the storage basket in your freezer, allowin...
No Longer Available


Dishwasher Screw
PartSelect #: PS11753384
Manufacturer #: WPW10348409
Sold individually.
$9.85
In Stock

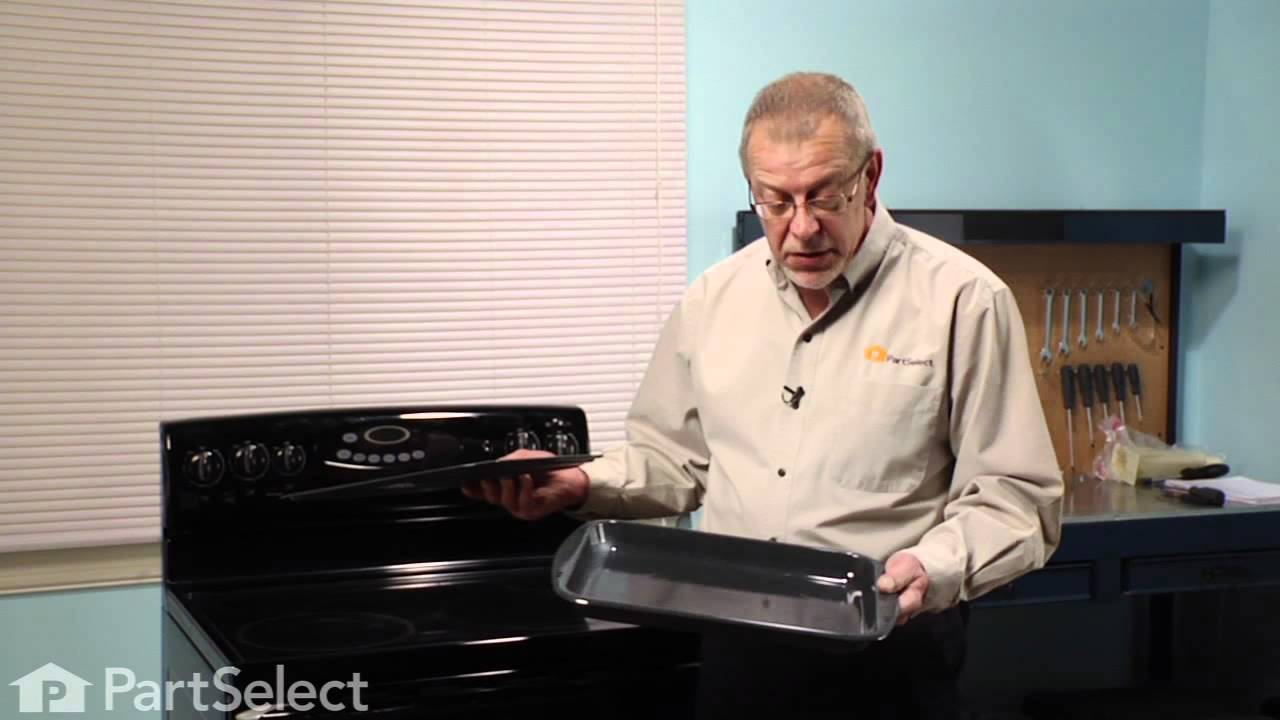
2 Piece Broiler Pan
PartSelect #: PS971245
Manufacturer #: 4396923
This broiler pan and roasting rack set features a two-piece design that allows fat to drain away for cleaner cooking and reduced splatter. Made with a durable, high-heat resistant porcelain finish, it...
$63.09
In Stock

Dryer Screw
PartSelect #: PS11746840
Manufacturer #: WP90767
This screw is sold individually.
$9.85
In Stock

Rail Guide Assembly - Left Side
PartSelect #: PS3524838
Manufacturer #: 4975JJ2028D
This left-side drawer slide is designed for use in select refrigerator-freezer models, supporting the freezer drawer and allowing it to glide smoothly in and out. Made of durable white plastic and mea...
$117.79
On Order

Surface Burner Element - 8 Inch
PartSelect #: PS11740903
Manufacturer #: WP3191454
This large surface burner is 2100W.
$137.31
Special Order


Refrigerator Door Switch
PartSelect #: PS3529268
Manufacturer #: 6600JB1010A
This door switch is used in refrigerators. It is activated by the closing and opening of the door
$46.15
In Stock
Common Symptoms of models starting with 7730
[Viewing 11 of 11]Element will not heat
Fixed by
these parts
these parts


Show All
Light not working
Fixed by
these parts
these parts


Show All
Door won’t open or close
Fixed by
these parts
these parts


Show All
Fridge too warm
Fixed by
these parts
these parts


Show All
Leaking
Fixed by
these parts
these parts


Show All
Will Not Start
Fixed by
these parts
these parts
Show All
Door latch failure
Fixed by
these parts
these parts

Show All
Clicking sound
Fixed by
these parts
these parts
Show All
Ice maker not making ice
Fixed by
these parts
these parts

Show All
Freezer not defrosting
Fixed by
these parts
these parts
Show All
Fridge and Freezer are too warm
Fixed by
these parts
these parts
Show All
Keep searches simple. Use keywords, e.g. "leaking", "pump", "broken" or "fit".
Ice was building up in the bottom floor of the freezer
This refrigerator/freezer problem had been escalating for almost a year, requiring me to frequently knock the ice buildup free with a rubber mallet. I finally decided to try to identify the problem by removing the freezer door and all of the shelves and shelf tracks (easily removed with only a phillips screwdriver). Then I removed the back plastic panel to expose the cooling coils, which were partially encased in ice. I deduced that the evaporator fan motor was failing, which blows air over the freezer cooling coils and forces the cool air up into the upper refrigerator section (which was not staying cold). I then found and ordered the fan motor from part select. Their search function and exploded drawing schematics made it easy to identify the part and part number. It seems the original part number had been superceded with a new number, which I ordered. Once it arrived after about a week, I transferred the fan blades from the old motor to the new fan motor, and after completely drying out the freezer compartment, I reinstalled all of the parts and plugged in the unit and waited. By the next day, the refrigerator was operating at peak efficiency, and the ice buildup in the freezer has not returned. I was very close to scrapping the entire refrigerator as junk, but with a little diagnostic effort and about $110 for the new motor, I have a fully functioning refrigerator again. Thanks to Part Select for a great experience.
Parts Used:

-
Ronald S. from SANTA CLARITA, CA
-
Difficulty Level:A Bit Difficult
-
Total Repair Time:30 - 60 mins
-
Tools:Screw drivers, Socket set
42 of 53 people
found this instruction helpful.
Was this instruction helpful to you?
Thank you for voting!
Remove and replace light switch
Video makes it look easy. Kenmore refrigerator does not have "groove" along the right hand side of switch that allows for pushing down on release. Used a thin screwdriver to get under to push while holding switch edge with pliers. Kept slipping. Tape sides to avoid scratching inside of refrigerator.
Parts Used:
-
Debbie from Waltham, MA
-
Difficulty Level:A Bit Difficult
-
Total Repair Time:30 - 60 mins
-
Tools:Pliers, Screw drivers
45 of 89 people
found this instruction helpful.
Was this instruction helpful to you?
Thank you for voting!
One burner didn't work all the time the other would go red hot
I unplugged the stove from the outlet, then removed the two burners I was going to be working on and the drip pans. Then I raised the top part of the stove and removed the screws holding the plug-in blocks to the stove. Then I cut the two wires going to the old plug-in block and stripped the wires back to match the new wire parts. Then I placed the sleeves over the new wires, then I placed the new wire beside the wire I stripped on the stove and screw on the wire cap making sure it was tight. I repeated this three more times, once I had all four wires connected I then placed the sleeves over the connections and heated them up until they were formed around the connection. Once I had all the connections done I placed one wire at a time into the plug-in block until it locked into place ( I looked at my old plug-in blocks first to make sure I placed the new wires in the correct way ).I then used the metal mounting bracket that matched my old ones and snapped the correct one onto each plug-in block. Before mounting them onto the stove I compared them to my old ones to make sure they were correct. Then I used the new screws to mount them to the stove. I took a second look at everything I had done before closing the top cover of my stove. After lowering the cover back into place I put both the drip covers in place and then installed the burners.I then plugged the stove back into the outlet and tried the burners. This was very simple and the video on the web site shows this very well which made my job very simple.
Parts Used:
-
Phillip from Pekin, IL
-
Difficulty Level:Really Easy
-
Total Repair Time:15 - 30 mins
-
Tools:Screw drivers
15 of 16 people
found this instruction helpful.
Was this instruction helpful to you?
Thank you for voting!