


 My Orders


773000 Maytag Range - Overview
Diagrams for 773000
See every part. Know exactly what you need.


Enter a part description. DIY Heroes keep it simple, eg. "belt" or "pump".
Search filter:
Clear Filter
Your search term must have 3 or more characters.

$26.41
In Stock
Light Bulb - 40W
Part #8009
This an authentic OEM 40-Watt replacement light bulb, used in a number of household appliances. It is specially designed to withstand extreme temperatures, which is why these replacement bulbs are most often used to light the inside of refrigerators and ranges. It features a standard socket base, which means you simply unscrew the burnt-o...Read moreut bulb and screw in the replacement. Depending on the appliance you may require a screwdriver or nut driver to access the light bulb. We recommend you wear work gloves while handling this replacement part. It is constructed of glass and metal and is sold individually. Depending on the appliance and location of the bulb within it, you may want to consider disconnecting power and using a flashlight for easier access to unscrewing and re-screwing in your bulb during this repair.
Read less

$17.96
In Stock
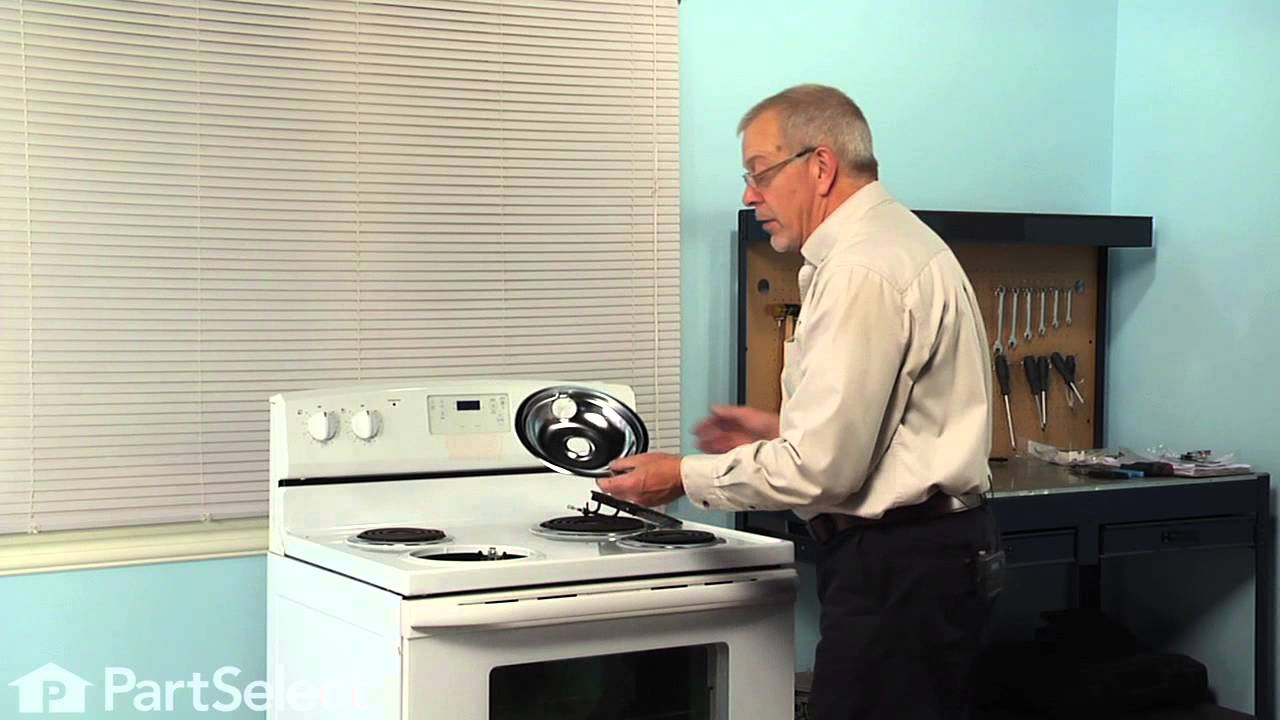
Chrome Drip Bowl - 8 inch
Part #WPW10196405
This manufacturer-certified drip bowl is also known as a drip pan, and it is designed for use with cooktops and ranges. It sits below 8-inch burner elements and catches drips and spills from the cookware on the burner. The diameter of the drip bowl is approximately 10 inches. This replacement might appear slightly different, but it will f...Read moreit your appliance. You will need no tools to complete this repair. Simply remove the burner element, remove the old bowl, line up the hole on the new bowl with the terminal block and drop it into place. Make sure the bowl is flat before reinstalling the element. While you have the element out you should inspect the terminals for corrosion, damage, or discolouration. If you notice any of those things you should also replace the element and terminal block. You will need to replace your drip bowl if it is lost, damaged, or can no longer be cleaned. This replacement part is sold individually. To extend the life of your new drip bowl we recommend you clean it regularly with soap and water. We recommend only using the recommended drip bowl for your appliance; generic versions will not fit properly which could affect the performance of your elements and cause long-term damage.
Read less

$22.16
In Stock
Range Surface Burner Plug-In Block Kit
Part #330031
This newer-style terminal block kit includes two metal brackets, two pre-crimped wires with terminals, two ceramic wire nuts, a heat shrinking tube, and a mounting screw.

$10.44
In Stock

$66.88
In Stock
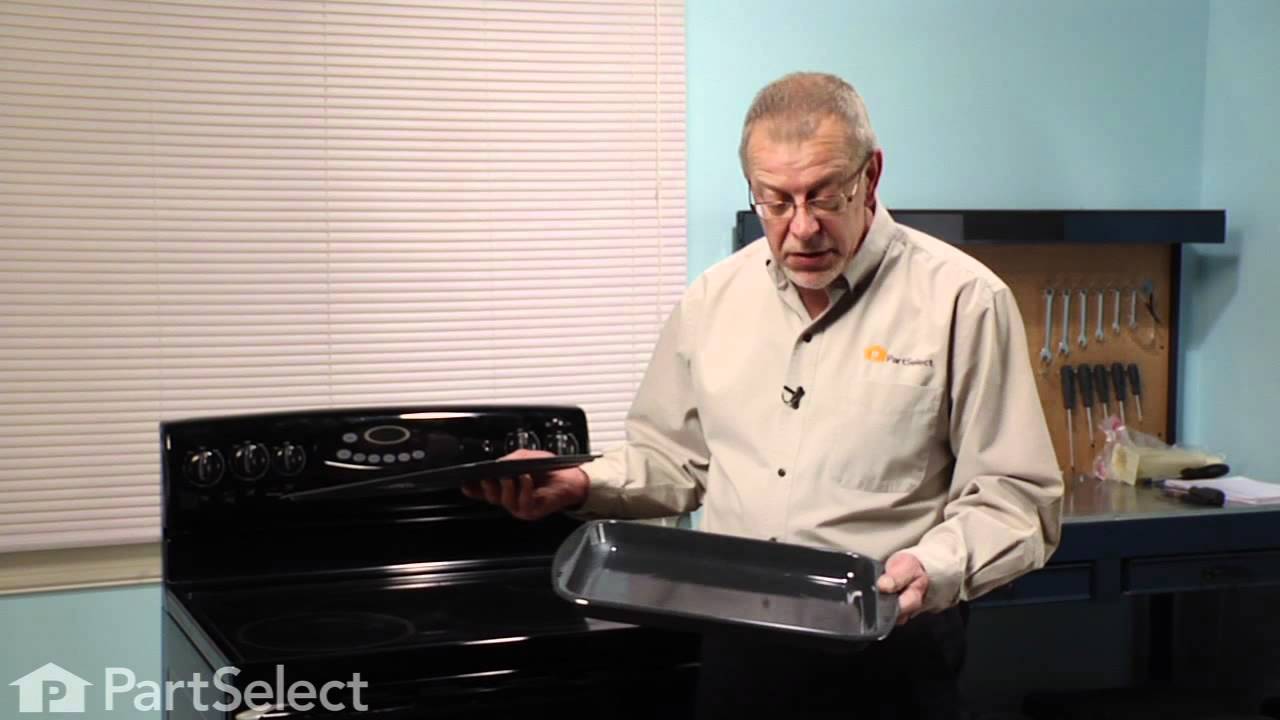
2 Piece Broiler Pan
Part #4396923
This broiler pan and roasting rack set features a two-piece design that allows fat to drain away for cleaner cooking and reduced splatter. Made with a durable, high-heat resistant porcelain finish, it offers reliable performance and easy cleanup. Measuring approximately 16 3/4 inches long by 12 3/4 inches wide and 1 3/4 inches high, it provides a practical solution for everyday broiling and roasting.

$10.40
In Stock

$144.17
Special Order

$15.39
In Stock

$142.95
Special Order
Burner Control Switch Kit - 8 Inch
Part #WPR0702021
This is an OEM part sourced directly from the manufacturer. This switch kit is designed to help you operate the 8? surface burner on your range or cooktop. This witch turns the surface burner on and off, and allows you to control how much heat the element is producing. The control knob attaches to this part for easy operation. This kit co...Read moremes with all of the hardware you will need to successfully install the replacement switch. Before beginning the repair make sure you have unplugged your appliance.
Read less

No Longer Available
USE MAC D8547913
Part #M10D71
No Longer Available
SUB 700502
Part #M1D485
No Longer Available
USE MAC A4539629
Part #M1D608
Common Symptoms of the 773000
How this model fails, and the parts that fix it.
Element will not heat
Fixed by
these parts
these parts


Show All
Door latch failure
Fixed by
these parts
these parts

Show All
Will Not Start
Fixed by
these parts
these parts
Show All
Watch our pros, then fix it yourself.

See how others fixed this model. Time, tools, difficulty, and steps that lead to victory!
View More