


 My Orders


41793814201 Kenmore Washer Dryer Combo - Overview
Diagrams for 41793814201
See every part. Know exactly what you need.

Enter a part description. DIY Heroes keep it simple, eg. "belt" or "pump".
Search filter:
Clear Filter
Your search term must have 3 or more characters.

$56.24
In Stock
Rear Drum Bearing Kit
Part #5303281153
This kit includes one bearing, one ball shaft, one ball bearing, one ball bearing retainer, a small tube of high temperature lubricant, and installation screws.

$75.04
In Stock

$12.91
In Stock
Drum Support Bearing
Part #131825900
The rear drum support bearing helps support the dryer drum to rotate quietly and smoothly during operation. The bearing attaches on the inside of the rear panel of the dryer cabinet. If your dryer is making unusual noises or will not tumble, you may need to replace this part. It is white in color and made of plastic. This is a genuine OE...Read moreM part. Please remember to disconnect the power to your dryer before starting the repair.
Read less

$40.95
In Stock

$23.45
In Stock
Thermal Limiter - Limit 220
Part #134120900
This thermal fuse limiter, with a limit of 220 degrees Fahrenheit, is manufactured for both gas and electric clothes dryers. Once the internal temperature of the dryer reaches 220 degrees, the heating element cuts out.

$59.35
In Stock
Dryer Lint Screen
Part #5304516871
This dryer lint screen is for laundry centers.
Dryer lint screen captures lint and debris from the exhaust air flowing from the dryer.
Follow the instructions in the owner's manual when installing this part.

$31.95
In Stock
Drive V-Belt
Part #134511600
This belt is made to slip on the motor pulley to bring the basket up to the speed required and this makes the belt get wear and tear.

$47.95
In Stock

$291.34
In Stock
Drain Pump - 120V 60 Hz.
Part #137221600
The pump is what your washer uses to remove the water from the tub. This part is the pump and motor assembly which includes the red flapper to prevent drain back flow.

$16.80
In Stock

$47.95
In Stock
Front Upper Felt Seal with Adhesive
Part #5303937182
The upper felt seal for your dryer is attached to the top edge of the drum support area, and is held there by a high temperature adhesive. It creates a seal where the dryer door opens and closes, so that heat remains in the dryer while it tumbles. If your old upper felt seal is coming apart, you notice that hot air is leaking out the drye...Read morer door, or your clothes are taking too long to dry, you may need to replace the seal. When you order this part, it comes with the upper felt seal, as well as the required high-temperature adhesive.
Read less

$99.67
In Stock
Start Switch
Part #134399700
This start switch is a manufacturer-approved replacement part for your dryer. A faulty start switch means your dryer will not begin its drying cycle. In order to complete this repair, you will need a Phillips screwdriver. Once you access the switch, disconnect the two wire leads and attach them to the new switch. Make sure to disconnect power to the unit before beginning this repair, and wear work gloves.
Manuals & Care Guides for 41793814201
Click to downloadInstall
Installation Instructions
(0.5MB)
Manual
Owner's Manuals
(1.73MB)
Care
Use and Care Manual
(0.14MB)
Wiring
Wiring Diagram
(0.59MB)
Common Symptoms of the 41793814201
How this model fails, and the parts that fix it.
Noisy
Fixed by
these parts
these parts


Show All
Door won’t close
Fixed by
these parts
these parts


Show All
Will not drain
Fixed by
these parts
these parts


Show All
Marks left on clothes
Fixed by
these parts
these parts


Show All
Leaking
Fixed by
these parts
these parts


Show All
Will not agitate
Fixed by
these parts
these parts


Show All
Burning smell
Fixed by
these parts
these parts


Show All
Too hot
Fixed by
these parts
these parts


Show All
Drum Not Spinning
Fixed by
these parts
these parts

Show All
Not Heating
Fixed by
these parts
these parts

Show All
Spins slowly
Fixed by
these parts
these parts
Show All
Door Pops Open
Fixed by
these parts
these parts
Show All
Won’t Start
Fixed by
these parts
these parts
Show All
Will Not Start
Fixed by
these parts
these parts


Show All
Spinning Issues
Fixed by
these parts
these parts
Show All
Draining Issues
Fixed by
these parts
these parts
Show All
Not draining
Fixed by
these parts
these parts
Show All
Watch our pros, then fix it yourself.
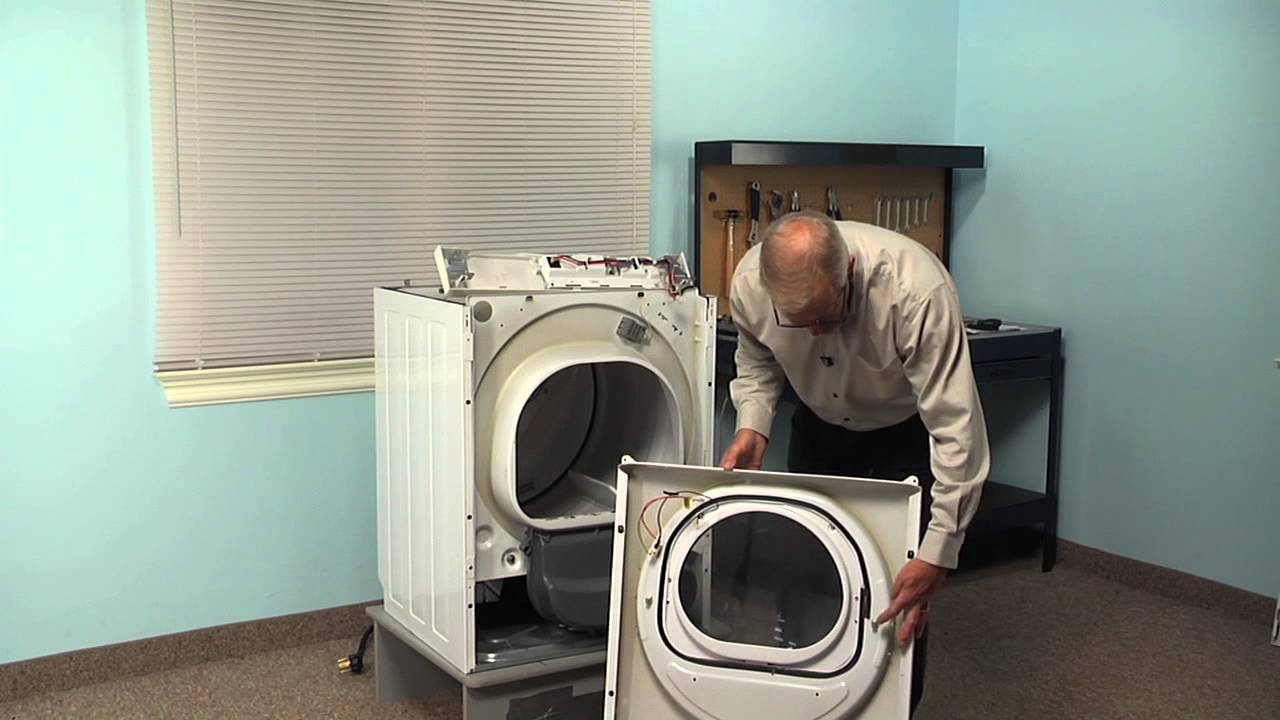
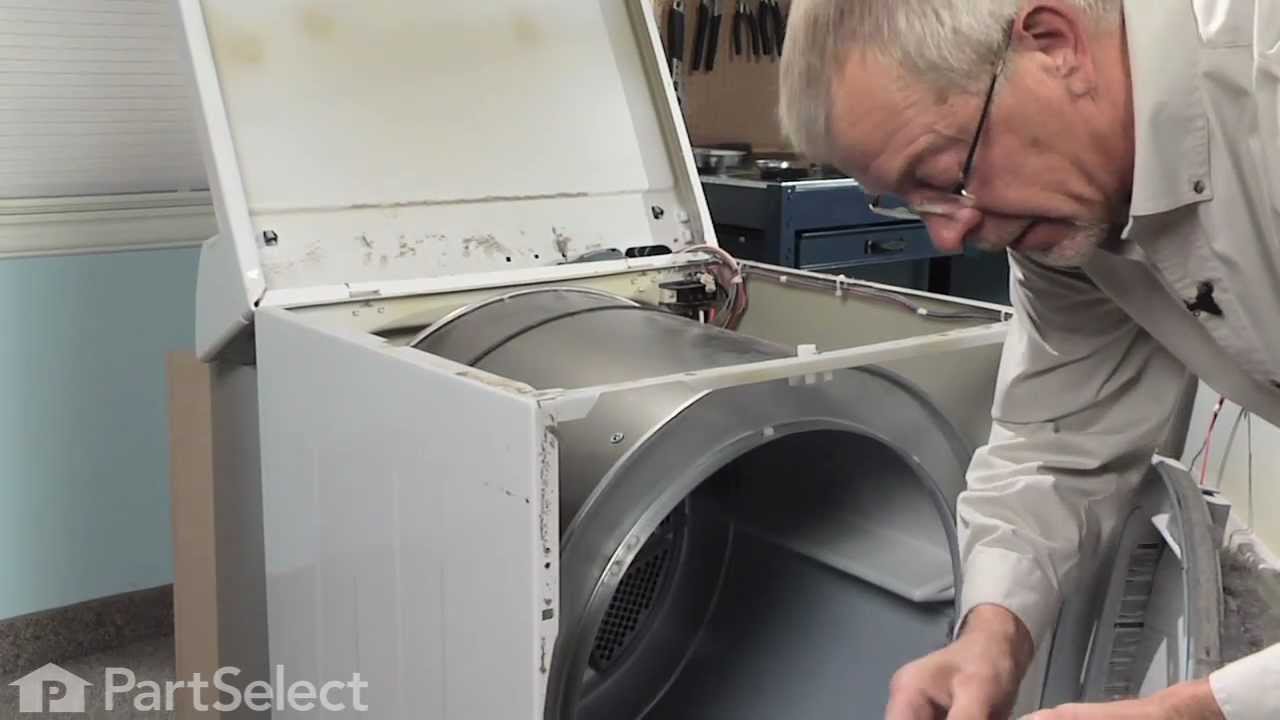
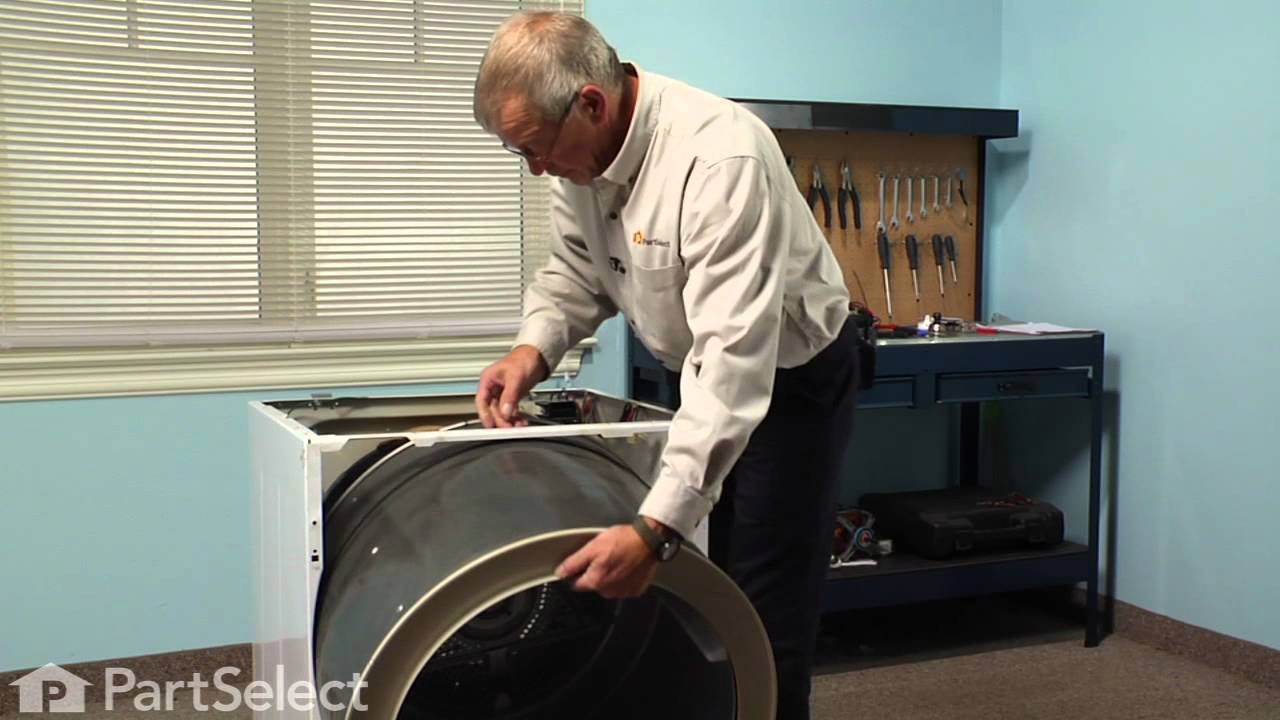
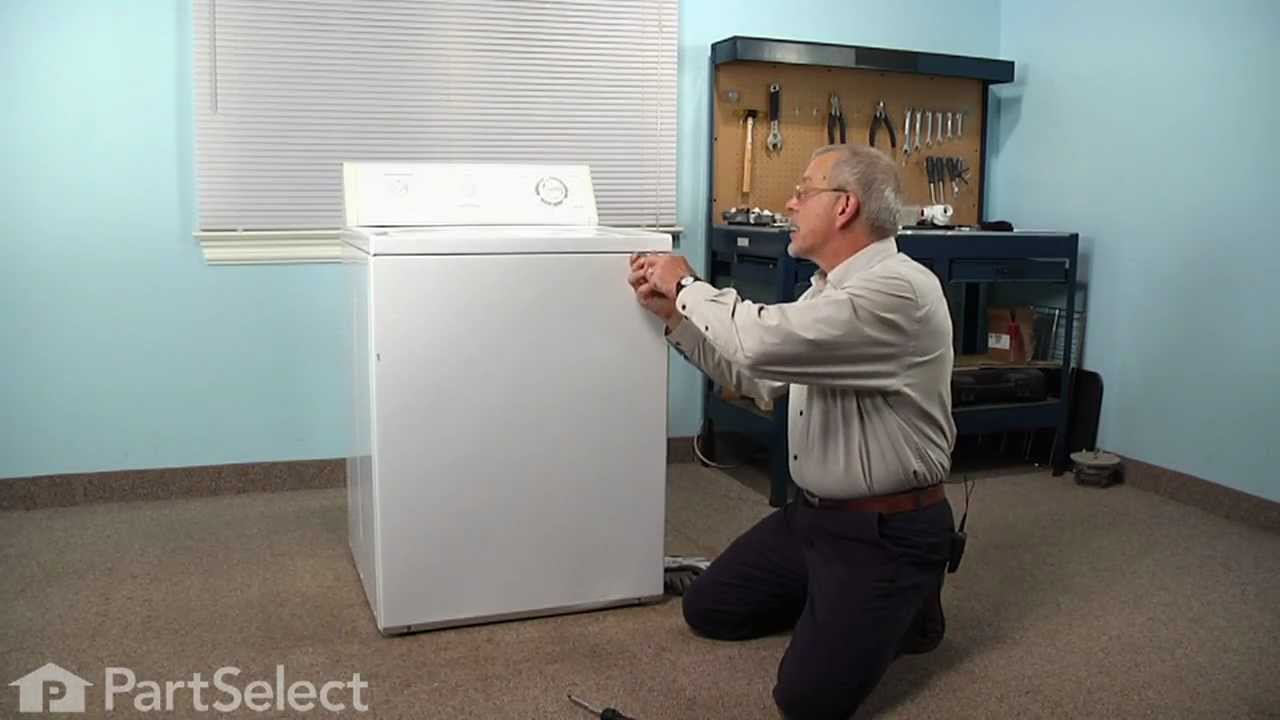
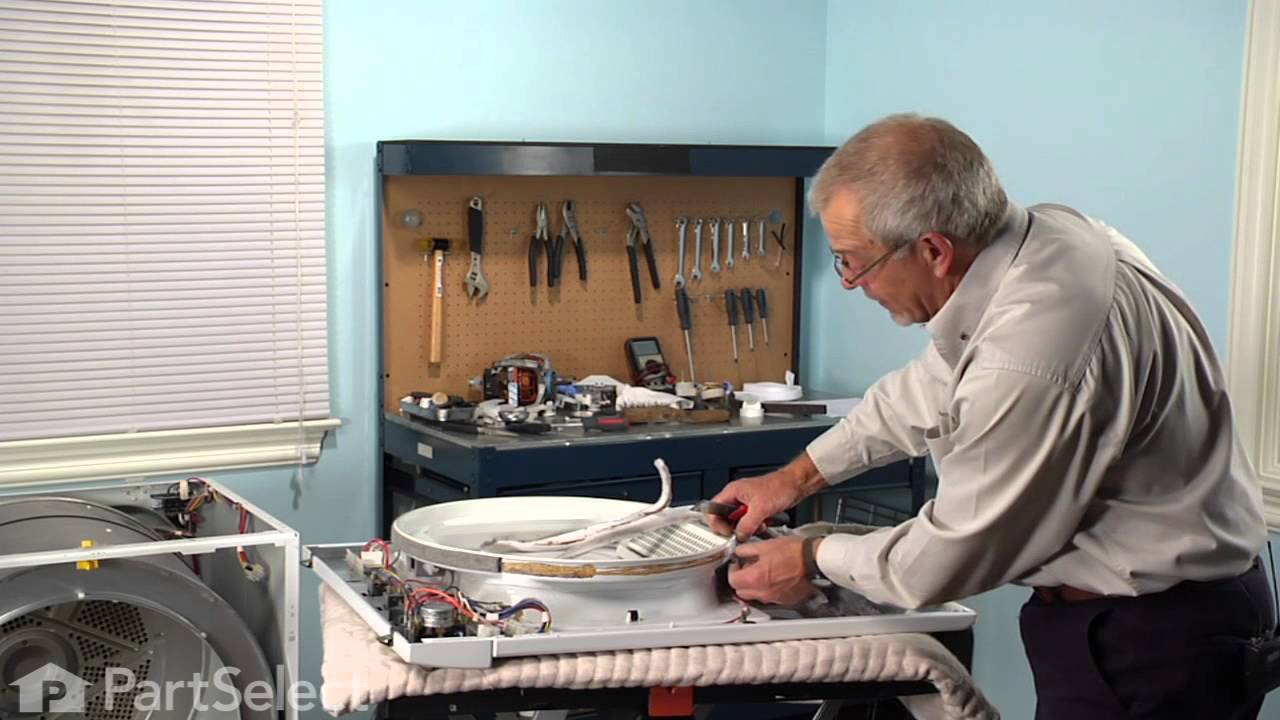
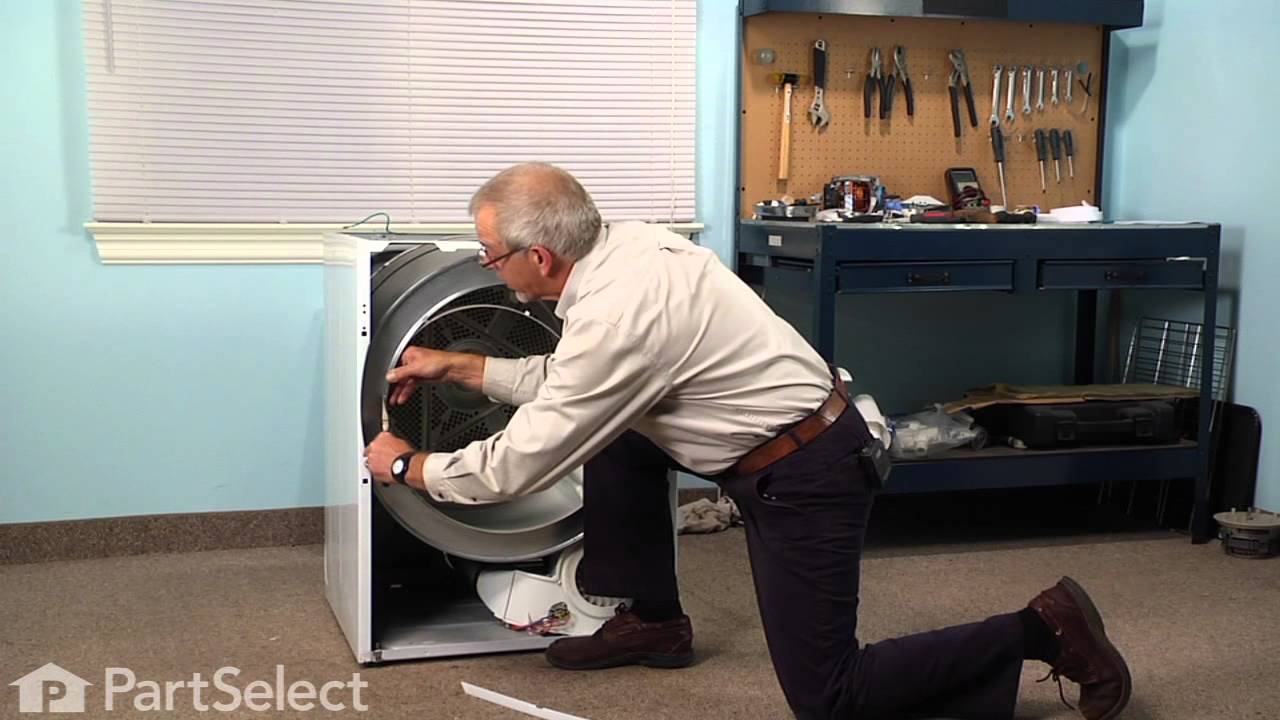
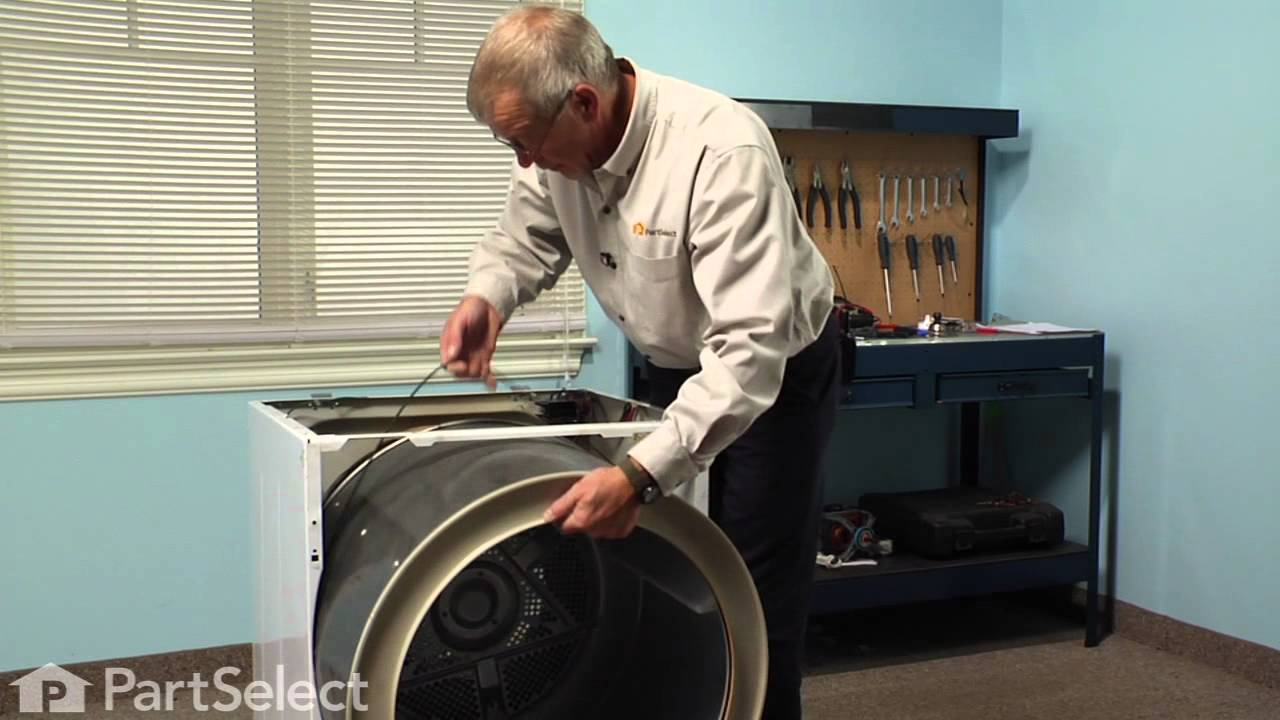
See how others fixed this model. Time, tools, difficulty, and steps that lead to victory!
View More
Search repair tips from other customers using simple keywords like "replace", "fit", "remove", "inspect". DIY doesn't mean you have to do it alone!
Search filter:
Clear Filter
Your search term must have 3 or more characters.
squeeking like crazy
135 of 161 people
found this instruction helpful.
well, i started at the top and worked my way down. by taking the top off, it gave me more room to get the dryer tub out. took the two screw`s out of the vented plate on the back of the machine to undo the belt. this is a stackable washer-dryer combo, so next i took off the white plate on front between washer & dryer. took off the control
... Read more
panel, unpluged it, then took dryer door front off. then removed the two screw`s that hold that bracket on ,in the back of dryer, pulled the drum out & replaced the belt, but before replacing anything i took the shopvac to it , there was alot of lint in there.when replacing the Grounding Ball Clip & Grounding Ball, i took a one inch by two inch magnet and used it to hold the Grounding Ball & Clip in place so i could get the two screws started in the Drum Support Bearing & Bearing Bracket. after installing that i put the shaft in place & lined the dryer tub up with the 3 screw hole`s ,and boom, bang, pow...nothing to it. it`s easy...parts came very fast....Thx PartsSelect.com...i`ve told all my friend`s about PartsSelect
Read less
Other Parts Used:


Was this helpful?
Thank you for voting!