


 My Orders


41791122311 Kenmore Dryer - Overview
Diagrams for 41791122311
See every part. Know exactly what you need.


Enter a part description. DIY Heroes keep it simple, eg. "belt" or "pump".
Search filter:
Clear Filter
Your search term must have 3 or more characters.

$75.04
In Stock

$38.95
In Stock
Belt
Part #134719300
If your dryer drum has stopped spinning and your clothes are coming out damp, it might be time to replace the belt. This essential part helps the drum rotate, allowing warm air to circulate and dry your laundry properly. Made from sturdy material, it’s built to last but can wear out with frequent use. Replacing it is a manageable DIY proj...Read moreect—just grab a screwdriver and wrench to access the belt and swap it out. This part is sold individually, so you’ll only need one to get your dryer running smoothly again.
Read less

$36.73
In Stock

$41.81
In Stock

$70.40
In Stock
Control Thermistor
Part #134587700
This part controls the temperature of the inside of the dryer drum and prevents the dryer from overheating. This part is located in the blower housing.

$44.95
In Stock
M Series Ignition Coil Kit
Part #5303931775
This ignition coil kit contains two coils. One is a two wire secondary coil, while the other is a three wire booster coil. Both should be used together in your gas clothes dryer.

$28.95
In Stock
Screw
Part #131302800
This is a replacement screw for your washer or dryer. The screw is approximately half an inch in length and is a Phillips-head screw. It screws in from the outside of the drum, into the vane/baffle. The main reason you would replace this screw is if the old screw is missing or damaged. This part is sold individually and is an OEM part sourced directly from the manufacturer.

$107.36
In Stock
GASKET
Part #137553402
This is a gasket, but you may also know it as a door seal, for your dryer. This part prevents heat loss during a drying cycle by keeping the area around the door sealed. This gasket is all black, and is made of extremely flexible material. The surface of this part is roughly half an inch wide, and a quarter inch thick. One side of the mat...Read moreerial is smooth, while the other side has clips to make your installation easier.
Read less

$39.95
In Stock

$44.95
In Stock
Thermal Fuse
Part #134711401
This dryer thermal fuse is a critical safety component designed to protect the appliance from overheating. It automatically shuts off power to the motor or heating system if excessive temperatures are detected, helping prevent damage or potential fire hazards. Once the fuse is triggered, it cannot be reset and must be replaced. A faulty t...Read morehermal fuse may cause the dryer not to start, run without heat, shut off prematurely, or operate at unsafe temperatures. Replacing this component helps restore safe and proper dryer operation.
Read less

$29.95
In Stock

$134.54
In Stock
COVER
Part #137554110
This dryer lint screen grille cover is a precision-molded component designed to fit securely within the lint screen housing. Its primary function is to prevent small clothing items from slipping into the lint duct while supporting the lint filter’s performance. By acting as a barrier it helps reduce the risk of clogging in the exhaust sys...Read moretem and promotes consistent airflow which is essential for efficient drying and preventing overheating. The grille cover also contributes to the overall safety and longevity of the appliance by minimizing the chance of debris entering the vent system. Installation typically involves placing the cover inside the lint screen compartment ensuring it aligns properly with the housing for optimal function.
Read less
Manuals & Care Guides for 41791122311
Click to downloadInstall
Installation Instructions
(3.62MB)
Manual
Owner's Manuals
(1.96MB)
Specs
Product Specifications Sheet
(2.79MB)
Wiring
Wiring Diagram
(2.79MB)
Common Symptoms of the 41791122311
How this model fails, and the parts that fix it.
Door won’t close
Fixed by
these parts
these parts


Show All
Noisy
Fixed by
these parts
these parts


Show All
Drum Not Spinning
Fixed by
these parts
these parts
Show All
Not Heating
Fixed by
these parts
these parts


Show All
Door Pops Open
Fixed by
these parts
these parts
Show All
Too hot
Fixed by
these parts
these parts
Show All
Won’t Start
Fixed by
these parts
these parts

Show All
Watch our pros, then fix it yourself.
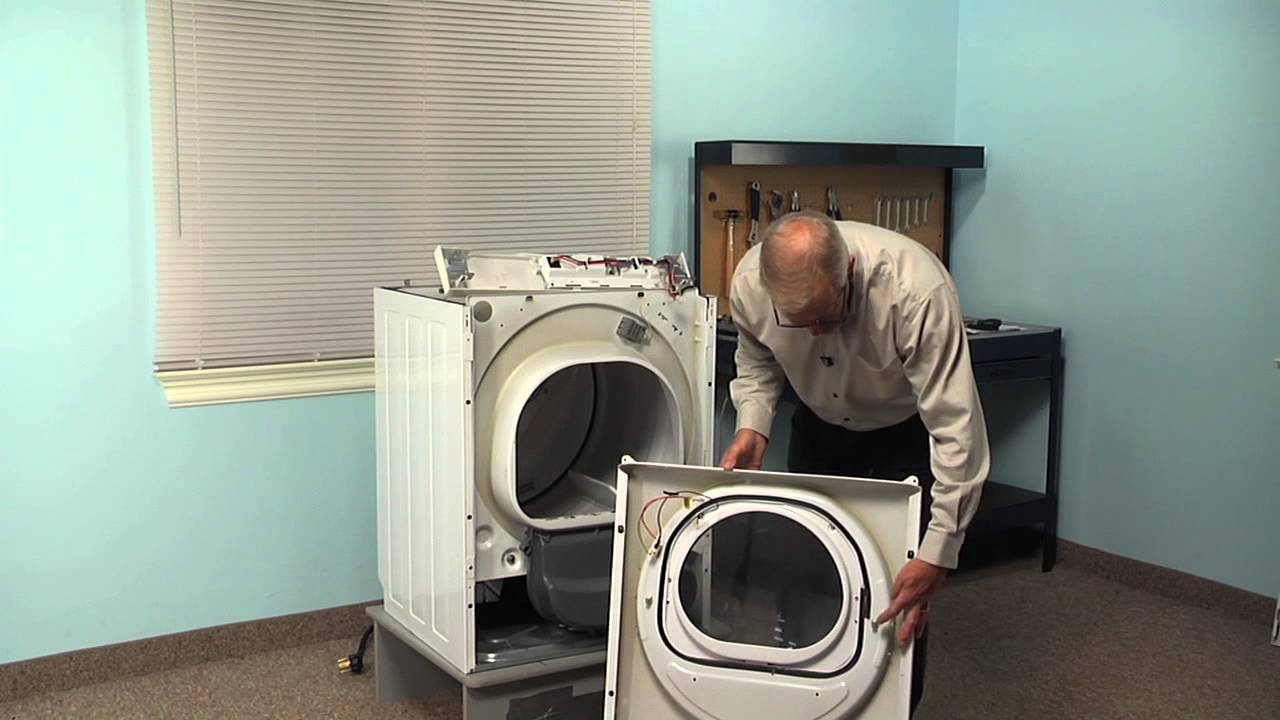
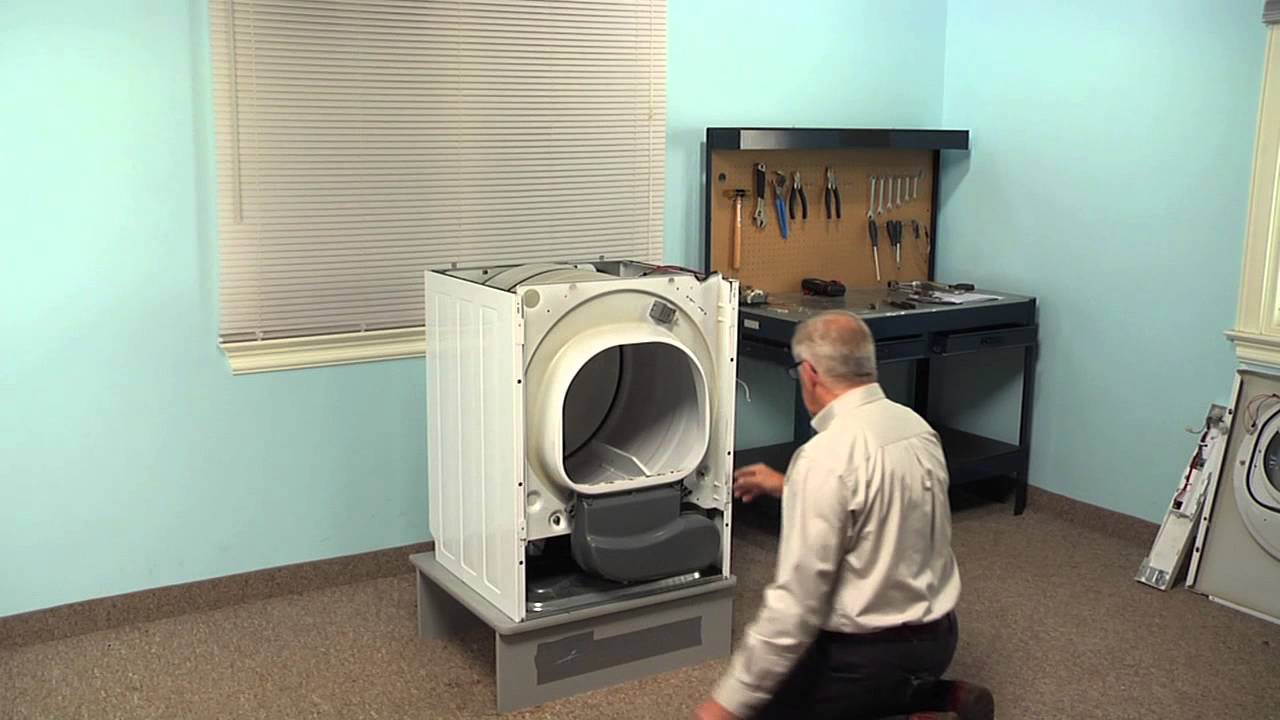
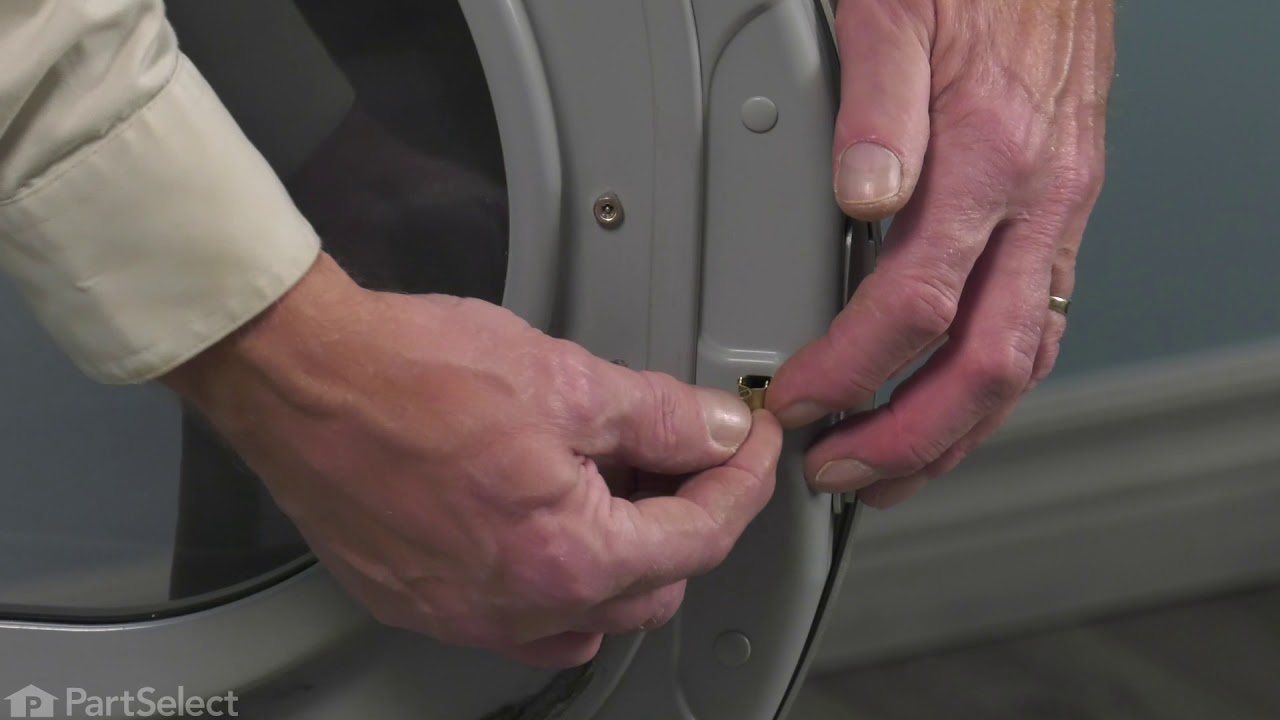

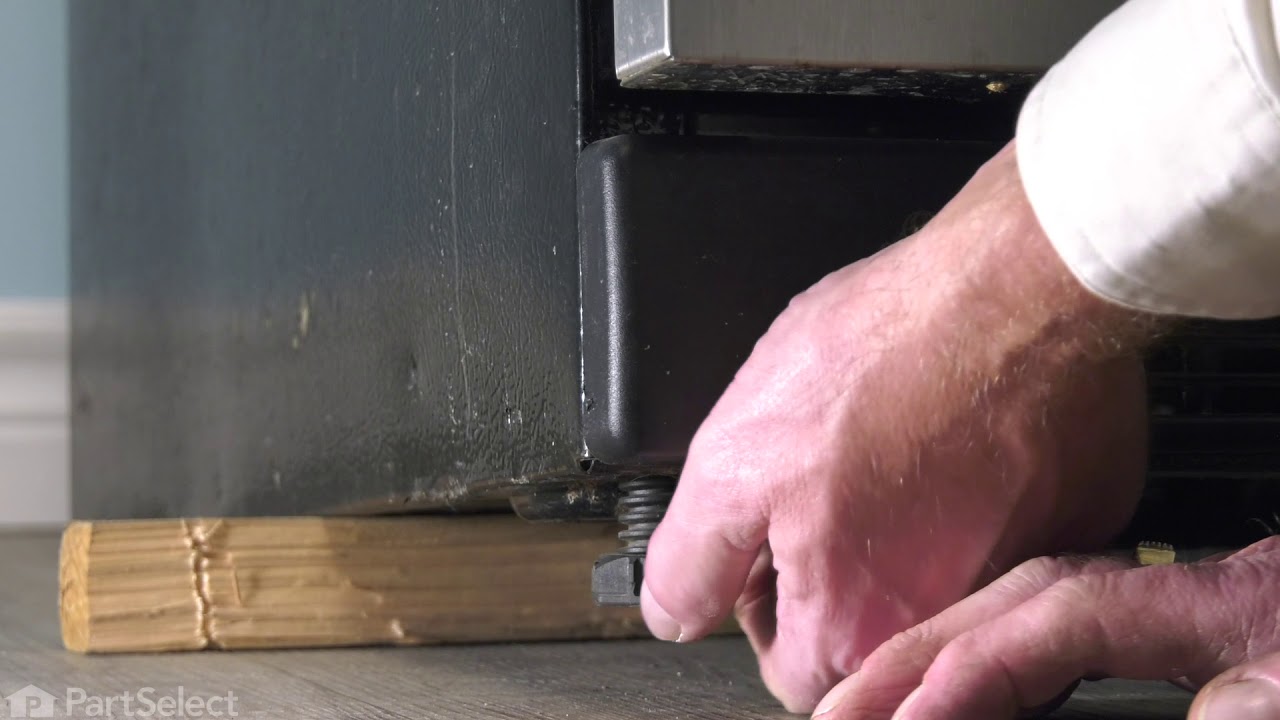
See how others fixed this model. Time, tools, difficulty, and steps that lead to victory!
View More
Search repair tips from other customers using simple keywords like "replace", "fit", "remove", "inspect". DIY doesn't mean you have to do it alone!
Search filter:
Clear Filter
Your search term must have 3 or more characters.
Noisy Dryer
57 of 69 people
found this instruction helpful.
When I described the noise to a YouTube appliance diagnostician, I was directed to check the felt seals front and back of the rotating drum for wear, tears, or foreign objects. As it happens the felt seals looked find and there were foreign objects so, not wanting to disassemble and reassemble the dryer more than I had, I ended up replac
... Read more
ing all the replaceable moving parts that I considered possible culprits: The idler tension spring, the idler tension bracket (which includes a nylon pulley wheel), the drum belt, the five rubber-tipped bearings that support the drum and keep it in place, and the foam seal on the blower housing which seemed a little brittle and old, as well as high-temperature adhesive for the latter. The instructional videos here and on YouTube were extremely helpful (I doubt that I would have attempted this job at all, had I not watched these ahead of time). The most time-consuming aspect was waiting for the arrival of the parts as I didn't order them all at the same time or all from the same place (I ordered from whomever could ship me a given part the fastest. Disassembly took less than an hour. Re-assembly with the new parts in place took about the same but was a little more awkward because this appliance sits in a very narrow closet and it's difficult to ensure that the 4" flexible duct stays in place when sliding the appliance back into the closet. No regrets. Now I know the basics if this dryer needs attention in future and I also know all the parts that I can eliminate as suspects in any future maintenance (the parts that I replaced)
Read less
Other Parts Used:


Was this helpful?
Thank you for voting!