


 My Orders


363W Kenmore - Overview
Models starting with 363W
Click on the best match to narrow your results.
- 363WR30M0153 Kenmore Refrigerator (Kenmore Refrigerator Model 363.WR30M0153 (363WR30M0153, 363 WR30M0153) Parts)
- 363WR30X0153 Kenmore Refrigerator (Kenmore Refrigerator Model 363.WR30X0153 (363WR30X0153, 363 WR30X0153) Parts)
- 363WR30X0280 Kenmore Refrigerator (Kenmore Refrigerator Model 363.WR30X0280 (363WR30X0280, 363 WR30X0280) Parts)
- 363WR30X0284 Kenmore Refrigerator (Kenmore Refrigerator Model 363.WR30X0284 (363WR30X0284, 363 WR30X0284) Parts)
- 363WR30X0289 Kenmore Refrigerator (Kenmore Refrigerator Model 363.WR30X0289 (363WR30X0289, 363 WR30X0289) Parts)
- 363WR30X0290 Kenmore Refrigerator (Kenmore Refrigerator Model 363.WR30X0290 (363WR30X0290, 363 WR30X0290) Parts)
- 363WR30X0304 Kenmore Refrigerator (Kenmore Refrigerator Model 363.WR30X0304 (363WR30X0304, 363 WR30X0304) Parts)
- 363WR30X0305 Kenmore Refrigerator (Kenmore Refrigerator Model 363.WR30X0305 (363WR30X0305, 363 WR30X0305) Parts)
- 363WR30X0306 Kenmore Refrigerator (Kenmore Refrigerator Model 363.WR30X0306 (363WR30X0306, 363 WR30X0306) Parts)
- 363WR30X0307 Kenmore Refrigerator (Kenmore Refrigerator Model 363.WR30X0307 (363WR30X0307, 363 WR30X0307) Parts)
- 363WR30X0310 Kenmore Ice Maker (Kenmore Ice Machine Model 363.WR30X0310 (363WR30X0310, 363 WR30X0310) Parts)
- 363WR30X0315 Kenmore Refrigerator (Kenmore Refrigerator Model 363.WR30X0315 (363WR30X0315, 363 WR30X0315) Parts)
- 363WR30X0316 Kenmore Refrigerator (Kenmore Refrigerator Model 363.WR30X0316 (363WR30X0316, 363 WR30X0316) Parts)
- 363WR30X0318 Kenmore Ice Maker (Kenmore Ice Machine Model 363.WR30X0318 (363WR30X0318, 363 WR30X0318) Parts)
- 363WR30X0320 Kenmore Refrigerator (Kenmore Refrigerator Model 363.WR30X0320 (363WR30X0320, 363 WR30X0320) Parts)
- 363WR30X0327 Kenmore Refrigerator (Kenmore Refrigerator Model 363.WR30X0327 (363WR30X0327, 363 WR30X0327) Parts)
Enter a part description. DIY Heroes keep it simple, eg. "belt" or "pump".
Search filter:
Clear Filter
Your search term must have 3 or more characters.

No Longer Available
Touch-Up Paint - White
Part #72017
This 18 ml bottle of white appliance touch-up paint is used to cover scratches or marks on your appliance. The white touch-up paint can be used on refrigerators, microwaves, ranges, clothes dryers, and freezers. This is a genuine OEM part and includes a brush applicator. Please remember to wear gloves to protect your hands when applying this paint.

$23.79
Special Order
Union Connector - 5/16 Inch to 5/16 Inch
Part #WR02X11330
Quick connector for plastic water line - 5/16" to 5/16"

$267.74
Special Order
Ice Maker
Part #WR30X10093
This ice maker assembly is used to make ice in your refrigerator. The ice maker receives water from the water inlet valve and will freeze until ice cubes are formed. Once the water has been frozen the cubes will be ejected from the mold into the ice bucket. The ice maker will continue the process until the ice bucket has reached the limit...Read more. If your ice maker is not making ice you may need to replace this part. This kit includes the fill cup, 4-pin wire harness adapter, and a tube. Disconnect the power and water supply before starting your repair. This ice maker is a genuine OEM part.
Read less

No Longer Available

No Longer Available
Door Shelf Retainer Bar End Cap - Right Side
Part #WR2X8700
This is the replacement door shelf retainer bar end cap for your refrigerator. An end cap connects to the lower shelf bar on either side, and then snaps into position on the refrigerator door, allowing you to store items in the refrigerator door. To replace the end cap, simply disengage the whole bar assembly from the refrigerator door, t...Read morehen disengage the hook on the end cap from the rest of the bar assembly. Snap the end cap back into place, and connect it back to the refrigerator door. This part is sold individually.
Read less

$9.85
In Stock

No Longer Available
Vegetable Drawer Slide Rail - Right Side
Part #WR17X2769

No Longer Available
Vegetable Drawer Slide Rail - Left Side
Part #WR17X2770
This is the replacement vegetable drawer side rail for the left side of your refrigerator. It is made of white plastic and is approximately 18 inches long, and 6 inches wide. The slide rail supports the crisper drawer as it slides in and out. If the slide rail is broken, you may have difficulty sliding the drawer in and out. This rail is ...Read morefor the left side of the drawer, and the slide for the right side is sold separately. This part is sold individually and is and OEM part.
Read less

No Longer Available
Door Shelf Retainer Bar End Cap - Left Side
Part #WR2X8699
This part is the replacement door shelf retainer bar end cap for the left side of your refrigerator door. The end cap is approximately 4 inches by 5 inches and is made of white plastic. The end cap snaps into place on the refrigerator door so you can attach the door shelf retainer bar to the inner door liner. The main reason to replace th...Read moree end cap is if it is broken, and the retainer bar cannot connect to the refrigerator door. To replace the end cap, simply disconnect it from the refrigerator door and the shelf retainer bar, and replace it with a new end cap. This part is for the left side of the shelf bar only, and the cap for the right side is sold separately. This is an OEM part from the manufacturer.
Read less

$74.85
In Stock

No Longer Available
Center Cover Slide
Part #WR17X2768
This slide cover or slide rail is a genuine OEM replacement part for your refrigerator. This part is made of white plastic. To install it, simply remove the glass shelf, remove the current slide rail and put the new one in place.

$10.40
In Stock
Common Symptoms of models starting with 363W
How this model fails, and the parts that fix it.
Leaking
Fixed by
these parts
these parts


Show All
Ice maker not making ice
Fixed by
these parts
these parts

Show All
Not dispensing water
Fixed by
these parts
these parts
Show All
Ice maker won’t dispense ice
Fixed by
these parts
these parts
Show All
Ice maker dispenses too little ice
Fixed by
these parts
these parts
Show All
Ice maker dispenses too much ice
Fixed by
these parts
these parts
Show All
Won’t start
Fixed by
these parts
these parts
Show All
Noisy
Fixed by
these parts
these parts
Show All
Watch our pros, then fix it yourself.
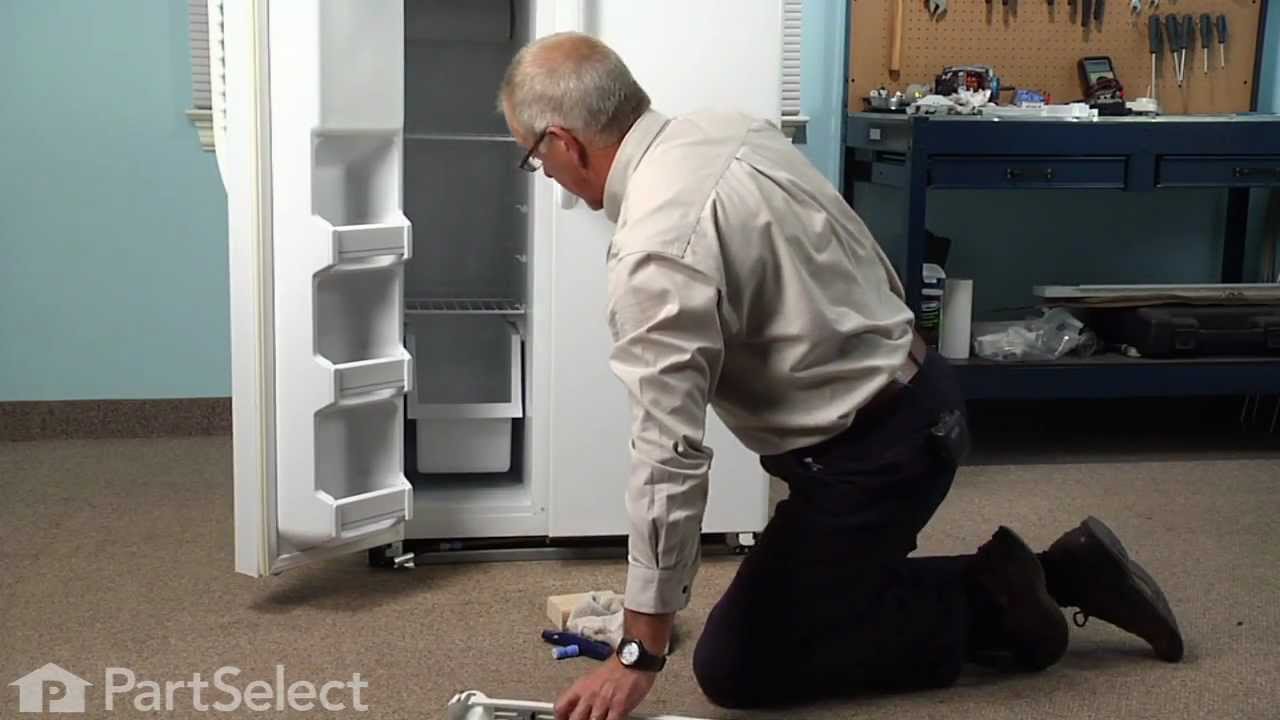
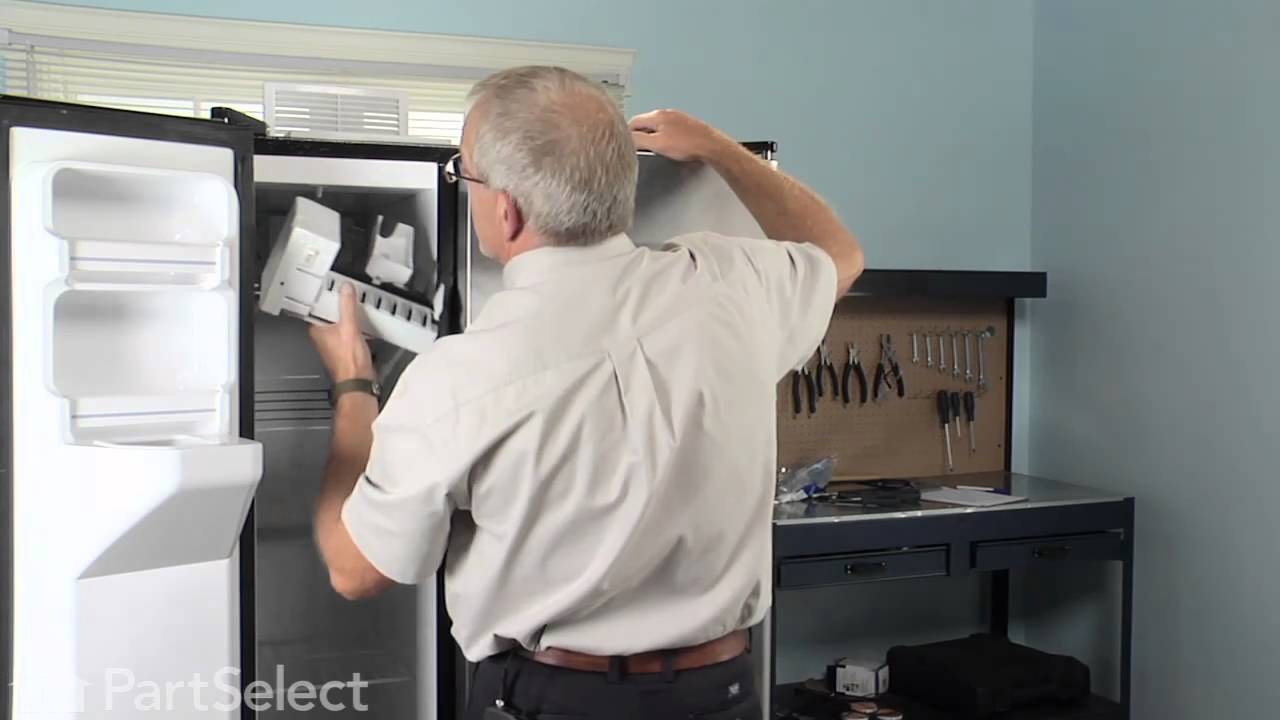
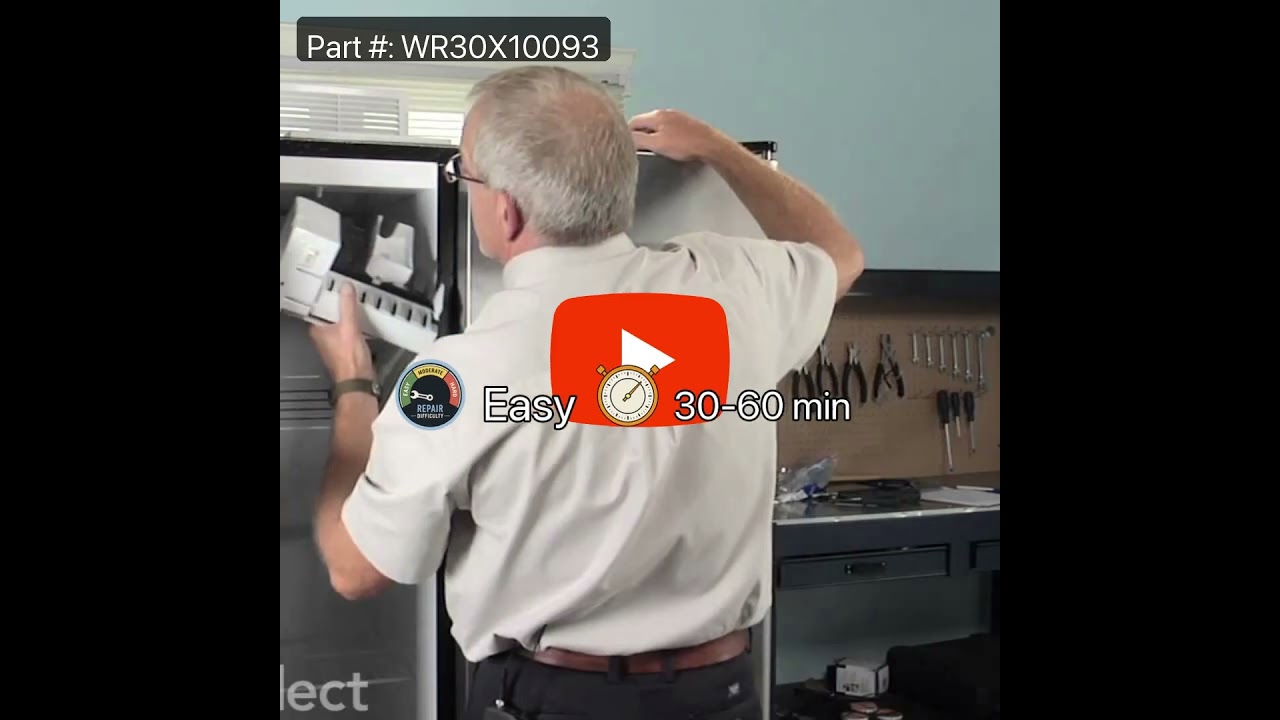
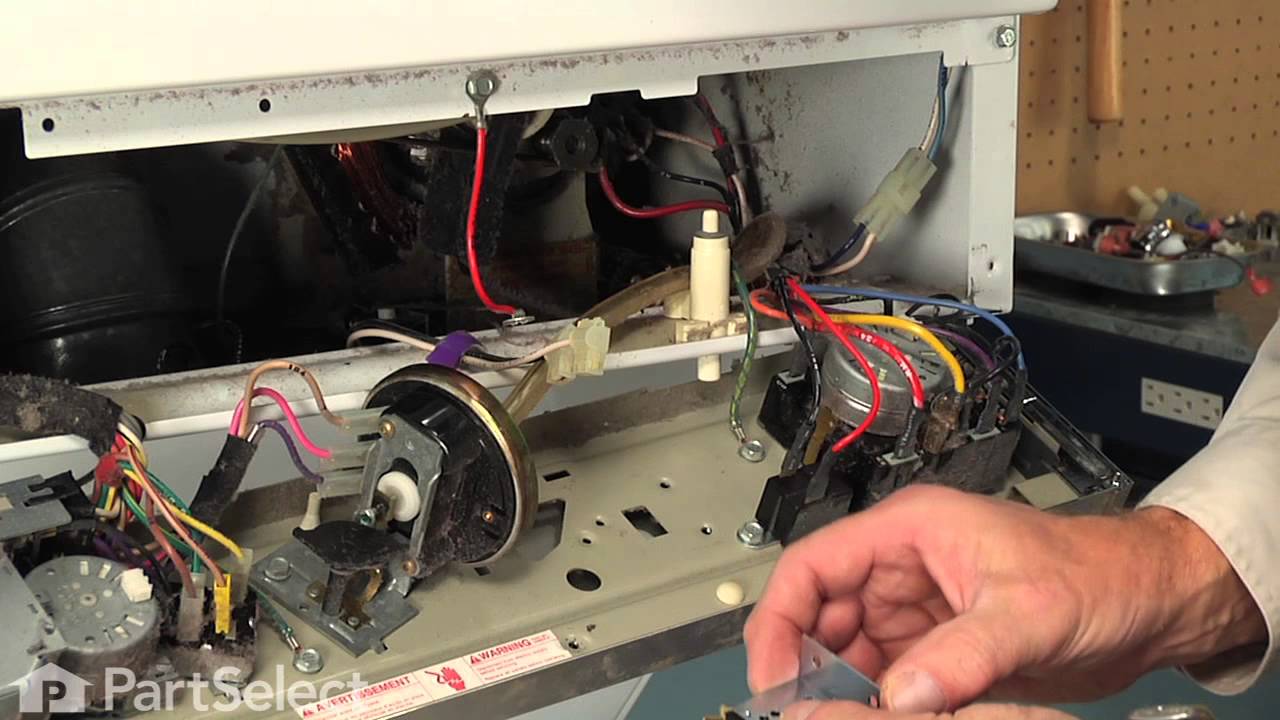
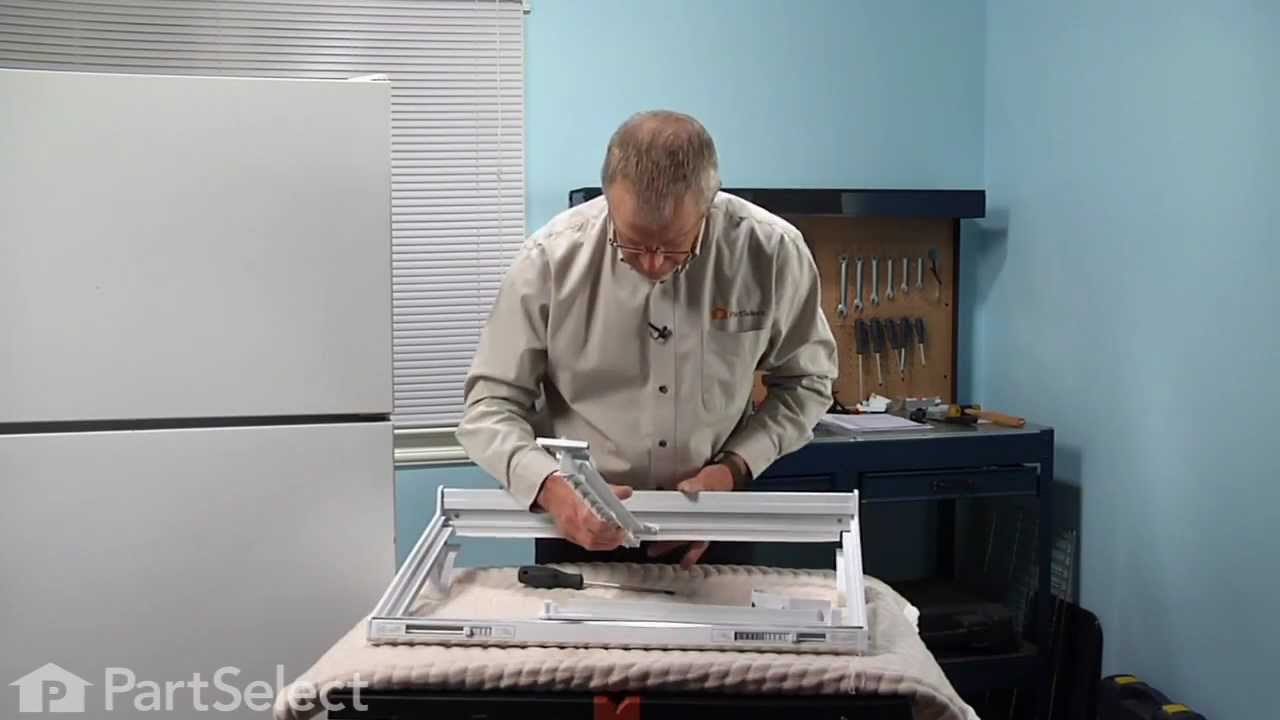
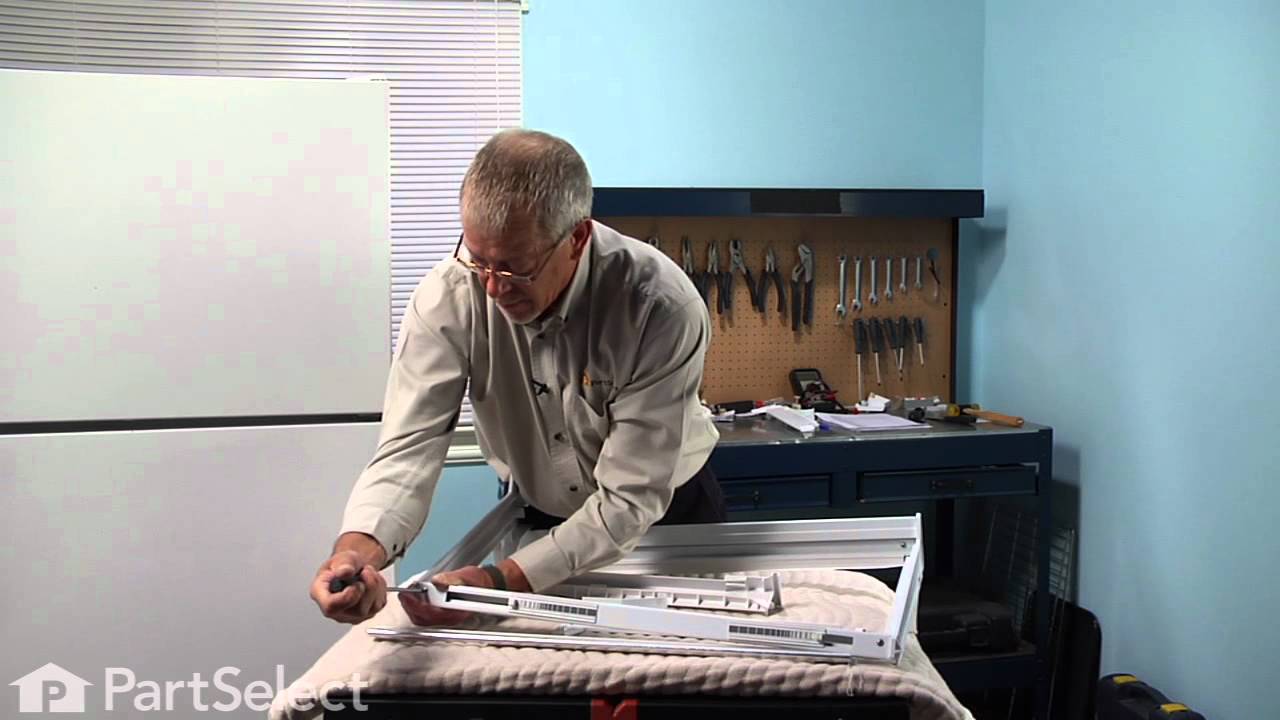
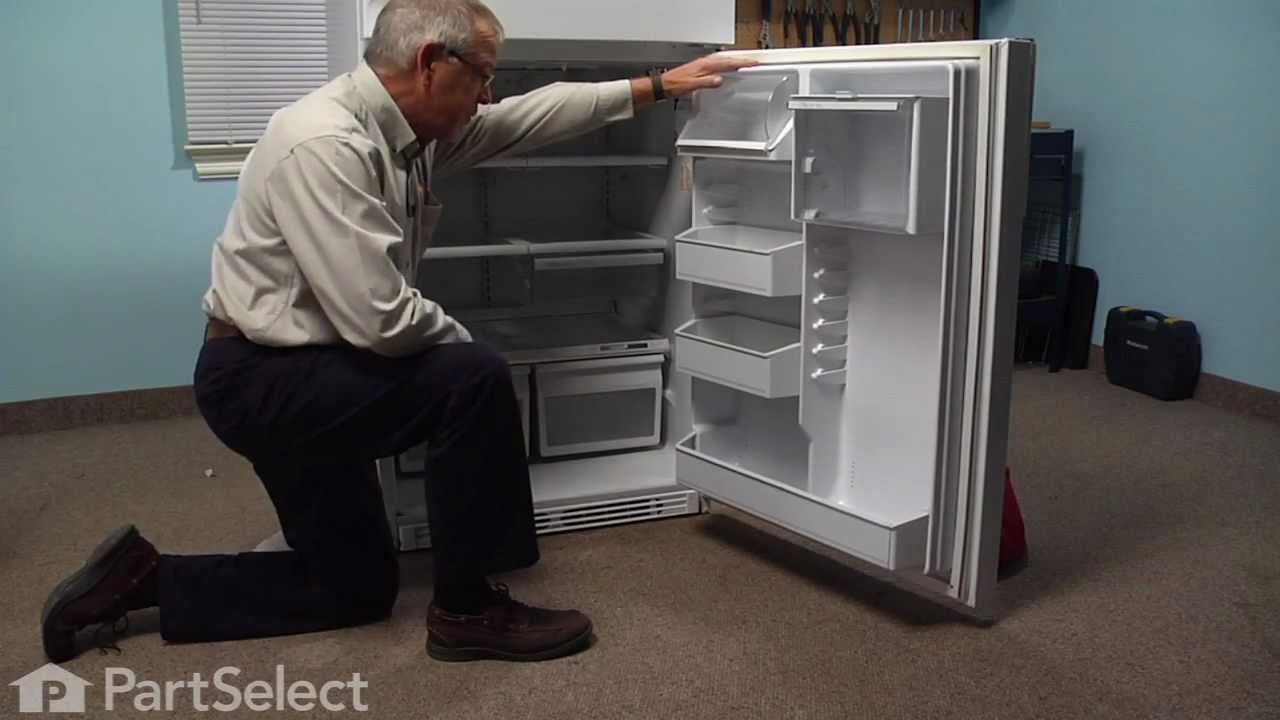
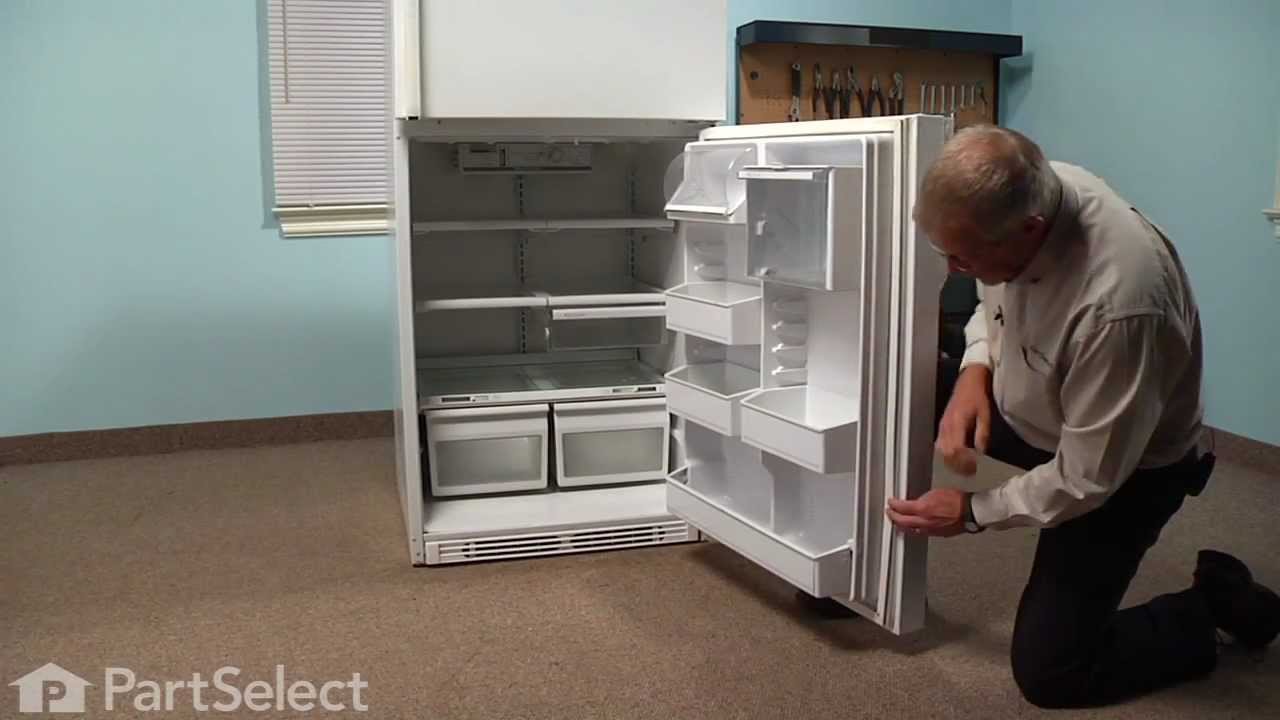
See how others fixed this model. Time, tools, difficulty, and steps that lead to victory!
View More