


 My Orders


19858 Freezer - Overview
Models starting with 19858
Click on the best match to narrow your results.
- 1985811040 Roper Freezer
- 1985811170 Kenmore Freezer
- 1985811171 Kenmore Freezer
- 1985815040 Roper Freezer
- 1985815130 Kenmore Freezer
- 1985815131 Kenmore Freezer
- 1985815132 Kenmore Freezer
- 1985815170 Kenmore Freezer
- 1985815171 Kenmore Freezer
- 1985815210 Kenmore Freezer
- 1985815211 Kenmore Freezer
- 1985816100 Kenmore Freezer
- 1985816150 Kenmore Freezer
- 1985816151 Kenmore Freezer
- 1985816152 Kenmore Freezer
- 1985816153 Kenmore Freezer
- 1985816170 Kenmore Freezer
- 1985816200 Kenmore Freezer
- 1985817170 Kenmore Freezer
- 1985818100 Kenmore Freezer
- 1985818101 Kenmore Freezer
- 1985818150 Kenmore Freezer
- 1985818151 Kenmore Freezer
- 1985818200 Kenmore Freezer
- 1985818201 Kenmore Freezer
- 1985819040 Roper Freezer
- 1985819100 Kenmore Freezer
- 1985819150 Kenmore Freezer
- 1985819151 Kenmore Freezer
- 1985826140 Kenmore Freezer
- 1985826180 Kenmore Freezer
Enter a part description. DIY Heroes keep it simple, eg. "belt" or "pump".
Search filter:
Clear Filter
Your search term must have 3 or more characters.

$61.55
In Stock
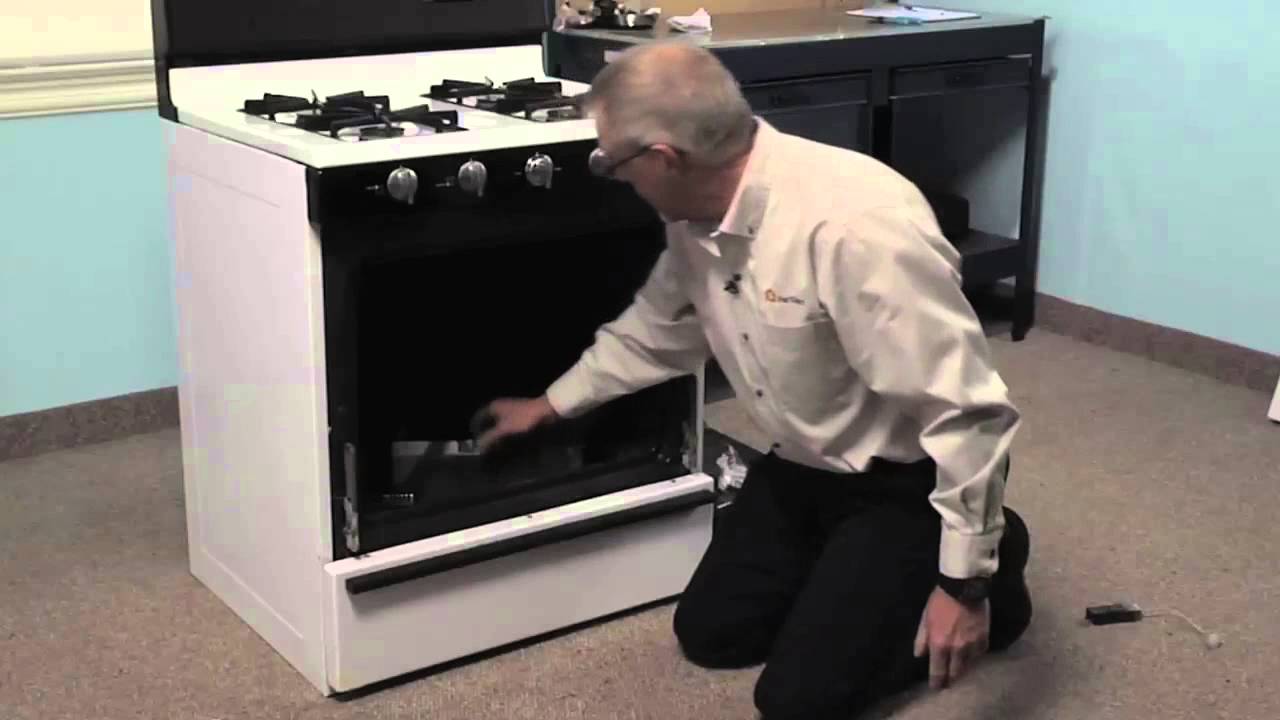
Flat Style Oven Igniter Kit
Part #12400035
The flat style gas oven igniter included in this kit has a body length of 3-3/4 inches. This kit comes with all of the pieces you need to replace longer ceramic igniters, though this kit can also replace short igniters.
This flat style oven igniter kit is a genuine replacement component designed for use in gas ovens and ranges. It plays...Read more a critical role in the ignition process by generating the heat required to open the gas valve and ignite the burner assembly. Suitable for both bake and broil functions, this igniter can replace short and long flat-style igniters but is not compatible with round-style models. If the igniter glows for more than 90 seconds without lighting the burner, or glows only orange or red instead of white-hot, it may be too weak to activate the gas valve and should be replaced. The kit includes the igniter, ceramic wire nuts, insulation pad, metal mounting bracket, multiple plug ends, and an instruction sheet. The igniter body measures approximately 3 ¾ inches, with an internal element
Read less

$115.19
In Stock
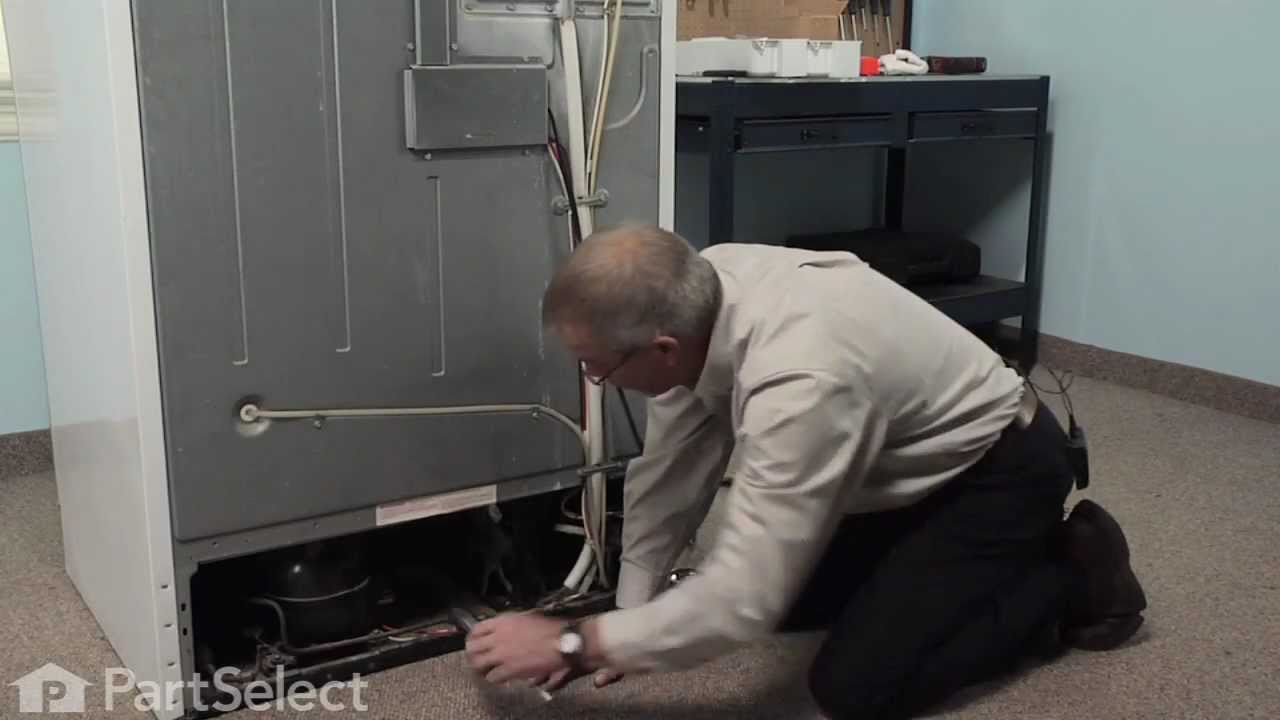
Refrigerator Condenser Fan Motor Kit
Part #833697
This condenser fan motor operates in a clockwise fashion and carries carries 2W and 115V. It comes with screws, a mounting nut for the blade and a cushion. This part provides forced-air cooling for the condenser coil.

$156.71
In Stock
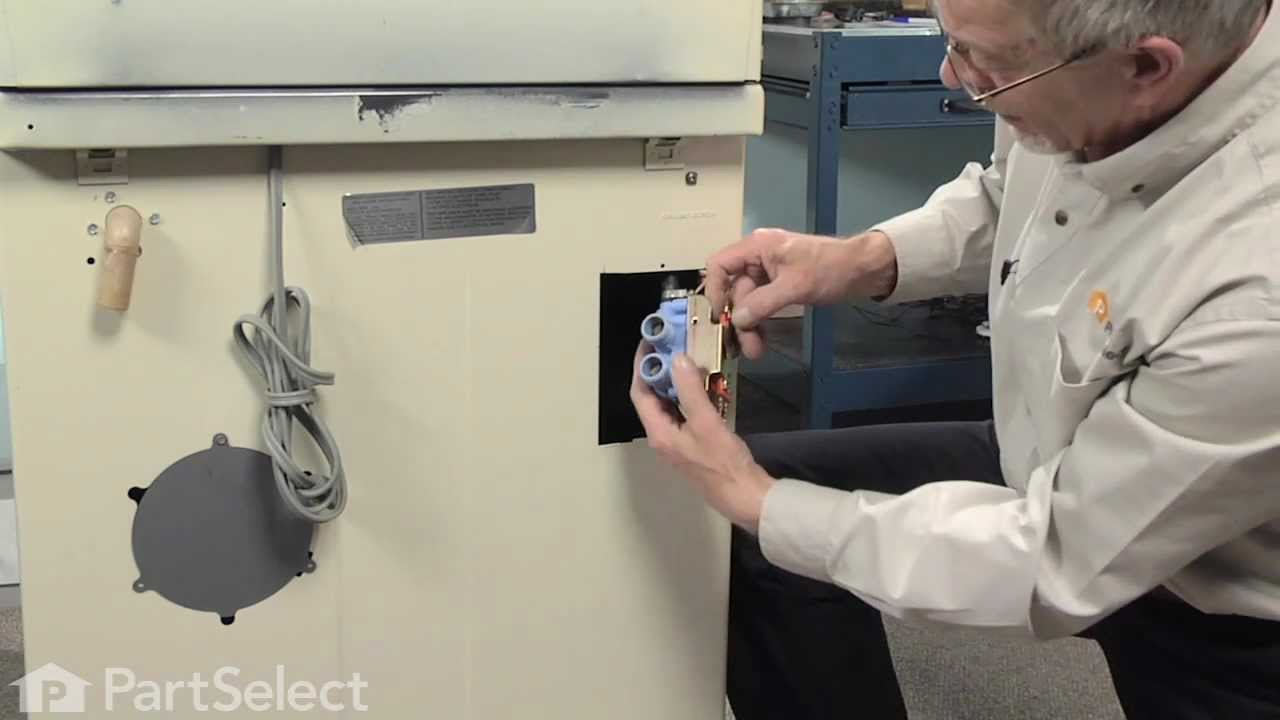
Water Inlet Valve
Part #205613
This part has two ports for water to enter. It is blue and is intended for use with many washing machines and comes with a multi-mount bracket and an outlet adaptor.

$10.95
In Stock

$66.88
In Stock
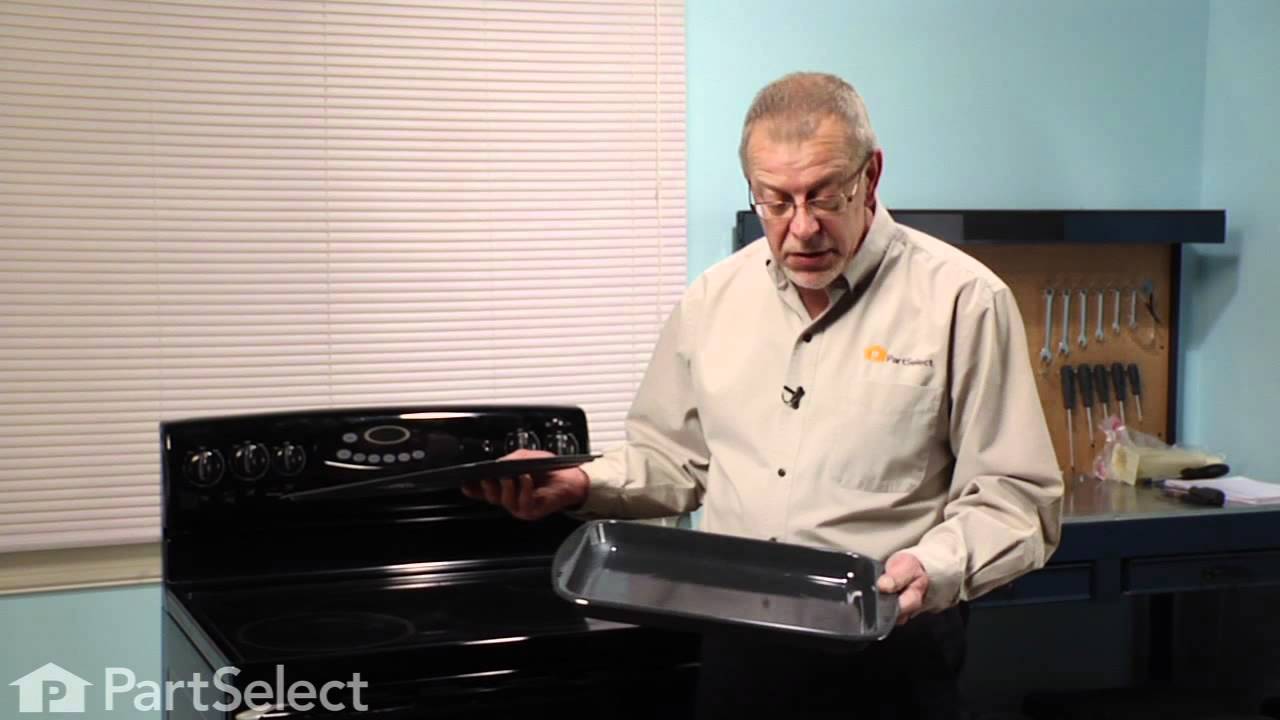
2 Piece Broiler Pan
Part #4396923
This broiler pan and roasting rack set features a two-piece design that allows fat to drain away for cleaner cooking and reduced splatter. Made with a durable, high-heat resistant porcelain finish, it offers reliable performance and easy cleanup. Measuring approximately 16 3/4 inches long by 12 3/4 inches wide and 1 3/4 inches high, it provides a practical solution for everyday broiling and roasting.

$10.50
In Stock
Screw
Part #WP488729
Metallic screw that is less than an inch long. Does not include the plastic washer.

$12.95
In Stock

$30.43
Special Order
KNOB
Part #W11238392

$15.06
Special Order

$10.46
Special Order
Screw
Part #WP487353

$10.53
Special Order

$10.65
Special Order
Common Symptoms of models starting with 19858
How this model fails, and the parts that fix it.
Gas igniter glows, but will not light
Fixed by
these parts
these parts

Show All
Will Not Start
Fixed by
these parts
these parts

Show All
Little to no heat when baking
Fixed by
these parts
these parts
Show All
No hot or cold water
Fixed by
these parts
these parts

Show All
Leaking
Fixed by
these parts
these parts
Show All
Fridge too warm
Fixed by
these parts
these parts
Show All
Freezer section too warm
Fixed by
these parts
these parts
Show All
Noisy
Fixed by
these parts
these parts
Show All
Element will not heat
Fixed by
these parts
these parts
Show All
Fridge runs too long
Fixed by
these parts
these parts
Show All
Fridge and Freezer are too warm
Fixed by
these parts
these parts
Show All
Oven not heating evenly
Fixed by
these parts
these parts
Show All
Gas smell
Fixed by
these parts
these parts
Show All
Water Filling Issues
Fixed by
these parts
these parts
Show All
Little to no heat when broiling
Fixed by
these parts
these parts
Show All
Too warm
Fixed by
these parts
these parts
Show All
Watch our pros, then fix it yourself.
See how others fixed this model. Time, tools, difficulty, and steps that lead to victory!
View More