


 My Orders


158 - Overview
Models starting with 158
Click on the best match to narrow your results.
- 1580-0 Briggs and Stratton Pressure Washer (3,000 PSI Pressure Washer)
- 15800 Maytag Microwave
- 1580000 Litton Microwave
- 1581 (0601581234) Bosch Jig Saw ((060234) Jig Saw)
- 1581-0 Briggs and Stratton Pressure Washer (3,500 PSI Pressure Washer)
- 1581AVS (0601581666) Bosch Jig Saw (Jig Saw)
- 1581AVS (0601581667) Bosch Jig Saw (Jig Saw)
- 1581DVS (0601581434) Bosch Jig Saw (Dustless Jig Saw)
- 1581DVS (0601581934) Bosch Jig Saw (Dustless Jig Saw)
- 1581VS (0601581534) Bosch Jig Saw (Jig Saw)
- 1582 (0601582234) Bosch Jig Saw ((060234) "Clic" Jig Saw)
- 15827 (0601582732) Bosch Jig Saw (Jig Saw)
- 1582DVS (0601582934) Bosch Jig Saw (Dustless "Clic" Jig Saw)
- 1582VS Bosch Jig Saw (JigSaw)
- 1584AVS (0601584651) Bosch Jig Saw (Jig Saw)
- 1584DVS (0601584839) Bosch Jig Saw (Dustless "Clic" Jig Saw)
- 1584VS (0601584639) Bosch Jig Saw ("Clic" Jig Saw)
- 1585000 Maytag Microwave
- 1587-0 Briggs and Stratton Pressure Washer (2,400 PSI Pressure Washer)
- 1587AVS (0601587651) Bosch Jig Saw (Jig Saw)
- 1587AVS (0601587683) Bosch Jig Saw (Jig Saw)
- 1587AVS (0601587684) Bosch Jig Saw (Jig Saw)
- 1587AVSP1 (0601587692) Bosch Jig Saw (Jig Saw)
- 1587DVS (0601587839) Bosch Jig Saw (Dustless "Clic" Jig Saw)
- 1587VS (0601587639) Bosch Jig Saw ("Clic" Jig Saw)
- 1588EVS (0601588769) Bosch Jig Saw (Jig Saw)
- 1588EVSK (0601588739) Bosch Jig Saw (Jig Saw)
- 15891 General Electric Range (Electric Range)
- 15891 1 General Electric Range
- 158911 General Electric Range
- 1589EVS (0601589769) Bosch Jig Saw (Jig Saw)
- 1589EVSK (0601589739) Bosch Jig Saw (Jig Saw)
Enter a part description. DIY Heroes keep it simple, eg. "belt" or "pump".
Search filter:
Clear Filter
Your search term must have 3 or more characters.

$26.41
In Stock
Light Bulb - 40W
Part #8009
This an authentic OEM 40-Watt replacement light bulb, used in a number of household appliances. It is specially designed to withstand extreme temperatures, which is why these replacement bulbs are most often used to light the inside of refrigerators and ranges. It features a standard socket base, which means you simply unscrew the burnt-o...Read moreut bulb and screw in the replacement. Depending on the appliance you may require a screwdriver or nut driver to access the light bulb. We recommend you wear work gloves while handling this replacement part. It is constructed of glass and metal and is sold individually. Depending on the appliance and location of the bulb within it, you may want to consider disconnecting power and using a flashlight for easier access to unscrewing and re-screwing in your bulb during this repair.
Read less

$104.44
Special Order
Bake Element - Push On Terminals - 240V
Part #WB44T10011
This bake element is found on the bottom of the oven. This part is made of metal, and is approximately 20 inches in length and 18 inches in width.

$19.10
Special Order
Light Bulb - 40W
Part #40A15
This 40-Watt light bulb is sold individually.
It is specially designed to withstand extreme temperatures, so this bulb is compatible with a variety of appliance types including refrigerators, ranges, microwaves, and dryers. It features a frosted glass bulb with a standard metal socket base, which allows you to easily unscrew the burnt-out light and twist the new bulb into place.

$29.65
In Stock
Heat Resistant Adhesive
Part #W10841140
This is a heat-resistant adhesive for your appliance. The heat resistance allows you to stick parts such as grate feet, gaskets, and felt seals in hot areas, such as a cooktop, without compromising the integrity of the adhesive. It is white in color, and the tube is approximately 7.5 inches long.

$105.18
Special Order

$36.73
Special Order
Temperature Sensor
Part #WB21X22134
The temperature sensor detects the temperature within the oven cavity. If your oven is too hot, not heating evenly, or has little to no heat when baking, you may need to replace the temperature sensor. The sensor is usually located in the back of the oven. This is a genuine OEM part. Please make sure to disconnect the power to your range before starting your repair.

$13.95
Special Order
Lens
Part #WB25T10041
This part is a replacement lens for your oven or range. The lens is red in color, and when the elements are turned on, the light behind the lens will turn on to inform the user that the element is, in fact, on. The lens is a little less than half an inch in diameter and is made of plastic. If the light behind the lens still works, you sho...Read moreuld be able to simply remove the front panel and pop the damaged lens out of position, then replace it with the new one. This part is sold individually and is an OEM part sourced directly from the manufacturer.
Read less

$69.15
Special Order
Range Surface Element Control Switch - 6 Inch - 1560 W
Part #WB24T10029
If your stove’s burner isn’t heating right—maybe it’s stuck on high or won’t turn on at all—this control switch could be the fix. It’s made for 6-inch burners and lets you adjust the heat smoothly, not just in set steps. It works by turning the burner on and off to reach the temperature you want. Swapping out a worn switch can help your stove cook more evenly and safely.

No Longer Available
REAR SUPPORT
Part #WB02X33180
This genuine GE drawer support is an original replacement part sourced from the manufacturer and is designed for use with electric ranges. Made of durable plastic, it attaches to the rear of the drawer and provides stable support by securing the rear side in place. This part includes the necessary mounting screw for installation and is so...Read moreld individually. It’s a simple yet essential component for maintaining smooth drawer operation and proper alignment.
Read less

$29.72
Special Order

$16.37
In Stock
Ceramic Fuse - 20 amp
Part #WPM0805101
This ceramic microwave fuse is just over an inch long. It is white in the center, while each end is made of metal. This is a twenty amp fuse.

$10.40
In Stock
Exact Part matches for your search term

No Longer Available
Common Symptoms of models starting with 158
How this model fails, and the parts that fix it.
Element will not heat
Fixed by
these parts
these parts


Show All
Little to no heat when baking
Fixed by
these parts
these parts


Show All
Oven not heating evenly
Fixed by
these parts
these parts
Show All
Oven is too hot
Fixed by
these parts
these parts
Show All
Leaking
Fixed by
these parts
these parts

Show All
Will Not Start
Fixed by
these parts
these parts
Show All
Won’t turn on
Fixed by
these parts
these parts

Show All
Door won’t close
Fixed by
these parts
these parts


Show All
Little to no heat when broiling
Fixed by
these parts
these parts

Show All
Leaks water
Fixed by
these parts
these parts


Show All
Watch our pros, then fix it yourself.


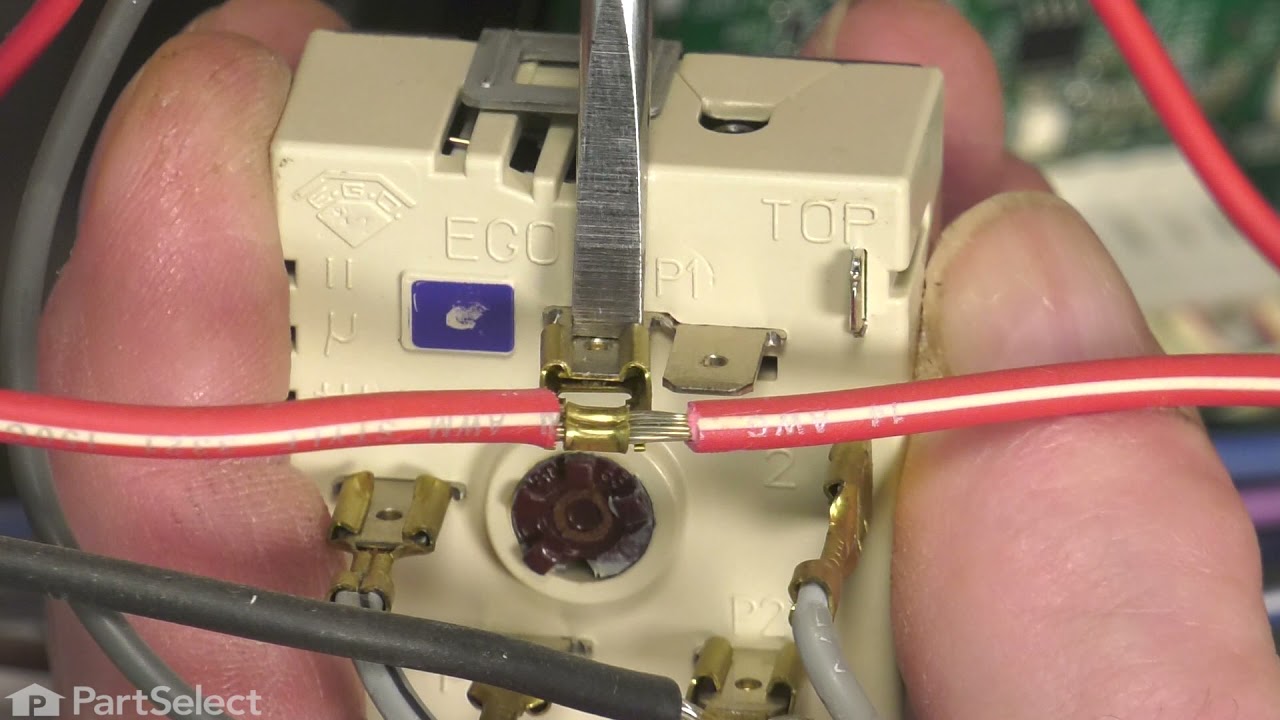
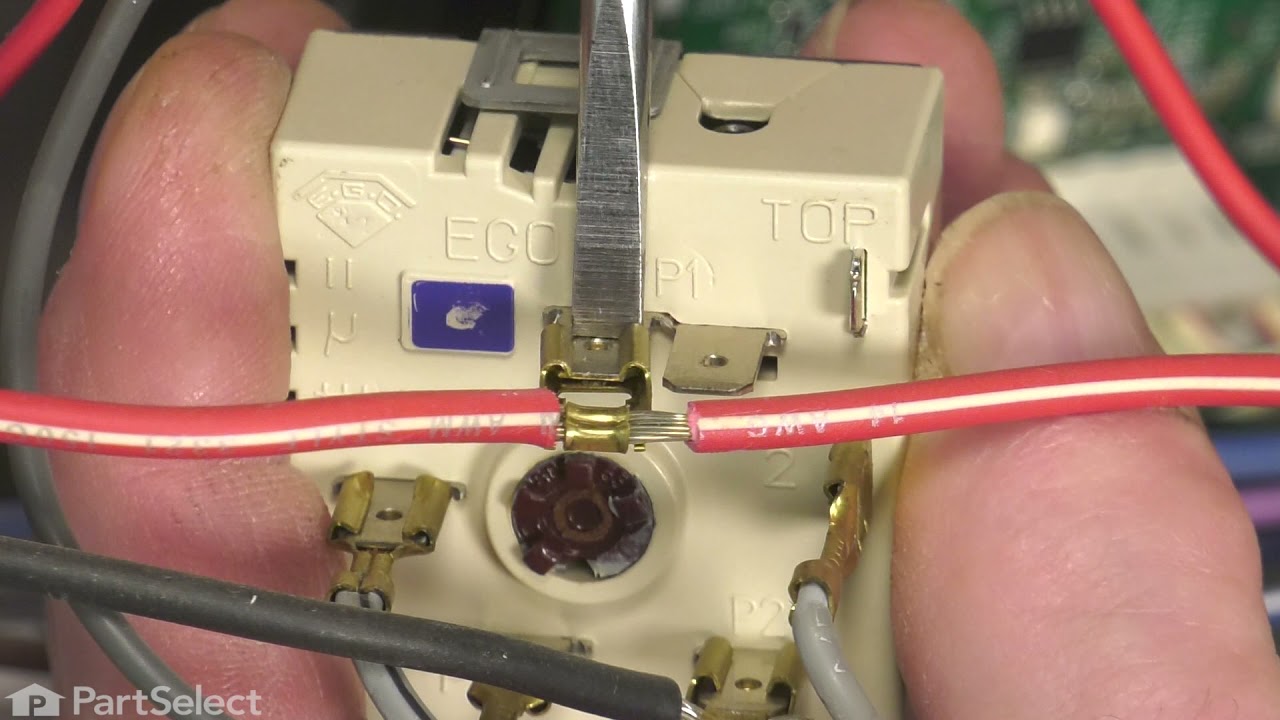
See how others fixed this model. Time, tools, difficulty, and steps that lead to victory!
View More