


 My Orders


1423 - Overview
Models starting with 1423
Click on the best match to narrow your results.
- 1423*0A Roper Range (GAS RANGE)
- 1423*1A Roper Range (Range (gas)*)
- 1423*2A Roper Range (Range (gas)*)
- 1423^0A Whirlpool Range
- 1423^1A Whirlpool Range
- 1423^2A Whirlpool Range
- 142300 Briggs and Stratton Engine (Engine)
- 142300SERIES Briggs and Stratton Engine (Engine)
- 1423VSR (0601423545) Bosch Screwdriver (Drill Screwdriver)
- 1423VSR (0601423539) Bosch Electric Drill (Self-Tapping Fastener Driver)
- 1423VSR (0601423534) Bosch Electric Drill (Fastener Driver)
- 1423W0A Roper Range (Freestanding, Gas)
- 1423W1A Roper Range (Gas)
- 1423W2A Roper Range (Gas)
Enter a part description. DIY Heroes keep it simple, eg. "belt" or "pump".
Search filter:
Clear Filter
Your search term must have 3 or more characters.

$33.28
In Stock
Lid Switch
Part #W10820036
Keep your washer or dryer running safely with this easy-to-install lid or door switch kit. It stops the machine from working when the door is open, helping prevent spills and accidents. Compatible with many models, this small but important part fits neatly inside your appliance and comes with everything you need for installation. Just unp...Read morelug your machine, swap out the old switch, and you're good to go. It’s about 2.5 inches long and blends in with most interiors.
Read less

$92.28
In Stock

$223.97
In Stock
Lower Dishrack Kit
Part #W10311986
The lower rack provides easy loading with flexibility for small and large items, and helps hold the dishes in place during the wash and dry cycle. The rack measures approximately 22-inch x 21-inch. The rack is light gray in color with wheels included, lower fold down, and a flexrow retainer. This is a genuine OEM part.

$206.36
Special Order
Dishrack - Rack Only
Part #W11169039
A rusty or bent upper rack can make dishes hard to load and may block the spray. The replacement rack provides storage for smaller dishes and slides along the upper rails. First check the wheels, clips, adjusters, spray parts, and rail stops for wear. These items are not included with the rack. Match the rack to the complete appliance mod...Read moreel and compare its size and mounting points. Remove all dishes, support the rack while sliding it out, and note where each part fits. After installation, make sure the rack moves freely and cannot leave the rails.
Read less

No Longer Available

$70.12
In Stock
Blower Belt
Part #WP691371
If your dryer isn’t drying clothes like it used to or making strange noises, this blower belt might be the fix. It connects the motor to the blower wheel, helping move air through the drum so clothes dry faster. Made to fit select Whirlpool models, it’s tough and reliable. Just unplug your dryer before installing and check your model number to make sure it’s the right part!

$10.95
In Stock
Range Hex Nut
Part #WP112432
10-32 hex - Sold Individually - Appliance originally takes 3 of this item.

$24.95
Special Order
Bowl-fuel Filter
Part #298683

$55.95
Special Order
Kit-carb Overhaul
Part #394693
An engine that surges, stalls, or will not stay running can have dirt or worn seals inside its float carburetor. This rebuild kit contains gaskets and small service pieces for restoring the carburetor rather than replacing the complete unit. Inspect the fuel supply and ignition system first, then confirm the engine identification and carb...Read moreuretor design. Work only on a cool engine in a ventilated area. Drain all fuel, disconnect the spark plug wire, and keep sparks and cigarettes away. Photograph the linkages, clean passages without enlarging them, install each gasket in the correct order, and check carefully for leaks before starting the engine.
Read less

$8.95
Special Order
Gasket-intake
Part #27828S
It is a manufacturer supplied replacement part that is designed for use with Briggs and Stratton engines. This carburetor intake gasket which provides an air tight seal for the breather assembly. Over time gaskets tend to deteriorate and crack eventually needing a replacement. It is made from durable composite material and it is sold individually.

$20.95
Special Order
Kit-idle Mixture
Part #292681
This is an authentic replacement part manufactured for use with Briggs & Stratton small engines. The idle mixture kit is used to adjust the amount of fuel that is sent to the engine's intake while the engine is idling. This idle mixture kit is available as an individual replacement part.

$25.95
Special Order
Pulley-starter
Part #295871
Difficulty pulling the starter rope or a cord that stays extended can result from a damaged recoil pulley. This wheel guides and stores the rope while helping turn the engine during starting. Similar symptoms can come from a frayed rope, seized engine, bent starter housing, broken pawls, or weak return spring, so check those items first. ...Read moreMatch the replacement to the full engine model, type, code, and equipment model. Work on a cool engine with the spark plug lead removed. Release spring tension slowly and keep your face and hands clear of the starter housing. Route the rope correctly, confirm smooth return, and reinstall every guard before starting the engine.
Read less
Common Symptoms of models starting with 1423
How this model fails, and the parts that fix it.
Will Not Start
Fixed by
these parts
these parts

Show All
Will not drain
Fixed by
these parts
these parts
Show All
Will not agitate
Fixed by
these parts
these parts
Show All
Won’t Start
Fixed by
these parts
these parts
Show All
Watch our pros, then fix it yourself.
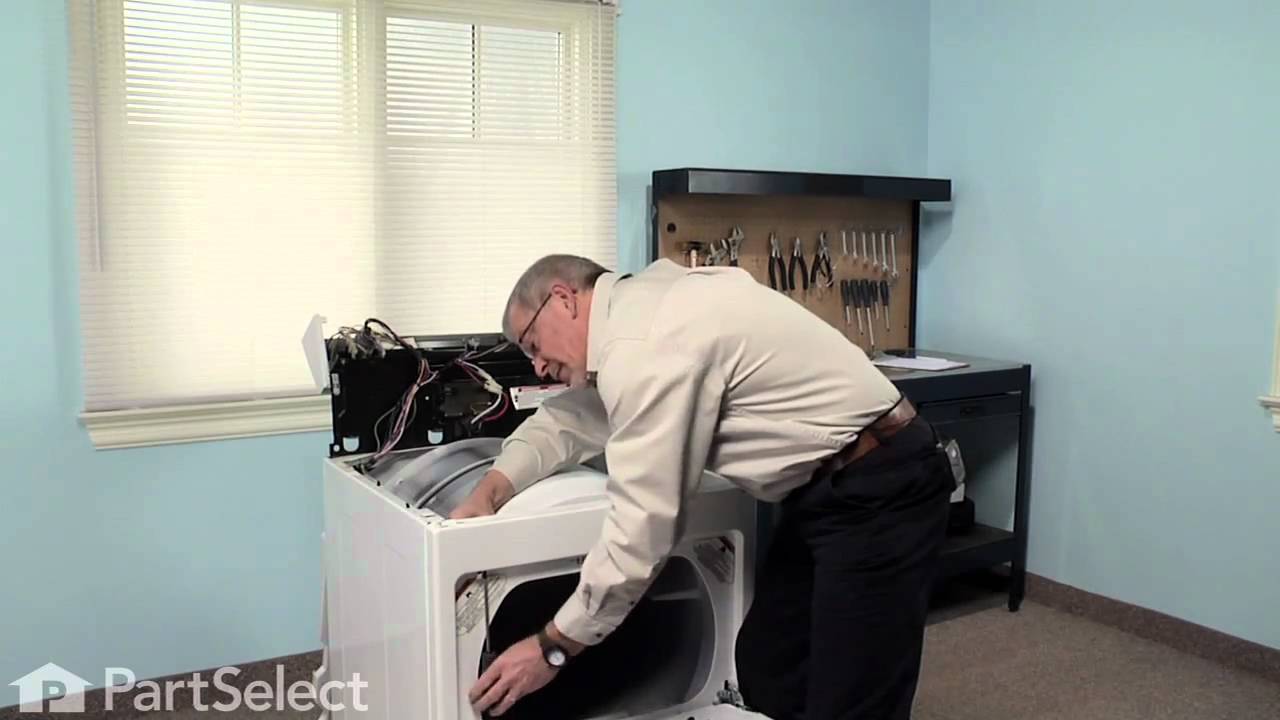
See how others fixed this model. Time, tools, difficulty, and steps that lead to victory!
View More