


 My Orders


11977 Kenmore - Overview
Models starting with 11977
Click on the best match to narrow your results.
Enter a part description. DIY Heroes keep it simple, eg. "belt" or "pump".
Search filter:
Clear Filter
Your search term must have 3 or more characters.

$106.12
In Stock
Refrigerator Water Filter
Part #WF2CB
This single water filter is designed for use in side-by-side refrigerators, positioned in the front top-right section for easy access. It utilizes a carbon-based filtration system to reduce a wide range of contaminants, including cysts, turbidity, lead, mercury, and herbicides, ensuring cleaner water and ice from the dispenser. Measuring ...Read more6 x 3 x 7 inches and constructed from white plastic, the filter is engineered for performance and ease of replacement. Common symptoms indicating the need for replacement include reduced ice production, dispensing issues, leakage, and unusual noise. The filter should be replaced every six months or after 200 gallons of use, as indicated by the red light on the freezer door dispenser. Installation requires no tools: press the release button to remove the old filter, insert and lock the new one, then run water
Read less

$132.79
In Stock
Refrigerator Water Filter
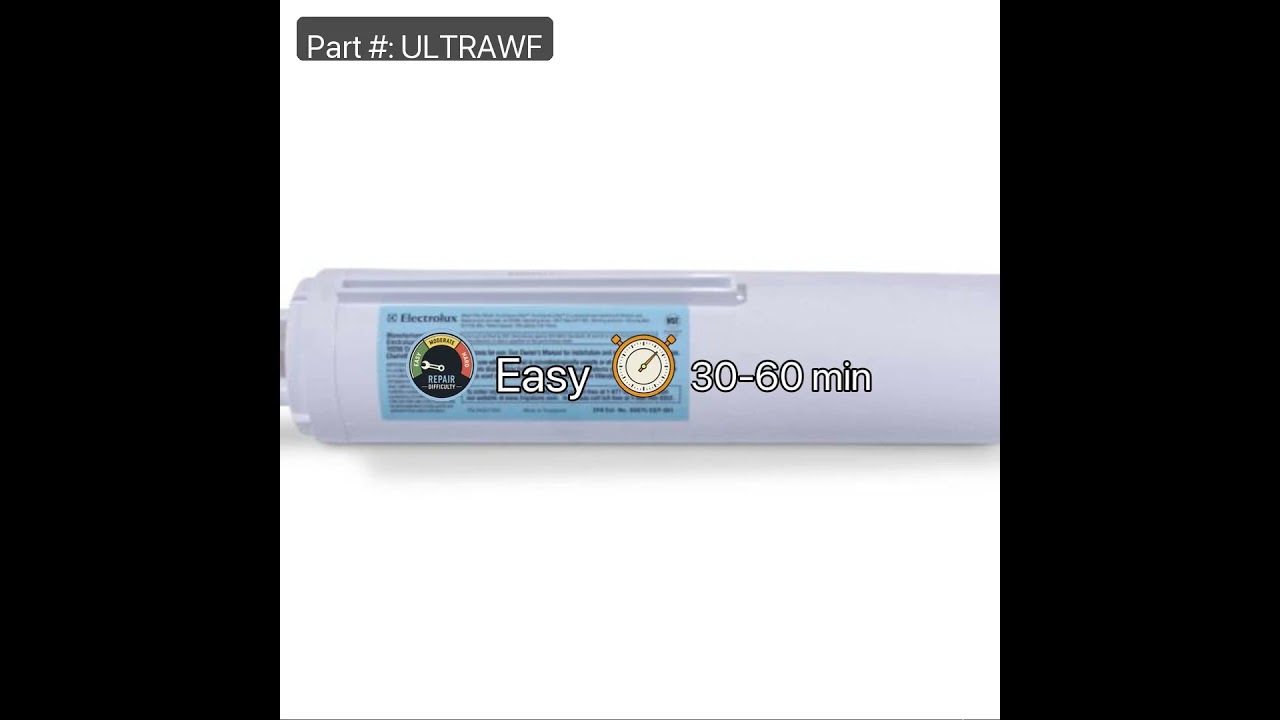
Part #ULTRAWF
This genuine PureSource Ultra water filter will fit most Frigidaire french door and side by side refrigerators. You will find this filter located in the back, top right of the appliance. It is white in color and the filter has a polypropylene plastic housing and extruded carbon block filter media. Certified by NSF/ANSI to reduce contamina...Read morents that may be in your household water supply by 99.8 percent. The operating temperature for this filter is 33-100 degrees Fahrenheit, the flow rate is 0.5 GPM, the working pressure is 30-100 PSI, and it has a micron rating of 1. This filter should be replaced every six months or when the indicator lights up red. Installation is quick and easy. Push on the end face of the older filter to allow it to release. Remove and discard the old filter. Slide the new filter into the housing and press it down until it locks into place. Be sure to run water through the dispenser for about three minutes to prime the filter before use. Discard this water or use it to water plants. Do not forget to reset the indicator by pressing it down for 3-10 seconds. Review the use and care guide before you install for more detailed instructions.
Read less

$56.05
In Stock
Flat Style Oven Igniter
Part #5303935066
This flat style gas oven igniter has an amperage range between 3.2 to 3.6. This part comes with two ceramic wire nuts.

$75.74
In Stock

$30.95
In Stock

No Longer Available
Hinge - Right Side
Part #318348800

$28.05
In Stock

$105.77
Special Order

$205.66
Special Order
Spark Module - 120V
Part #5303912606
This part sends enough current to the igniter to create a spark to the bottom of the burner cap.

$359.37
Special Order
Gas Pressure Regulator
Part #5308007974
***No Conversion Kit Required - Adjust On Appliance***
This valve automatically cuts off the flow of a liquid or gas when it reaches a certain pressure.

No Longer Available
KNOB
Part #5303131018

No Longer Available
Burner Knob - Black/Chrome
Part #5308013898
This knob allows you to control the temperature of the surface burner. Sold individually.
Exact Part matches for your search term

No Longer Available
Common Symptoms of models starting with 11977
How this model fails, and the parts that fix it.
Gas igniter glows, but will not light
Fixed by
these parts
these parts

Show All
Little to no heat when baking
Fixed by
these parts
these parts
Show All
Will Not Start
Fixed by
these parts
these parts


Show All
Ice maker not making ice
Fixed by
these parts
these parts


Show All
Not dispensing water
Fixed by
these parts
these parts
Show All
Leaking
Fixed by
these parts
these parts
Show All
Element will not heat
Fixed by
these parts
these parts
Show All
Gas smell
Fixed by
these parts
these parts
Show All
Door won’t close
Fixed by
these parts
these parts


Show All
Ice maker won’t dispense ice
Fixed by
these parts
these parts
Show All
Ice maker dispenses too little ice
Fixed by
these parts
these parts
Show All
Oven not heating evenly
Fixed by
these parts
these parts
Show All
Noisy
Fixed by
these parts
these parts
Show All
Fridge too cold
Fixed by
these parts
these parts
Show All
Touchpad does not respond
Fixed by
these parts
these parts
Show All
Little to no heat when broiling
Fixed by
these parts
these parts
Show All
Light not working
Fixed by
these parts
these parts
Show All
Watch our pros, then fix it yourself.
See how others fixed this model. Time, tools, difficulty, and steps that lead to victory!
View More