This manufacturer-certified dryer lint filter is used to collect lint during the dryer cycle, to prevent damage to the machine and to prevent lint from sticking to clothes. This model comes in white and is easy to install. It slides into the lint filter slot in your dryer. If there is visible damage to the screen then it's time to replace...Read more the part. Check your user manual and model number to see if this is the right part for you. Make sure you empty the lint filter after every use of the dryer and check the filter slot for an excess buildup of lint, which can shorten the life of your filter and be a fire hazard. The screen is approximately 20 inches in length, not including the handle, and around 8.5 inches wide.
You're after a smooth laundry routine with no hiccups or delays, aren't you? Well, the Whirlpool Push-to-Start Switch is an essential dashboard control that magically brings your clothes dryer back to life. It's a high-quality, genuine OEM part, directly designed by Whirlpool to get your clothes dryer functioning like new again. Now, thi...Read mores nifty little switch is all about convenience. With a simple press and release, you're all set to start your dryer'a small action that ignites big satisfaction. Let's talk compatibility. If you possess a Whirlpool, KitchenAid, Maytag, Jenn-Air, Amana, Inglis, or Magic Chef clothes dryer, this is the part you've been seeking. But remember, every model is unique, much like us humans, so please match the part number with your model. This ensures you are getting the exact shape and size, down to the last millimeter. When it's time to install this little hero, don't forget to disconnect the power from your dryer. And hey, why not slip on some work gloves for extra hand protection? With the Whirlpool Push-to-Start Switch, you are one step closer to a hassle-free, easy to use, efficiently working dryer. So swap out that faulty old switch, and upgrade your laundry day experience with this essential replacement part.
Fix your dryer’s timing issues with this genuine timer control. It keeps your cycles running smoothly by advancing and timing each stage. If your dryer stops mid-cycle or the knob won’t turn, this part is the solution. Easy to install and built for dependable performance, it helps your appliance work like new again.
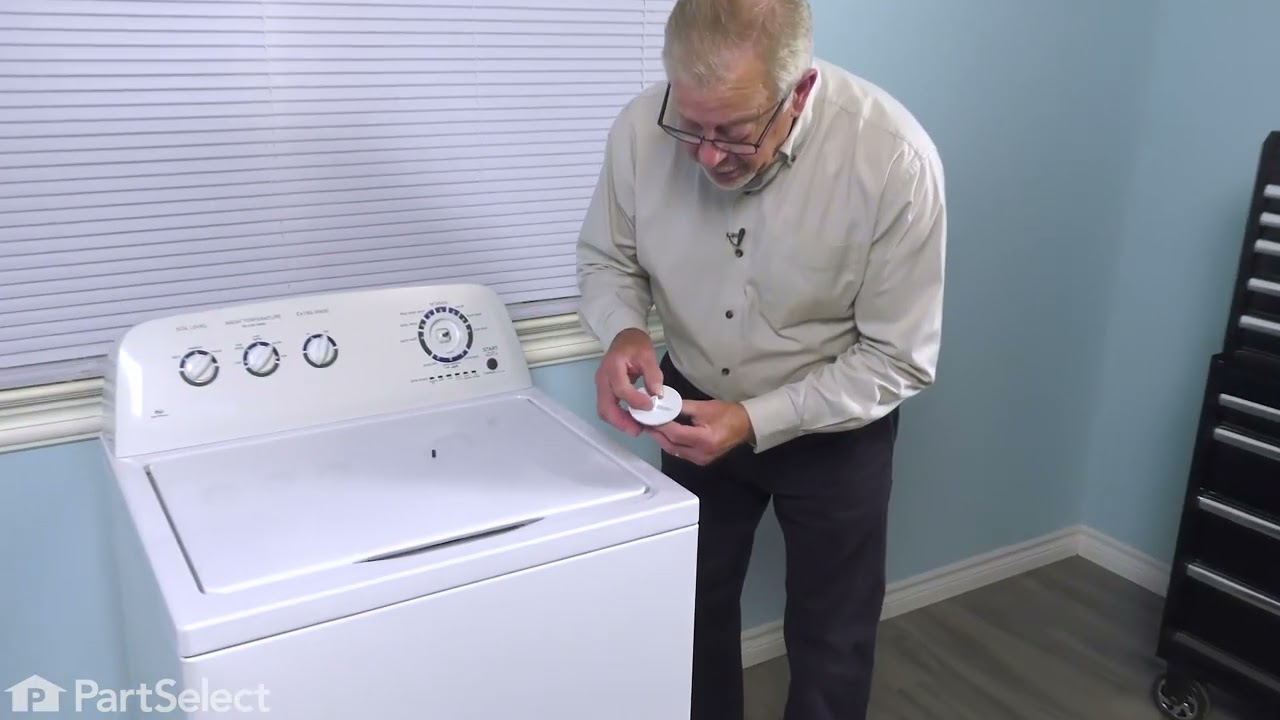
This push-to-start knob is a genuine OEM replacement component designed for select dryers from Whirlpool Maytag KitchenAid and Amana. Finished in white and measuring 1 3/8 inches in diameter it features a Spring Steel "D" shaft insert for secure attachment to the dryer's control post. The knob initiates the drying cycle by engaging the pu...Read moresh-to-start switch ensuring reliable operation and user-friendly functionality. Manufactured to meet original specifications this part restores the appliance’s performance and appearance. Compatibility should be verified with your specific model prior to installation.
Give your dryer a fresh look with this sturdy top panel. It protects the inside parts from dust and damage while keeping everything aligned for smooth operation. The panel is finished in white and sized to fit most standard dryers at about 27" x 29" x 1.5". Installing it is simple—just remove the old panel and screw the new one into place. A quick way to restore your dryer’s appearance and performance.
Ask our experts a question about this model and we'll get back to you as soon as possible!
We may have answered a similar question already! Search questions and answers left by others using simple keywords like "fit", "broken", "easy", or "quality" to find questions that match.
Search filter:
Clear Filter
Your search term must have 3 or more characters.
Sort by:
Prev
1
2
3
Next
Sorry, we couldn't find any existing answers that matched.Try using some different or simpler keywords, or submit your new question by using the "Ask a Question" button above!
Natalie - For model number 1106012511
February 23, 2023
My dryer quit blowing hot air I need a fuse? Everyone said start there if not that the heating element so can I get both part numbers. Thanks
Hi Natalie, thank you for reaching out. The part you are looking for is the dryer thermal fuse, part number PS11741460. To test the fuse, please remove the two wire leads from the thermal fuse and touch a multimeter probe to each wire terminal on the fuse. Any reading less than infinity indicates a triggered thermal fuse and you will need to replace it. If you get a reading of infinity, the fuse is fine. If the fuse is good, the heating element, part number PS334313, is a likely culprit. If the issue persists, you may need to check the thermal cut-off kit, part number PS334299. We hope this sorts out your problem!
I have a large red wire on the bottom near the heater coil, that has been hot, blackened. And I keep blowing a fuse that won't allow the drum to turn or the blower to come on but the heater coil still comes on. I need to find out where that red wire goes to so I can hopefully figure out why it got so hot and why I keep blowing limit fuse
Hi Michael, thank you for contacting us. The thick red wire connects the heating element terminal to the thermal cut-off fuse and high limit thermostat, then traces back through the wiring harness to the motor switch and control board. If the connector on the element or thermostat terminal became slightly loose, it creates high electrical resistance. At 240V, that resistance generates intense localized heat which burns the wire insulation, turns it black, and can eventually melt it entirely. To diagnose this, remove the heater box assembly and inspect the coils closely inside. If any part of the spring-like coil is touching the metal housing, or if the coil is broken and resting against the metal, the heating element needs to be replaced. The part you need is the Dryer Heating Element, part number PS334313. Glad to be of assistance!
Ii need to order a new handle . My handle broke off .Thank u
Hello Natasha, thank you for your question. The handle for this unit is PartSelect Number PS11731583. Please enter the part number into the site for current price and availability. Good luck with your repair!
Kenmore dryer I press on button heating element goes on dryer tub won’t spin
Hi Frank, thank you for getting in touch. If your dryer's heating element turns on but the drum doesn't spin, the most common culprit is a broken drive belt, part number PS346995. You may need to replace it to fix the issue. We hope this sorts out your problem!
Belt not broken still won’t spin replace motor still won’t spin replaced start button still won’t spin what should I replace next?
Hi Frank, thank you for your inquiry. Check the dryer idler pulley and drum support rollers, part number PS373087. If these are worn or seized, they create too much resistance for the motor to turn the belt, causing it to slip or the motor to stall. Glad to be of help!
See how others fixed this model. Time, tools, difficulty, and steps that lead to victory!View More
Search repair tips from other customers using simple keywords like "replace", "fit", "remove", "inspect". DIY doesn't mean you have to do it alone!
Search filter:
Clear Filter
Your search term must have 3 or more characters.
Needed lint filter for my old Kenmore dryer that was no longer manufactured by Sears.
35 of 37 peoplefound this instruction helpful.
Richard from Fairfax, VA
Really Easy
Less than 15 mins
Lint filter supplied by Parts Select was an exact replacement by an aftermarket manufacturer. I put the old one and the new one side by side and they were identical (of course, the handle wasn't broken off on the new one!). I coulnd't be happier. It arrived at my house 2 days after I ordered it. I highly recommend Parts Select.
Was this helpful?
Thank you for voting!
old lint screen -torn at wire mesh
27 of 28 peoplefound this instruction helpful.
Chris from Morgan City, LA
Really Easy
Less than 15 mins
Local stores did not have any in supply. Went to Partselect and located lint screen, ordered, received in 3 days. replaced screen, Wife now happy again...
Was this helpful?
Thank you for voting!
The old lint screen on the dryer was broken
24 of 30 peoplefound this instruction helpful.
Bill from Farmington Hills, MI
Really Easy
Less than 15 mins
I analyzed the situation to see how to remove the old lint screen. I carefully pulled out the old lint screen. I was careful not to drop it. With caution, I placed the old lint screen in the trash receptacle that was nearby. Next, I opened the box that the new lint screen came in with a sharp knife. I removed the new lint screen from
... Read more the box, took off the plastic wrap and inserted the lint screen in the same slot that the old one used to be in. I tested that it was seated correctly by pulling it out and reseating it in the slot. The true test came when I ran my first load of laundry through the dryer. The total repair time for this fix was 14.92 seconds.



 My Orders