


 My Orders


11046 Kenmore Washer - Overview
Models starting with 11046
Click on the best match to narrow your results.
- 11046462500 Kenmore Washer
- 11046462501 Kenmore Washer
- 11046472500 Kenmore Washer
- 11046472501 Kenmore Washer
- 11046742700 Kenmore Washer
- 11046742701 Kenmore Washer
- 11046742702 Kenmore Washer
- 11046747801 Kenmore Washer
- 11046747802 Kenmore Washer
- 11046752700 Kenmore Washer
- 11046752701 Kenmore Washer
- 11046752702 Kenmore Washer
- 11046757801 Kenmore Washer
- 11046757802 Kenmore Washer
Enter a part description. DIY Heroes keep it simple, eg. "belt" or "pump".
Search filter:
Clear Filter
Your search term must have 3 or more characters.

$193.74
In Stock
Washer Drain Pump
Part #WPW10730972
This pump helps expel water from the washing machine and is activated after the spin speed is maintained for a specific period of time. It has two ports for water to pass through: a large one, and a smaller one. This pump also comes with a removable filter.

$199.62
In Stock
Washer Door Bellow
Part #WP8182119
This part is also called the Door Boot Seal. It's the main seal between the front bulkhead and the outer tub. Clamps are not included.
NOTE: Must order clamps separately, if needed.

$193.84
In Stock
Front Load Washer Bellow - Gray
Part #WPW10111435
Also known as a door boot seal.This part is used to keep the clothes inside the tub during the wash cycle. The folds in the bellow allow the tub to move separately from the door during the spin cycle.

$77.34
In Stock
Washer Baffle
Part #WP8182233
This part moves the clothes around inside your dryer/washer and helps to direct the flow of hot air during the drying cycle. Sold individually.

$258.24
In Stock
Drain Pump Kit
Part #280187
If your washer isn’t draining properly or is leaking water, this drain pump could be the fix. It’s made for front-load models from Whirlpool, Maytag, Kenmore, and more. The pump helps remove water during the wash cycle and keeps your machine running smoothly. Common signs it needs replacing include loud noises, drainage errors, or water left in the drum. Just check your model number to make sure it’s the right fit.

No Longer Available
Touch-Up Paint - White
Part #72017
This 18 ml bottle of white appliance touch-up paint is used to cover scratches or marks on your appliance. The white touch-up paint can be used on refrigerators, microwaves, ranges, clothes dryers, and freezers. This is a genuine OEM part and includes a brush applicator. Please remember to wear gloves to protect your hands when applying this paint.

$16.14
In Stock

$82.52
In Stock
Shock Absorber
Part #W10822553
Sold individually. These shock absorbers keep the washer from vigorous shaking during its cycles. This shock absorber is for washers.
Shock absorber absorbs the vibrations and movements of the outer washer tub.
Unplug the washer before installing this part. Wear work gloves to protect your hands.

$216.31
In Stock
Washing Machine Door Hinge
Part #WP8183202
Designed for front-load washers, this door hinge connects the door to the appliance body and allows it to pivot securely. It’s a genuine replacement part that helps fix issues like misalignment, loose movement, or doors that won’t stay closed. Compatible with various models and easy to install.

$51.65
In Stock
HOSE
Part #W11366249
This is a replacement tub-to-pump hose for your washer. This hose runs from the bottom of the tub to the water pump, and is used to transport water. The hose can develop a hole, and when this happens you will notice water leaking onto the floor. The tub-to-pump hose is found below the washer tub. To disconnect the hose, you will need to r...Read moreelease the clamps that hold it in place with a pair of pliers. When you replace the tub hose, you will need to transfer the ball, air chamber, and clamps from the old pump to the new one. To do this, you will need a set of wire cutters and a new zip tie to replace the one you will need to cut.
Read less

$35.15
In Stock
Washer Dispenser Hose
Part #W11366227
This dispenser hose is for washers and carries the contents of the dispenser drawer to the washer tub.

$121.14
In Stock
Washer Water Inlet Flowmeter
Part #WPW10110225
This part continually measures the amount of water entering the tub. It will make adjustments if too much or too little water is present.
Exact Part matches for your search term

No Longer Available
No Longer Available
Common Symptoms of models starting with 11046
How this model fails, and the parts that fix it.
Leaking
Fixed by
these parts
these parts


Show All
Will not drain
Fixed by
these parts
these parts


Show All
Lid or door won’t close
Fixed by
these parts
these parts


Show All
Will Not Start
Fixed by
these parts
these parts


Show All
Draining Issues
Fixed by
these parts
these parts
Show All
Will not agitate
Fixed by
these parts
these parts


Show All
Locking Issues
Fixed by
these parts
these parts
Show All
Marks left on clothes
Fixed by
these parts
these parts
Show All
Burning smell
Fixed by
these parts
these parts
Show All
Shaking and Moving
Fixed by
these parts
these parts


Show All
Does not dispense fabric softener or detergent
Fixed by
these parts
these parts


Show All
Spins slowly
Fixed by
these parts
these parts
Show All
No hot or cold water
Fixed by
these parts
these parts


Show All
Water Filling Issues
Fixed by
these parts
these parts
Show All
Spinning Issues
Fixed by
these parts
these parts

Show All
Engine runs but does not pump water
Fixed by
these parts
these parts
Show All
Door won’t close
Fixed by
these parts
these parts
Show All
Not draining
Fixed by
these parts
these parts
Show All
Leaks water
Fixed by
these parts
these parts
Show All
Watch our pros, then fix it yourself.
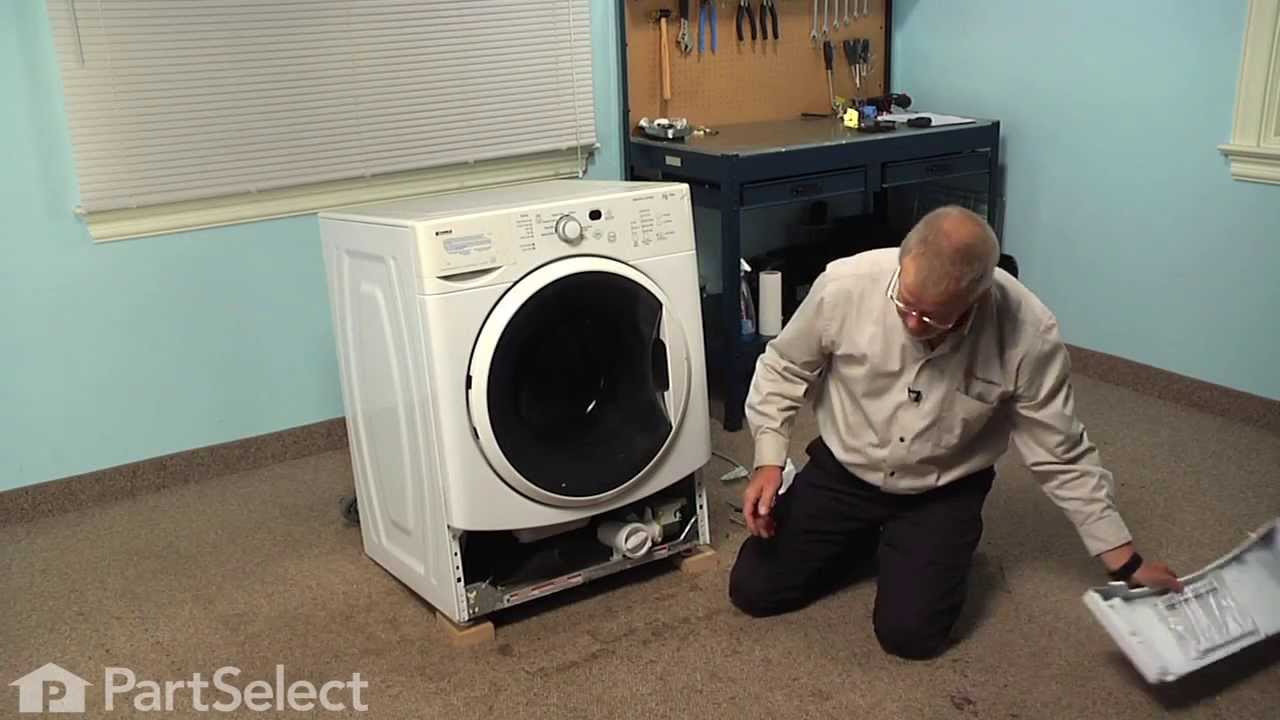
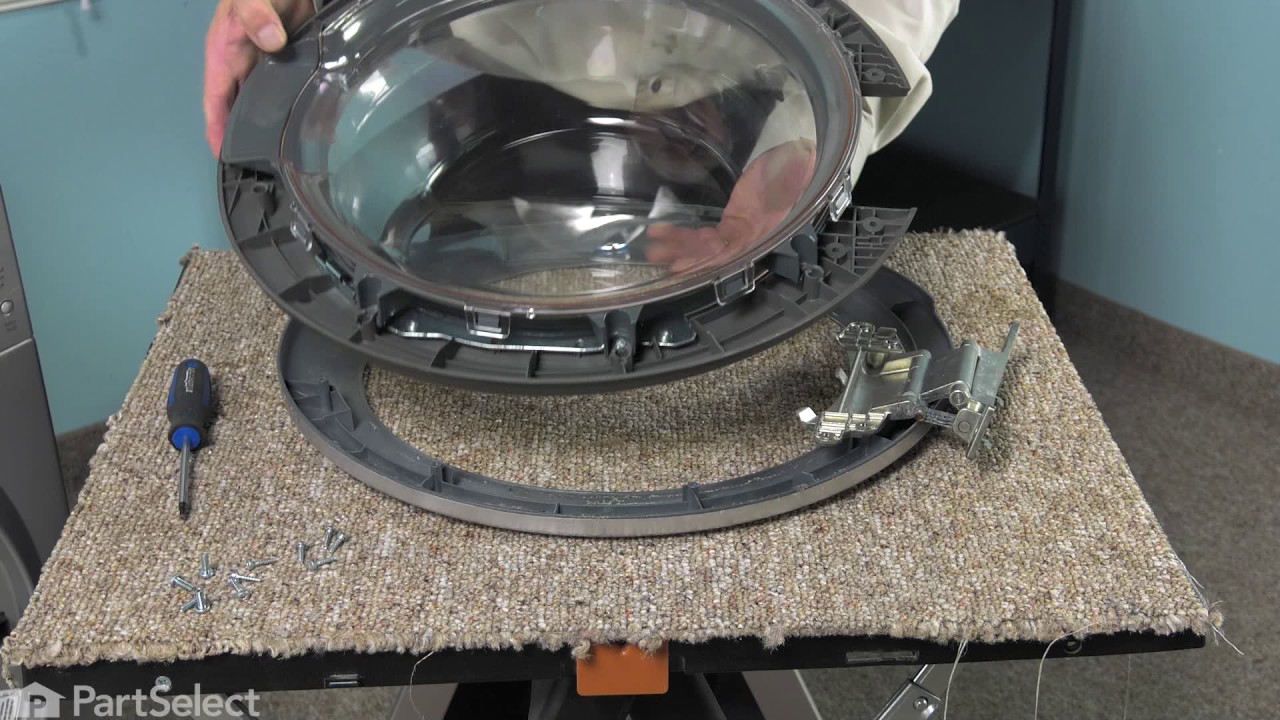
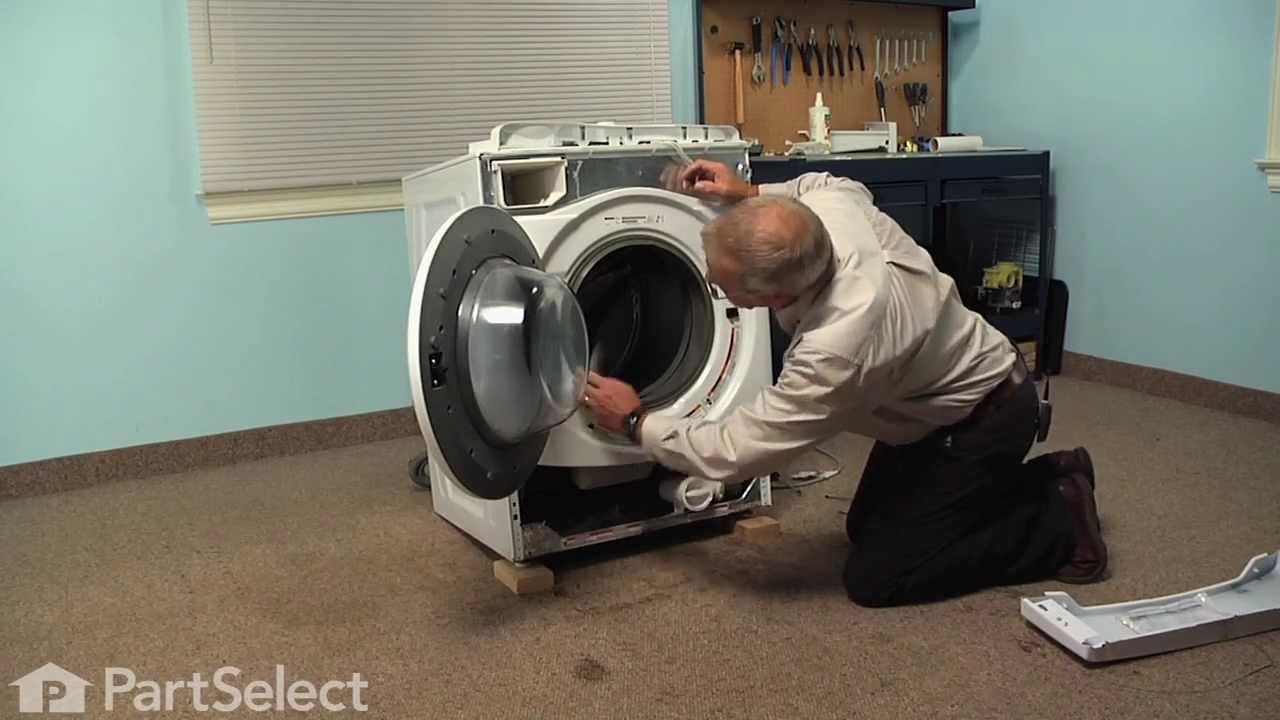
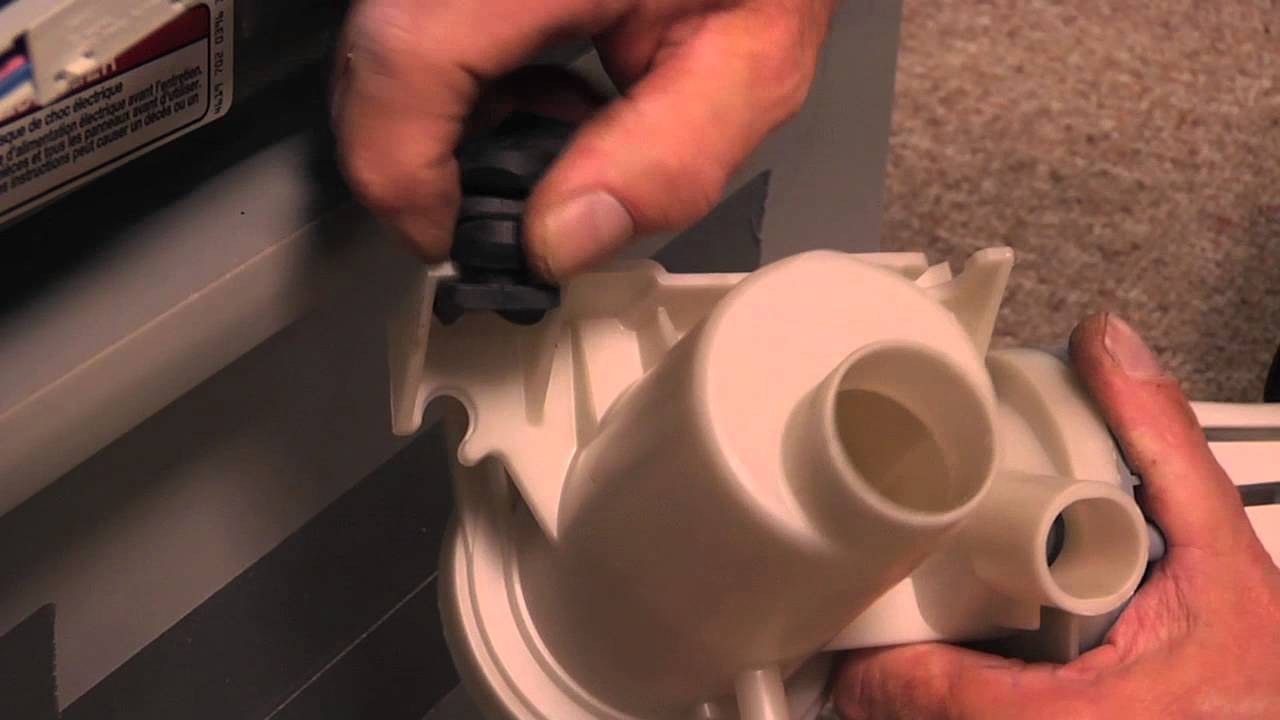
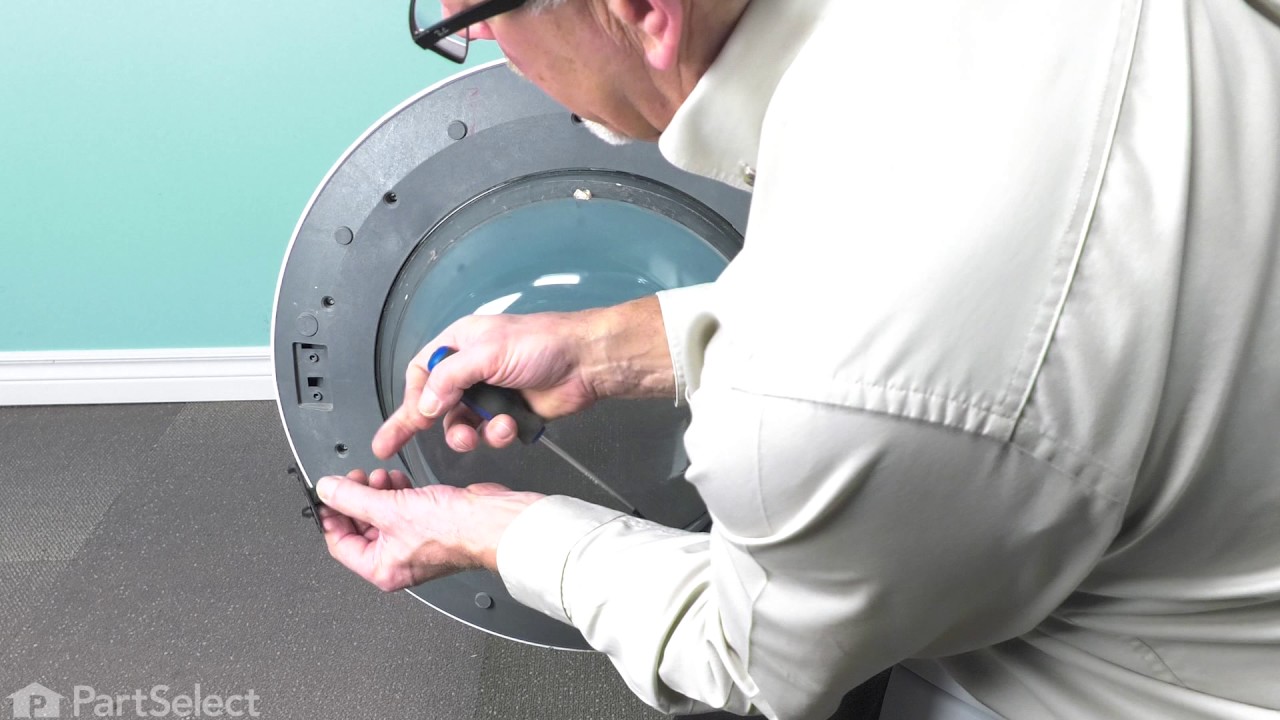
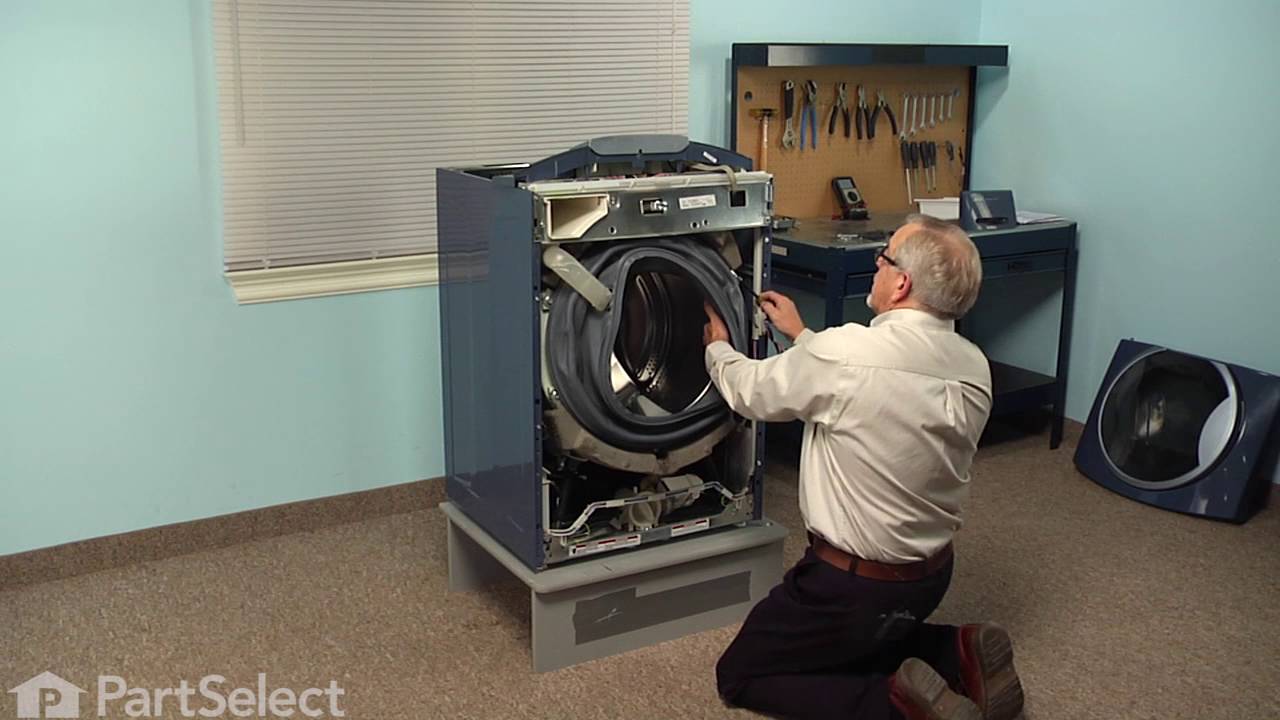
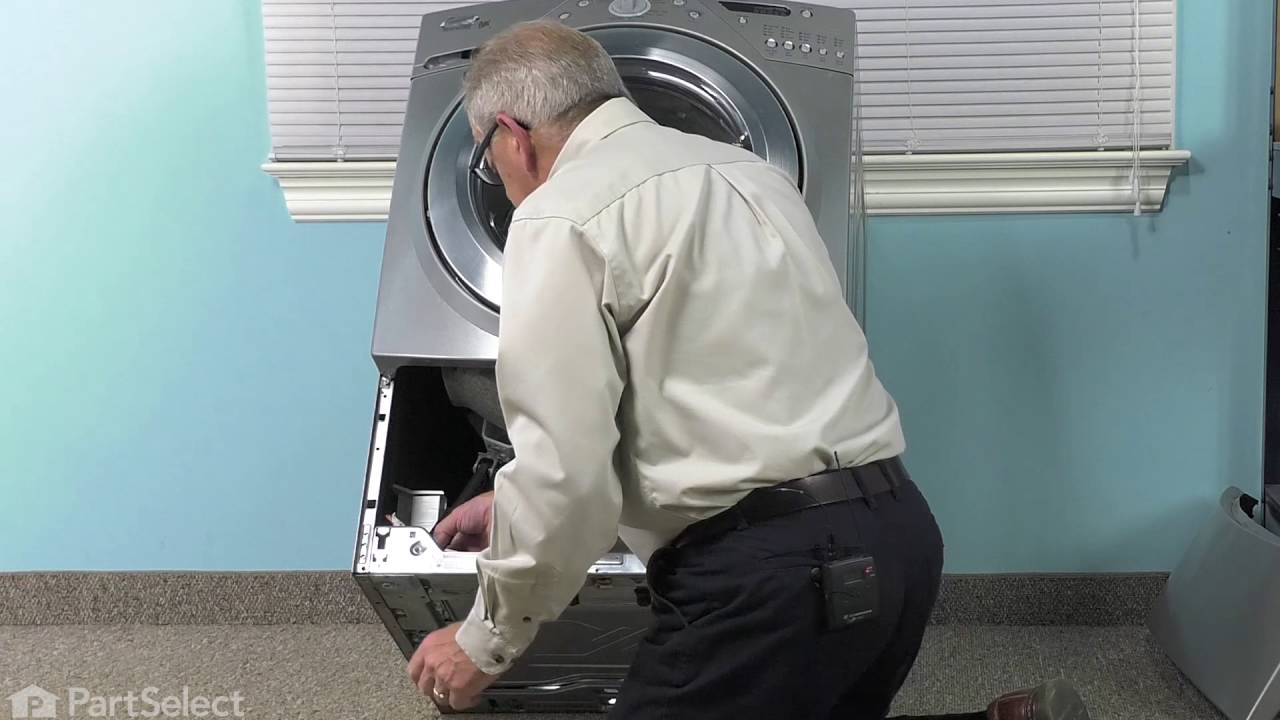
See how others fixed this model. Time, tools, difficulty, and steps that lead to victory!
View More