


 My Orders


11034 Kenmore Dryer - Overview
Models starting with 11034
Click on the best match to narrow your results.
- 1103401771 Kenmore Dryer (Kenmore Dryer Model 110.3401771 (1103401771, 110 3401771) Parts)
- 1103401772 Kenmore Dryer
- 1103401795 Kenmore Dryer
- 1103401796 Kenmore Dryer
- 1103401797 Kenmore Dryer
- 1103401798 Kenmore Dryer
- 1103401799 Kenmore Dryer
- 1103402243 Kenmore Dryer
- 1103402844 Kenmore Dryer
- 1103402851 Kenmore Dryer
- 1103402855 Kenmore Dryer
- 1103402856 Kenmore Dryer
- 110341566 Kenmore Dryer
- 110343114 Kenmore Dryer
- 110344612 Kenmore Dryer
- 110344613 Kenmore Dryer
- 110349621 Kenmore Dryer
- 110349797 Kenmore Dryer
- 110349798 Kenmore Dryer
- 110349799 Kenmore Dryer
- 110349832 Kenmore Dryer
- 110349833 Kenmore Dryer
- 110349834 Kenmore Dryer
- 110349835 Kenmore Dryer
Enter a part description. DIY Heroes keep it simple, eg. "belt" or "pump".
Search filter:
Clear Filter
Your search term must have 3 or more characters.

$36.25
In Stock
M Series New Style Coil Kit
Part #279834
This gas dryer ignition coil set comes with two ignition coils: one three-terminal boost/hold coil, and one two terminal secondary coil. Usually only one of them burns out but you should replace them as a set. Both have to be operational for the gas valve to open.

$49.45
In Stock
Dryer Radiant Flame Sensor
Part #WP338906
This part senses if the igniter is hot enough to ignite the flame for heat, allowing the gas valve to open. The sensor is three inches long and is used for many gas clothes dryers. If your dryer is not creating any heat, taking too long to dry or shuts off too soon, you may need to replace the flame sensor. This is a genuine OEM part and ...Read moreis made of both plastic and metal. Please remember to disconnect power to your dryer before starting your repair.
Read less

$51.90
In Stock
Igniter Kit
Part #279311
This silicone carbide igniter with ceramic holder kit includes the 3" flat igniter, bracket, 4" wire leads, and the plug. It can replace both round and flat igniters. This kit is used for many gas clothes dryers.

$46.15
In Stock
Liquid Propane Conversion Kit
Part #49572A
This gas dryer conversion kit allows a dryer that is set up for natural gas to be converted for use with liquid propane (LP) gas. The kit includes the key components needed for the conversion, including burner orifices, a regulator vent cap, and a conversion decal. You may need this kit when installing a dryer in a location that uses LP g...Read moreas instead of natural gas. Using the correct conversion kit helps ensure proper gas flow, reliable heating performance, and safe dryer operation after the conversion is completed.
Read less

$10.40
In Stock

$10.50
In Stock
Screw
Part #WP488729
Metallic screw that is less than an inch long. Does not include the plastic washer.

$9.85
In Stock
Screw
Part #WP693995

$10.95
In Stock

$297.31
In Stock

$36.25
Special Order
Natural Gas Burner Orifice
Part #WP15418

$164.45
Special Order
TYPE 2
Part #234870

$132.45
Special Order
Exact Part matches for your search term
No Longer Available
No Longer Available
Common Symptoms of models starting with 11034
How this model fails, and the parts that fix it.


Watch our pros, then fix it yourself.
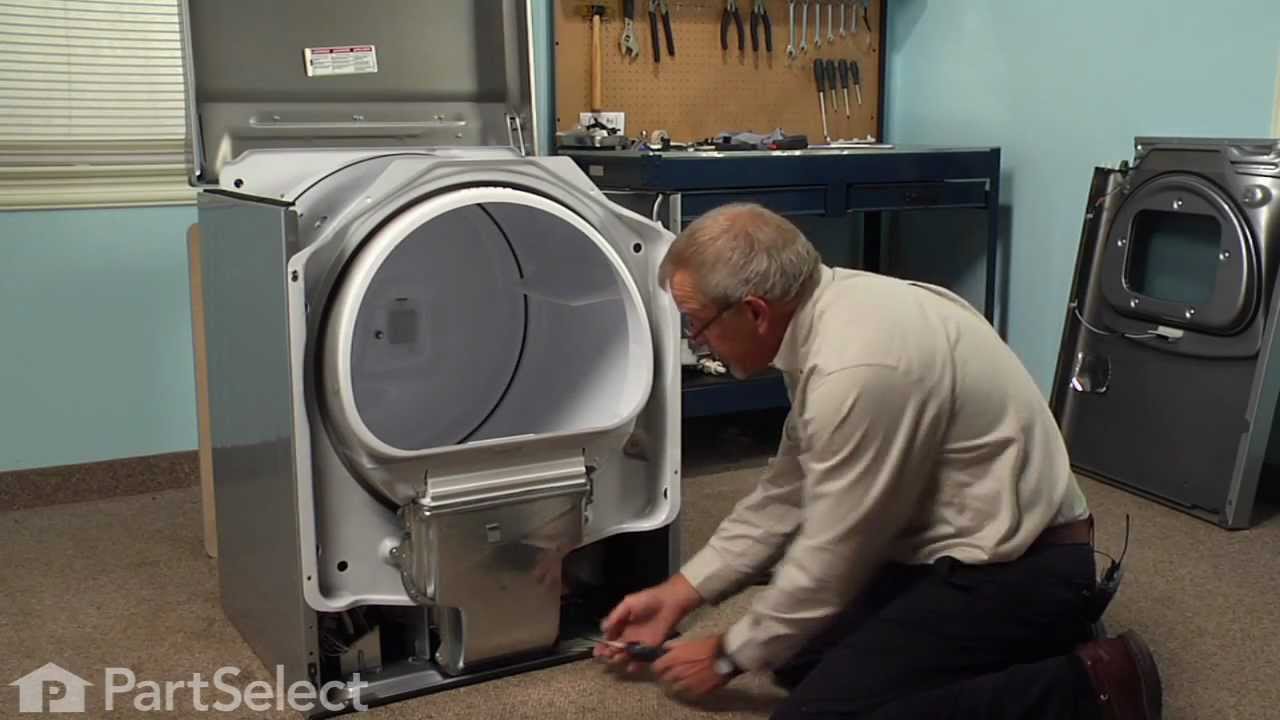
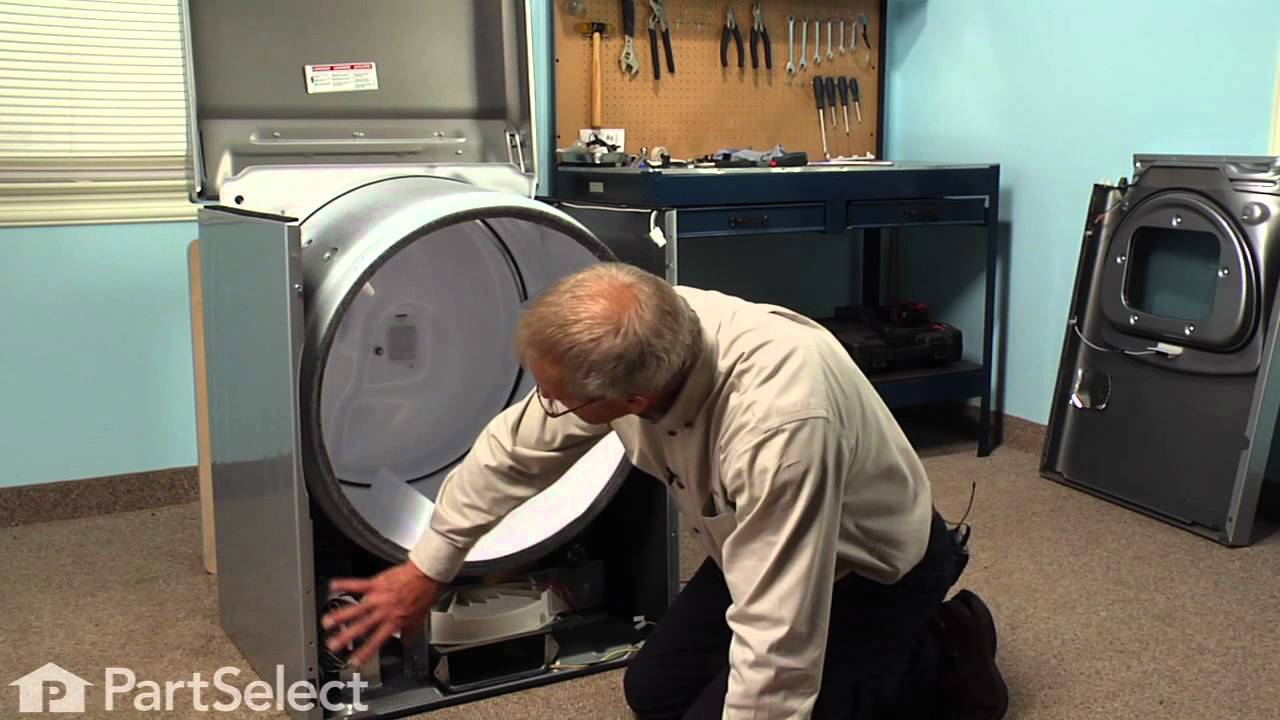
See how others fixed this model. Time, tools, difficulty, and steps that lead to victory!
View More
Search repair tips from other customers using simple keywords like "replace", "fit", "remove", "inspect". DIY doesn't mean you have to do it alone!
Search filter:
Clear Filter
Your search term must have 3 or more characters.
Dryer flame goes out after about 8-minutes from start and won’t work again until a 15-minute rest.
220 of 248 people
found this instruction helpful.
There was no problem with lint build-up within the dryer & the exhaust vent. I removed the gas cycling thermostat & thermal fuse from system & dryer still was not operating correctly. The radiant sensor & hi-limit thermostat both seemed to be operating correctly. That left either of the two coils as the culprits. I replaced both coils
... Read more
& the problem was corrected.
Read less
Other Parts Used:

Was this helpful?
Thank you for voting!
Timer wasn't working (New Timer)
168 of 214 people
found this instruction helpful.
Timer wasn't working on the regular cycle so I replace it with a new one from partselect. It still wasn't working so I ordered and replace the cycling thermostat, the thermal fuse I also cleaned the vent and dryer it still didn't work so I read the diagram for the electrical and found that a coil for the gas valve is line with timer. I or
... Read more
dered the coils for the valves, replaced both valves and tested the dryer and it work just like when I first bought the appliance.
Read less
Other Parts Used:
Was this helpful?
Thank you for voting!