


 My Orders


106821 Kenmore Freezer - Overview
Models starting with 106821
Click on the best match to narrow your results.
- 1068211280 Kenmore Freezer
- 1068211610 Kenmore Freezer
- 1068211611 Kenmore Freezer
- 1068211650 Kenmore Freezer
- 1068211651 Kenmore Freezer
- 1068211660 Kenmore Freezer
- 1068211661 Kenmore Freezer
- 1068211680 Kenmore Freezer
- 1068211681 Kenmore Freezer
- 1068212030 Kenmore Freezer
- 1068212050 Kenmore Freezer
- 1068212080 Kenmore Freezer
Enter a part description. DIY Heroes keep it simple, eg. "belt" or "pump".
Search filter:
Clear Filter
Your search term must have 3 or more characters.

$26.41
In Stock
Light Bulb - 40W
Part #8009
This an authentic OEM 40-Watt replacement light bulb, used in a number of household appliances. It is specially designed to withstand extreme temperatures, which is why these replacement bulbs are most often used to light the inside of refrigerators and ranges. It features a standard socket base, which means you simply unscrew the burnt-o...Read moreut bulb and screw in the replacement. Depending on the appliance you may require a screwdriver or nut driver to access the light bulb. We recommend you wear work gloves while handling this replacement part. It is constructed of glass and metal and is sold individually. Depending on the appliance and location of the bulb within it, you may want to consider disconnecting power and using a flashlight for easier access to unscrewing and re-screwing in your bulb during this repair.
Read less

$15.29
In Stock
Refrigerator Door Cam
Part #WPW10329686
The Door Cam is a black plastic part which helps the door pivot shut while keeping the door and hinge in proper alignment. Lubricating this part upon installation may help it move easier. It attaches onto the door hinge and should be replaced if broken or if there is noticeable damage. Refer to your model number and user manual to ensure...Read more this is the correct part for you. To do this repair you will need a 5/6 nut driver, a 5/16 socket, and a ratchet. For safety purposes, do not forget to turn off your appliance before making this repair. Note that this piece is black, and as per the manufacturer requires a new screw to mount the door cam which is sold individually. Please also note that this is the closing cam for the lower door, and the upper door cam is sold as a separate kit.
Read less

No Longer Available
Touch-Up Paint - White
Part #72017
This 18 ml bottle of white appliance touch-up paint is used to cover scratches or marks on your appliance. The white touch-up paint can be used on refrigerators, microwaves, ranges, clothes dryers, and freezers. This is a genuine OEM part and includes a brush applicator. Please remember to wear gloves to protect your hands when applying this paint.

$35.15
In Stock
Door Closing Cam Kit
Part #4318165
This door closing cam kit is intended for use with the bottom of refrigerator and freezer door hinges. The cam helps with the closing of the doors and to keep them slightly in position when opened.

$115.19
In Stock
Refrigerator Condenser Fan Motor Kit
Part #833697
This condenser fan motor operates in a clockwise fashion and carries carries 2W and 115V. It comes with screws, a mounting nut for the blade and a cushion. This part provides forced-air cooling for the condenser coil.

$10.95
In Stock

No Longer Available

$10.50
In Stock
Screw
Part #WP488729
Metallic screw that is less than an inch long. Does not include the plastic washer.

$13.85
In Stock
Refrigerator Hinge Washer
Part #WP488296
This part can be used on either side of the center door hinges for some refrigerators.

$9.85
In Stock

$65.95
In Stock

No Longer Available
Spray Paint - 12 oz. - White
Part #350930
Common Symptoms of models starting with 106821
How this model fails, and the parts that fix it.
Door won’t open or close
Fixed by
these parts
these parts


Show All
Fridge too warm
Fixed by
these parts
these parts

Show All
Noisy
Fixed by
these parts
these parts
Show All
Freezer section too warm
Fixed by
these parts
these parts
Show All
Clicking sound
Fixed by
these parts
these parts
Show All
Light not working
Fixed by
these parts
these parts

Show All
Door Sweating
Fixed by
these parts
these parts
Show All
Fridge runs too long
Fixed by
these parts
these parts
Show All
Fridge and Freezer are too warm
Fixed by
these parts
these parts
Show All
Will Not Start
Fixed by
these parts
these parts
Show All
Frost buildup
Fixed by
these parts
these parts


Show All
Too warm
Fixed by
these parts
these parts
Show All
Leaking
Fixed by
these parts
these parts
Show All
Watch our pros, then fix it yourself.
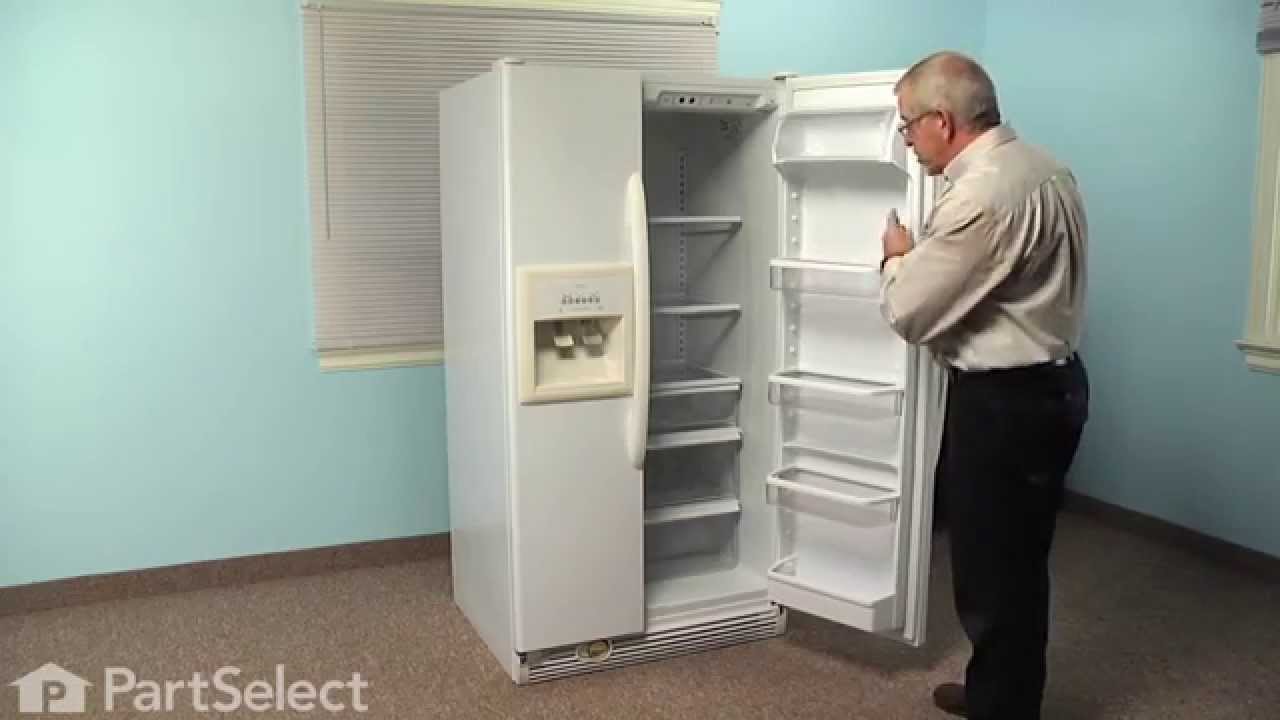
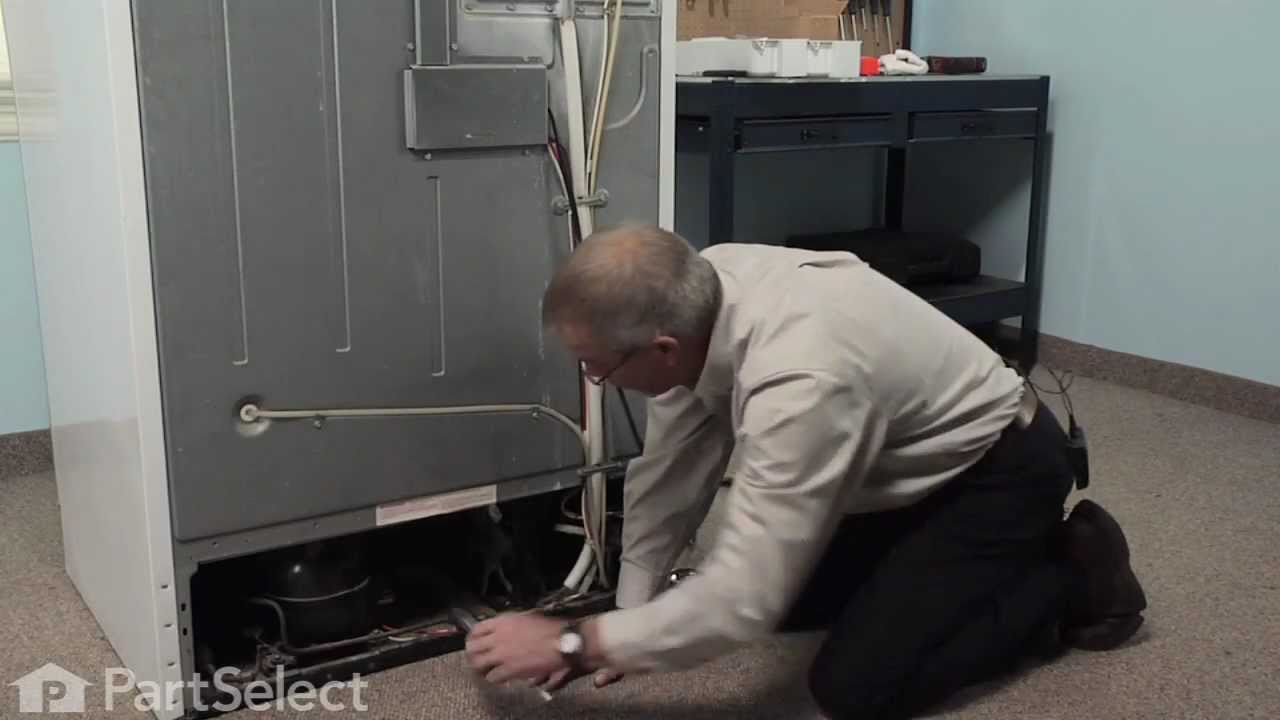

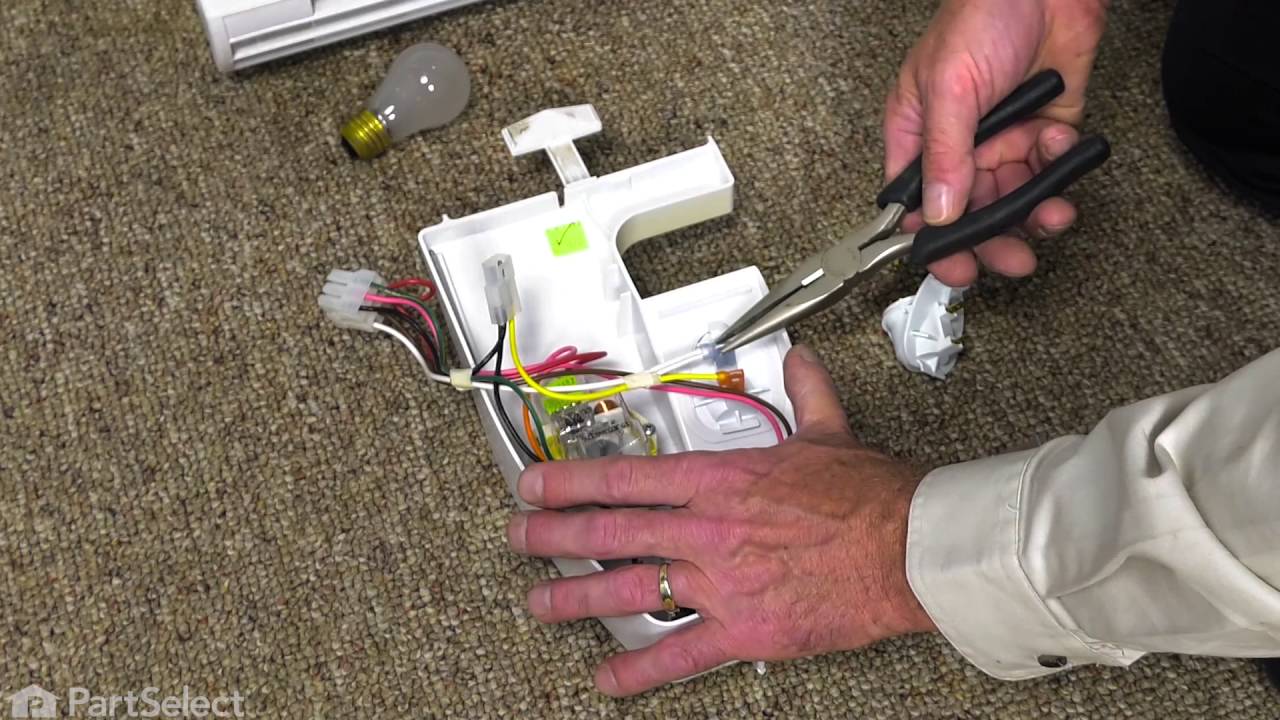
See how others fixed this model. Time, tools, difficulty, and steps that lead to victory!
View More