1068212030 Kenmore Freezer - Overview

Diagrams for 1068212030

See every part. Know exactly what you need.

Enter a part description. DIY Heroes keep it simple, eg. "belt" or "pump".

Search filter:
Clear Filter
Your search term must have 3 or more characters.
Light Bulb - 40W – Part Number: 8009
$26.41
In Stock
Light Bulb - 40W
★★★★★
★★★★★
(47)
Part #8009
This an authentic OEM 40-Watt replacement light bulb, used in a number of household appliances. It is specially designed to withstand extreme temperatures, which is why these replacement bulbs are most often used to light the inside of refrigerators and ranges. It features a standard socket base, which means you simply unscrew the burnt-out bulb and screw in the replacement. Depending on the appliance you may require a screwdriver or nut driver to access the light bulb. We recommend you wear work gloves while handling this replacement part. It is constructed of glass and metal and is sold individually. Depending on the appliance and location of the bulb within it, you may want to consider disconnecting power and using a flashlight for easier access to unscrewing and re-screwing in your bulb during this repair.
Refrigerator Condenser Fan Motor Kit – Part Number: 833697
$115.19
In Stock
Refrigerator Condenser Fan Motor Kit
★★★★★
★★★★★
(20)
Part #833697
This condenser fan motor operates in a clockwise fashion and carries carries 2W and 115V. It comes with screws, a mounting nut for the blade and a cushion. This part provides forced-air cooling for the condenser coil.
Air Conditioner Cover Screw – Part Number: WP308685
$10.95
In Stock
Air Conditioner Cover Screw
Part #WP308685
Sold individually.
Screw – Part Number: WP488729
$10.50
In Stock
Screw
Part #WP488729
Metallic screw that is less than an inch long. Does not include the plastic washer.
Refrigerator Hinge Washer – Part Number: WP487802
$9.85
In Stock
Light Socket Kit – Part Number: 4387478
$65.95
In Stock
Light Socket Kit
★★★★★
★★★★★
(1)
Part #4387478
The bulb is sold separately.
Freezer Door Key – Part Number: WP842177
$10.67
In Stock
Freezer Door Key
Part #WP842177
Sold individually.
Refrigerator Screw – Part Number: WP999367
$10.95
Special Order
Refrigerator Screw
Part #WP999367
Sold individually.
Refrigerator Screw – Part Number: WP489128
$17.55
Special Order
Refrigerator Screw
Part #WP489128
This screw is sold individually.
Screw -  8-32 X 1-1/4 – Part Number: WP488163
$13.95
In Stock
Screw - 8-32 X 1-1/4
Part #WP488163
Sold individually.
Speed Nut – Part Number: WP486692
$15.06
Special Order
Speed Nut
Part #WP486692
This part measures 1/4-20 inch. Sold individually.
Refrigerator Thermostat Sensor Barrier – Part Number: WP2196003
$14.95
Special Order
Refrigerator Thermostat Sensor Barrier
Part #WP2196003
The thermostat sensor barrier covers and insulates the temperature control thermostat capillary tube.

Common Symptoms of the 1068212030

How this model fails, and the parts that fix it.

Watch our pros, then fix it yourself.
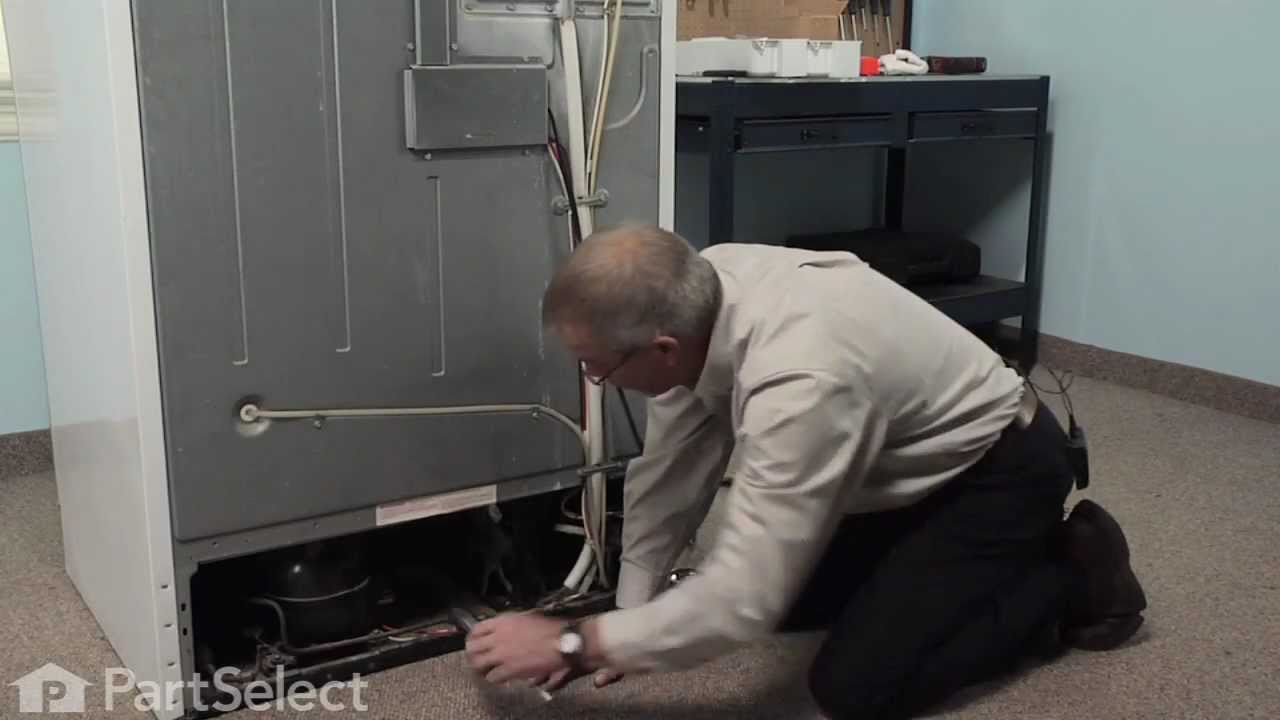
See how others fixed this model. Time, tools, difficulty, and steps that lead to victory! View More

Search repair tips from other customers using simple keywords like "replace", "fit", "remove", "inspect". DIY doesn't mean you have to do it alone!

Search filter:
Clear Filter
Your search term must have 3 or more characters.
Sometimes the condenser fan would start causing the refrigerator to overheat.
189 of 228 people found this instruction helpful.
  • Tom from Franklin, WI
  • A Bit Difficult
  • 15 - 30 mins
  • Nutdriver, Pliers
Unplug the appliance.
Removed the screws holding the back panel.
Removed the fan blade.
removed 3 screws holding the condenser fan.
Remove the 3 metal brackets attached to the fan.
(First note which studs the brackets are attached to. Attach the 3 metal brackets to the new fan. (New screws were supplied)
Cut and strip the wire about two inches from the fan.
Cut and strip the new wire. I cut the new wire in half (about 6 inches.) Connect the two wires, twist and used 2 wire nuts. Tie wrap the wire to the wire harness. Mount the new fan (three screws)
Screw the back panel back on.
Mount the new
Was this helpful?
Thank you for voting!
Light Would Not Go On In The Refrigerator
62 of 82 people found this instruction helpful.
  • DANIEL from MINNEAPOLIS, MN
  • Easy
  • Less than 15 mins
  • Screw drivers
First I removed the old lightbulb from the socket and replaced it with a new one to confirm that the bulb was not the problem. I then pryed the socket out with a flat-head screwdriver. I could tell that the socket was anchored in its hole with clips so it was relatively easy to pry it out. Once the socket was out, I disconnected the le ad wires and ordered a replacement socket kit from Partselect. When the new one arrived, I reconnected the lead wires to it, snapped it back into its hole, screwed in a new lightbulb, and presto!! The light was back on with no further problem. Thank you, Partselect!! A $15.00 part saved me what probably would have been at least a $100. service call and heaven knows what the technician would have told me I needed!!!
Was this helpful?
Thank you for voting!
noisy fan motor
38 of 46 people found this instruction helpful.
  • robert from nashotah, WI
  • A Bit Difficult
  • 30 - 60 mins
  • Nutdriver, Socket set
rmv panel (5min) rmv fan/motor 3 screws (10 m) cut wire 2in from motor, re route remainder of wire to front so can strip for wire nuts. ( 10m) attach old fan to new motor, place in old opening ,3 screws, a little fussy to align, ( 15m ) route and strip wire from new motor , zip ties work well, wire nuts , plug in fridge vola, no noise, c lose up, reverse panel. ( 20m). i also took time to clean grilles with small vac and damp rag, ( looks and sounds like new) bob Wi.
Was this helpful?
Thank you for voting!