


 My Orders


10632 Kenmore - Overview
Models starting with 10632
Click on the best match to narrow your results.
- 10632242101 Kenmore Refrigerator
- 10632243101 Kenmore Refrigerator
- 10632249101 Kenmore Refrigerator
- 1063283353 Kenmore Air Purifier
- 10632842010 Kenmore Refrigerator
- 10632852010 Kenmore Refrigerator
- 10632852011 Kenmore Refrigerator
- 10632853010 Kenmore Refrigerator
- 10632853011 Kenmore Refrigerator
- 10632862010 Kenmore Refrigerator
- 10632862011 Kenmore Refrigerator
- 10632863010 Kenmore Refrigerator
- 10632863011 Kenmore Refrigerator
- 10632872010 Kenmore Refrigerator
- 10632873010 Kenmore Refrigerator
- 10632882010 Kenmore Refrigerator
- 10632883010 Kenmore Refrigerator
- 10632889010 Kenmore Refrigerator
- 10632942101 Kenmore Refrigerator
- 10632943101 Kenmore Refrigerator
- 10632949101 Kenmore Refrigerator
Enter a part description. DIY Heroes keep it simple, eg. "belt" or "pump".
Search filter:
Clear Filter
Your search term must have 3 or more characters.

$41.95
In Stock
Refrigerator Air Filter
Part #W10311524
This Refrigerator Air Filter is a white 1.8x3.2" plastic filter which neutralizes odor and bacteria in the air. It should be replaced every six months at a minimum. Refer to your user manual and model number to see if this filter is right for your fridge. Location for storage of the air filter may vary from model to model, but generally, ...Read moreyou will find a small cover on the back-middle-top of your fridge, which can be popped off to reveal the air filter, which can be easily changed out from there. This part does not come sold with the indicator; it is the filter only. Sold individually.
Read less

$26.41
In Stock
Light Bulb - 40W
Part #8009
This an authentic OEM 40-Watt replacement light bulb, used in a number of household appliances. It is specially designed to withstand extreme temperatures, which is why these replacement bulbs are most often used to light the inside of refrigerators and ranges. It features a standard socket base, which means you simply unscrew the burnt-o...Read moreut bulb and screw in the replacement. Depending on the appliance you may require a screwdriver or nut driver to access the light bulb. We recommend you wear work gloves while handling this replacement part. It is constructed of glass and metal and is sold individually. Depending on the appliance and location of the bulb within it, you may want to consider disconnecting power and using a flashlight for easier access to unscrewing and re-screwing in your bulb during this repair.
Read less

$58.29
In Stock
Refrigerator Capacitor
Part #WPW10662129
This part helps the compressor kick on and off while maintaining a constant temperature to keep things frozen in your freezer.

No Longer Available
Touch-Up Paint - White
Part #72017
This 18 ml bottle of white appliance touch-up paint is used to cover scratches or marks on your appliance. The white touch-up paint can be used on refrigerators, microwaves, ranges, clothes dryers, and freezers. This is a genuine OEM part and includes a brush applicator. Please remember to wear gloves to protect your hands when applying this paint.

$85.57
In Stock
Door Bin
Part #WPW10308869
This clear plastic door bin attaches to the inside of the refrigerator door and holds jars and bottles. Door bins can crack and break due to frequent and heavy use, and faulty bins should be replaced.

$48.43
In Stock
Refrigerator Bimetal Defrost Thermostat
Part #WPW10225581
If ice is building up in your freezer or if your freezer is getting too warm on the defrost cycle you may need to replace the bi-metal thermostat.

$43.83
In Stock

$18.95
In Stock
BRACKET-DOOR STOP,ZINC
Part #W11745278
This hinge bracket, also known as a door stop, is attached to the bottom of the door and is used to limit how far the door swings out to protect the refrigerator itself, and any surrounding cabinets from potential damage. If your fridge is having issues opening or staying closed, check the hinges for any damage or cracking. To replace thi...Read mores bracket, simply remove the door off your refrigerator, unscrew and remove this bracket from the bottom of the door, and install the new one. This hinge bracket is an OEM replacement and is compatible with several different makes and models of refrigerator.
Read less

$169.10
In Stock
Crisper Pan
Part #WP2256704
This clear crisper pan helps keep produce fresh by maintaining the right humidity inside your refrigerator. It measures roughly 13 inches by 10 inches at the base and is made of sturdy plastic. Always unplug your fridge before installation and refer to your manual for proper placement.

$83.55
In Stock
Freezer Evaporator Fan Motor
Part #WP2315539
This evaporator fan motor is located in the back of the freezer, and circulates air over the refrigerator coils. These coils will convert the heat into cool air, which is then circulated.

$10.95
In Stock

$89.81
In Stock
Refrigerator Compressor Start Relay
Part #WPW10197428
This compressor start relay is for refrigerators. The compressor start relay attaches to the compressor and helps start the compressor motor. Safely store any food that could deteriorate while the power is off and unplug the refrigerator before installing this part.
Exact Part matches for your search term

No Longer Available
No Longer Available
Common Symptoms of models starting with 10632
How this model fails, and the parts that fix it.
Fridge too warm
Fixed by
these parts
these parts


Show All
Light not working
Fixed by
these parts
these parts


Show All
Fridge and Freezer are too warm
Fixed by
these parts
these parts

Show All
Will Not Start
Fixed by
these parts
these parts
Show All
Freezer not defrosting
Fixed by
these parts
these parts


Show All
Door won’t open or close
Fixed by
these parts
these parts


Show All
Freezer section too warm
Fixed by
these parts
these parts
Show All
Clicking sound
Fixed by
these parts
these parts

Show All
Frost buildup
Fixed by
these parts
these parts

Show All
Noisy
Fixed by
these parts
these parts


Show All
Too warm
Fixed by
these parts
these parts
Show All
Fridge too cold
Fixed by
these parts
these parts

Show All
Ice maker not making ice
Fixed by
these parts
these parts

Show All
Leaking
Fixed by
these parts
these parts


Show All
Door Sweating
Fixed by
these parts
these parts

Show All
Freezer too cold
Fixed by
these parts
these parts
Show All
Fridge runs too long
Fixed by
these parts
these parts
Show All
Ice maker won’t dispense ice
Fixed by
these parts
these parts
Show All
Won’t start
Fixed by
these parts
these parts
Show All
Watch our pros, then fix it yourself.
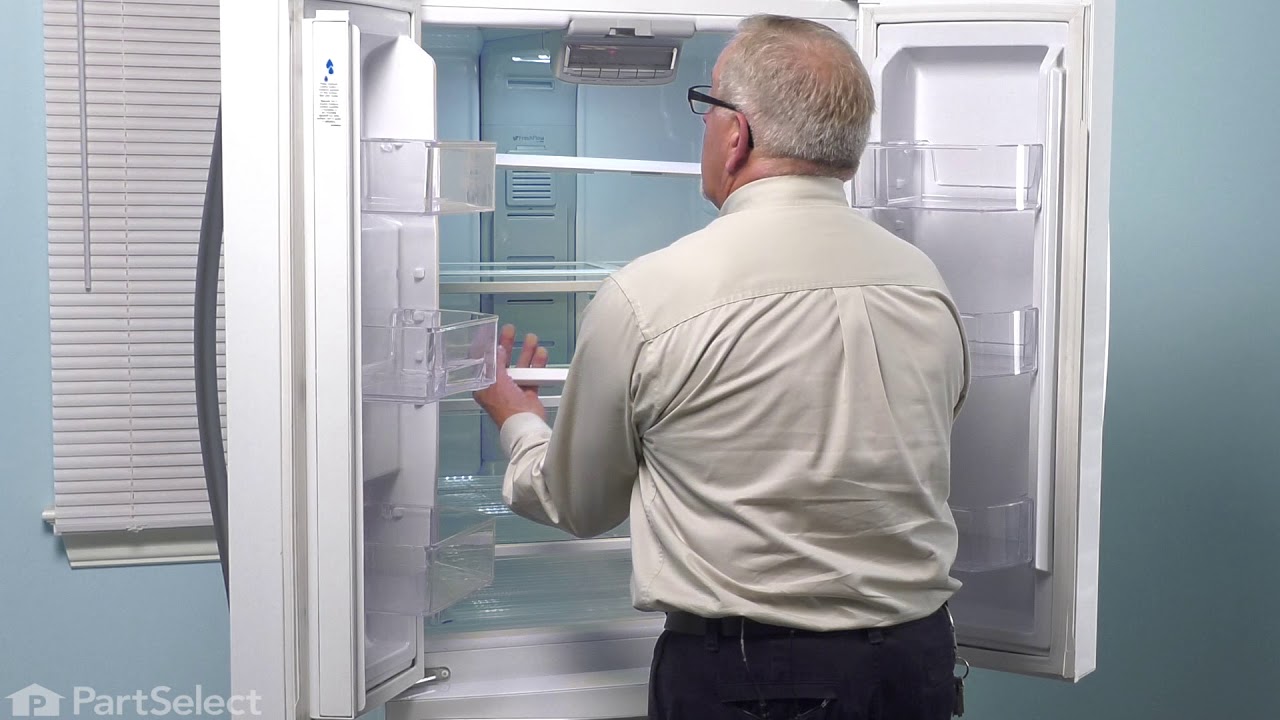
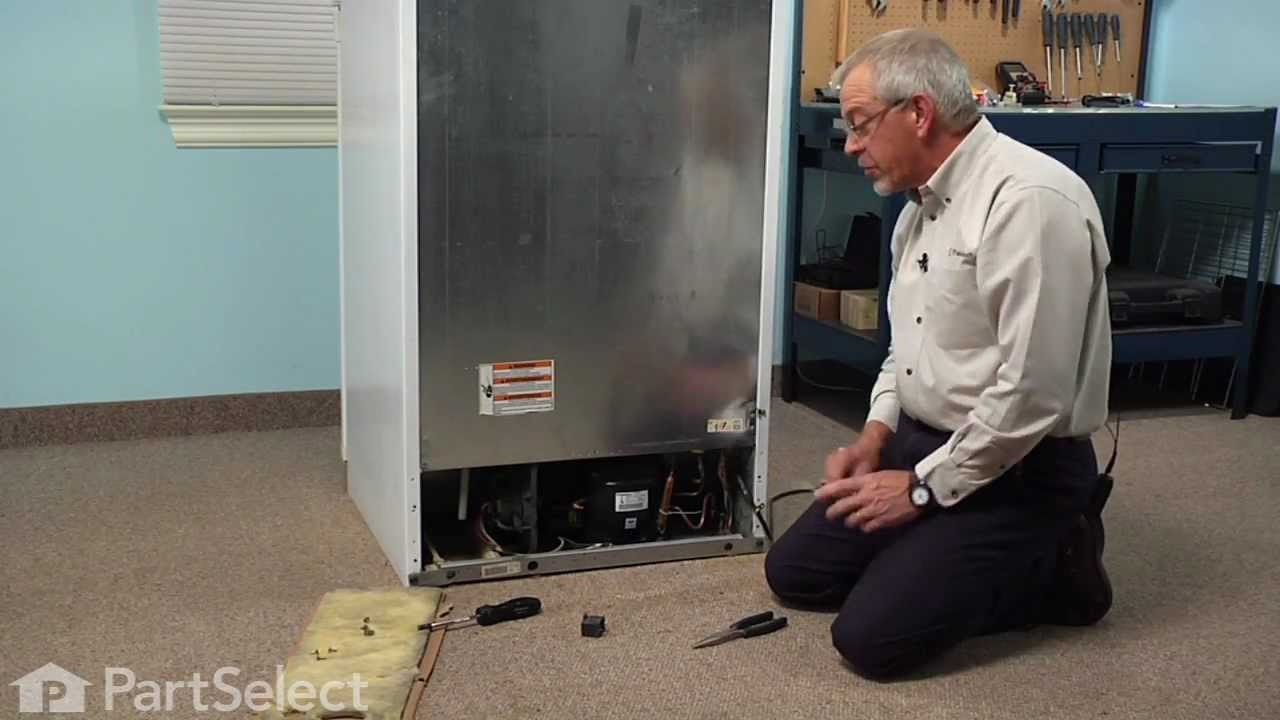
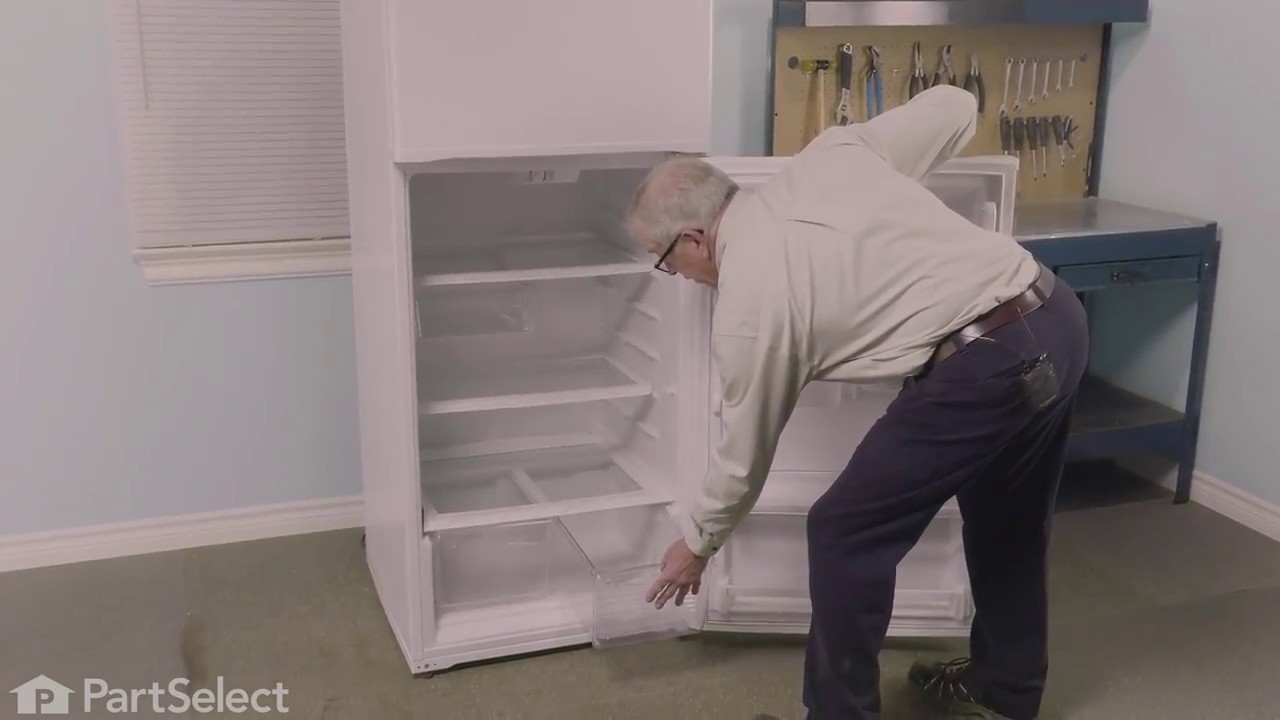
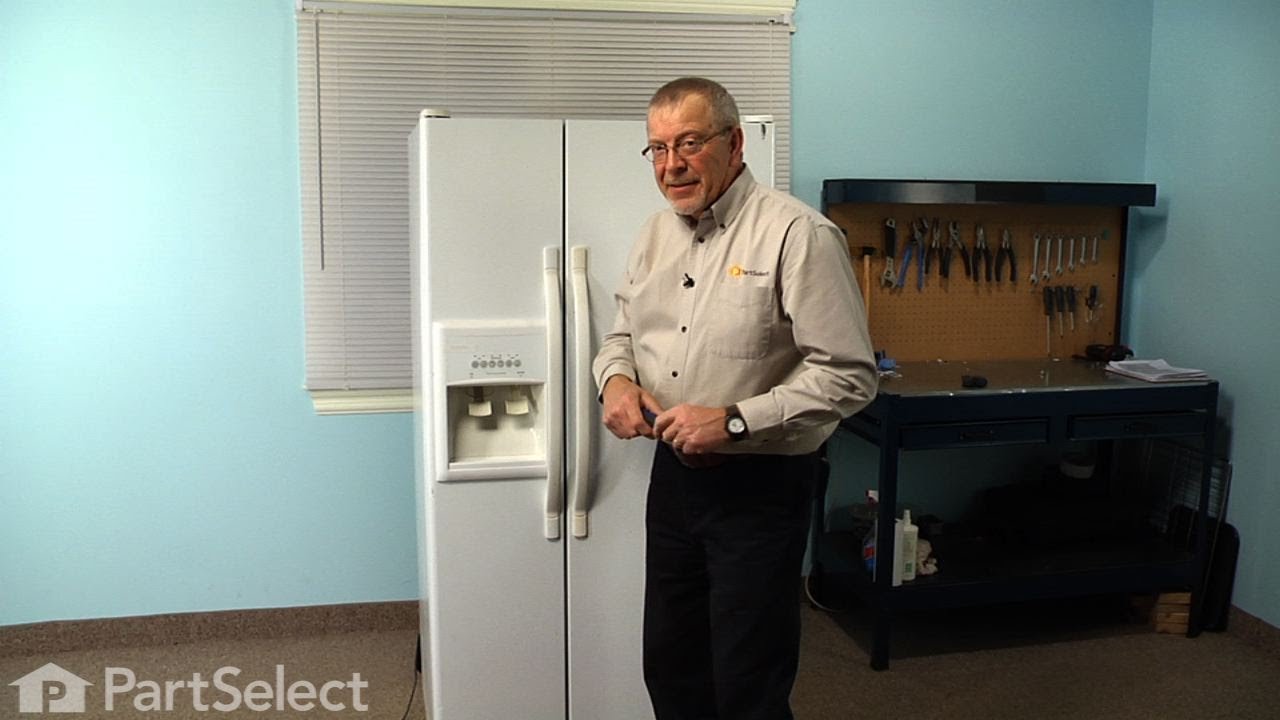
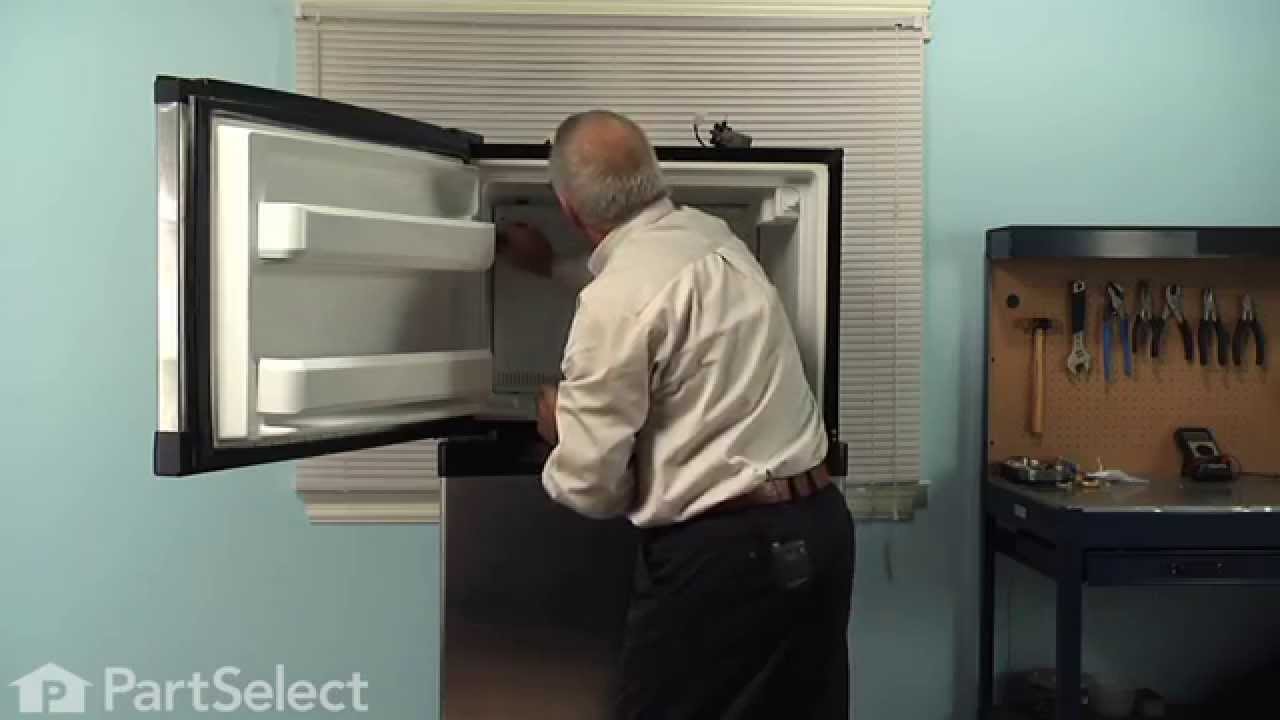
See how others fixed this model. Time, tools, difficulty, and steps that lead to victory!
View More