


 My Orders


10632872010 Kenmore Refrigerator - Overview
Diagrams for 10632872010
See every part. Know exactly what you need.

Enter a part description. DIY Heroes keep it simple, eg. "belt" or "pump".
Search filter:
Clear Filter
Your search term must have 3 or more characters.

No Longer Available
Touch-Up Paint - White
Part #72017
This 18 ml bottle of white appliance touch-up paint is used to cover scratches or marks on your appliance. The white touch-up paint can be used on refrigerators, microwaves, ranges, clothes dryers, and freezers. This is a genuine OEM part and includes a brush applicator. Please remember to wear gloves to protect your hands when applying this paint.

$48.43
In Stock
Refrigerator Bimetal Defrost Thermostat
Part #WPW10225581
If ice is building up in your freezer or if your freezer is getting too warm on the defrost cycle you may need to replace the bi-metal thermostat.

$43.83
In Stock
Refrigerator Door Switch
Part #W11384469
If your refrigerator’s interior light is not working, the door switch may be the cause. It turns the light off when the door closes. This is an OEM part. Confirm compatibility using your refrigerator’s model number.

$18.95
In Stock
BRACKET-DOOR STOP,ZINC
Part #W11745278
This hinge bracket, also known as a door stop, is attached to the bottom of the door and is used to limit how far the door swings out to protect the refrigerator itself, and any surrounding cabinets from potential damage. If your fridge is having issues opening or staying closed, check the hinges for any damage or cracking. To replace thi...Read mores bracket, simply remove the door off your refrigerator, unscrew and remove this bracket from the bottom of the door, and install the new one. This hinge bracket is an OEM replacement and is compatible with several different makes and models of refrigerator.
Read less

$169.10
In Stock
Crisper Pan
Part #WP2256704
To store produce in your refrigerator, use this half-size clear crisper pan, which helps keep humidity out to prevent spoilage. The OEM replacement does not include the humidity control slide or its housing. Transfer them from your original pan or order them separately.

$223.09
In Stock
Refrigerator Shelf Glass Insert
Part #WP2262441
This refrigerator shelf glass provides a flat storage surface above the crisper drawers. The clear tempered glass lets you see food below while supporting containers and groceries on top. It fits into the existing cover frame, helping enclose the produce storage area beneath it. Cracks, chips, or shattered glass make the shelf unsafe to u...Read morese. Replacing damaged glass restores useful storage space. Empty the shelf before removal, wear gloves when handling broken pieces, and let cold glass reach room temperature before washing it. This is an OEM part sourced directly from the manufacturer.
Read less

$300.34
In Stock
ICE MAKER KIT-PKG ASSEMBLY (EZ
Part #W11700559
This genuine OEM ice maker kit is designed to fit refrigerators that did not originally come with an ice maker. This kit contains everything needed to install the new ice maker on your refrigerator including: the ice maker, ice bin, inlet valve, fill tube, and hardware. If your new ice maker does not function properly after being installe...Read mored, check the freezer temperature. The freezer must to be around zero degrees Fahrenheit. Remember to disconnect the power and water supply to your refrigerator before beginning this installation. Make sure to check that your model is compatible with this part before ordering.
Note: The manufacturer has updated this part. It may differ in appearance but will function the same as the original.
Read less

$17.29
In Stock
Refrigerator Door Shelf Retainer Bar End Cap
Part #WP2156003
This refrigerator door shelf rail end cap holds the retainer bar securely against the inner door panel. It snaps into the door liner and supports the bar that keeps bottles, jars, and condiments from falling off the shelf. Cracked plastic or broken tabs may let the bar sag, loosen, or detach when the door moves. Replacing a damaged end ca...Read morep restores firm support and secure storage. Empty the shelf before replacement, then gently snap the new cap into place and reattach the bar. This is an OEM part sourced directly from the manufacturer.
Read less

$17.55
In Stock
Refrigerator Screw
Part #WP489497
This appliance hex washer head screw secures brackets, hinges, or other mounted components in place. Its six-sided head provides a firm grip for a socket or nut driver, while the built-in washer spreads pressure across the mounting surface. A missing screw, stripped thread, or damaged head may allow attached parts to loosen, shift, or rat...Read moretle. Replacing a damaged fastener helps restore a secure attachment. Disconnect appliance power before servicing, support any attached components, and tighten carefully to avoid damaging the threads or mounting surface. This is an OEM part sourced directly from the manufacturer.
Read less

No Longer Available

$16.72
In Stock
Refrigerator Door Hinge Nylon Washer
Part #WP487576
This small hinge washer acts as a spacer between the refrigerator door and hinge. It helps keep the door aligned and reduces wear as the door moves. Replace a missing, cracked, or worn washer. Empty the door shelves and have another person support the door during installation. Use the exact model number to confirm fit.

No Longer Available
Common Symptoms of the 10632872010
How this model fails, and the parts that fix it.
Light not working
Fixed by
these parts
these parts


Show All
Fridge too warm
Fixed by
these parts
these parts


Show All
Door won’t open or close
Fixed by
these parts
these parts


Show All
Freezer not defrosting
Fixed by
these parts
these parts
Show All
Freezer section too warm
Fixed by
these parts
these parts
Show All
Fridge and Freezer are too warm
Fixed by
these parts
these parts

Show All
Ice maker not making ice
Fixed by
these parts
these parts

Show All
Fridge too cold
Fixed by
these parts
these parts
Show All
Frost buildup
Fixed by
these parts
these parts

Show All
Freezer too cold
Fixed by
these parts
these parts
Show All
Too warm
Fixed by
these parts
these parts
Show All
Noisy
Fixed by
these parts
these parts

Show All
Fridge runs too long
Fixed by
these parts
these parts
Show All
Ice maker won’t dispense ice
Fixed by
these parts
these parts
Show All
Leaking
Fixed by
these parts
these parts
Show All
Will Not Start
Fixed by
these parts
these parts
Show All
Clicking sound
Fixed by
these parts
these parts
Show All
Watch our pros, then fix it yourself.
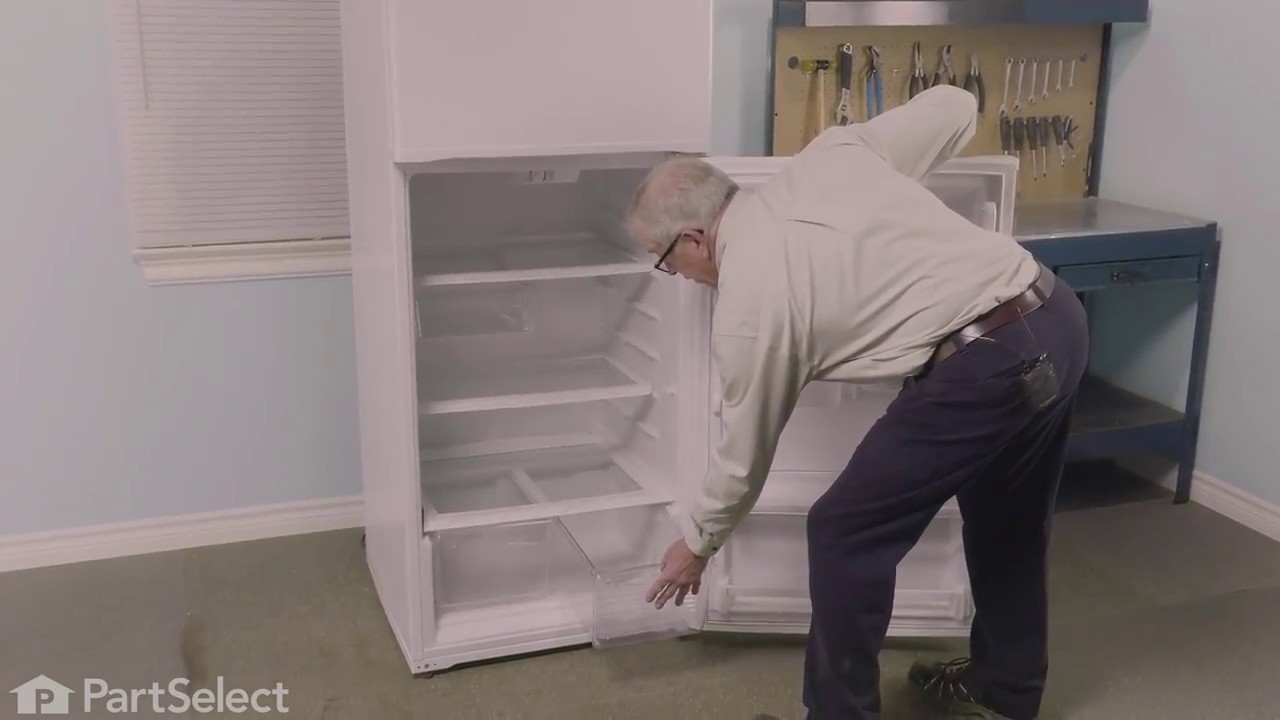
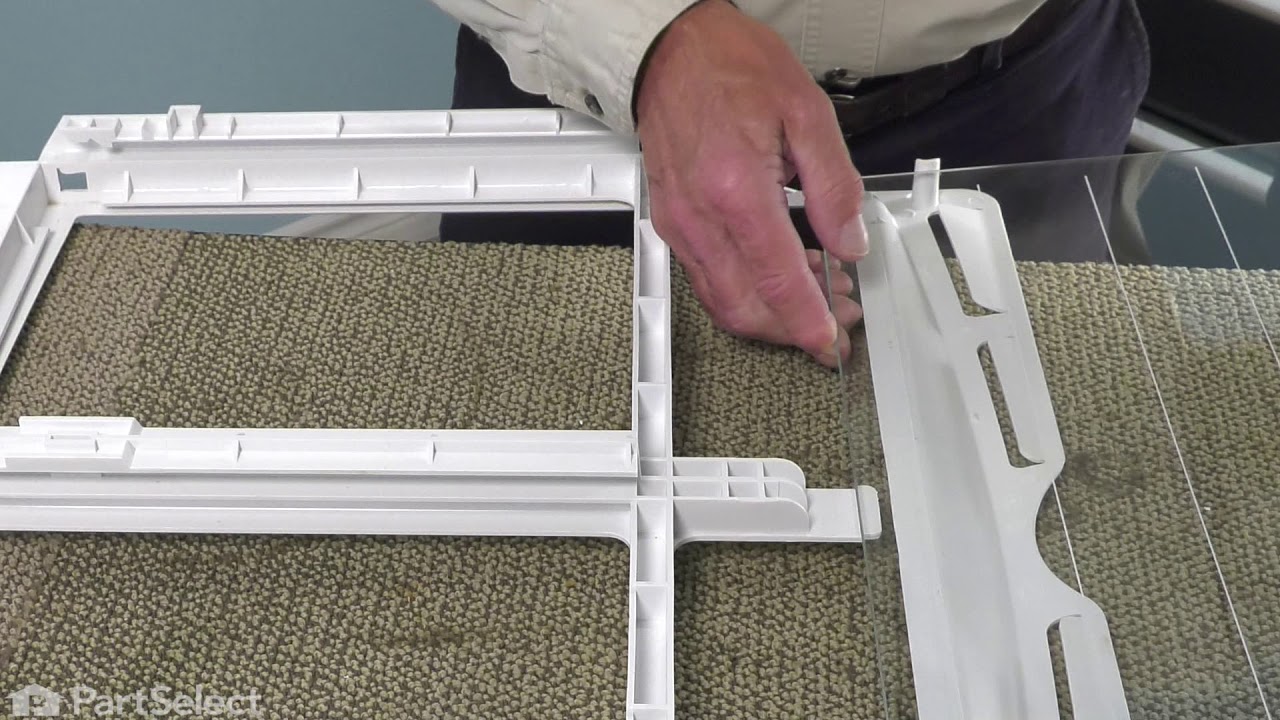
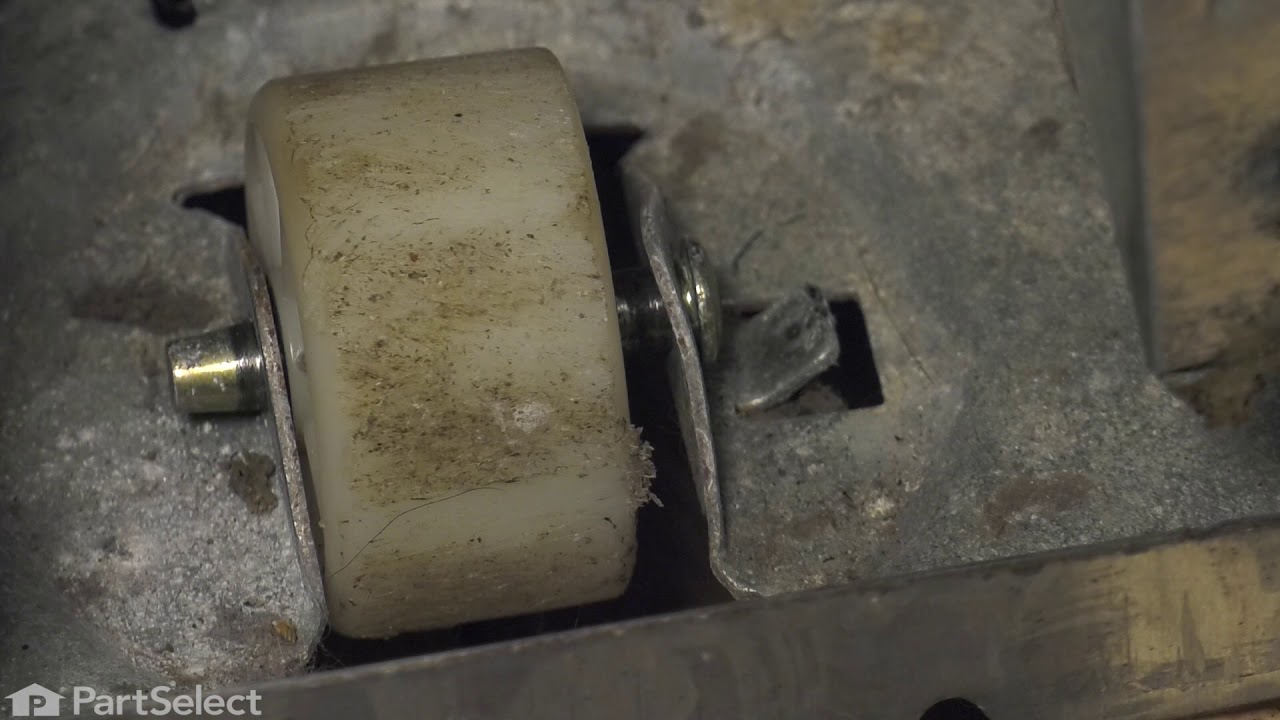

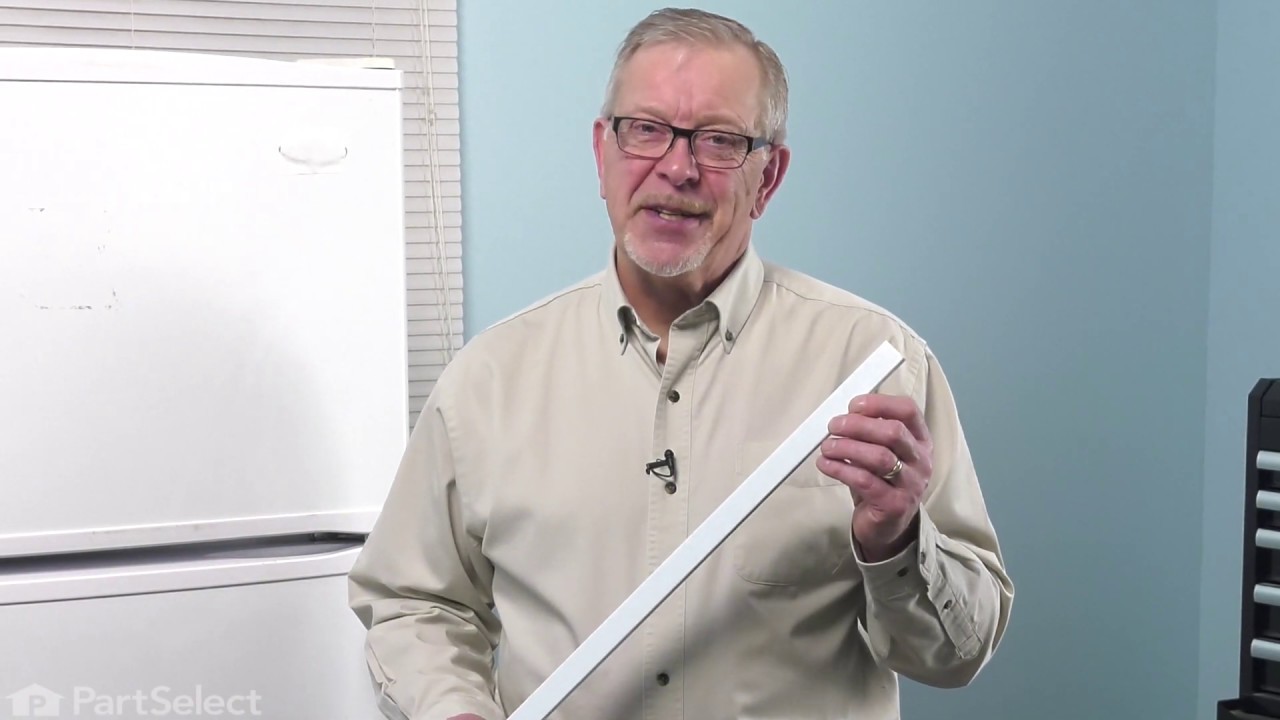
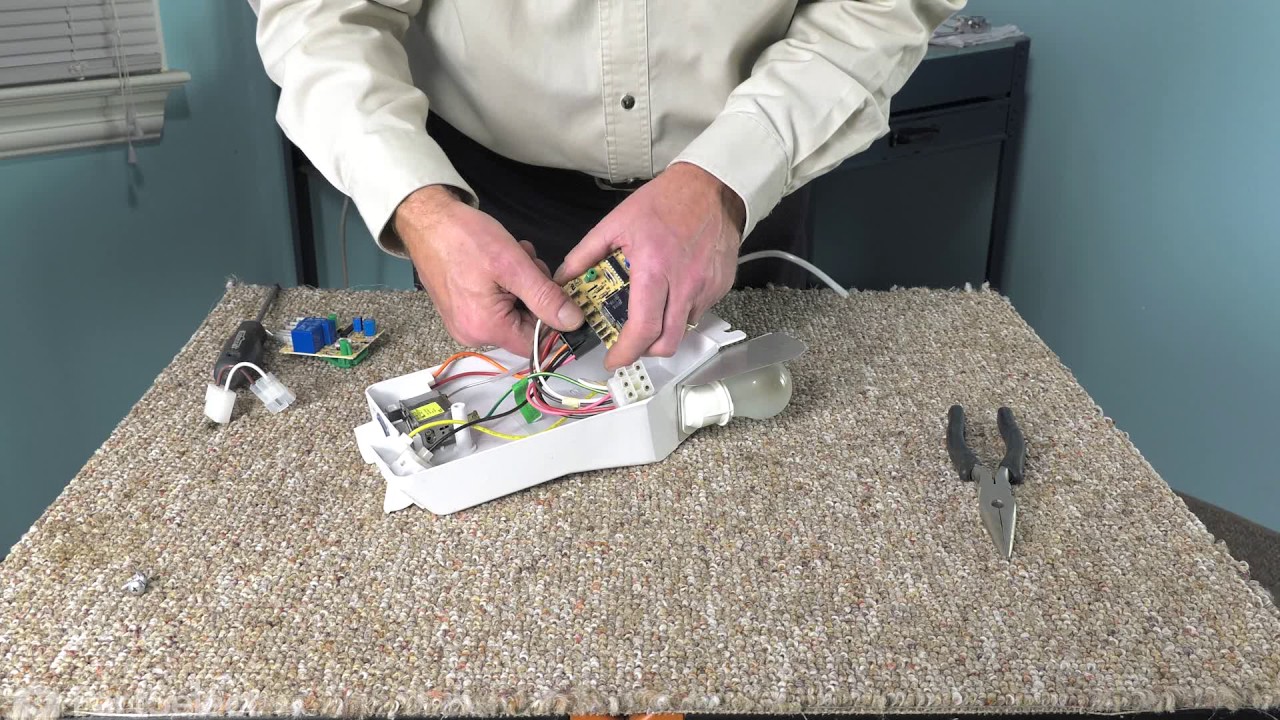
See how others fixed this model. Time, tools, difficulty, and steps that lead to victory!
View More