




Range Rear Drawer Glide WP8053334

Official part for Whirlpool, Roper, Estate, Maytag

★★★★★
★★★★★
(3)

Really Easy 

15 - 30 mins 

Part Location Diagram of WP8053334 Whirlpool Range Rear Drawer Glide
See part 6 in the diagram
Replacing your Whirlpool Range Range Rear Drawer Glide
( Grid squares measure 1x1 inch )
Proudly Canadian
$15.43
In Stock

Part Fit Check - Make Sure it's a Match.

About This Part

What it does. Why it matters. Everything you need to know for an easy fix.

Range Rear Drawer Glide Specifications

Sold Individually. As the broiler drawer slides back and forth, these glides prevent metal-to-metal contact.
Part #WP8053334
Manufactured by Whirlpool for Whirlpool, Roper, Estate, Maytag

You May Also Need

Genuine OEM: Original Parts. Lasting Repairs.

Because quality isn't optional.

OEM stands for Original Equipment Manufacturer. This means that the company who made your appliance is also supplying the replacement part.

How Buying OEM Parts Can Save You Time and Money
Features OEM Generic
Genuine brand name
Guaranteed to fit
Superior Quality
Long term value

Part Videos

Watch our pros, then fix it yourself.

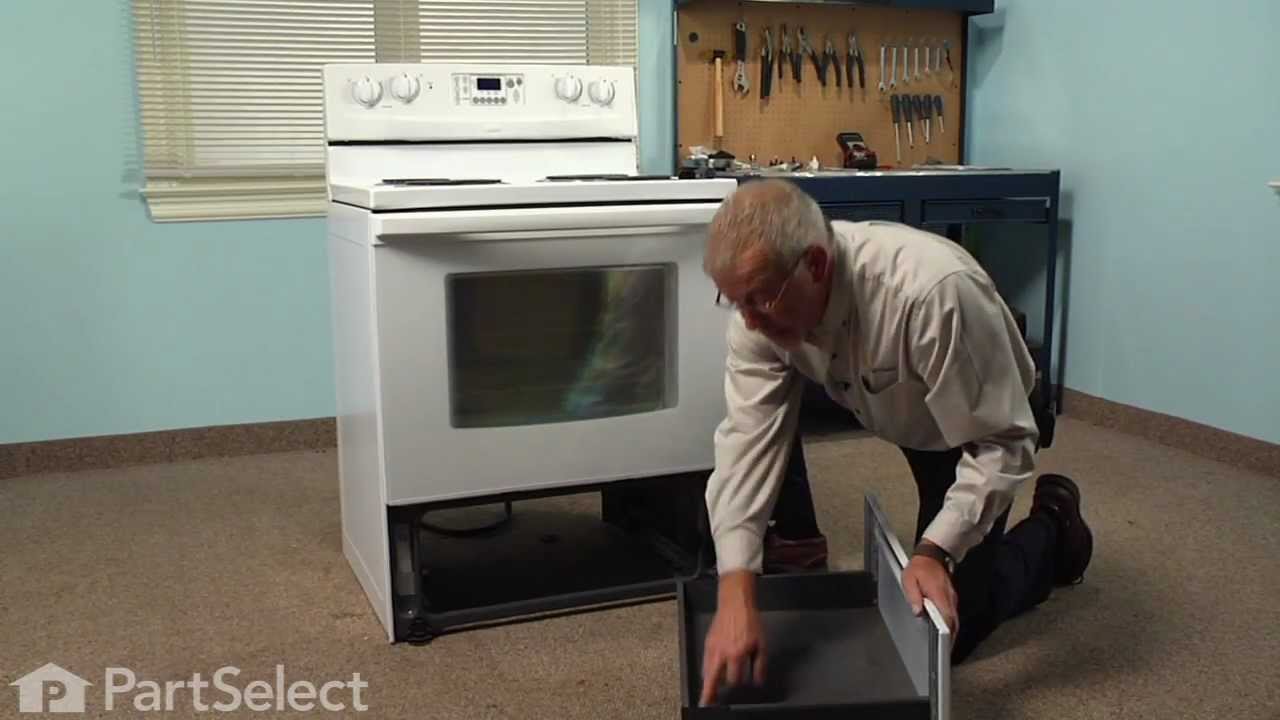
Replacing your Whirlpool Range Range Rear Drawer Glide

Replacing your Whirlpool Range Range Rear Drawer Glide

About this fix

Common problems and models this part fixes.

Really Easy 

15 - 30 mins 

What this part fixes:
  • Door won’t close
Works with the following products:
  • Range
Part# WP8053334 replaces these:
AP3590924, 3195062, 8053334

Customer Reviews

Real ratings from other people who bought this part.

Average Rating:

★★★★★
★★★★★
3 Reviews
5.0

Out of 5

  • 5 Stars
    3
  • 4 Stars
    0
  • 3 Stars
    0
  • 2 Stars
    0
  • 1 Star
    0
Sort by:
  • 1
Sorry, we couldn't find any existing reviews that matched. Try using some different or simpler keywords.
  • 1

Repair Tips

See how others fixed this model. Time, tools, difficulty, and steps that lead to victory!

Really Easy 

15 - 30 mins 

Average repair rating from 15 real customers like you

Sort by:
  • 1
  • 2
Sorry, we couldn't find any existing installation instruction that matched.
drawer broke and annoying my wife
34 of 39 people found this instruction helpful.
  • John from Jamestown, OH
  • Really Easy
  • Less than 15 mins
  • Screw drivers
screwed in the new glide by taking out old broken one and screwing in new one. wife happy now.
Was this helpful?
Thank you for voting!
3 burners had stopped working and drawer glides broke.
11 of 14 people found this instruction helpful.
  • Tracy from Green Cove Springs, FL
  • Really Easy
  • 30 - 60 mins
  • Pliers, Screw drivers
Removed the old burners and lifted top assembly. It made it easier to work with the wires by removing the top, easily remove the screws holding the wire harness and ground wire, then slid the top to the right and it came right off. splicing the wires in was very easy and all the parts required were sent with the kits. reassembled stove and it worked like a champ. The drawer was very easy as well the plastic glides were all broken or worn out, and one screw each to replace. like a new oven now, saved at least 300 by not purchasing a new one.
Was this helpful?
Thank you for voting!
broken bottom drawer glide and missing rivet on drawer front panel
7 of 9 people found this instruction helpful.
  • David from Fairborn, OH
  • Easy
  • Less than 15 mins
  • Screw drivers
Removed the old, broken drawer glide by removing the Phillips head screw. Then placed the new glide into place and fastened with the existing screw.

The rivet on the top of the bottom drawer front was missing. I lined up the drawer front with the supporting bracket behind it and inserted the rivet. All you have to do is tap the top of the pin in the center of the rivet to lock it in place. No rivet tool is needed. That should be explained in the parts listing because I bought the rivet tool before I realized I didn't need it.
Was this helpful?
Thank you for voting!
Broken rear stove drawer glide
5 of 7 people found this instruction helpful.
  • John from Maysville, GA
  • Really Easy
  • Less than 15 mins
  • Screw drivers
Removed drawer, after removing the 50# of junk in the drawer, Used screw driver to remove screw that holds glide to drawer and then place new part into place put screw into hole and tightened screw. Replaced drawer and told wife not to put 50# of junk back into the drawer.
Was this helpful?
Thank you for voting!
Broken Rear Drawer Glide
4 of 5 people found this instruction helpful.
  • Ed from Maple Grove, MN
  • Really Easy
  • Less than 15 mins
  • Screw drivers
This was a very smooth repair. In total it took about 5 minutes. The pot drawer below the oven wasn't gliding like it once did. After I replaced the glides it works like new. Please note, if you are going to replace one side go the next step and replace both to provide balance to the drawer.
Was this helpful?
Thank you for voting!
Broken drawer glides
3 of 4 people found this instruction helpful.
  • Shane from Palatine, IL
  • Really Easy
  • 15 - 30 mins
  • Screw drivers
Simply removed the bottom drawer, unscrew the old broken glide, and attach the new glide. Simple and no hassles.
Was this helpful?
Thank you for voting!
Draw handle broke. Slides worn out
2 of 2 people found this instruction helpful.
  • Richard from EAST LYME, CT
  • Easy
  • 30 - 60 mins
  • Pliers, Screw drivers
Replaced handle and slides. Drill third hole in handle add one more screws.
Was this helpful?
Thank you for voting!
slides on lower drawer were broken
2 of 4 people found this instruction helpful.
  • Leona R from Louisville, KY
  • Really Easy
  • Less than 15 mins
  • Screw drivers
I used a phillips screwdriver and replaced the part with one screw.Very easy and replaced my lower drawer under my oven,it tool about three to five minutes at the most and my drawer works fine now.Thanks for the instruction video on line, it really helped.
Was this helpful?
Thank you for voting!
broken glide
1 of 3 people found this instruction helpful.
  • Andrew J from MASSAPEQUA, NY
  • Really Easy
  • 15 - 30 mins
  • Screw drivers
replaced glide with screwdriver. very easy
Was this helpful?
Thank you for voting!
The storage drawer would not stay aligned - and was difficult to operate.
1 person found this instruction helpful.
  • Jane from Columbus, OH
  • Really Easy
  • 30 - 60 mins
  • Screw drivers
I followed the instructions on the video and it was pretty easy. I am a 96 year old woman so my grip on the screw driver was not as strong as I’d like, but with determination and a little WD40 I was able to tighten the screws sufficiently. Now it all works beautifully!!
Was this helpful?
Thank you for voting!
  • 1
  • 2

DIY Questions and Expert Answers

Be the first to ask our experts a question about this part!

This Part Also Fits These Models

Don't see your model? Use our Fit Checker to confirm!

Check Part Fit
Part #WP8053334
Brand
Model Number
Description
Whirlpool
4RF302BXEQ1
Range - Freestanding, Electric
Whirlpool
4RF302BXGQ0
Range - Freestanding, Electric
Whirlpool
4RF302BXGQ1
Range - Freestanding, Electric
Whirlpool
4RF302BXKQ0
Range - Freestanding, Electric
Whirlpool
4RF302BXKQ1
Range - Freestanding, Electric
Whirlpool
4RF315PXEQ0
Range - Freestanding, Electric
Whirlpool
4RF315PXGQ0
Range - Freestanding, Electric
Whirlpool
4RF315PXKQ0
Range - Freestanding, Electric
Whirlpool
4RF315PXMQ0
Range - Freestanding, Electric
Kenmore
66572002100
Range
Kenmore
66572002101
Range
Kenmore
66572002102
Range
Kenmore
66572002103
Range
Kenmore
66572002104
Range
Kenmore
66572004100
Range
Kenmore
66572004101
Range
Kenmore
66572004103
Range
Kenmore
66572004104
Range
Kenmore
66572132300
Range
Kenmore
66572132301
Range
Kenmore
66572133300
Range
Kenmore
66572133301
Range
Kenmore
66572134300
Range
Kenmore
66572134301
Range
Kenmore
66575002100
Range
Kenmore
66575002101
Range
Kenmore
66575002102
Range
Kenmore
66575002103
Range
Kenmore
66575002104
Range
Kenmore
66575004100
Range