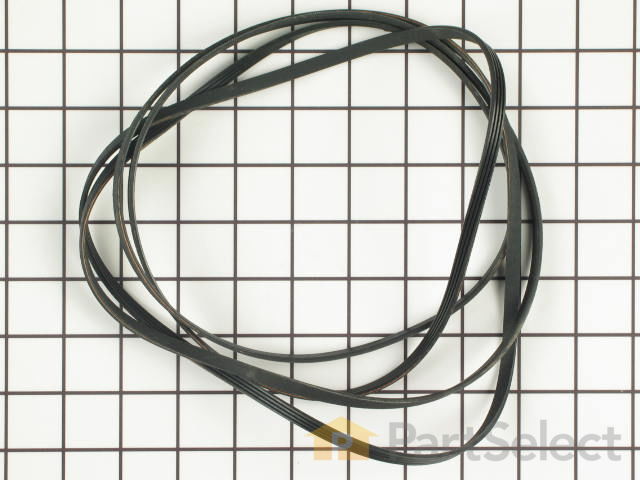
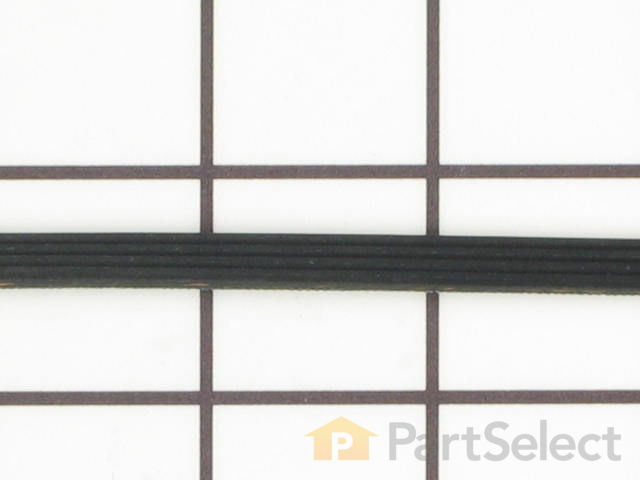
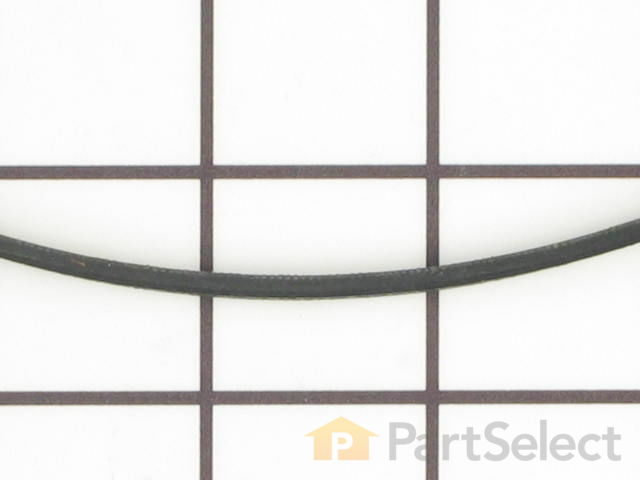
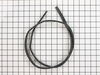
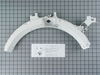
This dryer drum drive belt is 89.5" long and has four ribs. This part helps spin the drum during the drying cycle.
How Buying OEM Parts Can Save You Time and Money
Troubleshooting
This part fixes the following symptoms:
Noisy | Drum Not Spinning | Won’t Start
This part works with the following products:
Dryer, Washer Dryer Combo, Washer, Range.
This part works with the following products:
General Electric, Hotpoint, Kenmore.
Part# WE03X29897 replaces these:
WE12M0022, WE12M22, WE12M29, WE12M33, WE12X21574
Customer Reviews
Average Rating:
★★★★★
★★★★★
15 Reviews
4.3
Filter By Rating:
5 Stars
11
4 Stars
1
3 Stars
1
2 Stars
0
1 Star
2
< Prev
1
2
Next >
Sort by:
Search filter:
Clear Filter
Your search term must have 3 or more characters.
Keep searches simple. Use keywords, e.g. "leaking", "pump", "broken" or "fit".
Sorry, we couldn't find any existing reviews that matched. Try using some different or simpler keywords.
★★★★★
★★★★★
Richard C - February 8, 2024
Verified Purchase
Easy job just watch out for sharp edges ??
Thank you partselect shipping was extremely fast totally satisfied will be ordering parts again in the near future highly recommended
★★★★★
★★★★★
Thong S - November 30, 2023
Verified Purchase
Perfect fit
The part arrived quickly and fit perfectly, my appliance is now operational.
★★★★★
★★★★★
Ravi G - October 1, 2021
Verified Purchase
Fast Shipping, Great product
The part arrived super fast and in good condition. Installed and my dryer works like brand new. Thank you very much.
★★★★★
★★★★★
Mr. Roger V - June 4, 2021
Verified Purchase
Part was as described, good repair.
The part I ordered was good. The only problem was my address was incomplete from the original order .I had to track it down and make the necessary address confirmation which delayed it by a week. My bad coz I did not check the address on the confirmation email/order. Overall the part was good. I will check all the info next time I order.
★★★★★
★★★★★
Leslie T - May 12, 2021
Verified Purchase
Wow!
The dryer belt was great, and even better the video sent my Partselect was hugely helpful for me!
★★★★★
★★★★★
Linda M - June 17, 2019
Verified Purchase
Easy repair. Video guide was amazing?
The part came quickly and was easy to install using the video guide link that was sent with the part. Thanks. Would definitely order from part select again!
★★★★★
★★★★★
Leslie D - June 10, 2019
Verified Purchase
Drive belt
The drive belt work for about week than it broke and had to replace it. Was told that the drive belt was cheap and pay almost $50 dollars for the belt. Not worth it by from here.
★★★★★
★★★★★
Nelson R - March 6, 2019
Verified Purchase
Yes
Yes best service ever everything came in as expected your the best up and running in no time thanks again.
★★★★★
★★★★★
Jessie C - December 21, 2018
Verified Purchase
Great the dryer works excellent. Thanks partselect
The parts that I received is totally the same.
★★★★★
★★★★★
Craig F - December 13, 2018
Verified Purchase
Repair went well.
New drive belt received.
< Prev
1
2
Next >
Customer Repair Stories
Average Repair Rating: 2.8 / 5.0, 65 reviews.
What's this?
< Prev
1
2
3
Next >
Sort by:
Search filter:
Clear Filter
Your search term must have 3 or more characters.
Keep searches simple. Use keywords, e.g. "leaking", "pump", "broken" or "fit".
Sorry, we couldn't find any existing installation instruction that matched.
Dryer making grinding noises
We live in a Condominium, space is tight especially in the Utility room where the washer/dryer are located. Turned dryer breaker off at the electical panel. Removed the top cover and front assembly w/door and front drum support, right where the unit was located. Had to gain rear access to loosen drum drive belt so undid the dryer vent hose to floor connection through a front acess hole. Moved the unit out to the breakfast nook as well as disconnecting the power cable from the wall socket. Removed the rear access panel covers and unhooked the drive belt. At the front removed the top screws off the lower cross member to allow spreading of the side covers to allow the removal of the drum. Removed drum and found the bearing bushing gone, reduced to powder. Using the supplied instuction sheet, replaced the rear bearing assembly, replaced the drum after vacumming the whole interior and started the reassembly of the unit using the new belt and moved the unit back into place. Reconnected the power cable and dryer vent then lastly replaced the lint filter and selector knob. Closed the breaker and turned on the machine, no noise!!! Incidently I am 78 years old. Thanks PartSelect.
Removed the front Dryer panel. Left drum in place and lifted it up slightly to get access to motor drive. Slipped belt in place and put panel back on. This was a first attempt ever at fixing an appliance and it was no big deal.
Other Parts Used:
Adrian from Middletown, MD
Difficulty Level:
A Bit Difficult
Total Repair Time:
30 - 60 mins
Tools:
Screw drivers
184 of 264 peoplefound this instruction helpful.
Was this instruction helpful to you?
Thank you for voting!
Dryer would squeal when first starting and then gradually became very noisey.
The repair was done as follows:
1. Removed the door 2. Removed the two screws securing the top panel then removed the panel. 3. Removed the two screws securing the front panel then removed the panel. 4. Removed the screws securing the left side panel then removed side panel and the two leveling feet. 5. Tipped dryer over on its back (you will want to protect your floor, the four screws that attach the heater unit protrude through the back). 6. Disengaged the belt tensioner and removed the belt and the drum. 7. Removed the three Torx screws securing the drum bearing to the drum and discarded old bearing. 8. Removed the four screws securing the bearing retainer to the heater unit. 9. Removed the four screws securing the heater unit and two sensor wires. 10. Lifted heater unit just high enough to remove bearing retainer. Discarded bearing retainer.
The new drum bearing kit is supplied with self tapping screws. I installed the screws into the bearing parts to tap the holes and then removed them prior to assembly.
11. Installed new bearing retainer to back of heater unit using the supplied screws. Install the four screws by hand, finger tight. 12. Re-attached heater unit and tighten screws. 13. Re-attached sensor wires. 14. Tightened the four bearing retainer screws. 15. Attached new drum bearing to drum using the three supplied Torx screws. I used tape to hold everything together while installing the screws. Tightened the Torxscrews.
Next I used a vacuum to remove all the lint from inside the dryer. I also used a small plastic putty knife to remove the caked on lint on the impeller blades.
16. Inserted drum bearing into bearing retainer. 17. Installed drum belt and belt tensioner. 18. Installed left side panel and feet. 19. Replaced the two grey and two white slide bearings on the front panel. They just slip onto a small post and slide into a slot. 20. Installed front panel. (Rotate drum to help with installation) 21. Installed top panel and door
I had to take most of the dryer apart because there is no rear access to the motor. It turned out to be easy to dissasembel the dryer. The only problem that I had was that I could not figure out how to route the belt around the motor and the idol pullies. I could not find anywhere that gave instructions on how to properly tension the belt. I finally figured out that the idoler pulley needs to be locked in place on the right side of the engie mount. Then the belt needs to be routed over idoler pulley and under the motor pulley. Finally release the idoler pully from the locked postion to put tension on the belt. It really turned out to be pretty easy.
Other Parts Used:
Richard from Ashton, MD
Difficulty Level:
Easy
Total Repair Time:
1- 2 hours
Tools:
Nutdriver, Screw drivers
62 of 87 peoplefound this instruction helpful.
Was this instruction helpful to you?
Thank you for voting!
Broken belt
Removed the top of dryer two screws behind door at top then removed top two screws top corner lift dryer tub put belt around the tub then looped belt around the pullies.
Pryed off the top with a flat head screwdriver and removed the 2 screws holding the front panel to the sides. Then lifted the front panel off of the bottom brackets. Belt fit perfectly and followed the provided instructions to loop it around the motor and pulley. PartSelect got the part to me within a couple of days and the repair was a snap.
Other Parts Used:
Christopher from Miami, FL
Difficulty Level:
Easy
Total Repair Time:
15 - 30 mins
Tools:
Screw drivers, Wrench (Adjustable)
56 of 79 peoplefound this instruction helpful.
Was this instruction helpful to you?
Thank you for voting!
The dryer was making noise.
I removed the two screws that hold the front panel to the top panel. I removed two more screws that hold the front panel to the side panels. I separated the front panel from the side panels and removed the drum.
I could see on the front panel the drum slides were badly worn. One was gone.
The new parts installed easily using no tools at all. Everything snaps in place. The new foam gaskets press and stick to seal the duct work. The felt strip pressed into place.
I replace all the panels in reverse order and plug it in. It operates fine, but the motor is making the noise. I will look into replacing the motor next.
I've always heard it was a simple job to replace the belt and that would solve the problem. I'd defer to others online when they suggest to replace the rear bearing - they are totally right about that suggestion. My bearing basically fell apart in my hands. Not sure if I needed a belt or not, but it's worth replacing while you are tearing the thing apart. It took way longer to tear apart than to put back together. The parts and prices from PartsSelect were perfect. The parts were received in 4 business days as they said and were perfect replacement parts.
i took the front load dryer apart found the parts that were bad ordered the parts which were a snap at partsselect at first i thought it would be tuff to put back together but the site has good pictures i put the dryer back together but had a tuff time with the belt after i watched a video it went right together i found that taking pictures with my cell phone while taking things apart helped a lot when putting it back together all in all im proud of myself i didnt think i could do it but i did and the dryer works great i will be using the site again i used it a few months ago for my washer it it worked great too!!
Ask our experts a question about this part and we'll get back to you as soon as possible!
10 questions answered by our experts.
< Prev
1
Next >
Sort by:
Search filter:
Clear Filter
Your search term must have 3 or more characters.
Keep searches simple. Use keywords, e.g. "leaking", "pump", "broken" or "fit".
Sorry, we couldn't find any existing answers that matched.Try using some different or simpler keywords, or submit your new question by using the "Ask a Question" button above!
Monte
January 21, 2023
is motor supposed to stay running after pressing start button with the belt off
For model number GTDP180EDOWW
Hi Monte,
Thank you for your question. The motor will still run, but the drum will not turn. If you need a new belt, the part number listed for it is PS16542496. If you would like to place an order for it, please call our customer service line and anyone will be happy to assist you. We look forward to hearing from you!
3 people found this helpful.
Was this helpful?
Thank you for voting!
Steven
May 22, 2023
I have a very bad squeaking noise happening when dryer is running. I’m assuming it needs a new belt. Could it been anything else?
For model number DPSR483EAOWW
Hello Steven, thank you for getting in touch. Based on our understanding of the issue, we would suggest you replace the drive belt, part number PS16542496, to fix the issue. We hope this helps, good luck with this repair!
3 people found this helpful.
Was this helpful?
Thank you for voting!
Ariel
July 7, 2023
Im not sure of the model. But the belt is 1/8 in thick and 89 in long it ropp3d so im not sure... but im wondering if the width will fit
For model number GTDP350GMWS
Hello Ariel, thank you for your question! The overall dimensions of the mentioned belt are: 89-1/2"L x 1/4"W x 1/8"H. We hope this is what you were looking for!
1 person found this helpful.
Was this helpful?
Thank you for voting!
Dan
25 days ago
Dryer shuts down while in the drying cycle.
For model number DBXR463GD2WW
Hello Dan, thank you for reaching out. Based on our understanding of the issue, we would suggest replacing the timer, part number PS267977, to solve the problem. It controls the electrical components and the duration of the dryer cycles. Glad to be of help!
How do you if it is the belt? This just stop after turning it on.
Does it need two belts?
For model number GTDP280ED0WW
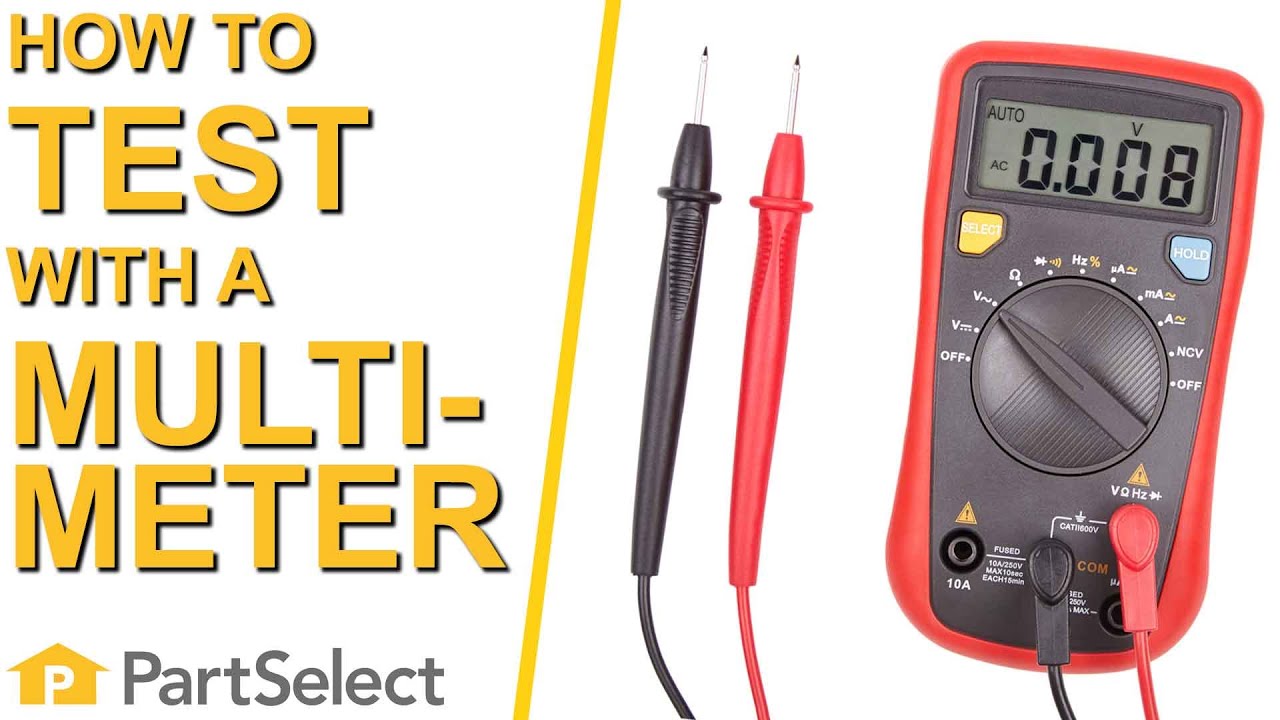
Hello Jerri, Thank you for your inquiry. Check the belt for any excessive wear and tear and to see if it came off the pulley. The model number that you have provided only uses one belt. The other causes of this issue could be a faulty drive motor, a faulty belt interlock switch, or a faulty door switch. You can test the parts with a multimeter. If you are unfamiliar with how a multimeter functions, we have videos available to assist you. Good luck with your repair.
Do you have a belt compatible with the GE dryer model # DHDSR46GG7WW?
For model number DHDSR46GG7WW
Hello Denise, thank you for contacting us. The compatible belt for your model is the belt drive, part number PS16542496. It attaches to the motor pulley and spins the drum as the motor rotates. Glad to be of assistance!
1 person found this helpful.
Was this helpful?
Thank you for voting!
Dung
March 1, 2023
I need washer belt only
For model number MUD27GESNOWW
Hello Dung, thank you for contacting us. The part you are looking for is the drive belt, part number PS12342956. We hope this helps.
1 person found this helpful.
Was this helpful?
Thank you for voting!
Steve
March 27, 2023
Dryer turns on when pushing button stops when let go of button and drum doesn’t spin
Is that a symptom of a broken belt ?
For model number GTD42EASJ2WW
Hi Steve, thank you for contacting us. We have narrowed the issue down to the following parts: the start button assembly, part number PS11766637, the start switch, part number PS3487190, the felt seal, part number PS12722961, and the drive belt, part number PS16542496. Good luck with the repair!
This rear drum bearing kit comes with a shaft, bearing and installation instructions. The bearing plate comes with a slot in it for the ground strap. Helps keep your dryer running as smoothly as possible with as little ...
This authentic, white Drum Bearing Slide, also known as the bearing drum slide, glide, or pad, is a plastic, easy-to-install part for your dryer. It replaces the dryer's front drum slide to allow for easier movement. Yo...
This drum bearing helps your dryer operate as quietly as possible.The drum slides should also be replaced when replacing the drum bearing. The slides are NOT included with this part this is the bearing only. Slides must ...
This original equipment manufacturer Drum Bearing Slide is a plastic, green, easy-to-install part for your dryer. It replaces the dryer's front drum slide to allow for easier movement. You'll know if this part is an iss...
Model Cross Reference
This part works with the following models:
PartSelect Number: PS16542496
Manufacturer Part Number: WE03X29897