Real ratings from other people who bought this part.
Average Rating:
★★★★★
★★★★★
9 Reviews
4.9
Out of 5
5 Stars
8
4 Stars
1
3 Stars
0
2 Stars
0
1 Star
0
Search reviews left by others. DIY doesn't mean you have to do it alone. Use simple keywords like "fit", "broken", "easy", or "quality" to find reviews that match!
Search filter:
Clear Filter
Your search term must have 3 or more characters.
Sort by:
Prev
1
Next
Sorry, we couldn't find any existing reviews that matched. Try using some different or simpler keywords.
★★★★★
★★★★★
Maxime G - March 19, 2019
Verified Purchase
Exactly the part I am looking for. Excellent price. Very Fast shipping!
I lost 1 leveling foot, and 2 others were broken, so I ordered 4. Perfect fit like a charm on my Wirlpool washing machine. This website is a lot cheaper than Ebay and Amazon.
★★★★★
★★★★★
Lisa M - May 15, 2022
Verified Purchase
easy repair
The part was in great condition and picture is as described
★★★★★
★★★★★
Serge A - February 29, 2020
Verified Purchase
Better than expected
Perfect parts with extremly fast delivery. Thank you.
★★★★★
★★★★★
Daoud A - April 4, 2019
Verified Purchase
Great
Only problem I ordered 8, it came by mail in three separate shipments
★★★★★
★★★★★
Anthony B - April 6, 2021
Verified Purchase
Perfect
Exactly part as needed
★★★★★
★★★★★
Jean-Philippe F - June 24, 2019
Verified Purchase
Easy repair
Its easy repair fast shipping really nice
★★★★★
★★★★★
Michel D - August 19, 2021
Verified Purchase
Very simple to repair !
Hello, I receive the levelling foot for my dryer and it fits perfectly. Thanks!
★★★★★
★★★★★
Peter M - January 2, 2019
Verified Purchase
Easy repair
Quick delivery and parts fit perfectly
★★★★★
★★★★★
Darrell E - December 26, 2019
Verified Purchase
Easy fix
Part was a perfect fit and arrived very quickly.
Prev
1
Next
Repair Tips
See how others fixed this model. Time, tools, difficulty, and steps that lead to victory!
Really Easy
15 - 30 mins
Average repair rating from 6 real customers like you
Sort by:
Prev
1
Next
Search repair tips from other customers using simple keywords like "replace", "fit", "remove", "inspect". DIY doesn't mean you have to do it alone!
Search filter:
Clear Filter
Your search term must have 3 or more characters.
Sorry, we couldn't find any existing installation instruction that matched.
dryer had no heat, all other functions worked
20 of 28 peoplefound this instruction helpful.
Bryan from west valley city, UT
Really Easy
Less than 15 mins
Nutdriver, Screw drivers
After replacing the heat element as a guess, (which did not fix it), I measured voltage with a DVOM, found lower cut off switch in op, And thanx to some tips on parts select I ordered the the Thermal cut off kit, fast shipping, installed very easily and all is working properly
First I pulled the dryer away from the wall and unplugged it. Next I removed the dryer vent hose and threw it away and replaced it with a more rigid metal vent hose. Next, I used a socket wrench to removed the screws holding on the back cover of the dryer. Once the back cover was off it was just a matter of using the socket wrench to remo
... Read moreved the bolt holding the sensor in place. After the part was removed I made sure the replacement was orientated in the same way as the original part and then I unplugged the wires from the bad sensor and placed them in the same order on the new part and then I bolted the new sensor back in place. Since the new part has been installed the dryer is working flawlessly and is not turning off mid-cycle like it was. ***Oh, and an important reminder. When you have the back cover pulled off the dryer use a shop vacuum to suck out any dirt and lint in the back of the dryer and make sure you unbolt the metal chute that the dryer lint screen goes into and clean inside the area near the exhaust blower. This is a VERY IMPORTANT part of servicing your dryer and should be done every few months to help avoid the risk of a fire.****
machine would not agitate properly and NOISY Dryer
3 of 6 peoplefound this instruction helpful.
Brian from Spencer, MA
Really Easy
15 - 30 mins
Socket set
took off fabric softener dispenser. used socket to remove agitator. Cleaned and then replaced the little plastic dog ears...works like brand new! It took 15 minutes or less.
Also repaired noisy dryer. replaced drum rollers, pulley and belt. The job took about an hour and was real simple. However..the dryer was still noisy. Fixe
... Read mored with a prybar to force drum to be tighter. It now sounds like brand new.
First removed 8 screws in the back of the dryer to take off the lead 1/4head then removed two blue wires then one screw and you have the thermal fuse . Note: be sure that it is disconected. Before service
And prior to installing all the parts, Thermal Fuse, Cycling Thermostat, High Limit Thermostat, leveling feet, and I even replace the heating element prior to these parts.
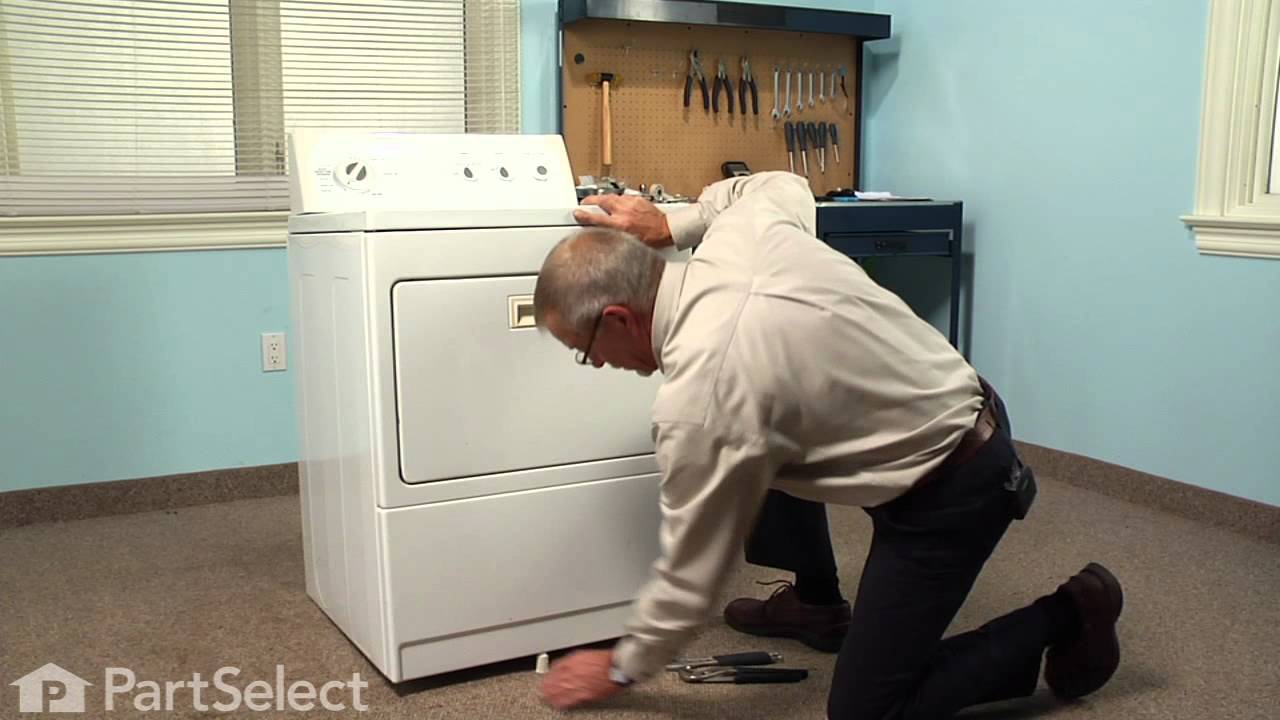
This could not have been easier. The hardest part was tipping the dryer over on its' side. Instructions: 1. Tip dryer over onto a non-scratch surface. I used a tarp on the floor. Insert leveling foot into the foot opening on the bottom of the dryer & screw in with fingers until it is difficult to turn. 2. Use t
... Read morehe adjustable wrench on the hexed foot (not the threads) to adjust to the desired level. 3. Tip dryer upright taking care not to exert pressure on the feet closest to floor. I used a folded-up tarp under the bottom edge of the dryer while lifting it to the upright position. 4. Use a level, back to front & side to side, to determine if feet need further adjustment. 5. Adjustments can be made with the dryer in the upright position, using the adjustable wrench on the hexed foot.
Read less
Was this helpful?
Thank you for voting!
Prev
1
Next
DIY Questions and Expert Answers
12 questions answered by our Repair Experts.
Ask our experts a question about this part and we'll get back to you as soon as possible!
We may have answered a similar question already! Search questions and answers left by others using simple keywords like "fit", "broken", "easy", or "quality" to find questions that match.
Search filter:
Clear Filter
Your search term must have 3 or more characters.
Sort by:
Prev
1
2
Next
Sorry, we couldn't find any existing answers that matched.Try using some different or simpler keywords, or submit your new question by using the "Ask a Question" button above!
Ken - For model number whirlpool dryer wed6400sw1
August 23, 2017
How many leveling feet does a wed6400sw1 have? Two or four?I bought it used and it has no front feet ..i didn't look at the back and i want to order them. is the back feet different?thanks!
Hi Ken,
Thank you for your inquiry. Your appliance will need 4 legs. I hope this helps. Thank you and have a great day!
3 peoplefound this instruction helpful.
Was this helpful?
Thank you for voting!
Phillip - For model number WGD7300DW2
January 31, 2018
How high are the leveling legs?
Hi Philip,
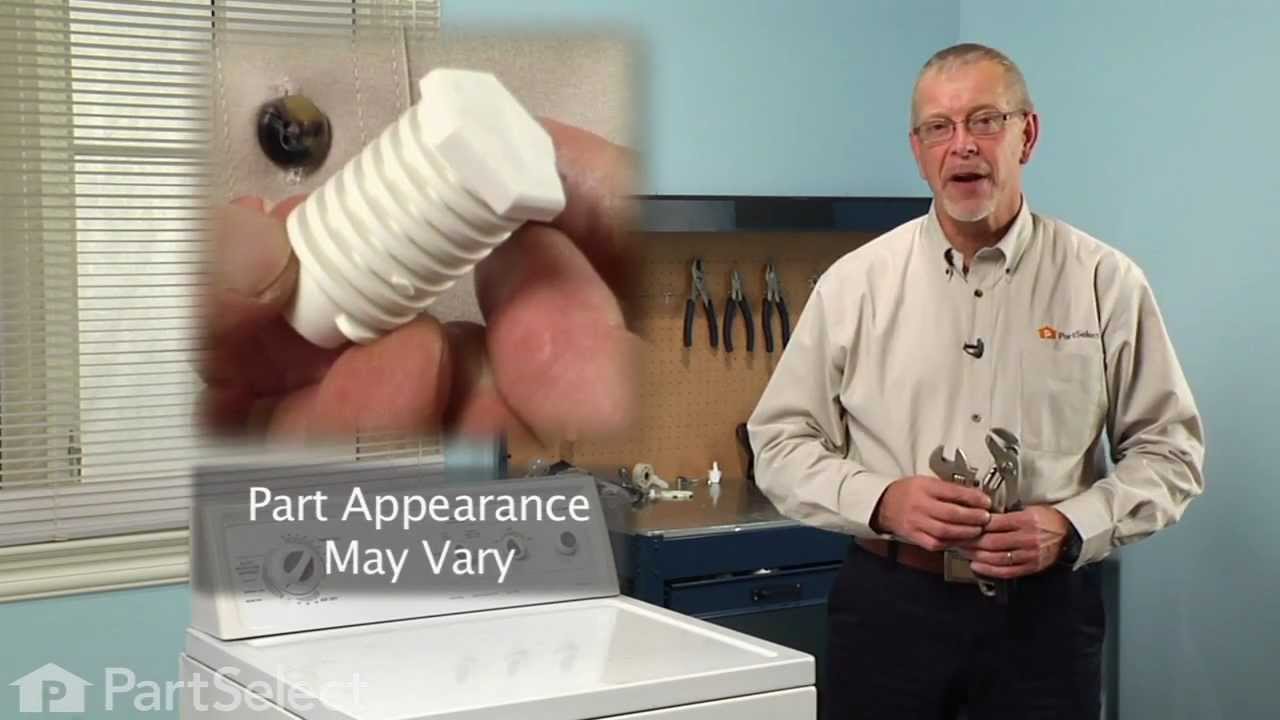
Thank you for your question. From what I am seeing in the photo we have for this part on our site, this particular leg is approximately 1.5 inches long. I hope that helps. Good luck with your repair.
1 personfound this instruction helpful.
Was this helpful?
Thank you for voting!
Nathan - For model number WED95HEXL1
May 7, 2018
Will these feet work with my dryer? I purchased the dryer used and it came with the drawers. I removed the drawer, and it does not have feet on the bottom. How many feet does my dryer need? Thanks.
Hello Nathan, Thank you for contacting us. I have researched the model you have provided and have found the part you’re looking for is PartSelect Number: PS1609293. Hope this helps!
1 personfound this instruction helpful.
Was this helpful?
Thank you for voting!
Daisy - For model number WGD5605MW
April 7, 2023
My dryer is missing the leveling feet. Does this part fit my Whirlpool WGD5605MW gas dryer? Thanks!
Hi Daisy, thank you for the question. Yes, the leveling foot, part number PS1609293, is compatible with your model. We hope this information is useful!
1 personfound this instruction helpful.
Was this helpful?
Thank you for voting!
Steve - For model number WGD8410SW0
June 5, 2019
If I place this model gas dryer on the level floor next to the washing machine, do I need to have the 4 leveling feet inserted into the gas dryer?
Hi Steve,
Thank you for your question. To make sure the dryer is level, you will need all 4 feet. I hope this helps. Thank you and have a great day!
1 personfound this instruction helpful.
Was this helpful?
Thank you for voting!
John - For model number AED4370TQ0
March 8, 2019
How many leveling feet are in a order. One each or four? I also bought my dryer used and did not receive the feet.
Hello John, thank you for your question. The leveling feet are sold individually so there is on in each package. If you did not receive the feet with the new appliance, contact the store it was purchased and speak with them before ordering through us.
Was this helpful?
Thank you for voting!
James - For model number WED7500GW0
May 6, 2019
If you are using a pedestal under this dryer, do you need the leveling feet?
Hi James, thank you for your question. Generally yes. Most of the time what you are supposed to do is screw in the feet as far as they can go so that they are flush with the washing machine. I hope that helps. Good luck with your repair.
Was this helpful?
Thank you for voting!
Mary - For model number MGDC300BW1
May 22, 2023
Is the price for the leveling foot that appears on this site for only one foot or for a set of four?
Hi Mary, Thank you for asking. This replacement part is sold individually. We hope this helps!
Was this helpful?
Thank you for voting!
Glenn - For model number Kgy5700gq1
October 26, 2023
Dryer cycles glow then ignites stay heating for 5 minutes heat shuts off
1-2 minutes later hear it glow starting but no ignition. This happened a couple times what could cause
Hello Glenn, thank you for contacting us. Based on our understanding of the issue, we would suggest checking the gas valve solenoid, part number PS334310, to fix the issue. If the dryer does not heat or heats intermittently, the coils could be defective. If the igniter glows for a while and then shuts off without the gas igniting, it usually means one of these coils is bad. We hope this solves your problem!
Does Leveling Foot PS1609293 fit my Whirlpool Dryer YWED4850HW?
Thank you
Hello Christine, Thank you for reaching out. The Leveling Feet for this model is listed as PartSelect Number PS11770254. Thank you for the inquiry, good luck with the repair!
Item is in stock and is estimated to be delivered in 2-3 business days via Standard Shipping.
On Order
Item is not in stock and usually ships 3-5 business days from the time you place your order.
Special Order
Item is not in stock and usually ships 10-15 business days from the time you place your order.
NLA - No Longer Available
This item is no longer being made by the manufacturer, and cannot be added to your shopping cart.
[{"position":0,"name":"Home","title":"Home","url":"/"},{"position":1,"name":"Leg or Foot","title":"Leg or Foot","url":"/Dryer-Legs-and-Feet.htm"},{"position":2,"name":"49621","title":"49621","url":""}]



 My Orders