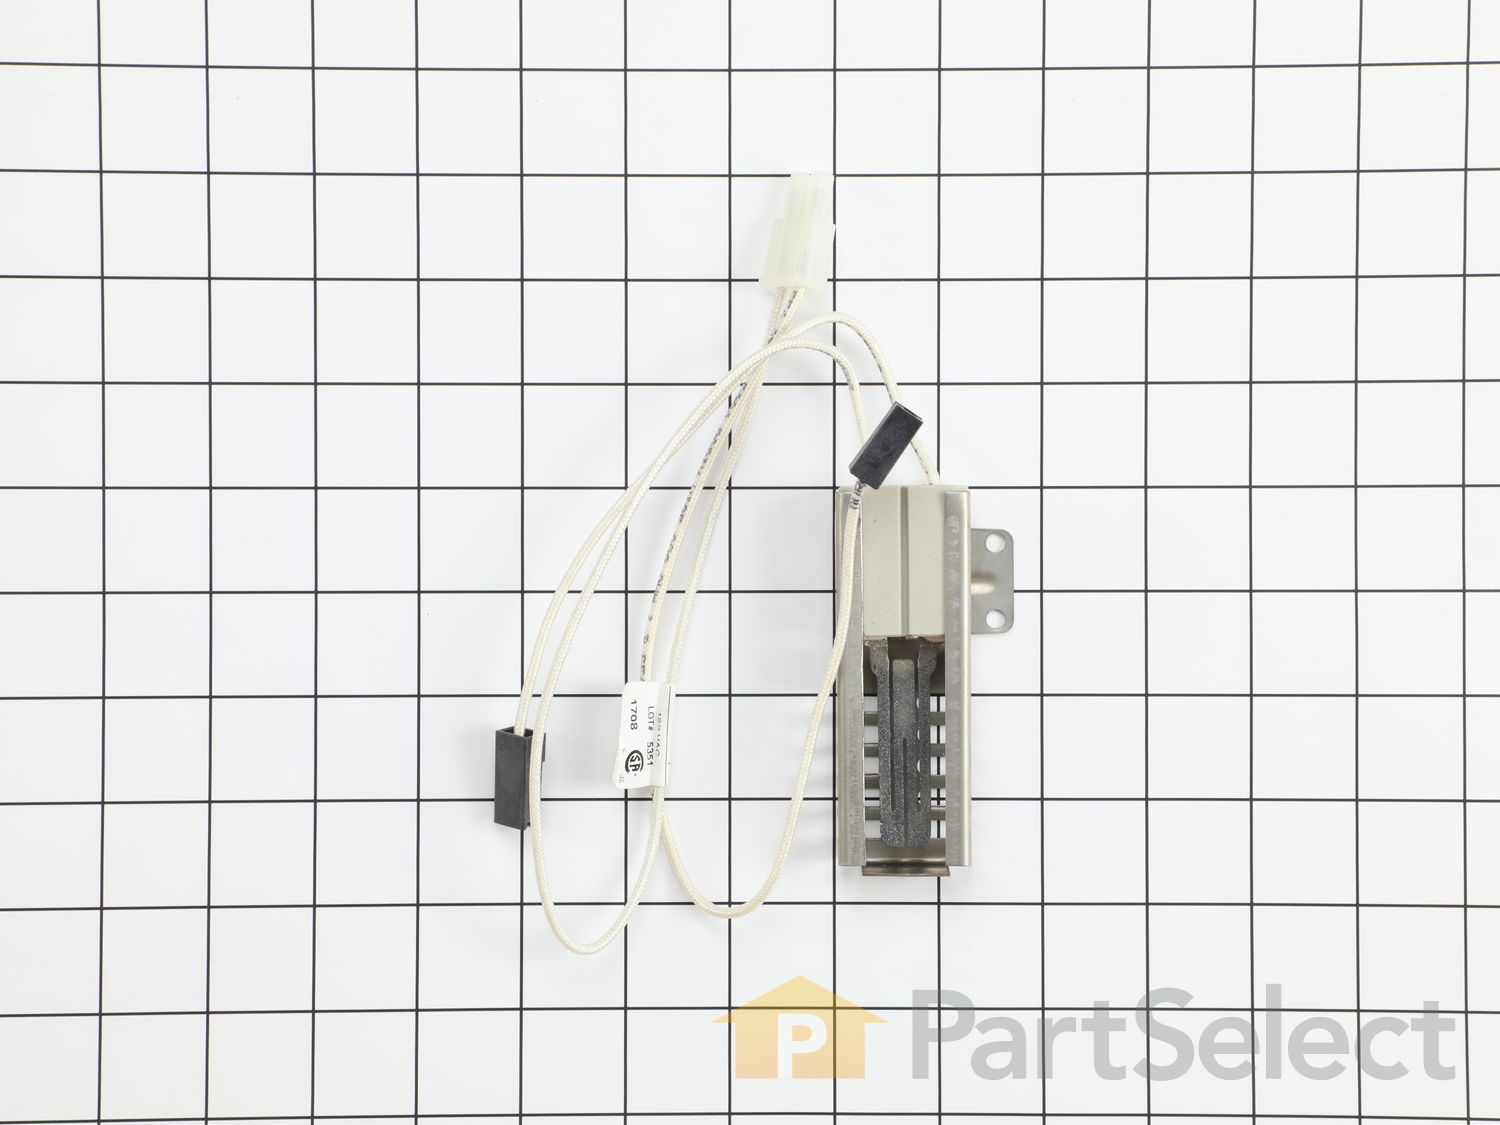
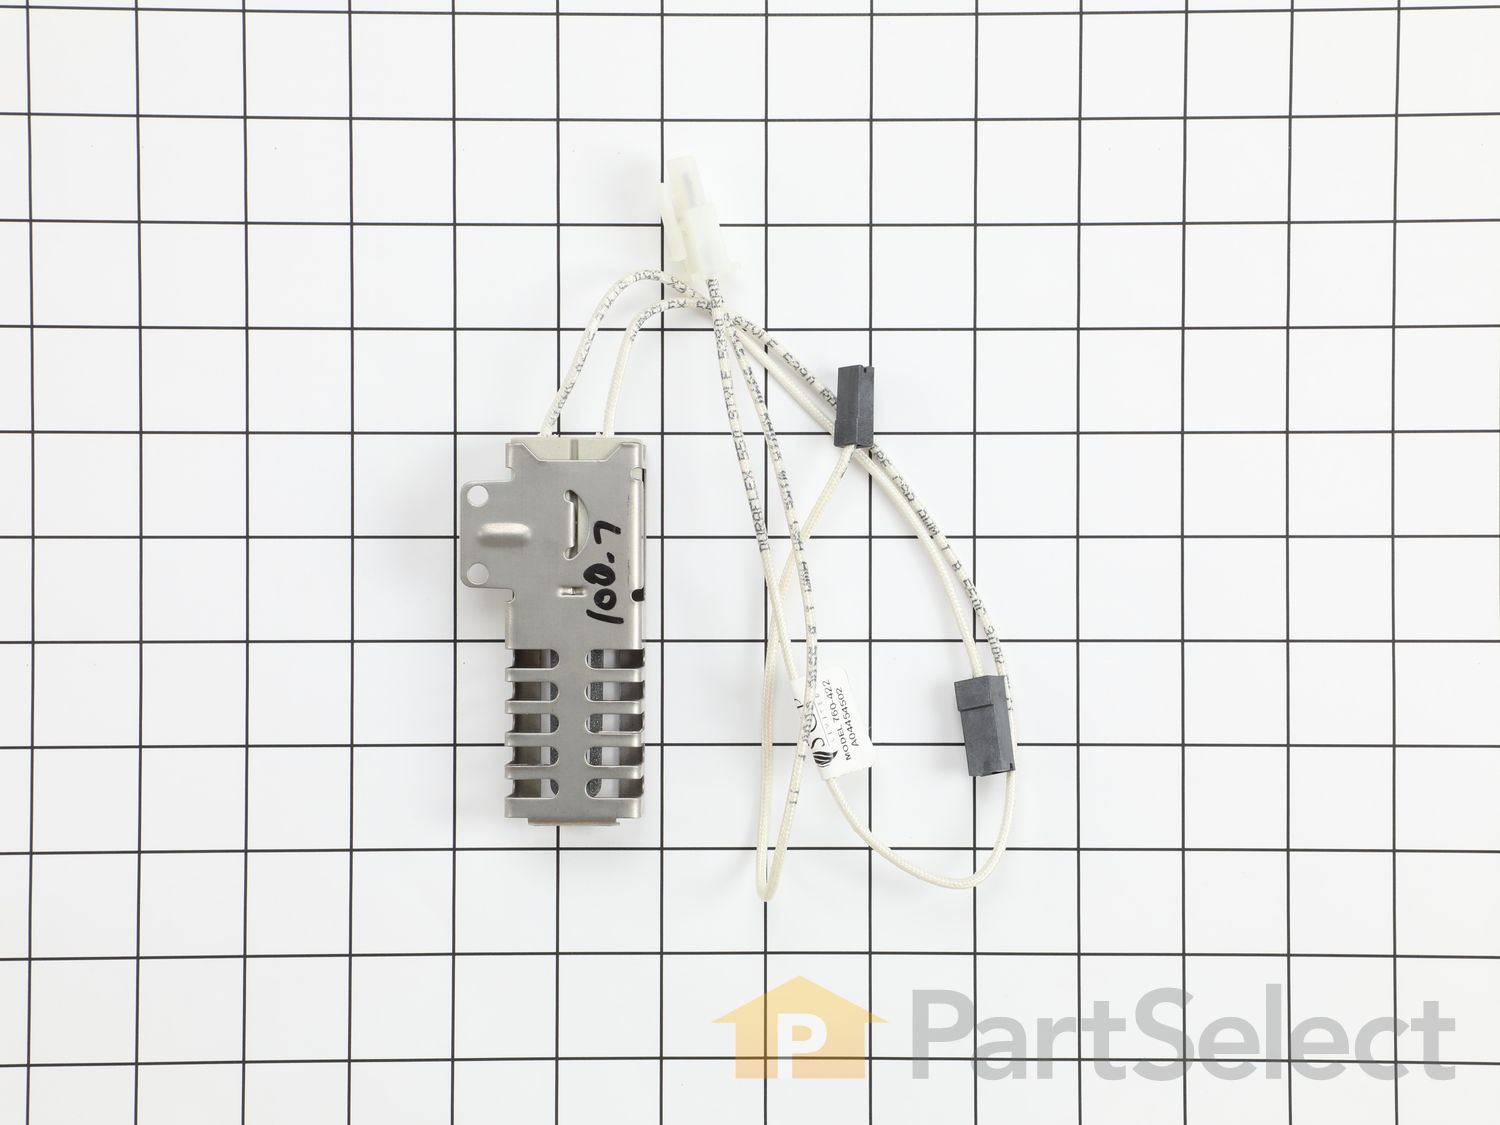
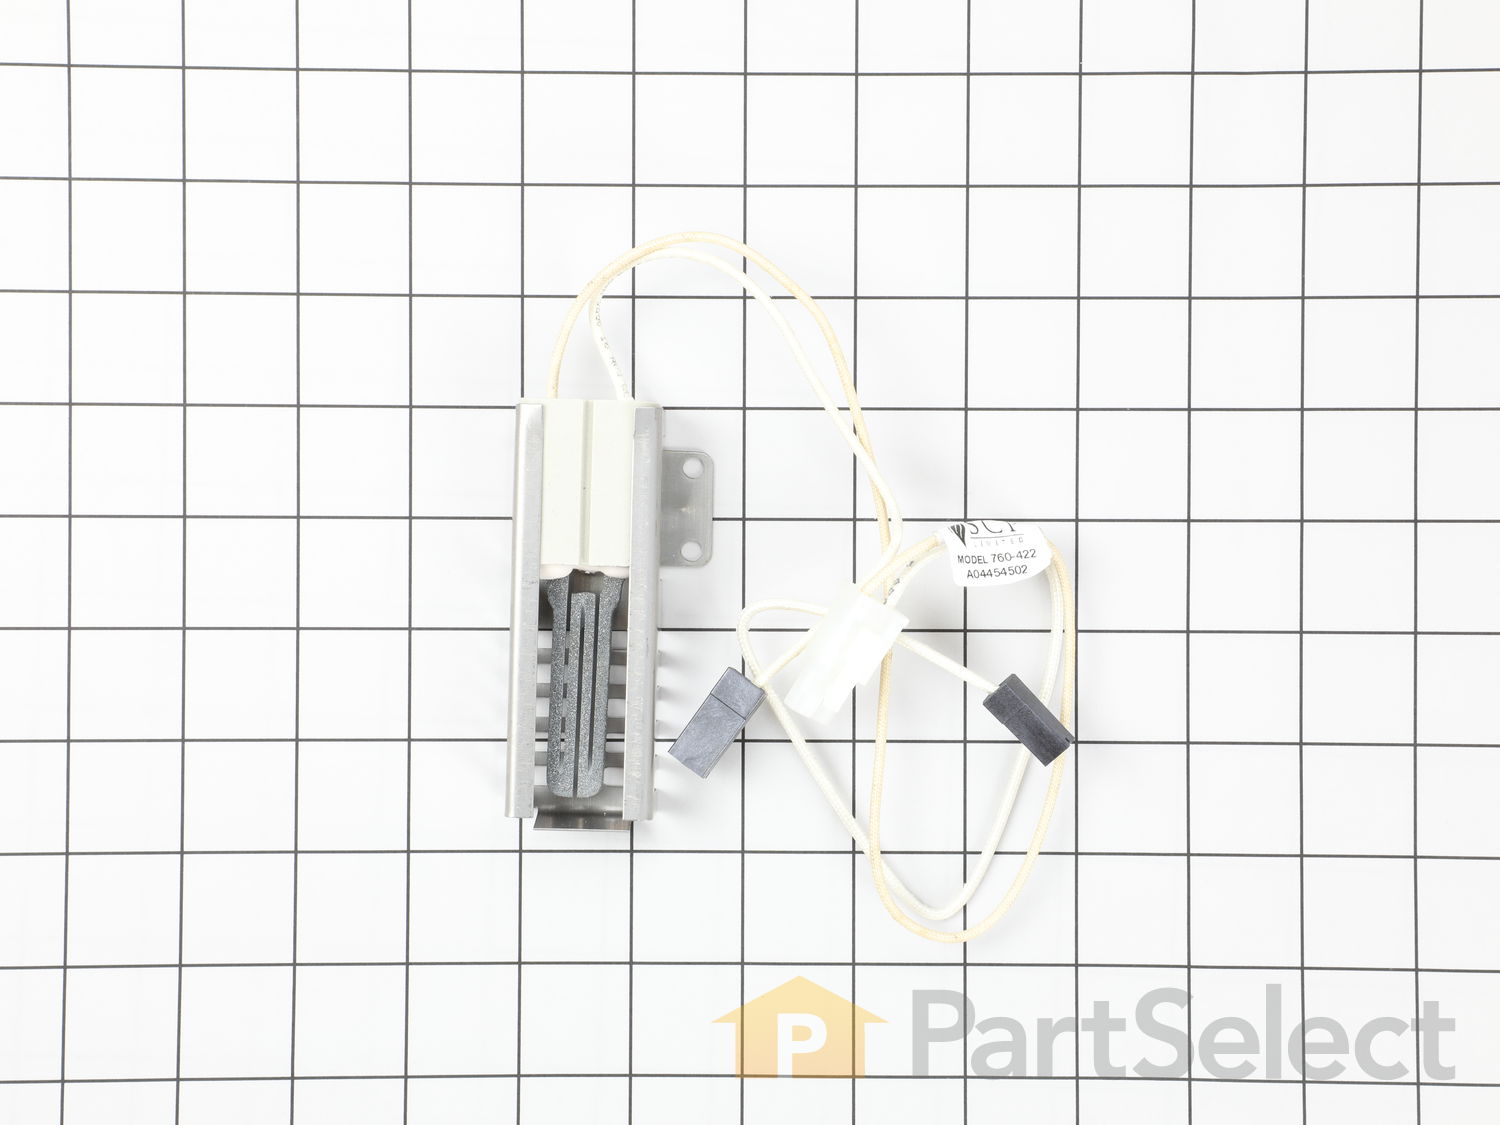
Gas igniter glows | but will not light | Little to no heat when baking | Will Not Start
This part works with the following products:
Range.
This part works with the following products:
Frigidaire, Kenmore, Crosley, Tappan.
Part# 5304509706 replaces these:
AP6230715, 316119301, 316489402, 316489408
Customer Repair Stories
Average Repair Rating: 4.2 / 5.0, 10 reviews.
What's this?
< Prev
1
Next >
Sort by:
Search filter:
Clear Filter
Your search term must have 3 or more characters.
Keep searches simple. Use keywords, e.g. "leaking", "pump", "broken" or "fit".
Sorry, we couldn't find any existing installation instruction that matched.
Long time before oven would light / propane smell
Unplug range, remove oven racks, remove 2 screws at the rear of oven bottom sheet metal panel. Lift the back of the panel and slide to the rear a little , then remove panel. Remove nut on top of heat shield and remove shield.. Open broiler draw slightly Note wire connections to gas valve. Remove Philips head screw from sheet metal guard bottom left rear to access wire connection. remove 2 hex head screws the hold igniter in place and install new igniter. remove spade connectors from gas valve and connect spade connectors from new igniter. , remove molex connector from bottom left rear and connect one from new igniter..Install shield in left rear bottom. install heat shield over burner and install nut. Install sheet metal panel in bottom of oven and 2 rear screws.. install oven racks and plug range back in. set clock and test your repair.
Other Parts Used:
Thomas from CAMPTON, NH
Difficulty Level:
Really Easy
Total Repair Time:
30 - 60 mins
Tools:
Nutdriver, Screw drivers
21 of 24 peoplefound this instruction helpful.
Was this instruction helpful to you?
Thank you for voting!
Oven would not heat
Unplug the range, remove racks. Remove 2 screws from the bottom back corners ( this was the hardest part. I used a stubby screwdriver, but a longer one would be better. They are fairly long screws). Remove oven bottom, lifting from the rear. Remove burner cover. Bottom left corner is a triangle cover. Remove this too. Remove the 2 screws holding the old igniter in place. The igniter unplugs easily. ( I used pliers, the plug has a clip, and pliers grip better.) Install new igniter ( it only fits in one way ) reinstall mounting screws and covers. Replace oven bottom. (I didn't replace the 2 screws. The bottom sits solidly, and they are a bit of a pain.) Plug in, set clock, test for oven to fire up.
Other Parts Used:
Aaron from MILLPORT, NY
Difficulty Level:
Really Easy
Total Repair Time:
15 - 30 mins
Tools:
Screw drivers, Wrench (Adjustable)
4 of 5 peoplefound this instruction helpful.
Was this instruction helpful to you?
Thank you for voting!
Stovetop worked fine, but Oven didn't always light.
Open oven door and remove metal splash plate on bottom of oven by removing two screws in back. Remove heat distribution plate (metal) by unscrewing a single nut with pliers. Now the ignitor is visible. Unscrew old ignitor by backing off two screws. Detach the wires and reattach to new ignitor. (a cover plate may have to unbolt from the left back corner to get at one of the wiring connections.) Reattach new ignitor and then flame distribution plate. Put on splash cover and tighten back screws. Test oven, it should light within 1 minute. All is done.
The old igniter no longer worked properly, so I needed to install a new one.
1. Unplug the range to ensure there is no electricity running through the range. The repair can be done with the propane/gas line still connected.
2. If possible, remove the storage drawer for ease of access.
3. Remove the screw from the metal plate in the left corner of the oven. Detach the end of the igniter cord that you find plugged in there.
4. Remove the two screws that hold the igniter in place. The old igniter should fall to the bottom of the range.
5. Take a picture of the two other cord connections that run into the middle of the back wall. This will come in handy for reference when you install the new igniter.
6. Route the longer extension of the new igniter cord through the hole in the metal corner plate, attach the cord, and put the screw back in to secure the corner plate.
7. Affix the new igniter to the same spot the old one had been in, using the two screws from step 4.
8. Plug in the two shorter cord extensions, using the photo from step 5 if necessary.
9. Reattach the drawer if necessary and plug the range back in.
10. Set the clock, then set the oven to a desired temperature to begin heating. If the repair was successful, the igniter will light the gas piped into the range, and you will see a ring of flame.
Other Parts Used:
Andrew from BANGOR, ME
Difficulty Level:
Easy
Total Repair Time:
1- 2 hours
Tools:
Screw drivers, Wrench (Adjustable)
2 of 2 peoplefound this instruction helpful.
Was this instruction helpful to you?
Thank you for voting!
Igniter wouldn't glow and obviously no heat
Partselect always have their install video with the parts they sell so it was easy. I know contractors must not be happy with people like partselect and YouTube with all the instructional videos they supply us with. Keep up the great work partselect.
Other Parts Used:
David from JERSEY CITY, NJ
Difficulty Level:
Very Easy
Total Repair Time:
Less than 15 mins
Tools:
Nutdriver, Screw drivers
2 of 2 peoplefound this instruction helpful.
Was this instruction helpful to you?
Thank you for voting!
Low amperage to gas safety valve no gas flow.
Disassembled inside of oven. Slid away from wall opened back replaced safety valve and igniter. Safety valve was good changed only because it was apart. Resemble and test sat. Kept old safety valve for emergency spare.
Other Parts Used:
RONALD from VIRGINIA BCH, VA
Difficulty Level:
Very Easy
Total Repair Time:
15 - 30 mins
Tools:
Nutdriver, Wrench (Adjustable)
2 of 3 peoplefound this instruction helpful.
Was this instruction helpful to you?
Thank you for voting!
oven wouldn't light consistently
remove oven floor and racks remove two self tapping screws unplug igniter replace be careful not to touch element plug in reverse order to reassemble
Other Parts Used:
BRADLEY from SHERIDAN, MI
Difficulty Level:
Really Easy
Total Repair Time:
15 - 30 mins
Tools:
Nutdriver, Screw drivers
2 of 3 peoplefound this instruction helpful.
Was this instruction helpful to you?
Thank you for voting!
Bad oven igniter
It’s a plug in part so other than working on your side while lying on the floor it was a snap. 20-25 mins.
It helps to remove the bottom drawer completely to gain easier access.
Other Parts Used:
Dan from So Lake Tahoe, CA
Difficulty Level:
Really Easy
Total Repair Time:
15 - 30 mins
Tools:
Nutdriver
1 personfound this instruction helpful.
Was this instruction helpful to you?
Thank you for voting!
Igniter failed to ignite propane
Pulled out broiler drawer, removed 3 bolts, plugged in new igniter. Only issue was one of the tiny bolts stripped, so now only have 2 holding it in place.
Other Parts Used:
Philip from FREDERICKSBRG, TX
Difficulty Level:
Easy
Total Repair Time:
15 - 30 mins
Tools:
Pliers, Screw drivers
1 personfound this instruction helpful.
Was this instruction helpful to you?
Thank you for voting!
Igniter gets hot but wouldn't ignite
I did the repair with the instructions from parts select It was very self explationatry Thank you parts select I saved at least $400.
Other Parts Used:
Vajai from RICHMOND HILL, NY
Difficulty Level:
Very Easy
Total Repair Time:
15 - 30 mins
Tools:
Nutdriver, Screw drivers
1 of 2 peoplefound this instruction helpful.
Was this instruction helpful to you?
Thank you for voting!
< Prev
1
Next >
Questions and Answers
Ask our experts a question about this part and we'll get back to you as soon as possible!
31 questions answered by our experts.
< Prev
1
2
3
Next >
Sort by:
Search filter:
Clear Filter
Your search term must have 3 or more characters.
Keep searches simple. Use keywords, e.g. "leaking", "pump", "broken" or "fit".
Sorry, we couldn't find any existing answers that matched.Try using some different or simpler keywords, or submit your new question by using the "Ask a Question" button above!
Vonda
November 26, 2017
Are you sure this igniter will work with my oven. I cannot see a clear picture of it to make sure. If i would get it and it isn't the same is it returnable. My igniter has 2 wires coming out of base then separates to 2 plugins . 2 black ones middle way down and 1 white one at end.
For model number FFGF3012TWA
Hi Vonda,
Thank you for your inquiry. Where this igniter is coming up under your model number it would be the correct part for your appliance. I have confirmed that the part does have 2 wires coming out of base then separates to 2 plugins . 2 black ones middle way down and 1 white one at end. If for some reason this is the wrong part we have a 30 day return period. Parts must be in resalable condition to qualify.
All electrical parts must not have been installed.
Returned items that have been installed will not be returned to customer.
Customer is responsible for shipping returned parts back to PartSelect. (In this situation, if I mis-informed you regarding this part, we would provided you a prepaid label to return the part.)
Any item received after 60 days of shipment date will not be refunded.
I hope this helps. Thank you and have a great day!
13 people found this helpful.
Was this helpful?
Thank you for voting!
Darrell
July 30, 2018
Oven not getting hot
For model number fg348kmb
Hi Darrell,
Thank you for your question. If the oven is not heating correctly, then the issue is likely with the oven sensor, sometimes called the oven thermostat, and you will need to check it with a multimeter. When testing the sensor with a multimeter, the sensor should be tested at room temperature. You will need to measure the resistance between the two prongs at the end of the sensor connector. Replace the oven sensor if the reading is less than 900 Ohms or more than 1200 Ohms. If this is not the issue, then you will need to check the oven burner igniter, the electronic control board and the touchpad. I hope this helps. Thank you and have a great day!
10 people found this helpful.
Was this helpful?
Thank you for voting!
Kareemah
November 20, 2018
My oven does not come on.. i turn on to 350 nothing, the gas is working because the burners are working fine.
For model number 79073433310
Hi Kareemah,
Thank you for your question. If the oven is not heating correctly, then the issue is likely with the oven sensor, sometimes called the oven thermostat, and you will need to check it with a multimeter. When testing the sensor with a multimeter, the sensor should be tested at room temperature and it should be unplugged from the oven. You will need to measure the resistance between the two prongs at the end of the sensor connector. Replace the oven sensor if the reading is less than 900 Ohms or more than 1200 Ohms. If the sensor is working fine, there are some parts that you will need to check to see which ones are causing the issue. You will need to check the oven burner igniter, the spark module, the oven light socket and the safety valve. I hope this helps. Thank you and have a great day!
7 people found this helpful.
Was this helpful?
Thank you for voting!
Donnette
October 30, 2019
Pilot light ignite but the oven doesn't get hot. Thank you
For model number FFGF3047LSH
Hello Donnette, Thank you for the question. The igniter can glow and not give off enough current to open the valve and allow it to release gas to light. You can use a Multi Meter to test for 3.2-3.6 volts AC at the gas safety valve with the igniter turned on. Thank you for your inquiry, good luck with this repair!
6 people found this helpful.
Was this helpful?
Thank you for voting!
Maria
August 1, 2019
What is the part number for the oven igniter
For model number ffgf3047lsg
Hello Maria, thank you for your question. This Oven Burner Igniter part number PS12071409 is the correct replacement for your model. Good luck with your repair!
5 people found this helpful.
Was this helpful?
Thank you for voting!
Joe
May 13, 2019
Oven works but broiler doesn't, are there two ignitors? One for the oven and one for the broiler?
For model number 790.74333314 kenmore
Hello Joe, thank you for inquiring. For your model the Broiler Igniter is part PS11770500 and the Bake Igniter is part PS2364063.
3 people found this helpful.
Was this helpful?
Thank you for voting!
Charles
November 2, 2022
Hi. The igniter on the above model oven tests at 2.4 volts AC. You specify voltage needs to be between 3.2 - 3.6. Is that also correct for my model no.? I.e. are you referring to an igniter that your part no. PS12071409 replaces?
For model number FGF319KSA
Hello Charles, thank you for contacting us. Yes, the igniter, part number PS12071409, is compatible with your model, and for efficient igniting its voltage reading must be between 3.2 - 3.6 volts. Customer service is always available to help you place an order if you are having trouble doing so. Good luck with your repair.
1 person found this helpful.
Was this helpful?
Thank you for voting!
Mary
January 27, 2023
Will this igniter fit into my model?
For model number 790.70402012
Hello Mary, thank you for your question. Yes, the Igniter PS12071409 you had chosen is compatible with your model. We are pleased to have been able to help.
1 person found this helpful.
Was this helpful?
Thank you for voting!
Robin
December 7, 2021
Is this the correct igniter for my model number #79073432314?
For model number 79073432314
Hello Robin, thank you for your question. Yes, the PartSelect Number PS12071409 you had chosen is compatible. We hope to hear from you soon.
1 person found this helpful.
Was this helpful?
Thank you for voting!
Laura
November 5, 2019
I have a Kenmore gas range that had an ignition switch with 3 wires and a flat coil. Can it be replaced with a round coil
Hi Laura,
Thank you for your question. You should only use the igniter that has been manufactured for your range. To verify the correct igniter for your range, please provide us with your model number and we would be happy to verify the correct part for you. I hope this helps. Thank you and have a great day!
1 person found this helpful.
Was this helpful?
Thank you for voting!
< Prev
1
2
3
Next >
✖
Ask a Question
Ask our experts a question on this part and we'll respond as soon as we can.