Defrost Timer W10822278
Official part for Kenmore, Whirlpool, KitchenAid, Roper
Easy
30 - 60 mins
About This Part
What it does. Why it matters. Everything you need to know for an easy fix.
Defrost Timer Specifications
You May Also Need
Because heroes deserve fewer surprise re-installs.
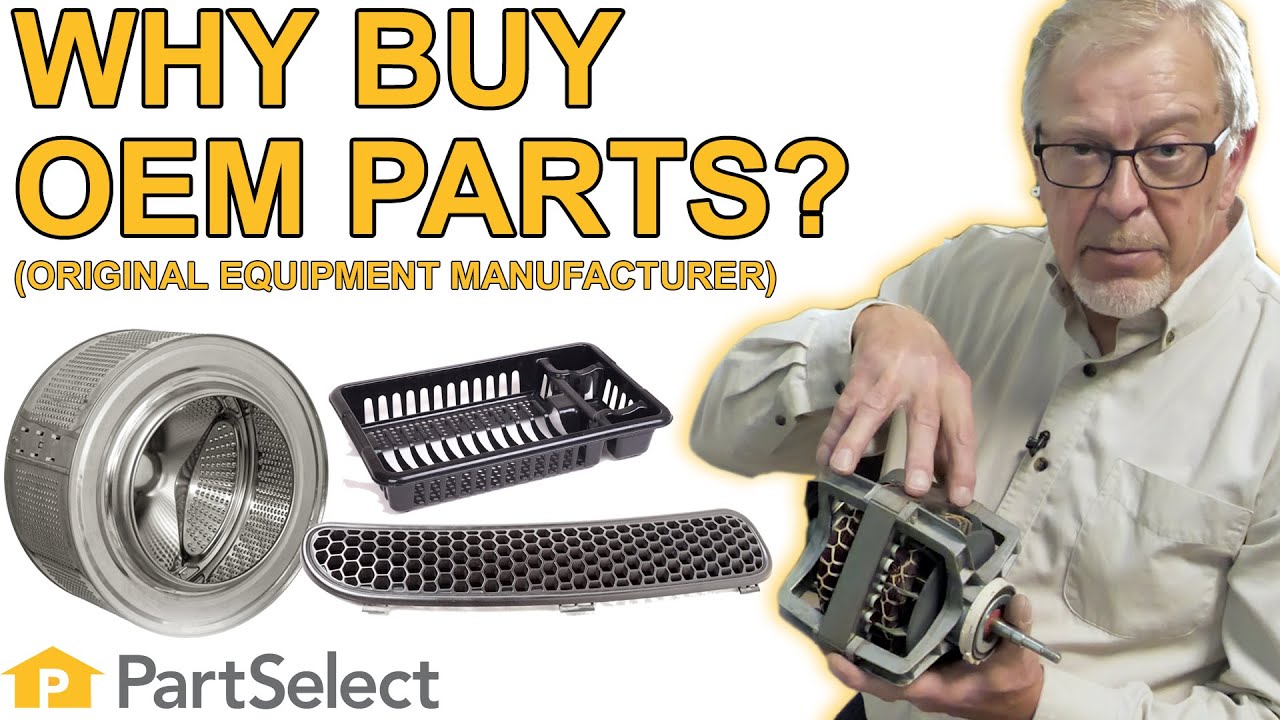
Genuine OEM: Original Parts. Lasting Repairs.
Because quality isn't optional.
OEM stands for Original Equipment Manufacturer. This means that the company who made your appliance is also supplying the replacement part.
| Features | OEM | Generic |
|---|---|---|
| Genuine brand name | ||
| Guaranteed to fit | ||
| Superior Quality | ||
| Long term value |
Part Videos
Watch our pros, then fix it yourself.
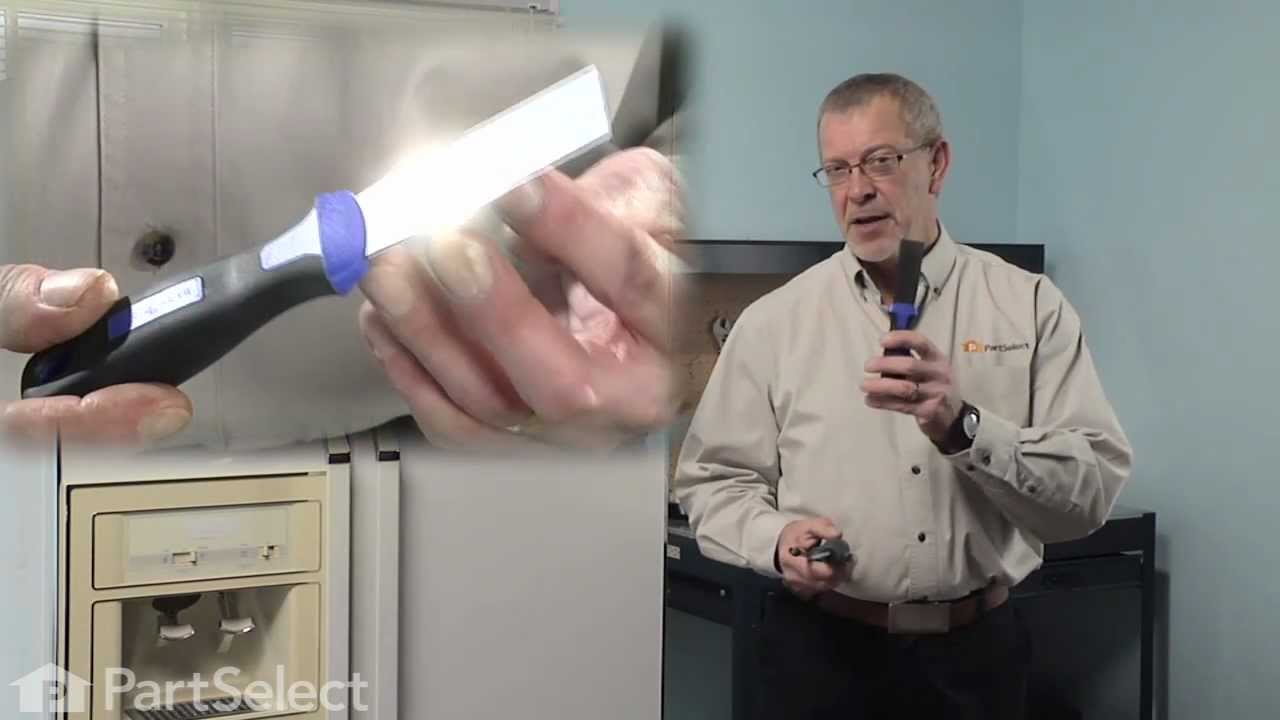
Replacing your Kenmore Refrigerator Defrost Timer
About this fix
Common problems and models this part fixes.
Easy
30 - 60 mins
Rated by verified customers
- Fridge too warm
- Freezer not defrosting
- Freezer section too warm
- Leaking
- Will Not Start
- Fridge and Freezer are too warm
- Fridge runs too long
- Frost buildup
- Freezer too cold
- Fridge too cold
- Too warm
- Noisy
- Won’t start
- Refrigerator
- Freezer
Customer Reviews
Real ratings from other people who bought this part.
Average Rating:
Out of 5
-
5 Stars 10
-
4 Stars 1
-
3 Stars 1
-
2 Stars 0
-
1 Star 0
Search reviews left by others. DIY doesn't mean you have to do it alone. Use simple keywords like "fit", "broken", "easy", or "quality" to find reviews that match!
- Prev
- 1
- 2
- Next
- Prev
- 1
- 2
- Next
Repair Tips
See how others fixed this model. Time, tools, difficulty, and steps that lead to victory!
Easy
30 - 60 mins
Average repair rating from 44 real customers like you
- Prev
- 1
- 2
- 3
- Next
Search repair tips from other customers using simple keywords like "replace", "fit", "remove", "inspect". DIY doesn't mean you have to do it alone!
-
Lawrence from Grahamsville, NY
-
A Bit Difficult
- 1- 2 hours
-
Nutdriver
-
Teri from West Valley City, UT
-
A Bit Difficult
- 1- 2 hours
-
Nutdriver, Pliers, Screw drivers, Socket set
B. turn off frig with dial in main compartment, then pull frig out away from wall and unplug and remove the cover ( It is located at the bottom of the frig and may be cardboard and contains a handfull of 1/4" screws) exposing the compressor and drain tube (this is a good time to ... Read more vacume the compressor and coil area)
c. Take false back off from freezer by removing two 1/4 inch screws.
Next,
1. we made sure that the drain tube that runs down to a drain pan near the evaporator coil was clear, we did this by using a small aount of rock salt to speed up the melting of the ice then poured small amounts of hot water (boiling into the drain hole and soon the water flowed down the tube and into the pan below.
2. We then pushed a #12 standed electrical wire (with its end stripped back 1-1/2" then folding the strands back to create a broom) down the tube to the pan to push out any debree that may be present i.e. tin foil plastic bag particles, food chunks etc.
Making sure that this drain tube is clear is the first thing that could be causing the ice build up and water in the lower compartment!
However, I performed this several times and didn't change the problem so I chose to change the parts associated with defrost:
1. defrost heater, which is very easy to change. it is mostly plug and play but does require a pair of needle nose pliers to open a couple of metal fins to remove heater from its mounts, just be gentle with the process.
2. defrost thermostat, which is also very easy to change (Simply pull it off of a copper tube) but requires you to cut two wires near the old part and wire nut the new part wires to the remaining original wires, I added some anti oxident to the wires inside the wire nut to prevent a bad connection from developing do to moisture in this area (You can buy wire nuts with this already inside them, do this)and I taped the wire nut with a few inches of ELECTRICAL TAPE CLOSING OFF THE OPENING OF THE WIRE NUT.
You can then put his cabinet back together!
3. I also decided to change the defrost timer which is located inside a cover where the frig temperture setting dial is located. It is held to this cover by two phillips screws the cover is held in place by one 1/4" screw.
once you have the cover off and the defrost timer unscrewed you must remove a plug from the timer!
Now if you got the exact part you simply reinstall the defrost timer plug in the same postion on the new timer and screw the timer back onto its mount etc. However you may need to determine if the new timer is in the "DEFROST" position and you will need to take it out of that position by I assume rotating the timer mechanism (Ask a tech person about this)!!!!!!!!!
Then with all that done plug your frig vack in reposition it turn it on and be proud of yourself.
Now, if you recieved the timer I did it may look the same as the old one, but it may contain a black wire!!!
You will need to know which type of defrost timer application you frig uses:
1. Continuous run
2. version 1 Cumulative compressor run.
or
3. version 2 Cumulative compressor run.
I found a wiring diagram folded up and stored in the grill in the bottom of the front of the frig that helped me determine this. you will need to be able to read a wiring diagram but I found this situation to be simply a matter of matching examples of pictures (line diagrams). It is important though as you must determine which timer application your frig has because the black wire must be placed on a certain terminal for proper operation.
I replaced a three parts and may have, through trouble shooting, been able to save some money by not replacing all these parts. However , I found that when I went for guidance on trouble shooting that i.e. with the heater that ohmic values of the old part may be near the new part that it may still not be conclusive!? so for a hundred bucks my frig may last 5-10
-
LES from MADERA, CA
-
Really Easy
- 30 - 60 mins
-
Nutdriver, Screw drivers
After installation was complete, I plugged the Refrigerator into the electrical outlet and.......nothing happened! Hmmm!
Removed the Defrost Time Kit and inspected it for any damage and found none. Then I placed a flathead screwdriver to the manual advance knob and slightly rotate the gear mechanism. I heard a distance "click”. I believe the Timer was in the ‘defrost’ mode when received.
I reinstalled the timer, verified the wiring connections and this time plugged the Refrigerator into the electrical outlet and ….. it worked!!!
I unplugged the refrigerator, finished the installation per the instructions, plugged the unit in and monitored it for a few hours (just in case). That was a week ago and the Refrigerator is working like new.
The instructions were written in a manner which required re-reading a few times as they could be a bit vague. The video was what really helped and I appreciate PartSelect adding it to the instructions.
-
Robert from Bradenton, FL
-
Really Easy
- Less than 15 mins
-
Pliers, Screw drivers
-
Jim from Sheridan, AR
-
Easy
- 15 - 30 mins
-
Nutdriver, Pliers, Screw drivers
-
Jim from Lynn, IN
-
Really Easy
- 30 - 60 mins
-
Nutdriver, Screw drivers, Socket set
-
John from Plano, TX
-
Easy
- 15 - 30 mins
-
Nutdriver, Pliers, Screw drivers
2. The timer is inside the control housing located at the top of the refrigerator compartment.
3. Remove two control knobs (the pull off).
4. Remove the front panel escutcheon. The panel is not held in place with screws, but can be gently pried off.
5. Remove two screws from the ... Read more back that hold the housing in place.
6. Remove screws from the front that hold the housing in place.
7. Drop housing down (still attached by wires - do not detach). Timer is inside housing, located on right.
8. Follow the instructions provided to identify your particular wiring setup. You'll find the wiring diagram (on my model) at the bottom of the refrigerator, alongside the defrost catch pan, behind the airflow grille.
9. Remove connector from timer terminals (4).
10. Remove two screws/nuts that hold the timer in place.
11. Install replacement timer following included directions. Read and follow ALL instructions applicable to your particular model and wiring setup.
12. Reassemble by reversing the steps above.
13. Note: You may need to "jog" the replacement timer when you first plug the refrigerator back in, if the timer happens to be in a "defrost cycle" (the compressor won't start). This can be done by inserting a wide bladed screwdriver into the hole below the timer, aligning it with the timer shaft, and slightly turning the shaft CW. Don't force it, and don't turn it very far.
-
Ed from Frankfort, IN
-
Really Easy
- 15 - 30 mins
-
Screw drivers
-
JOSE from GREENSBURG, IN
-
Really Easy
- 15 - 30 mins
-
Nutdriver, Screw drivers
-
Christopher from Redmond, WA
-
Easy
- 30 - 60 mins
-
Nutdriver, Screw drivers
- Prev
- 1
- 2
- 3
- Next
DIY Questions and Expert Answers
77 questions answered by our Repair Experts.
Ask our experts a question about this part and we'll get back to you as soon as possible!
We may have answered a similar question already! Search questions and answers left by others using simple keywords like "fit", "broken", "easy", or "quality" to find questions that match.
- Prev
- 1
- 2
- 3
- Next
- Prev
- 1
- 2
- 3
- Next
This Part Also Fits These Models
Don't see your model? Use our Fit Checker to confirm!
Check Part FitIn Stock
Item is in stock and is estimated to be delivered in 2-3 business days via Standard Shipping.
On Order
Item is not in stock and usually ships 3-5 business days from the time you place your order.
Special Order
Item is not in stock and usually ships 10-15 business days from the time you place your order.
NLA - No Longer Available
This item is no longer being made by the manufacturer, and cannot be added to your shopping cart.