




Lid Switch W10820036
Official part for Kenmore, Whirlpool, Maytag, Roper
Easy
15 - 30 mins
About This Part
What it does. Why it matters. Everything you need to know for an easy fix.
Lid Switch Specifications
You May Also Need
Because heroes deserve fewer surprise re-installs.
Genuine OEM: Original Parts. Lasting Repairs.
Because quality isn't optional.
OEM stands for Original Equipment Manufacturer. This means that the company who made your appliance is also supplying the replacement part.
| Features | OEM | Generic |
|---|---|---|
| Genuine brand name | ||
| Guaranteed to fit | ||
| Superior Quality | ||
| Long term value |
Part Videos
Watch our pros, then fix it yourself.
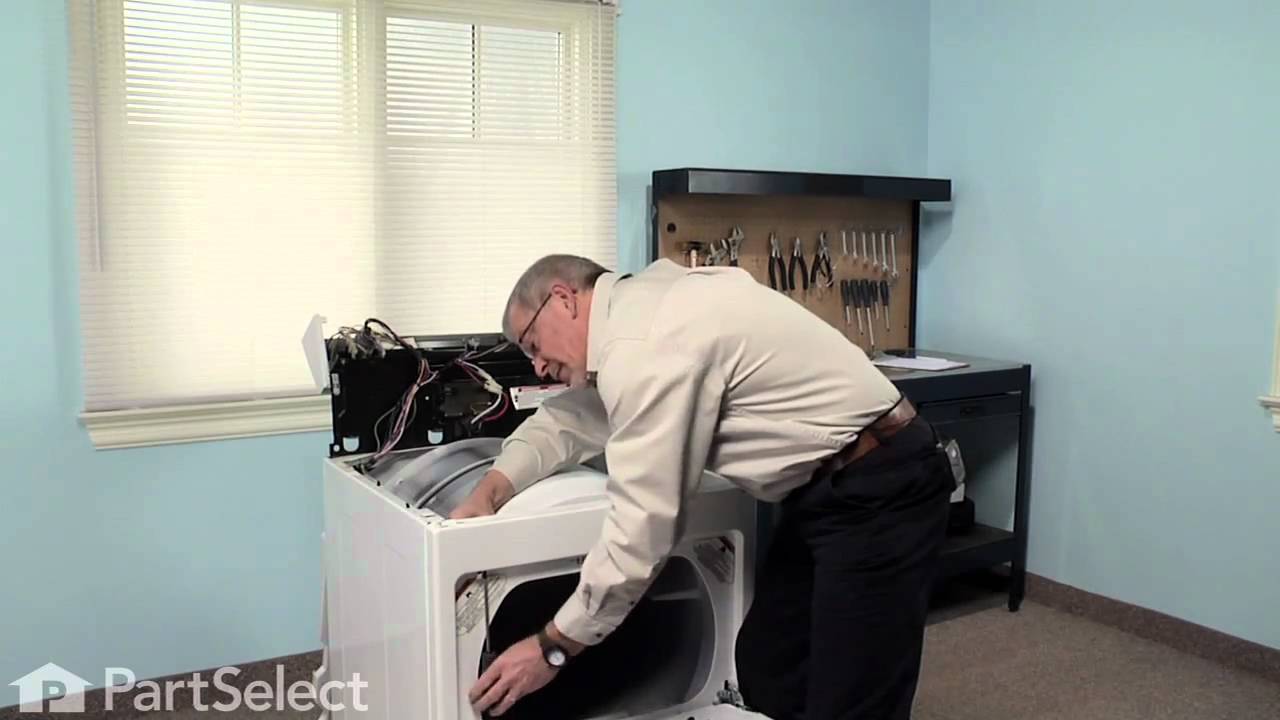
Replacing your Kenmore Dryer Lid Switch
About this fix
Common problems and models this part fixes.
Easy
15 - 30 mins
Rated by verified customers
- Will Not Start
- Will not drain
- Will not agitate
- Won’t Start
- Dryer
- Washer
- Range
- Washer Dryer Combo
- Grill
- Wall Oven
Customer Reviews
Real ratings from other people who bought this part.
Average Rating:
Out of 5
-
5 Stars 5
-
4 Stars 1
-
3 Stars 0
-
2 Stars 0
-
1 Star 1
Search reviews left by others. DIY doesn't mean you have to do it alone. Use simple keywords like "fit", "broken", "easy", or "quality" to find reviews that match!
- Prev
- 1
- Next
- Prev
- 1
- Next
Repair Tips
See how others fixed this model. Time, tools, difficulty, and steps that lead to victory!
Easy
15 - 30 mins
Average repair rating from 25 real customers like you
- Prev
- 1
- 2
- 3
- Next
Search repair tips from other customers using simple keywords like "replace", "fit", "remove", "inspect". DIY doesn't mean you have to do it alone!
-
Peter from Westbury, NY
-
Easy
- 15 - 30 mins
-
Nutdriver, Screw drivers, Socket set
-
Dale S from Walnut Ridge, AR
-
Really Easy
- Less than 15 mins
-
Screw drivers
-
Kenneth from Wilmington, IL
-
Easy
- 1- 2 hours
-
Nutdriver, Screw drivers, Socket set
-
Glen from Plano, TX
-
A Bit Difficult
- 30 - 60 mins
-
Screw drivers
I removed the two screws holding the control panel on. Pulled the control panel back.
Disconnected the ground wire of the lid switch.
removed the two top clamps that hold the panel to the top of the machine.
Pulled back the casing (outside of the washer) and placed ... Read more it on it's side on the floor. Here I could reach the switch. Removed old, installed new and reversed the process.
The part that gave me the biggest problem was setting the casing back on to the frame. You have to slide the front part in at the bottome, then lean back the rest of it.
-
Mandie from Lewisville, NC
-
Really Easy
- Less than 15 mins
-
Screw drivers
I removed the two screws from above the lid switch, removed the control panel screws on either side, and used a flat screwdriver to pry the top off by popping the clips.
The swit ... Read more ch was easy to reach, and I compared the old and new switch after removing the paddle assembly. The new switch has three prongs, whereas my old one had two, so I put the gray wire terminal onto the bottom prong. I set everything down, plugged it in, and tested it, but still no spin cycle.
After some further research, I realized the problem was with the spin solenoid under the washer, or the red wire that leaves the lid switch and goes to the spin solenoid, also called a wig-wag solenoid. (This is a belt driven model, not direct drive.) It's not too common that the solenoids fail, but it is rather common that the wires break inside the insulation on this model.
Moral of the story is always ohm through the switches and wires before ordering replacement parts. (Remember, never ohm through a live circuit.)
-
Xiaobin from Cordova, TN
-
Really Easy
- Less than 15 mins
-
Screw drivers, Wrench set
-
Elyse from Chicago, IL
-
Really Easy
- 15 - 30 mins
-
Pliers, Screw drivers
-
Eric from West Chester, PA
-
Easy
- 15 - 30 mins
-
Screw drivers
-
Randall from Johnstown, PA
-
Easy
- 15 - 30 mins
-
Screw drivers
Removed to screws that held top front of dryer. One on each side near top.
Cables replaced easily, popped plastic retainer from door, inserted cable and connect to spring.
Removed two screws that held the door switc on. Replaced with new switch ... Read more and pushed wire clips onto new switch.
Things went back together just as they came off.
When I pulled the dryer front away, the tumbler (tub?) pulls out and drops down an inch or so. When putthing it back together , I had to life the tub up to fit into front again.
-
Gay from Apple Valley, CA
-
Easy
- 15 - 30 mins
-
Screw drivers
- Prev
- 1
- 2
- 3
- Next
DIY Questions and Expert Answers
36 questions answered by our Repair Experts.
Ask our experts a question about this part and we'll get back to you as soon as possible!
We may have answered a similar question already! Search questions and answers left by others using simple keywords like "fit", "broken", "easy", or "quality" to find questions that match.
- Prev
- 1
- 2
- 3
- Next
- Prev
- 1
- 2
- 3
- Next
This Part Also Fits These Models
Don't see your model? Use our Fit Checker to confirm!
Check Part FitIn Stock
Item is in stock and is estimated to be delivered in 2-3 business days via Standard Shipping.
On Order
Item is not in stock and usually ships 3-5 business days from the time you place your order.
Special Order
Item is not in stock and usually ships 10-15 business days from the time you place your order.
NLA - No Longer Available
This item is no longer being made by the manufacturer, and cannot be added to your shopping cart.