


 My Orders


ZISS360NRSS General Electric Dryer - Overview
Diagrams for ZISS360NRSS
See every part. Know exactly what you need.


Enter a part description. DIY Heroes keep it simple, eg. "belt" or "pump".
Search filter:
Clear Filter
Your search term must have 3 or more characters.

$94.45
Special Order
Refrigerator Ice and Water Filter
Part #MWFP
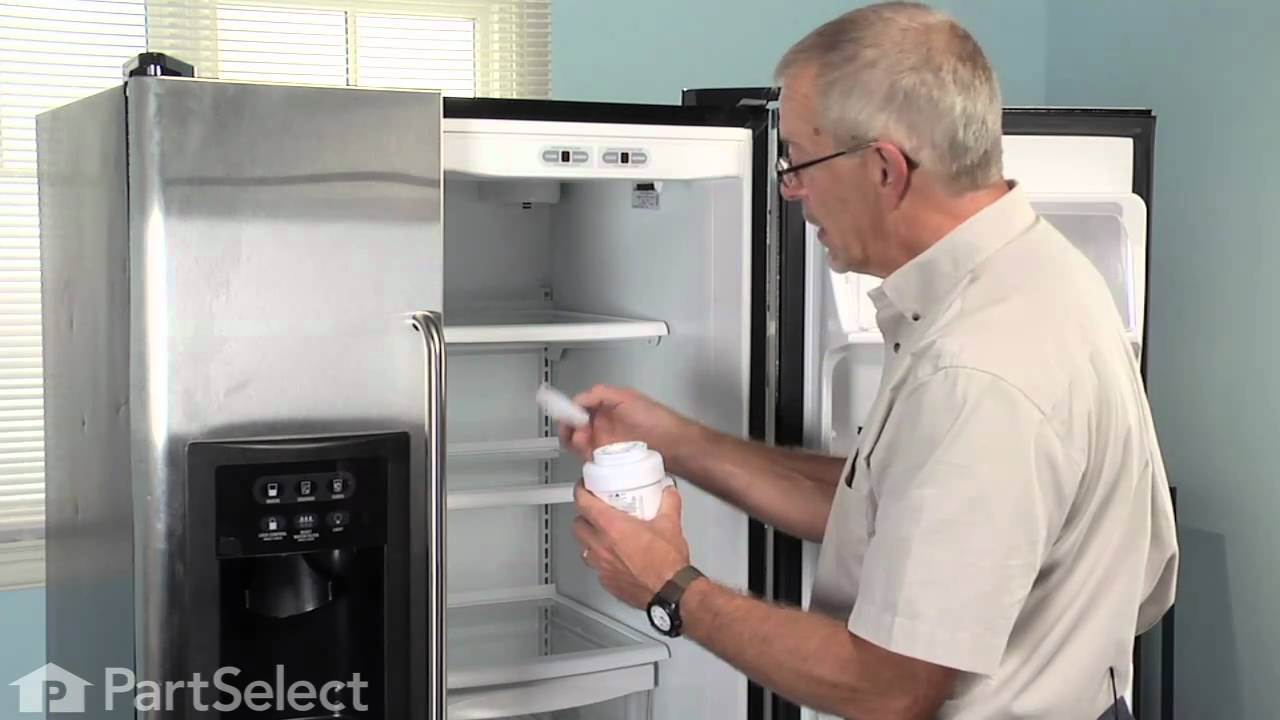
This ice and water filter helps reduce impurities in select side by side and bottom freezer refrigerators. Replace it about every six months, or when water flow slows, ice production drops, or the filter light turns red. Some older filter setups may need an adapter. Place a cloth under the filter before removal. Check the exact refrigerator model before ordering.

$34.68
Special Order
Temperature Sensor
Part #WR55X10025
Also known as a thermistor. This part is used to sense the temperature in the cabinet.

$23.79
Special Order
Union Connector - 5/16 Inch to 5/16 Inch
Part #WR02X11330
Quick connector for plastic water line - 5/16" to 5/16"

$43.00
Special Order
Interlock Switch
Part #WD21X10261
This part is a simple on/off mechanism that prohibits the appliance from operating when the door is open.

No Longer Available
WATER VALVE WITH GUARD
Part #WR57X33326
This double inlet water valve has quick connections. This valve has 1/4 and 5/16 John Guest fittings for the outlet lines and a 1/4 compression fitting for the inlet line.

No Longer Available
GRID ASM
Part #WE22X35337
This is a replacement lint filter slide for your dryer. It is approximately 14 inches long and 5 inches wide. It is made of white plastic and is sold individually. The slide mounts to your dryer and allows the lint filter to slide out for cleaning. If your lint filter will not slide out properly, you may need to replace the slide. This part is an authentic OEM part sourced directly from the manufacturer.

$13.95
Special Order
Door Strike
Part #WE1X1192
TThe door strike for your dryer is mounted on the dryer frame that the door shuts onto. It fits into the door catch on the door and keeps the door closed. If the door strike is damaged or missing, the door will not lock properly and not only will this cause the door to swing open, but it won’t allow the dryer to start properly. It is a small piece of metal, about 1 inch in length and is sold individually.

$25.31
Special Order
Door Latch
Part #WE1M1011
This Genuine OEM door latch is designed for use with a wide range of GE clothes dryers. Constructed from a combination of durable metal and plastic, the latch is mounted onto the dryer frame to securely hold the door closed during operation. A properly functioning latch is essential for safe and efficient drying cycles.
Sold individual...Read morely, this replacement part may require a screwdriver and a pair of pliers for removal and installation. Replacing a worn or broken latch helps restore proper door alignment and ensures the appliance operates as intended.
Read less

No Longer Available
Dryer Bearing Slide (2 Pack)
Part #WE03X37319
This drum glide bearing is an authentic OEM replacement part that is compatible with dryers. It is white in color and made of highly durable plastic. The bearing allows the drum to rotate smoothly and dry your clothes thoroughly and evenly. It keeps the drum stable and protects it from excessive friction damage. Over time, the bearing may...Read more wear down or break due to normal aging or wear from repeated use. If the bearing is no longer able to support the drum, you will likely notice unusually loud grinding or squeaking noises from the dryer. You may also notice increased drying times due to poor drum rotation. Inspect all the bearings on your dryer, as they tend to wear down at the same time. Each drum glide bearing is sold individually.
Read less

$154.88
Special Order
French Door Gasket - Gray
Part #WR14X10305
This door gasket is used to make an air-tight seal for the cabinet when the door is closed.

No Longer Available
LIGHT SWITCH
Part #WR23X37285
The interior light of your refrigerator is controlled by a switch that is activated when the door is opened and closed. If your refrigerator light will not turn on, there could be an issue with the switch. The switch is spring loaded and is a generally closed type of switch meaning there should be no continuity when the button is depresse...Read mored, and continuity through the switch when the button is not depressed. This plastic, white, OEM switch is sourced directly from the manufacturer, is sold individually and is easy to replace. The repair usually takes less than 15 minutes and requires a flat blade screwdriver and needle nose pliers.
Read less

$13.95
Special Order
Compression Ring
Part #WR02X12149
Common Symptoms of the ZISS360NRSS
How this model fails, and the parts that fix it.
Leaking
Fixed by
these parts
these parts


Show All
Not dispensing water
Fixed by
these parts
these parts


Show All
Noisy
Fixed by
these parts
these parts


Show All
Fridge too warm
Fixed by
these parts
these parts


Show All
Freezer section too warm
Fixed by
these parts
these parts
Show All
Light not working
Fixed by
these parts
these parts


Show All
Door won’t close
Fixed by
these parts
these parts


Show All
Ice maker not making ice
Fixed by
these parts
these parts
Show All
Fridge too cold
Fixed by
these parts
these parts

Show All
Will Not Start
Fixed by
these parts
these parts


Show All
Freezer not defrosting
Fixed by
these parts
these parts
Show All
Ice maker won’t dispense ice
Fixed by
these parts
these parts

Show All
Won’t Start
Fixed by
these parts
these parts


Show All
Door Sweating
Fixed by
these parts
these parts
Show All
Fridge and Freezer are too warm
Fixed by
these parts
these parts

Show All
Door won’t open or close
Fixed by
these parts
these parts

Show All
Frost buildup
Fixed by
these parts
these parts
Show All
Too warm
Fixed by
these parts
these parts
Show All
Marks left on clothes
Fixed by
these parts
these parts
Show All
Fridge runs too long
Fixed by
these parts
these parts
Show All
Freezer too cold
Fixed by
these parts
these parts
Show All
Too hot
Fixed by
these parts
these parts


Show All
Not Heating
Fixed by
these parts
these parts

Show All
Ice maker dispenses too little ice
Fixed by
these parts
these parts
Show All
Touchpad does not respond
Fixed by
these parts
these parts
Show All
Will not drain
Fixed by
these parts
these parts

Show All
Door Pops Open
Fixed by
these parts
these parts
Show All
Drum Not Spinning
Fixed by
these parts
these parts
Show All
Locking Issues
Fixed by
these parts
these parts
Show All
Clicking sound
Fixed by
these parts
these parts

Show All
Door latch failure
Fixed by
these parts
these parts
Show All
Doesn’t stop running
Fixed by
these parts
these parts
Show All
Timer Not Working
Fixed by
these parts
these parts

Show All
Too cold
Fixed by
these parts
these parts
Show All
Ice maker dispenses too much ice
Fixed by
these parts
these parts
Show All
Lid or door won’t close
Fixed by
these parts
these parts
Show All
Water Filling Issues
Fixed by
these parts
these parts

Show All
No hot or cold water
Fixed by
these parts
these parts
Show All
Watch our pros, then fix it yourself.
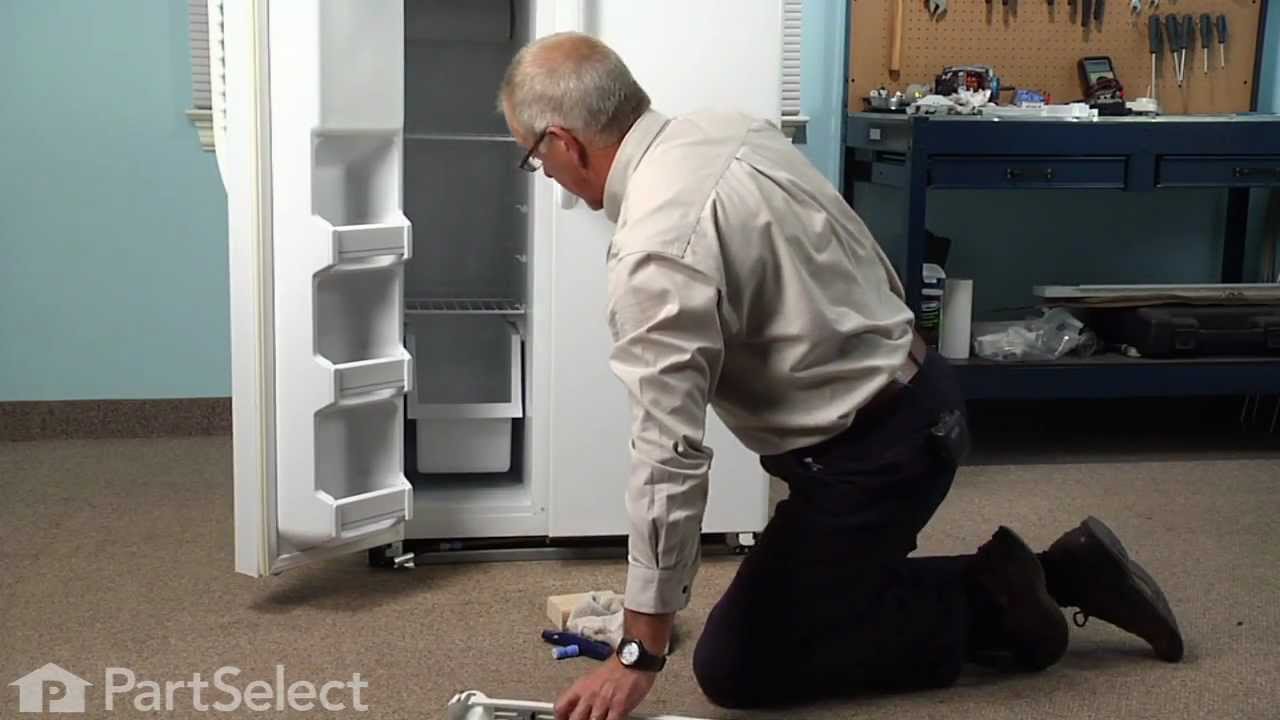

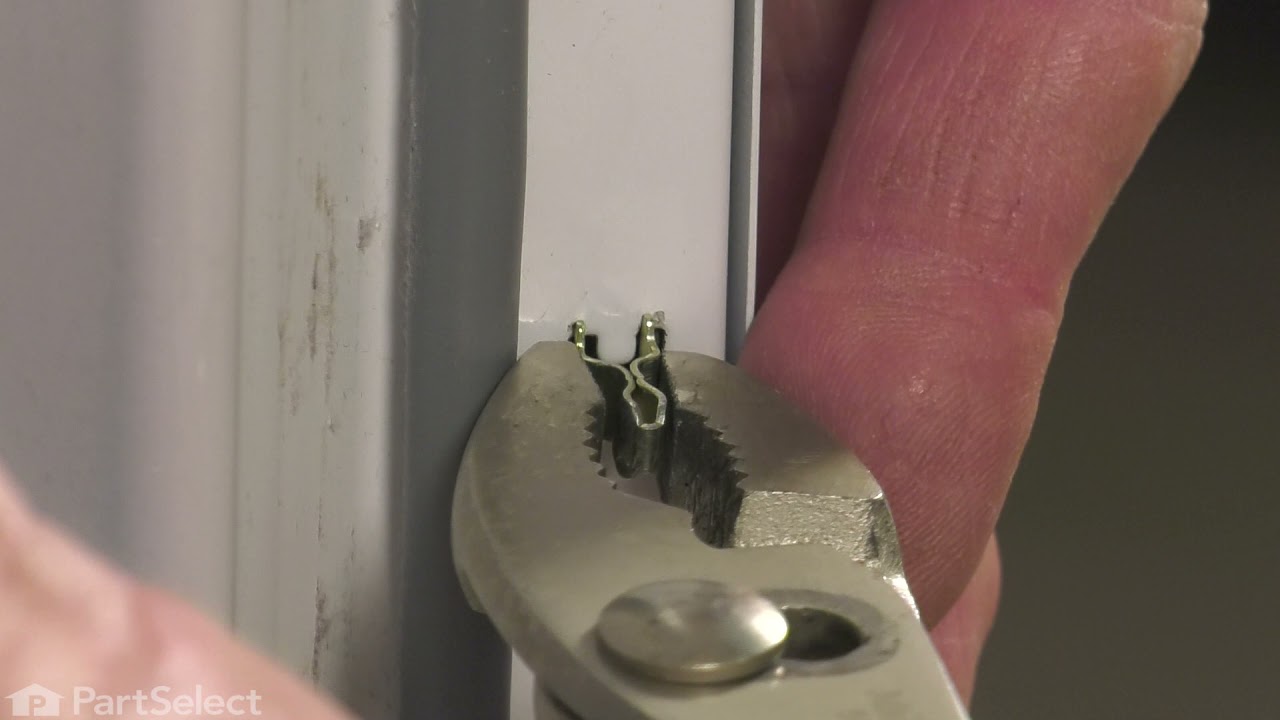
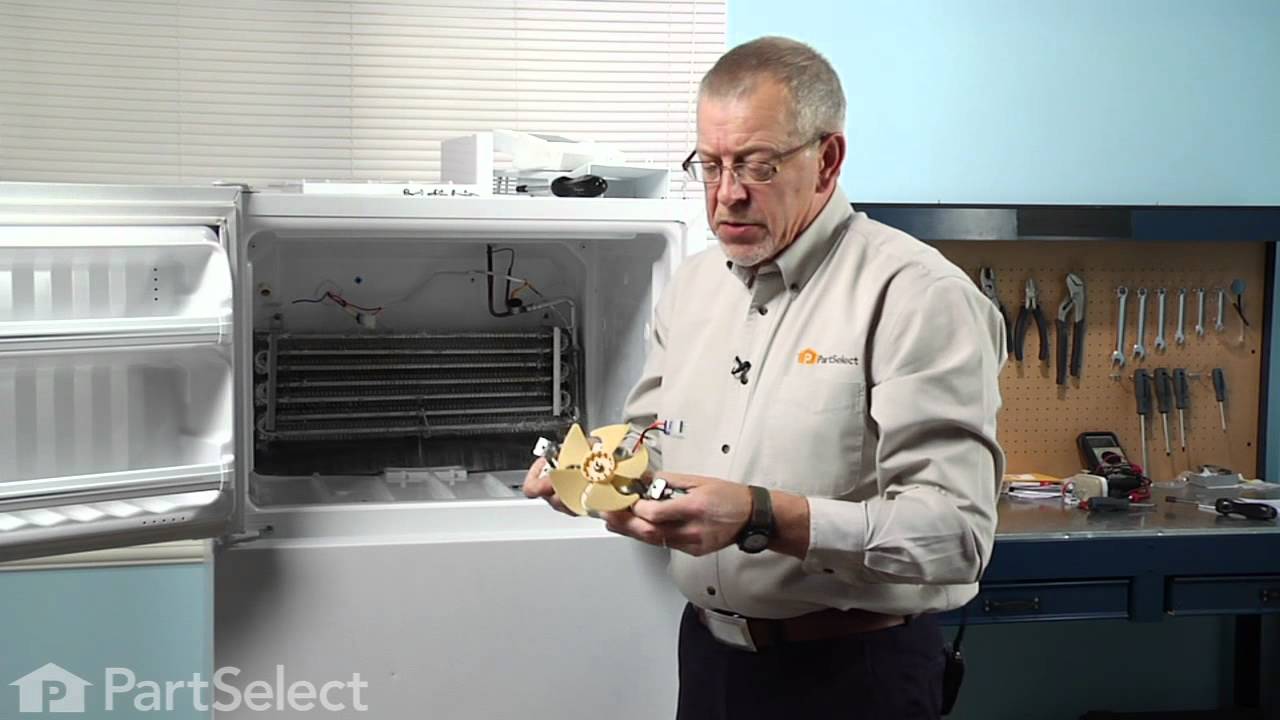

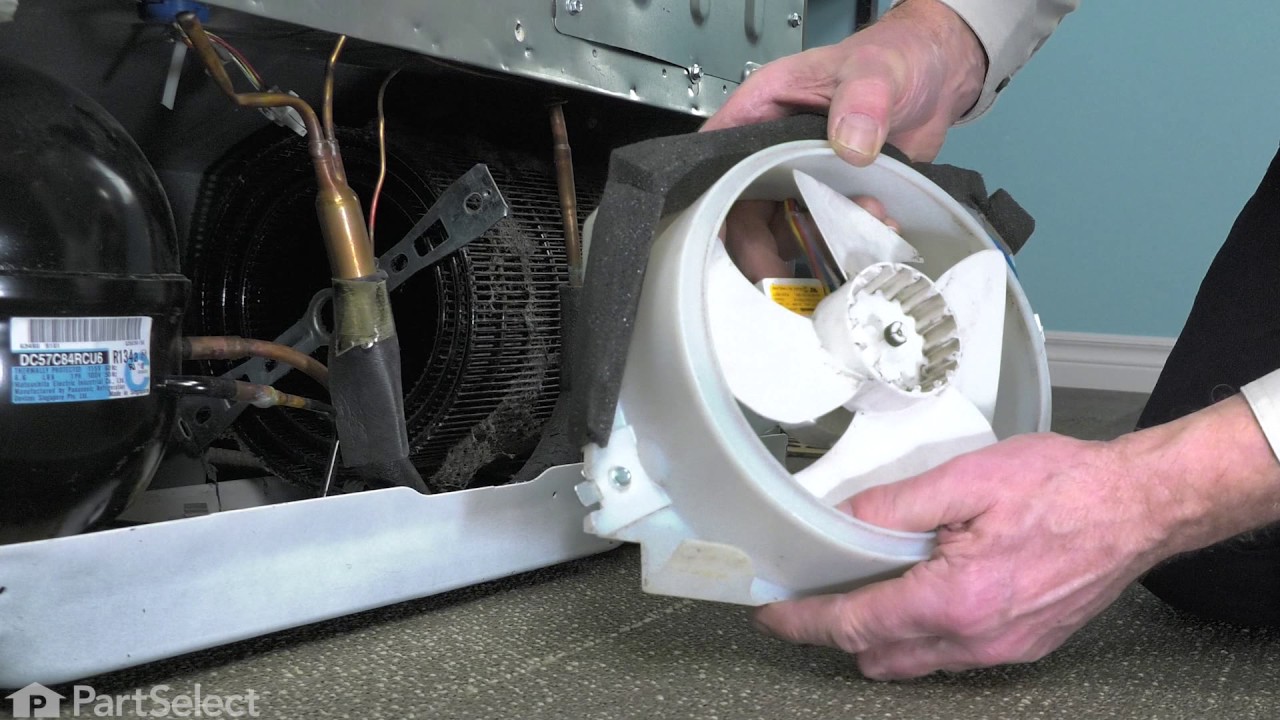
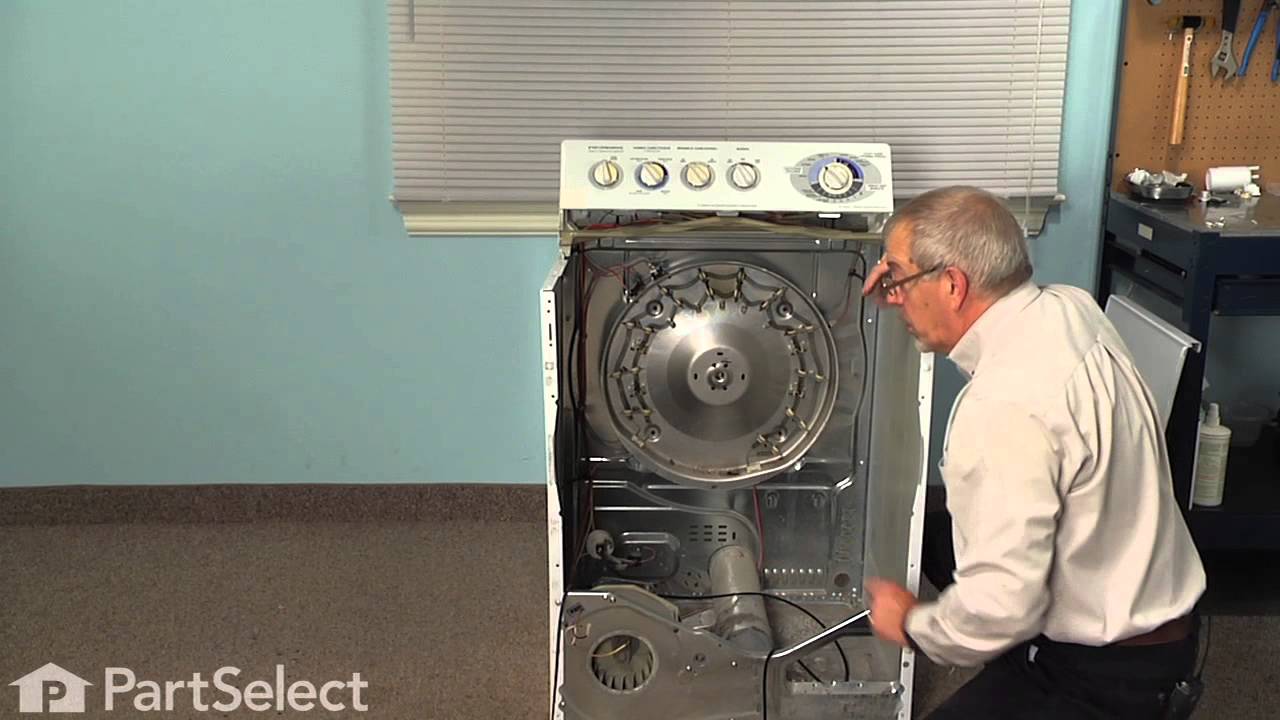
See how others fixed this model. Time, tools, difficulty, and steps that lead to victory!
View More