


 My Orders


WOC54EC0AB02 Whirlpool Microwave - Overview
Diagrams for WOC54EC0AB02
See every part. Know exactly what you need.


Enter a part description. DIY Heroes keep it simple, eg. "belt" or "pump".
Search filter:
Clear Filter
Your search term must have 3 or more characters.

No Longer Available
Touch-Up Paint - White
Part #72017
This 18 ml bottle of white appliance touch-up paint is used to cover scratches or marks on your appliance. The white touch-up paint can be used on refrigerators, microwaves, ranges, clothes dryers, and freezers. This is a genuine OEM part and includes a brush applicator. Please remember to wear gloves to protect your hands when applying this paint.

$30.40
In Stock
Screw
Part #W11233072
This is a multi-use and multi-appliance screw. It can be used on a microwave, refrigerator, range/oven, air conditioner, dehumidifier, washer, or dryer. The measurements of this screw are 8 x 1/2 inch. It has 6 threads. Refer to the manual provided by the manufacturer for further information on repair and accurate guidance. Remember to wear work gloves as a safety precaution.

$36.16
In Stock
Halogen Light Bulb
Part #W10886919
This part is the replacement halogen light bulb for your range. The bulb is 10 watts and 12 volts. The halogen lamp lights up the inside of the oven you can see the cooktop more effectively in darkness. If your light bulb is burned out, this is the part that replaces it. Be sure to turn off power to your range hood before you begin this r...Read moreepair. This bulb is sold individually and is a genuine OEM part sourced directly from the manufacturer.
Read less

No Longer Available

$165.07
In Stock

$66.88
In Stock
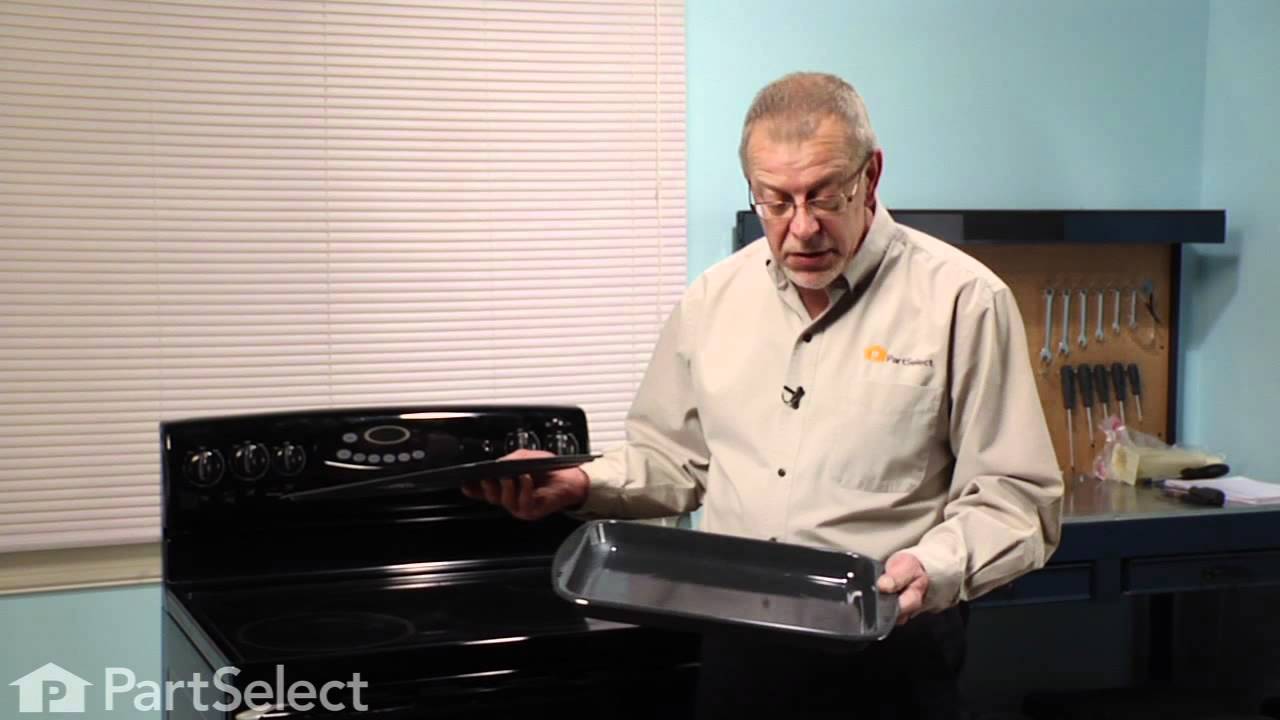
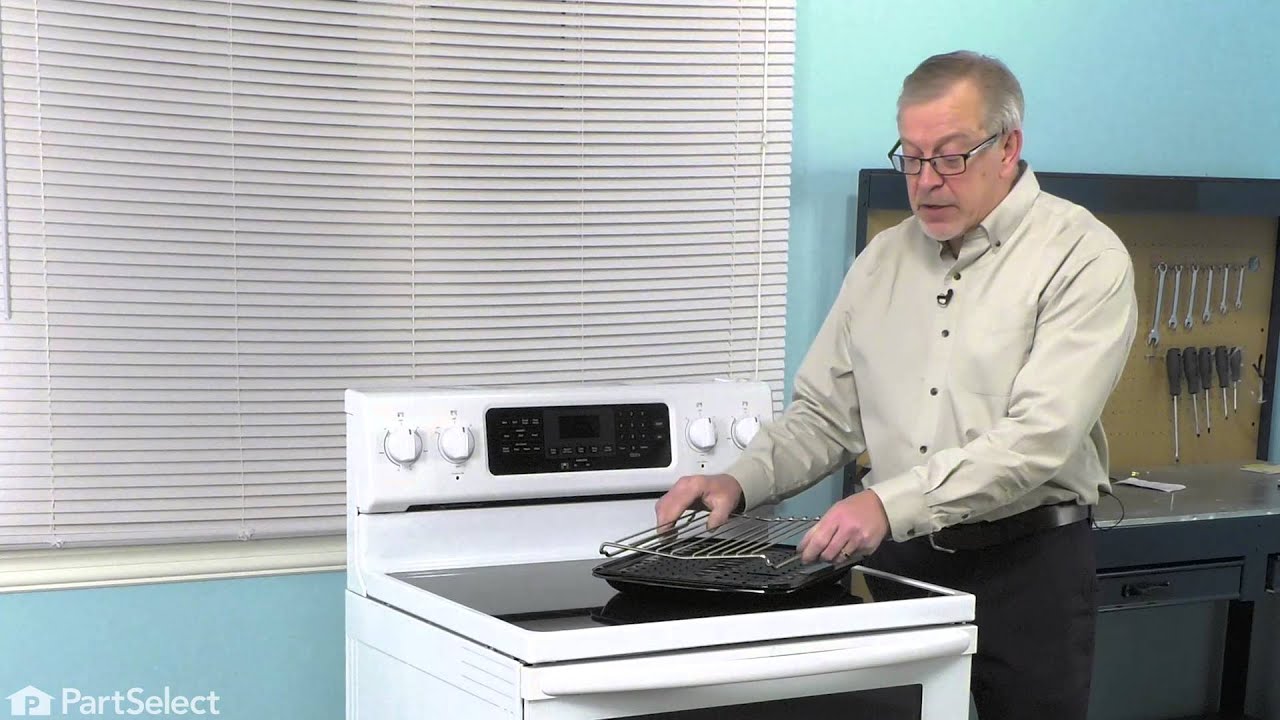
2 Piece Broiler Pan
Part #4396923
This broiler pan and roasting rack set features a two-piece design that allows fat to drain away for cleaner cooking and reduced splatter. Made with a durable, high-heat resistant porcelain finish, it offers reliable performance and easy cleanup. Measuring approximately 16 3/4 inches long by 12 3/4 inches wide and 1 3/4 inches high, it provides a practical solution for everyday broiling and roasting.

$10.40
In Stock

$68.10
In Stock

$122.57
In Stock

$60.02
In Stock
Door Switch - 250V
Part #W10211972
This small but important switch helps keep your microwave safe by making sure it won’t run unless the door is properly closed. It tells the microwave’s control system whether the door is open or shut, helping prevent accidents and ensuring everything works as it should. If your microwave isn’t starting or heating, this part might be the f...Read moreix you need. Installing it usually involves opening the microwave’s outer panel and replacing the switch near the door latch—just be sure to unplug the unit first and follow safety steps.
Read less

$145.93
In Stock
Thermostat
Part #WP4449751
If your oven isn’t heating properly or seems to be getting too hot, the high-limit thermostat might be the issue. This part helps keep things safe by shutting off the heat if the temperature gets too high. It’s built to last and helps protect your oven from damage. Replacing a faulty thermostat can fix problems like uneven cooking or an o...Read moreven that won’t start. Just be sure to unplug the oven before installing the new part.
Read less

$75.85
In Stock
Microwave Turn Ring
Part #W11110134
This roller is located underneath the glass turntable. With the help of the motor, this roller helps to rotate the glass tray. This part takes the place of the coupling.
Common Symptoms of the WOC54EC0AB02
How this model fails, and the parts that fix it.
Tray won’t turn
Fixed by
these parts
these parts


Show All
Won’t turn on
Fixed by
these parts
these parts

Show All
No heat
Fixed by
these parts
these parts


Show All
Element will not heat
Fixed by
these parts
these parts


Show All
Door won’t open after self cleaning cycle
Fixed by
these parts
these parts
Show All
Will Not Start
Fixed by
these parts
these parts
Show All
Noisy
Fixed by
these parts
these parts
Show All
Door not closing properly
Fixed by
these parts
these parts
Show All
Watch our pros, then fix it yourself.
See how others fixed this model. Time, tools, difficulty, and steps that lead to victory!
View More