


 My Orders


WM4100HWA (ABWEVUS) LG Washer - Overview
Diagrams for WM4100HWA
See every part. Know exactly what you need.


Enter a part description. DIY Heroes keep it simple, eg. "belt" or "pump".
Search filter:
Clear Filter
Your search term must have 3 or more characters.

$53.85
In Stock
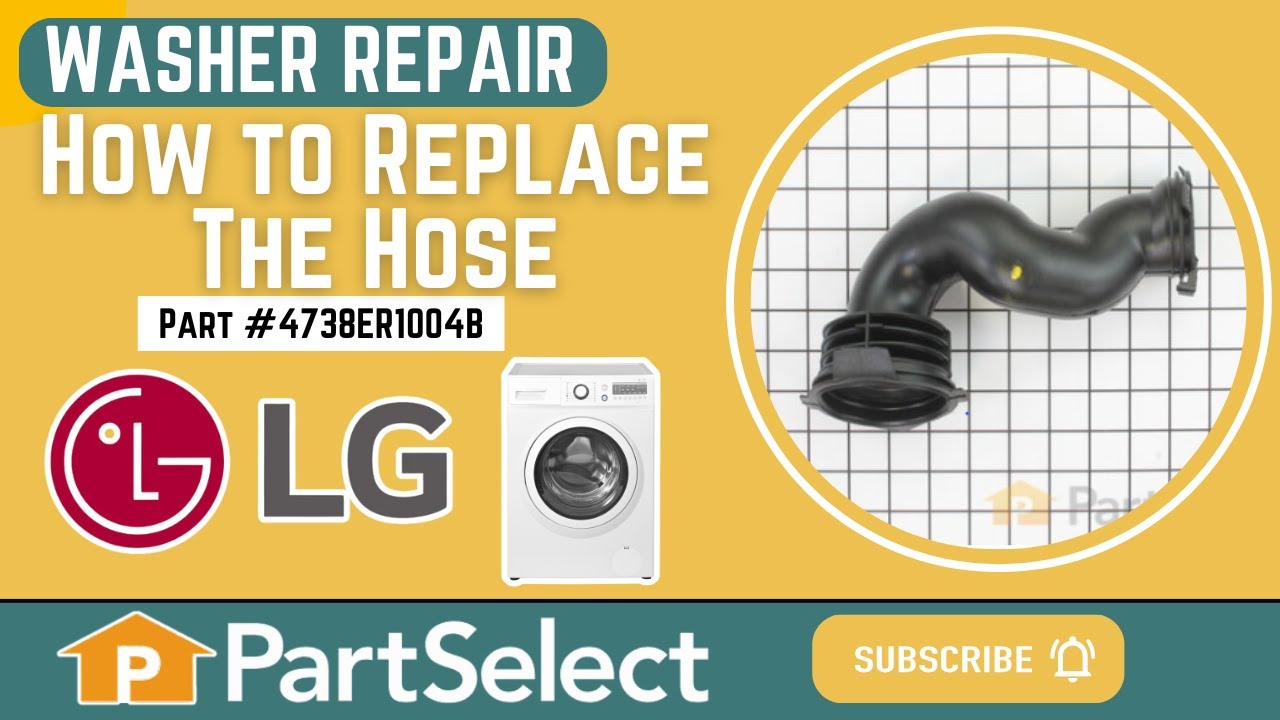
Washer Hose with Bellows
Part #4738ER1004B
This washer hose with bellows, also known as a dispenser hose, is a genuine OEM replacement part for your washer. Replacing this part can be helpful if your washer is leaking. The dispenser hose connects the dispenser assembly to the tub. Before beginning the repair, unplug the washer and turn off the water supply. You will need a Phillip...Read mores head screwdriver to complete this repair; a clamp tool can also be helpful. Remove the screws holding the lid of the washer in place, and take off the lid. Locate the dispenser hose and remove its clamps. Place the clamps on the new hose, using the arrows for a guide in positioning the clamps. Install the new hose and reassemble all other parts.
Read less

$39.55
In Stock
Tub-to-Pump Drain Hose
Part #4738ER1002A
This hose has bellows to allow for flexibility during the wash and spin cycles.

$26.65
In Stock

$41.75
In Stock
Washer Gasket
Part #MDS62058301
This part is the replacement rear tub gasket for your washer. It is made of black plastic and is approximately 3-1/4 inches in diameter. The rear tub gasket forms a watertight seal between the rear tub and the drive shaft. If the gasket is worn or damaged, it may not be able to create this seal, and you may experience a water leak from yo...Read moreur washer. Be sure to disconnect the washer from the water and power sources before you begin this repair. This is an OEM part sourced directly from the manufacturer and it is sold individually.
Read less

$30.75
In Stock
LOCKER,HOOK
Part #MFG63099101

$84.65
In Stock
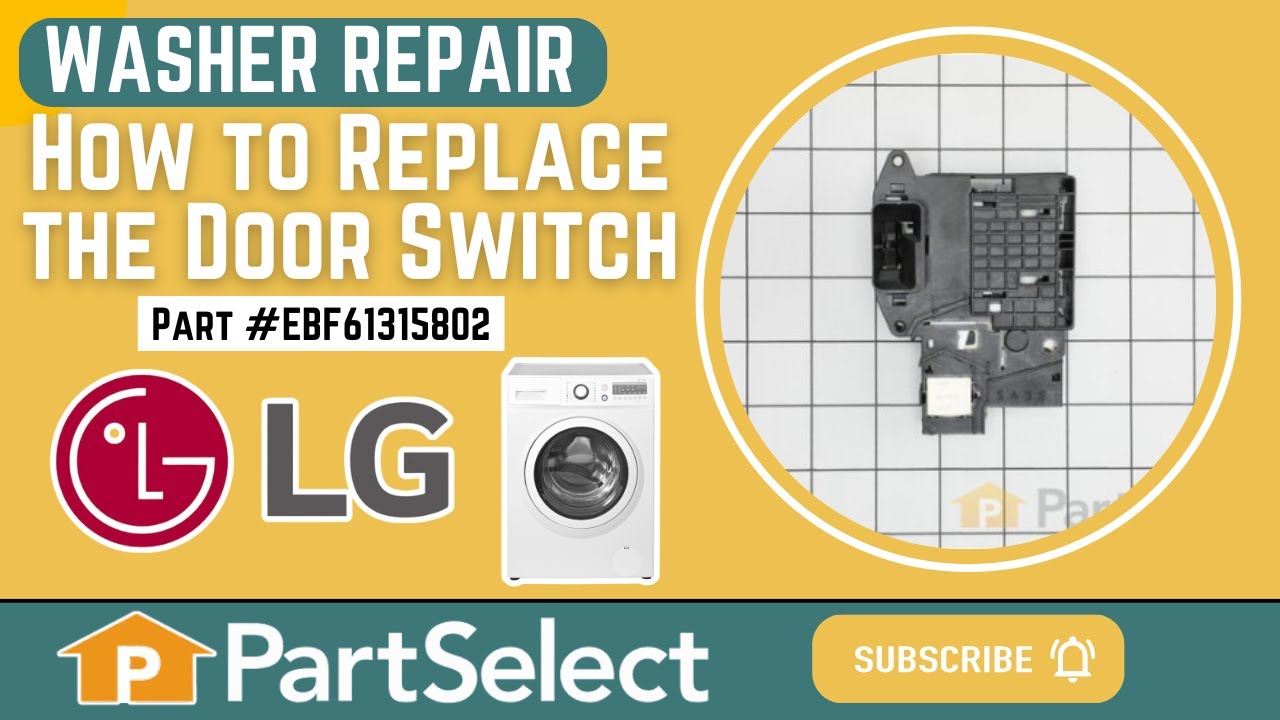
Washer Switch Assembly
Part #EBF61315802
This door lock switch is a key component in compatible washing machines, designed to signal the control board when the door is securely closed. Once engaged, it enables the locking mechanism and allows the wash cycle to begin safely. Constructed from black, gray, and white plastic, this switch may need replacement if your washer struggles...Read more to start or fails to lock properly. Installation requires partial disassembly of the appliance and basic tools including a screwdriver, drill, and needle-nose pliers. Sold individually.
Read less

$30.75
In Stock

$65.95
On Order
Ball Bearing
Part #4280EN4001C
The tub bearing supports the spin basket shaft at the back of the washing tub. If your washing machine will not spin, is leaking water, or if there is a loud screeching noise during the wash cycle, there could be an issue with the tub bearing. This genuine OEM replacement bearing has a 3-inch outer diameter, and is used to help the tub sp...Read morein smoothly and to stop the washing machine from shaking during the cycle.
NOTE: This part is very difficult to install. The manufacturer recommends replacing the complete rear tub and bearing assembly at the same time.
Read less

$46.15
In Stock
HINGE
Part #4774FR3118E

$64.85
In Stock
Washer Ball Bearing
Part #4280EN4001G

$13.15
Special Order
Locking Pin
Part #4774FR3118B
The locking pin is used to hold the shock absorber on the washer. There is a pin used at the bottom and top of the shock absorber. Sold individually.

$24.15
In Stock
Common Symptoms of the WM4100HWA
How this model fails, and the parts that fix it.
Leaking
Fixed by
these parts
these parts


Show All
Lid or door won’t close
Fixed by
these parts
these parts


Show All
Locking Issues
Fixed by
these parts
these parts
Show All
Water Filling Issues
Fixed by
these parts
these parts


Show All
Noisy and Marks Left on Clothes
Fixed by
these parts
these parts

Show All
Will not drain
Fixed by
these parts
these parts

Show All
Will Not Start
Fixed by
these parts
these parts
Show All
Spinning Issues
Fixed by
these parts
these parts
Show All
Watch our pros, then fix it yourself.
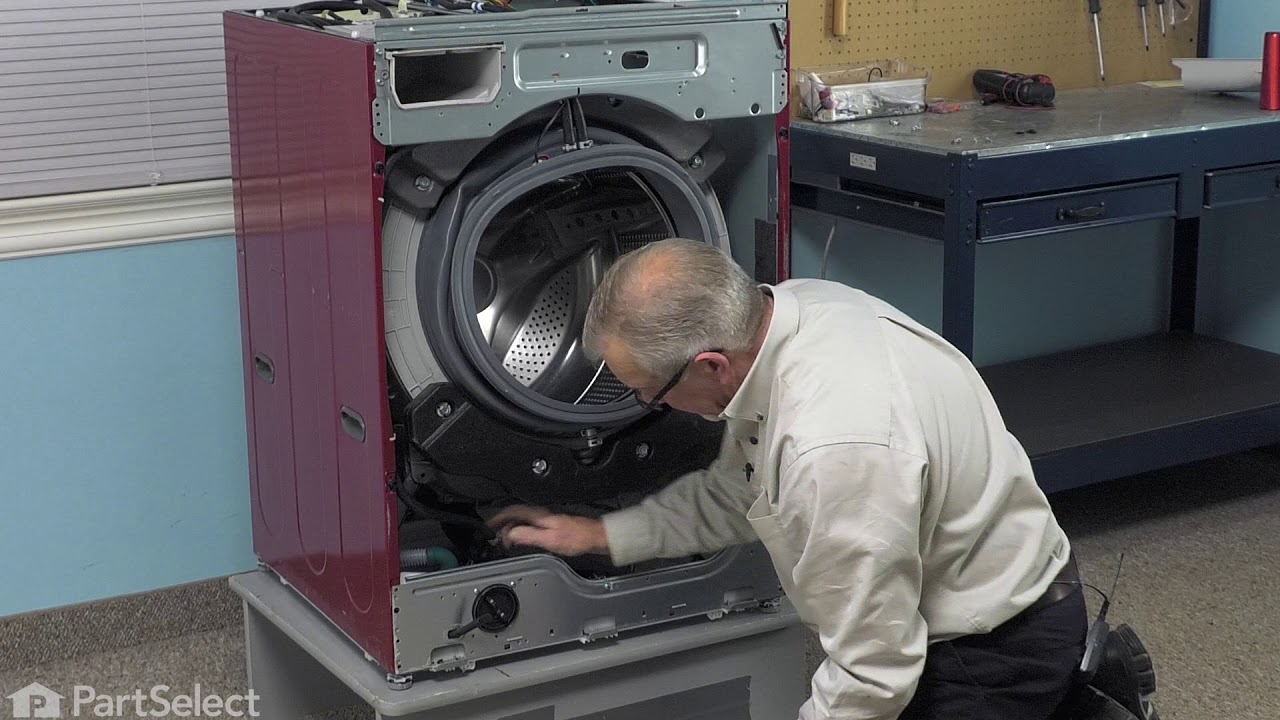
See how others fixed this model. Time, tools, difficulty, and steps that lead to victory!
View More