WM4000HWA (ABWEUUS) LG Washer - Overview

Diagrams for WM4000HWA

See every part. Know exactly what you need.

Enter a part description. DIY Heroes keep it simple, eg. "belt" or "pump".

Search filter:
Clear Filter
Your search term must have 3 or more characters.
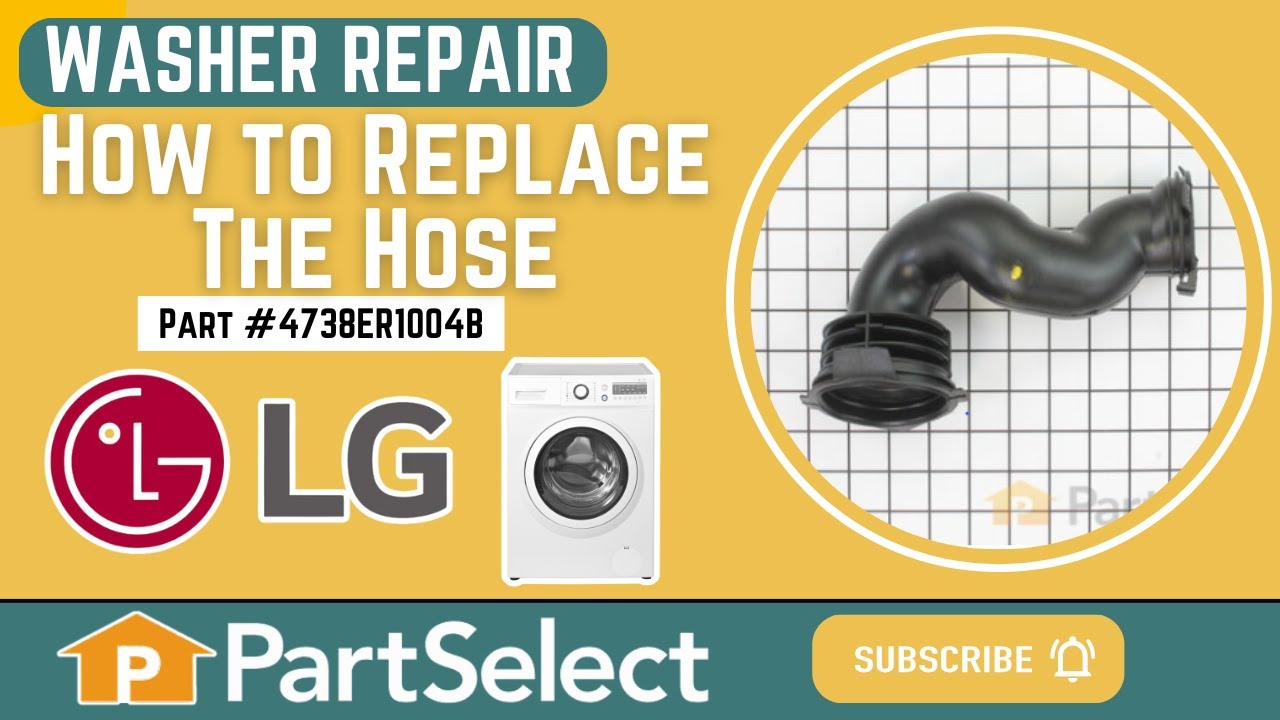
Washer Hose with Bellows – Part Number: 4738ER1004B
$53.85
In Stock
Washer Hose with Bellows
★★★★★
★★★★★
(15)
Part #4738ER1004B
This washer hose with bellows, also known as a dispenser hose, is a genuine OEM replacement part for your washer. Replacing this part can be helpful if your washer is leaking. The dispenser hose connects the dispenser assembly to the tub. Before beginning the repair, unplug the washer and turn off the water supply. You will need a Phillips head screwdriver to complete this repair; a clamp tool can also be helpful. Remove the screws holding the lid of the washer in place, and take off the lid. Locate the dispenser hose and remove its clamps. Place the clamps on the new hose, using the arrows for a guide in positioning the clamps. Install the new hose and reassemble all other parts.
Clamp Assembly – Part Number: ACA56078801
$26.65
In Stock
Washer Hinge Spring – Part Number: 4970FR2084Z
$54.95
In Stock
GASKET – Part Number: MDS66290801
$170.98
On Order
GASKET
★★★★★
★★★★★
(3)
Part #MDS66290801
This washer door gasket, also known as a door boot, is a genuine replacement component designed for select LG front-load washing machines. It forms a watertight seal between the door and the tub, preventing leaks during wash cycles and maintaining optimal appliance performance. Constructed from high-quality, durable rubber, it resists wear, moisture, and mildew, ensuring long-term reliability. In addition to leak prevention, the gasket also helps absorb shock and reduce vibration during operation. Replacing a worn or damaged gasket can resolve issues such as water leakage, unpleasant odors, and excessive moisture around the door. Installation should be performed with the appliance unplugged, and model-specific instructions should be followed for proper fit.
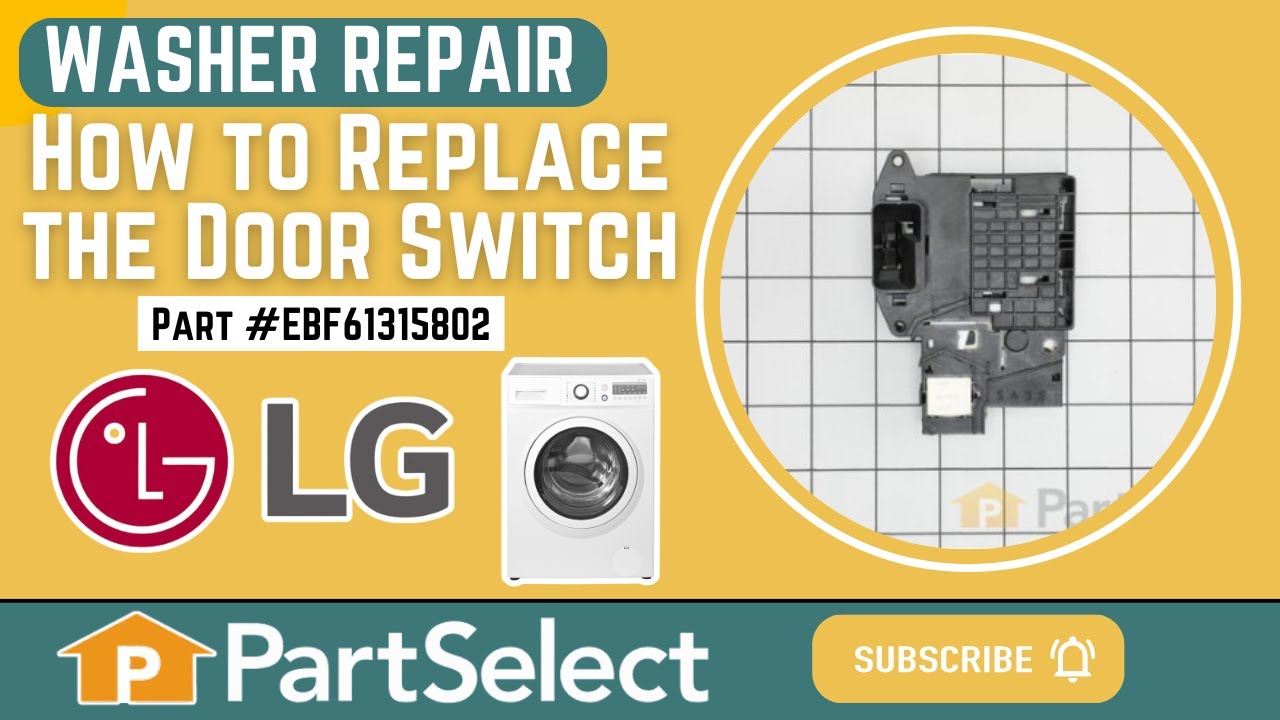
Washer Switch Assembly – Part Number: EBF61315802
$84.65
In Stock
Washer Switch Assembly
★★★★★
★★★★★
(1)
Part #EBF61315802
This door lock switch is a key component in compatible washing machines, designed to signal the control board when the door is securely closed. Once engaged, it enables the locking mechanism and allows the wash cycle to begin safely. Constructed from black, gray, and white plastic, this switch may need replacement if your washer struggles to start or fails to lock properly. Installation requires partial disassembly of the appliance and basic tools including a screwdriver, drill, and needle-nose pliers. Sold individually.
SENSOR ASSEMBLY – Part Number: EBD48922821
$85.75
In Stock
SENSOR ASSEMBLY
Part #EBD48922821
Washer Float Assembly – Part Number: 4769ER4001B
$30.75
In Stock
Locking Pin – Part Number: 4774FR3118B
$13.15
Special Order
Locking Pin
Part #4774FR3118B
The locking pin is used to hold the shock absorber on the washer. There is a pin used at the bottom and top of the shock absorber. Sold individually.
Spring-Hinge – Part Number: MHY62964802
$44.76
In Stock
Spring-Hinge
Part #MHY62964802
Clamp Assembly – Part Number: 4861ER2001J
$39.55
In Stock
Clamp Assembly
Part #4861ER2001J
Washer Bolt Assembly – Part Number: FAA31690705
$39.55
In Stock
Washer Bolt Assembly
Part #FAA31690705
BOLT ASSEMBLY – Part Number: FAA31690703
$44.76
In Stock
BOLT ASSEMBLY
Part #FAA31690703

Questions And Answers for WM4000HWA

Ask our experts a question about this model and we'll get back to you as soon as possible!

Sort by:
  • 1
Sorry, we couldn't find any existing answers that matched.Try using some different or simpler keywords, or submit your new question by using the "Ask a Question" button above!
Steve - For model number WM4000HWA
December 7, 2023
What shipping bolts do I need to buy for this model
Chris Boyle Profile
Hi Steve, thank you for the great question. Our research has found, there are three shipping bolts for your model, they are part numbers: PS10063179, PS10058954 and PS11711031. We hope this helps.
$39.55
In Stock
Washer Bolt Assembly
Was this helpful?
Thank you for voting!
  • 1

Common Symptoms of the WM4000HWA

How this model fails, and the parts that fix it.

Watch our pros, then fix it yourself.

See how others fixed this model. Time, tools, difficulty, and steps that lead to victory! View More

Search repair tips from other customers using simple keywords like "replace", "fit", "remove", "inspect". DIY doesn't mean you have to do it alone!

Search filter:
Clear Filter
Your search term must have 3 or more characters.
LG washing machine flooded the Landry room.
13 of 21 people found this instruction helpful.
  • mark from AUBURN, CA
  • A Bit Difficult
  • 30 - 60 mins
  • Pliers, Screw drivers
Wife called me and said the washing machine just flooded the Landry room. I looked at it and didn't see anything wrong. Took the top off and the back off and started looking for a leak, did not see anything. Took the front part of the washer apart thinking the drain hole was plugged up where the rubber boot is. It was ok after taking the big rubber boot off or whatever that is called i was not getting anywhere. I put it back together left the top and the back off. I turned the water on and started the washer on a quick cycle looking for a leak. I found the bellows at the inlet had a small leak fixed that and started the washer again. So what i found out was the clean out drain plug was not in tight letting water out as it was washing after i tightened it all was ok. So i did find a leak that was small that we never saw. The hardest part was putting that wire clamp on the rubber boot it took two people to do that.
Was this helpful?
Thank you for voting!
Washer did not recognize the door was shut
9 of 10 people found this instruction helpful.
  • CURTIS from OLIVE BRANCH, MS
  • Really Easy
  • 15 - 30 mins
  • Nutdriver, Screw drivers
I removed the Wire and spring from the tub seal and then removed the seal on the side of the washer that contains the Door switch. I removed the two screws that held the door switch in place while holding the switch with my other hand. Once the screws where out I pulled the switch assembly out thru the gap and removed the wires from old assembly. I then plugged the wires into the new assembly aligned the holes up and put the screws back in the new door switch assembly. I then put the door seal and tub seal holder back on. This took about 15 minutes. I do recomend that you unplug the washer before starting this process.
Was this helpful?
Thank you for voting!
Spring broke that holds the drum up.
7 of 11 people found this instruction helpful.
  • Phillip from SOUTH PARK, PA
  • A Bit Difficult
  • 30 - 60 mins
  • Screw drivers
To put the new spring on requires two people. One to pull the drum up as far as possible and hold it in place and the other to attach the spring to the drum and the into the slot on the side of the washer frame. It takes a lot of leverage and strength to get the spring into the slot. We used a screw driver as leverage to get the spring ex tended to slip into the slot. You might also need the plastic holder part# 4930FR3040A. If the washer door boot has come off due to spring breaking, you will need to reset it. That requires also removing front panel. There is a large wire ring that holds the boot in place. You either need a special pair of pliers to expand the spring to reset the boot or a lot of strength to do it with a couple screw drivers.
Was this helpful?
Thank you for voting!