The tub dampening straps support the wash tub and reduce vibration by keeping the tub at the center of the cabinet. If your washer shakes and moves, or is making a loud banging noise during the wash cycle, the washing machine tub could be off-balance, meaning one or more of these straps may be loose, or broken. Other symptoms include: the...Read more washer leaking, not agitating, or pumping but not spinning. These straps are sold individually. However, we recommend that you replace all 4 straps at the same time. It is also recommended that you check the tub for cracks where these straps mount.
This easy-to-use white knob helps you control your GE washing machine’s settings like cycle time and temperature. If your current knob is cracked or loose, this replacement makes it simple to get your washer working like new again. Just pop the old one off and press the new one on—it’s a quick fix that brings back smooth, reliable control.
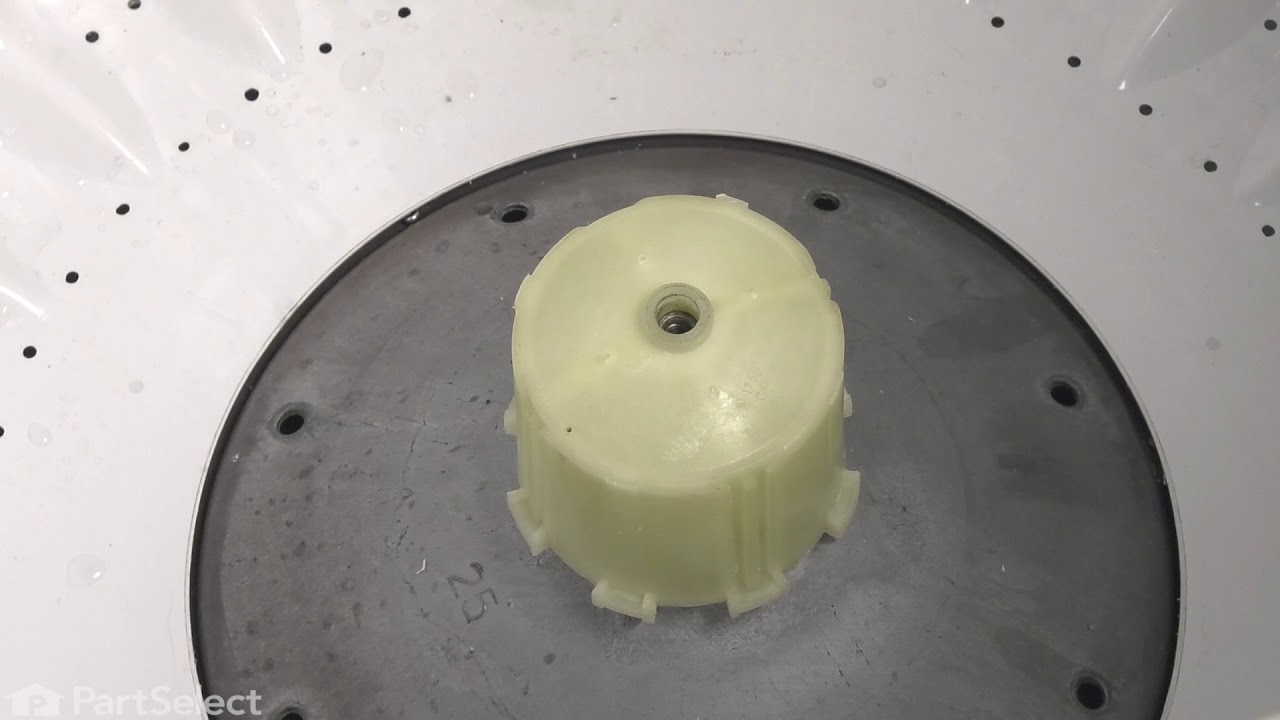
This is a washing machine agitator coupling kit. It connects the transmission drive shaft to the agitator base. It includes the couple, gasket, and bolt.
The main tub seal is located between the transmission and the outer tub. It's the primary water seal in the outer tub for the transmission-shaft. This seal is difficult to replace and should probably be installed by a qualified technician.
This tub bearing goes in your washing machine. You will find it on the bottom of the outer tub, where the transmission goes through the tub. If you hear metal on metal when the washer is spinning, you may need to replace the tub bearing. This bearing is made of metal, and is approximately 3 inches wide and 2 inches tall.
This part is the replacement inner tub base hub for your washer. It is made of metal and is approximately 15 inches in diameter. The inner tub base hub fits between the wash tub and the spin basket, and it holds the spin basket on the gear case shaft. The main reason you would want to replace the hub, is if the washer will not agitate, or...Read more if you notice excessive noise or shaking when the washer is in use. Be sure to disconnect the washer from the water and power sources before you begin this repair. This part is sold individually and is and OEM part from the manufacturer.
Ask our experts a question about this model and we'll get back to you as soon as possible!
We may have answered a similar question already! Search questions and answers left by others using simple keywords like "fit", "broken", "easy", or "quality" to find questions that match.
Search filter:
Clear Filter
Your search term must have 3 or more characters.
Sort by:
Prev
1
Next
Sorry, we couldn't find any existing answers that matched.Try using some different or simpler keywords, or submit your new question by using the "Ask a Question" button above!
Dennis - For model number WHDSR315DAWW
January 26, 2020
Knob dial does not move
Hello Dennis, if your Knob is not moving, you may need to replace the Switch. I hope this helps.
5 peoplefound this instruction helpful.
Was this helpful?
Thank you for voting!
KELLY - For model number WHDSR315DAWW
February 21, 2023
I need a new dial-it has an outer ring and inner knob. The inner knob turns, but not the ring. Is this replacement part available? I can send pic if the dial, if needed.
Hi Kelly, thank you for reaching out. The parts you are looking for are the knob dial, part number PS756514, and the timer knob, part number PS1482286. We hope this helps!
See how others fixed this model. Time, tools, difficulty, and steps that lead to victory!View More
Search repair tips from other customers using simple keywords like "replace", "fit", "remove", "inspect". DIY doesn't mean you have to do it alone!
Search filter:
Clear Filter
Your search term must have 3 or more characters.
Control knob teeth were worn
510 of 517 peoplefound this instruction helpful.
Charles from Dallas, GA
Really Easy
Less than 15 mins
Pliers
I spoke to a very nice young ladie who took my order and I received my order within two days. I pull the clasp off of the old knob and replace the knob and the clasp with the new part and it now works great. Thank you for helping me find the part I needed.
Was this helpful?
Thank you for voting!
broken dampening strap and loose agitator
286 of 308 peoplefound this instruction helpful.
molly from laguna niguel, CA
Easy
30 - 60 mins
Nutdriver, Socket set
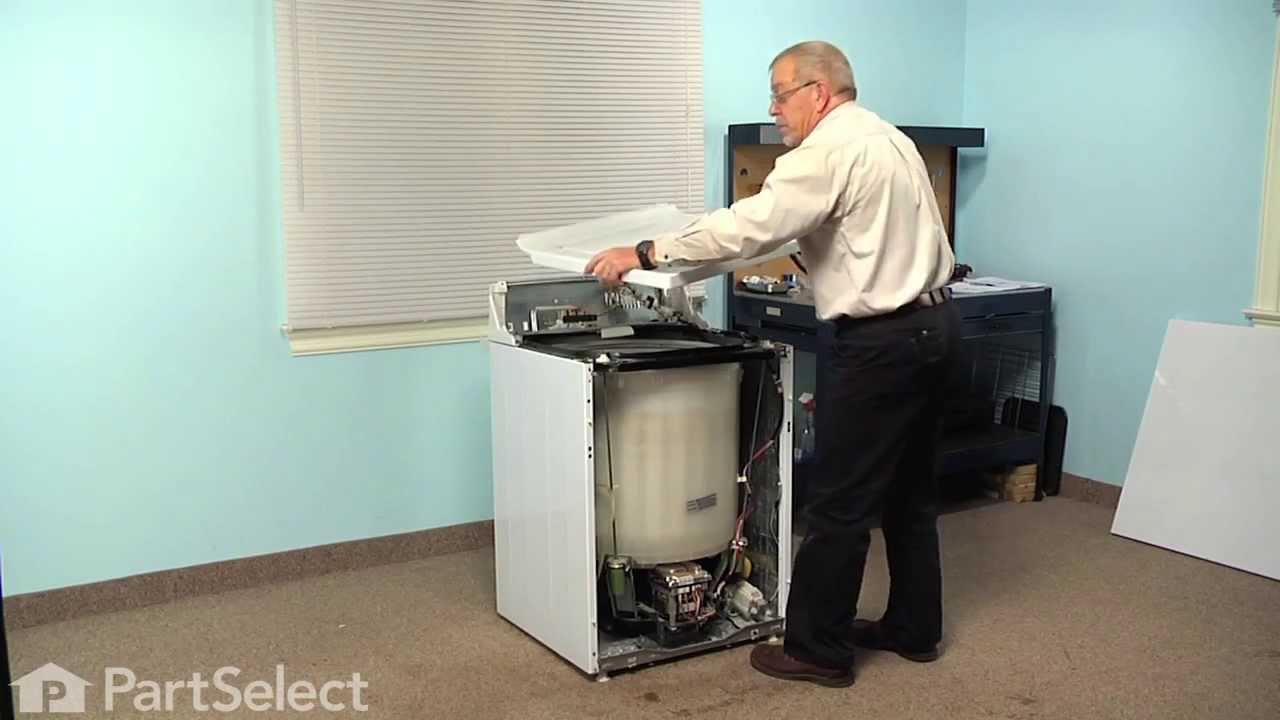
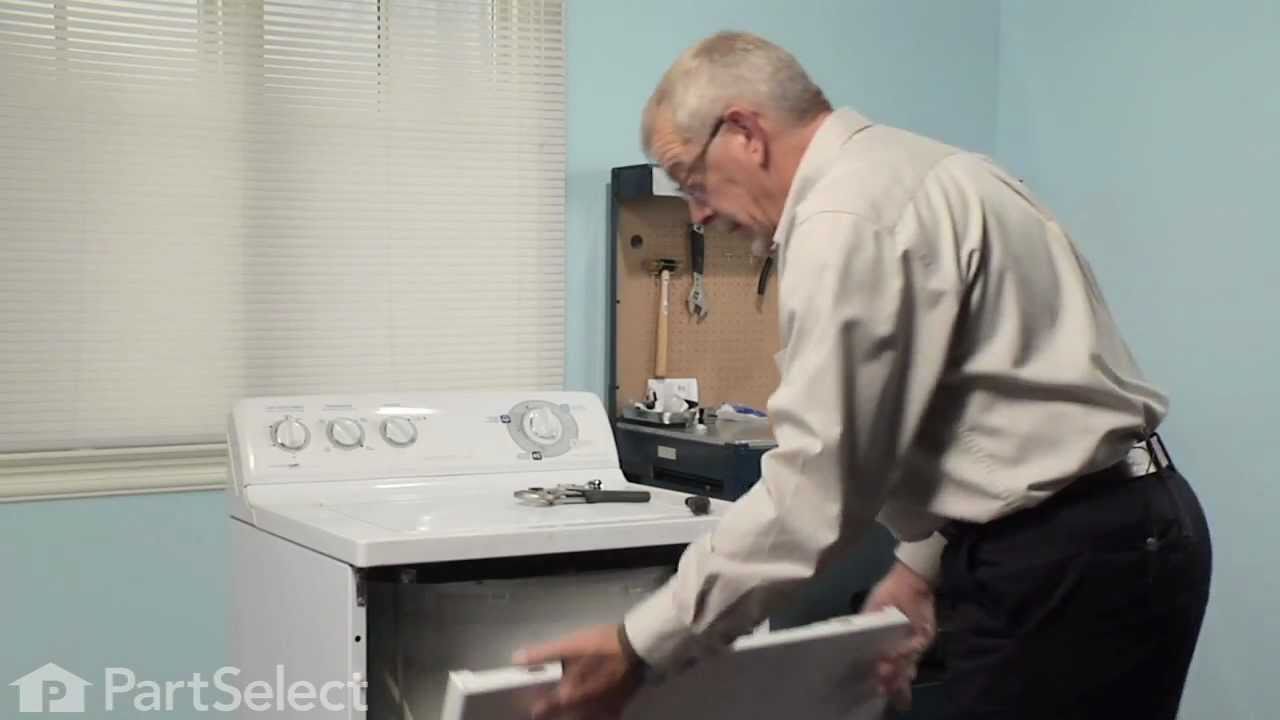
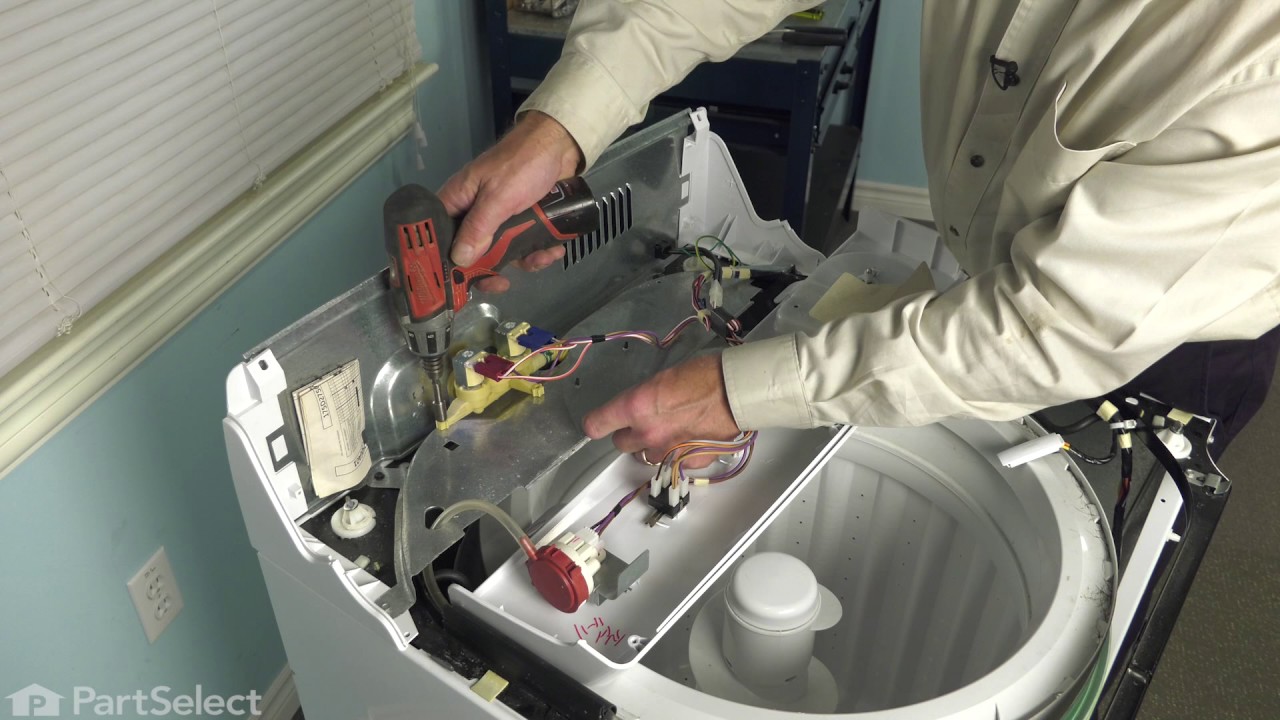
first remove the front washer cover by finding the two pressure clips that hold it to the top lid. gently push the putty knife into the clips one at a time. this will raise and separate them from the front panel. the panel will tilt forward and u can now remove it from the bottom clips by sliding it up and out. to open the top cover u rem
... Read moreove the two 1/4 in screws on the sides of the front panel and lift the top. make sure to secure it in place or unplug the single electrical connection at the rear and remove the whole top from the clips, its really simple and the most convenient mehtod. to remove the straps u can now get to all four without much interference. there are two size screw heads so make sure u have a nut driver or small socket set. after changing the straps i went to change the agitator coupling. the agitator pulled directly up without a problem. just put your two hands under and pull straight up with one good jolt. the plastic coupler has one bolt in the middle that came out easily with a small socket set. my problem arose when the plastic coupler would not come off the metal shaft. after a short time of pulling and prying i finally decided to cut it off. using a small hacksaw and taking my time i put two cuts into the coupler. they were on opposite sides and where vertical, running along the steel shaft. i could now split it in two and it came off very easily and quickly. now when putting on the new one make sure the splines line up. push as far down as u can then use the center bolt to seat the gear all the way down. the agitator also has to be lined up just right. it also has splines on the interior that allow it to line up with the coupler and merely push down until it reseats itself in place. replace the top of the washer and then the front panel. don't forget to rebolt the top panel to the frame. push the front panel in until it snaps into place. full replacement time was about 40 minutes and actually not bad with the right tools.
I placed both hands under the agitator 180 degrees apart, gave a quick jerk, and seperated the agitator from the coupling. With the agitator removed, use a socket and ratchet to remove the bolt holding the coupling to the spline. Remove the old coupling and slide the new one over the spline. Lightly tap on the coupling if necessary. I
... Read morensert the bolt with the ratchet and slide the agitator back over the coupling and you are done.



 My Orders