This is a heating element compatible with various makes of ranges and ovens and is sold as an individual part. Measuring 20.5-inches wide and 20.25-inches (with terminals) long, this heating element is a genuine OEM part. If your range is not heating during the bake setting, not heating evenly, or if the element is burnt out or damaged, t...Read morehe element will need to be replaced. This repair is simple and only requires that you disconnect your oven from the wall outlet and use an appropriate screwdriver to disassemble and replace the element with the additional support brackets to secure it.
This an authentic OEM 40-Watt replacement light bulb, used in a number of household appliances. It is specially designed to withstand extreme temperatures, which is why these replacement bulbs are most often used to light the inside of refrigerators and ranges. It features a standard socket base, which means you simply unscrew the burnt-o...Read moreut bulb and screw in the replacement. Depending on the appliance you may require a screwdriver or nut driver to access the light bulb. We recommend you wear work gloves while handling this replacement part. It is constructed of glass and metal and is sold individually. Depending on the appliance and location of the bulb within it, you may want to consider disconnecting power and using a flashlight for easier access to unscrewing and re-screwing in your bulb during this repair.
This 18 ml bottle of white appliance touch-up paint is used to cover scratches or marks on your appliance. The white touch-up paint can be used on refrigerators, microwaves, ranges, clothes dryers, and freezers. This is a genuine OEM part and includes a brush applicator. Please remember to wear gloves to protect your hands when applying this paint.
This is a multi-use and multi-appliance screw. It can be used on a microwave, refrigerator, range/oven, air conditioner, dehumidifier, washer, or dryer. The measurements of this screw are 8 x 1/2 inch. It has 6 threads. Refer to the manual provided by the manufacturer for further information on repair and accurate guidance. Remember to wear work gloves as a safety precaution.
This oven temperature sensor is designed to monitor and regulate the internal heat levels of your range, ensuring consistent and accurate cooking performance. It communicates directly with the control board to adjust heating as needed. Over time, exposure to high temperatures can cause the sensor to degrade, leading to uneven heating or f...Read moreailure to maintain set temperatures. If your oven struggles to reach or hold the correct temperature, replacing the sensor may resolve the issue. This OEM replacement part includes a wire harness for connection and is installed using two mounting screws. Installation is simple and typically requires only a screwdriver. Please note that the sensor is sold individually and does not include additional hardware.
The light socket on your electric range connects the power source to the light bulb. If your oven light is malfunctioning, you may need to replace the light socket. The light socket is located in the back of your range, so in order to access it you will need to remove the back panel. Many of our customers have rated this repair as easy, a...Read morend it should take less than 15 minutes. Before you begin this repair, make sure to disconnect the power source from your range. This is an OEM part sourced directly from the manufacturer.
The Door Vent Trim (White) is an OEM replacement part that fits a variety of ranges from Whirlpool, KitchenAid, Maytag, Jenn-Air, Amana, Inglis, and Magic Chef brands. The vent trim attaches to the top of the oven door and houses the door handle. Made from durable material, it ensures the proper function and aesthetic of your oven. Instal...Read morelation should only be performed when the oven is cool, and it's recommended to wear work gloves to protect your hands during the process. Always verify compatibility with your specific model before ordering, as there can be slight differences between similar models.
Ask our experts a question about this model and we'll get back to you as soon as possible!
We may have answered a similar question already! Search questions and answers left by others using simple keywords like "fit", "broken", "easy", or "quality" to find questions that match.
Search filter:
Clear Filter
Your search term must have 3 or more characters.
Sort by:
Prev
1
2
3
Next
Sorry, we couldn't find any existing answers that matched.Try using some different or simpler keywords, or submit your new question by using the "Ask a Question" button above!
Rodna - For model number WFE540H0ES0
December 3, 2023
How to replace bake element?
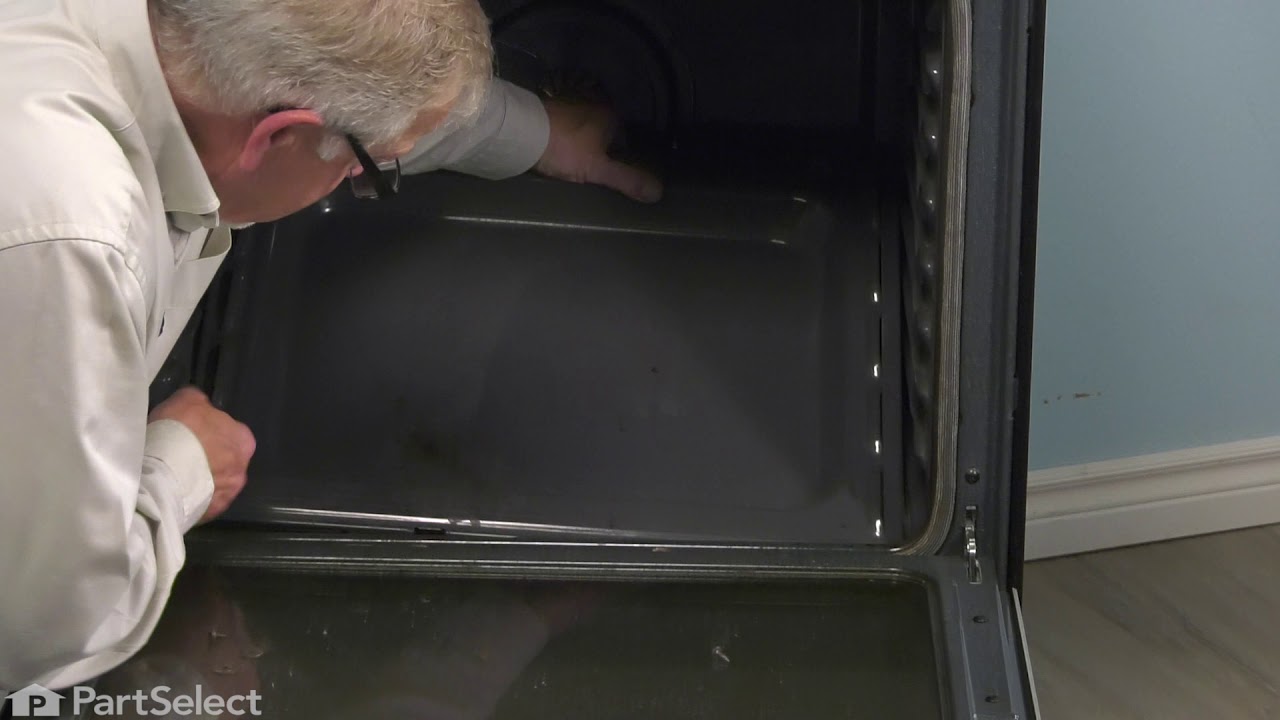
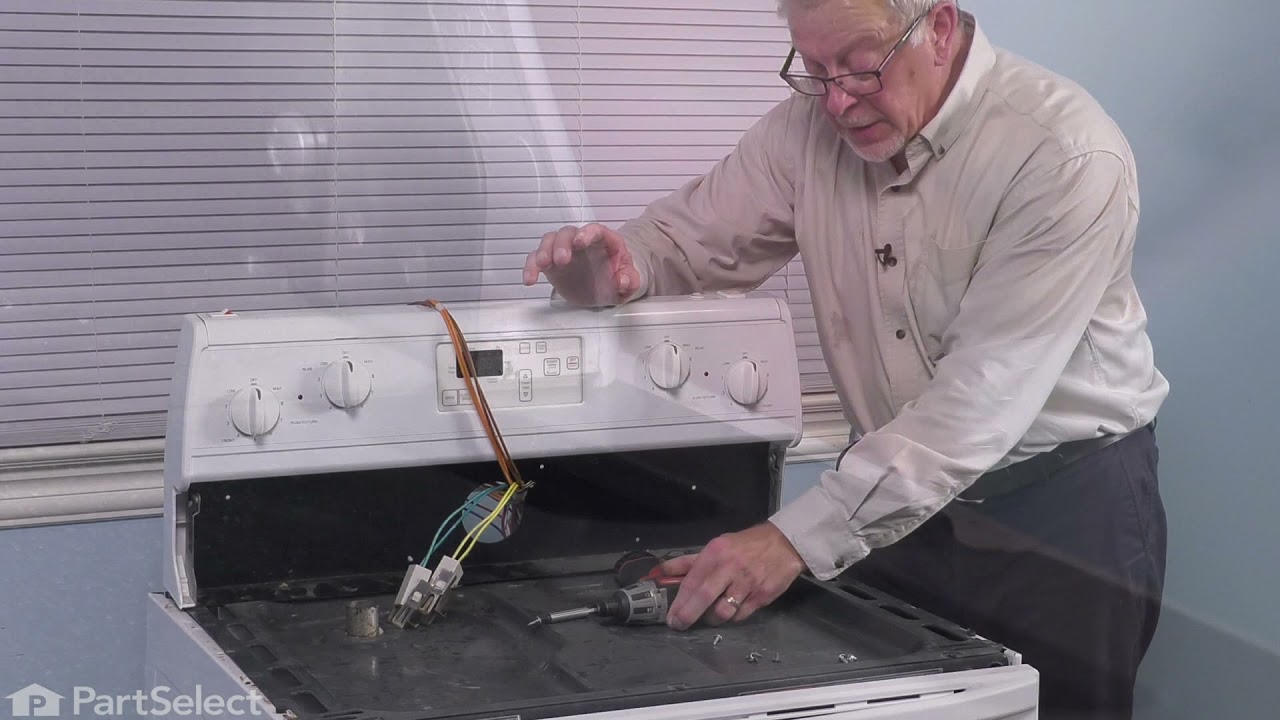
Hello Rodna, thank you for the question. We have included a video that you may reference on how to replace the bake element. The range in the video may appear different from yours, but it will give you a general idea of how to install the part. We hope this helps with the repair.
6 peoplefound this instruction helpful.
Was this helpful?
Thank you for voting!
Stephen - For model number WFE540H0ES0
September 22, 2023
My front burners overheat even at low and medium settings
Hi Stephen, thank you for the question. We have concluded that the issue is with the burner switch, part number PS11731368. You may need to check this part. If it is faulty, you may need to replace it. Glad to be of assistance!
How do I get an operating manual? I am trying to find instructions for the aqualift self cleaning oven. Do you put water in the bottom of the oven? I followed the process for turning on the self cleaning, but nothing happened. I did not put water prior to running the self cleaning process. I could use a little guidance.
Hi Jimmie,
Thank you for your question. Here is link that we found online, where you may view the owner's manual for your range, https://www.manualslib.com/manual/951650/Whirlpool-Wfe540h0es.html. We hope this helps. Thank you and have a great day!
3 peoplefound this instruction helpful.
Was this helpful?
Thank you for voting!
Tom - For model number WFE540H0ES0
January 7, 2020
Display is blank and will not reset. Oven elements work as well as range top works. Do i need to change the display control panel?
Hello Tom, thank you for your question. If the display is blank but the oven works the electronic control board and overlay would have to be replaced. I hope this helps!
2 peoplefound this instruction helpful.
Was this helpful?
Thank you for voting!
David - For model number WFE540H0ES0
April 1, 2023
Oven takes a half hour to get to 350, and won't go past that temp. I thought it was the terminal block, but I replaced that and it did not help. I think it might be the heating element, but when I search for parts for this model number, the pictured element does not look like the one in my ove.
Hello David, thank you for contacting us. Based on our understanding of the issue, we suggest you check the bake element. When the bake element is properly heated, it glows red. If the element does not glow red, this indicates that it has burned out. Inspect the heating element for holes or blisters. To determine if the bake element has burned out, use a multimeter to test the element for continuity. If the bake element does not have continuity, replace the bake element, part number PS11703285. This bake element is compatible with your model. We hope this helps, good luck with this repair!
See how others fixed this model. Time, tools, difficulty, and steps that lead to victory!View More
Search repair tips from other customers using simple keywords like "replace", "fit", "remove", "inspect". DIY doesn't mean you have to do it alone!
Search filter:
Clear Filter
Your search term must have 3 or more characters.
mice had made nests in the insulation wrap in the range
129 of 211 peoplefound this instruction helpful.
Wendy from Red Hook, NY
Easy
More than 2 hours
Screw drivers
I numbered every part. ex: 1 L., for first part removed left side. I used a magic marker to circle the holes and wrote the number of screws used on the part, set the srews in a separete place, so that I new where these screws went to. The cleanup was pretty time consuming, but I was able to keep my stove, when every repairman I called to
... Read more fix my stove told me I was better off buying a new stove. ($600.00 stove 2 years old)Please Note: The insulation blanket needed for the entire stove is two pieces, the sides and top are one part # and the bottom and back, are another part #. I did not know this. I just purchased the top and sides. I got lucky, the back and bottom were still in good shape. So I guess I should have read the description of the part more carefully to see what it covers, before I ordered it. It took two people two hours to do the work, it was really nice to have an extra set of eyes, to remember what direction pieces of metal from the stove went. I would do it all over in a heart beat instead of buying a new stove.
Read less
Was this helpful?
Thank you for voting!
The oven would take an hour to preheat.
59 of 64 peoplefound this instruction helpful.
Helen from PURVIS, MS
Very Easy
Less than 15 mins
Screw drivers
First, we turned on broil and the upper element turned orange and obviously worked. We figured the bottom element went out. The diagram on this site showed a bottom heating element that looked nothing like ours, but after reading other reviews, and reading that part that goes through the back of the oven was in the middle, and not off to
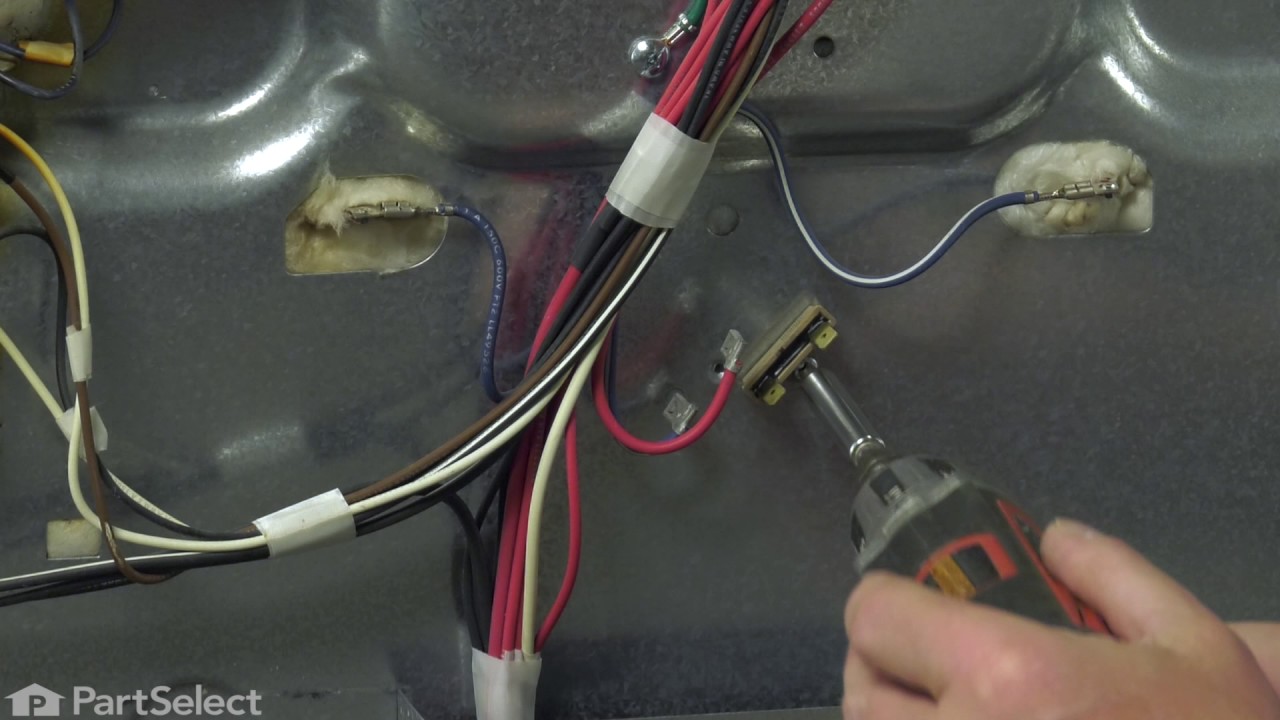
... Read morethe side, we ordered this element. It was perfect. All you have to do is unplug the oven, take out the bottom pan covering the element by removing 2 screws in the back, remove the lower small cover on the back of the oven and then unplug the old element, unscrew the old element on the inside of the stove, then install the new element and put everything back like it was. Nothing to it. It worked like a charm and my oven now heats up fast again. Easiest appliance repair job ever!
Read less
Was this helpful?
Thank you for voting!
Surface Element Out
61 of 82 peoplefound this instruction helpful.
Terry from Rockwall, TX
Really Easy
Less than 15 mins
Screw drivers
Took 2 screws under front edge of smooth top. Unscrewed ground wire from back of smooth top unit. Unplugged 2 wire bundles, from back. Took bad element out , put in new one. Put back together. About 10 min's tops. Easy peasy.



 My Orders