This an authentic OEM 40-Watt replacement light bulb, used in a number of household appliances. It is specially designed to withstand extreme temperatures, which is why these replacement bulbs are most often used to light the inside of refrigerators and ranges. It features a standard socket base, which means you simply unscrew the burnt-o...Read moreut bulb and screw in the replacement. Depending on the appliance you may require a screwdriver or nut driver to access the light bulb. We recommend you wear work gloves while handling this replacement part. It is constructed of glass and metal and is sold individually. Depending on the appliance and location of the bulb within it, you may want to consider disconnecting power and using a flashlight for easier access to unscrewing and re-screwing in your bulb during this repair.
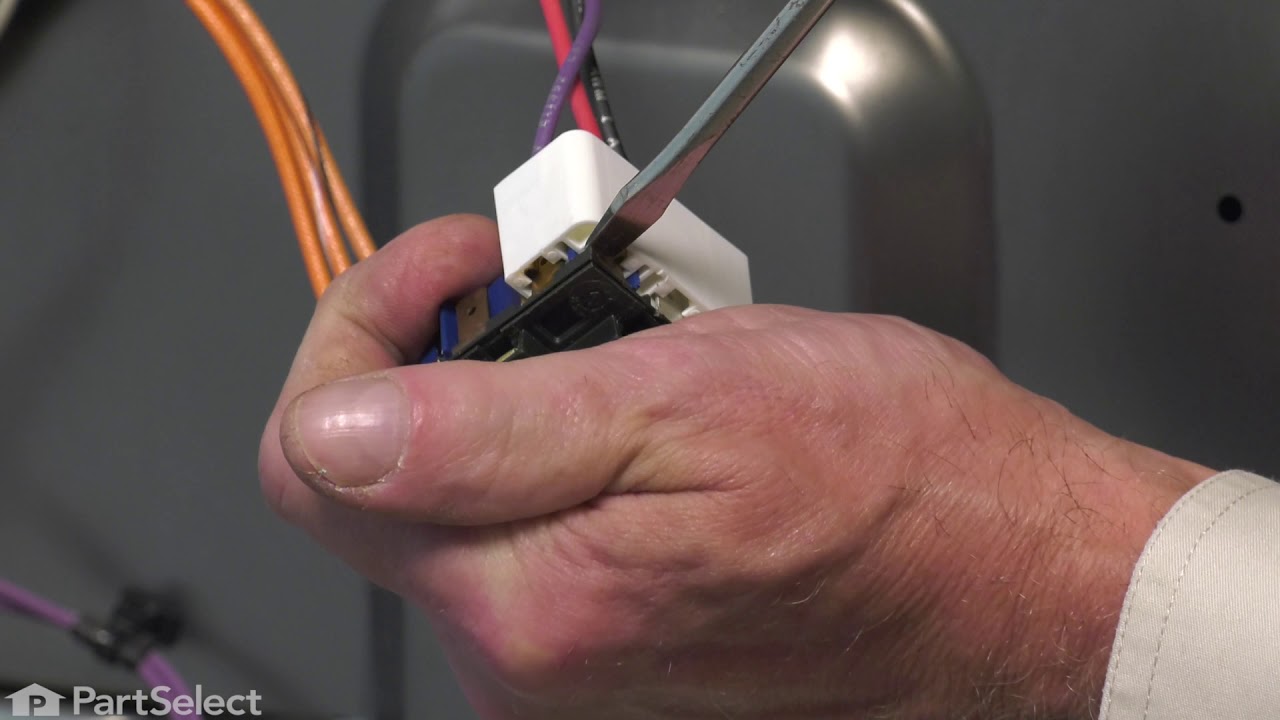
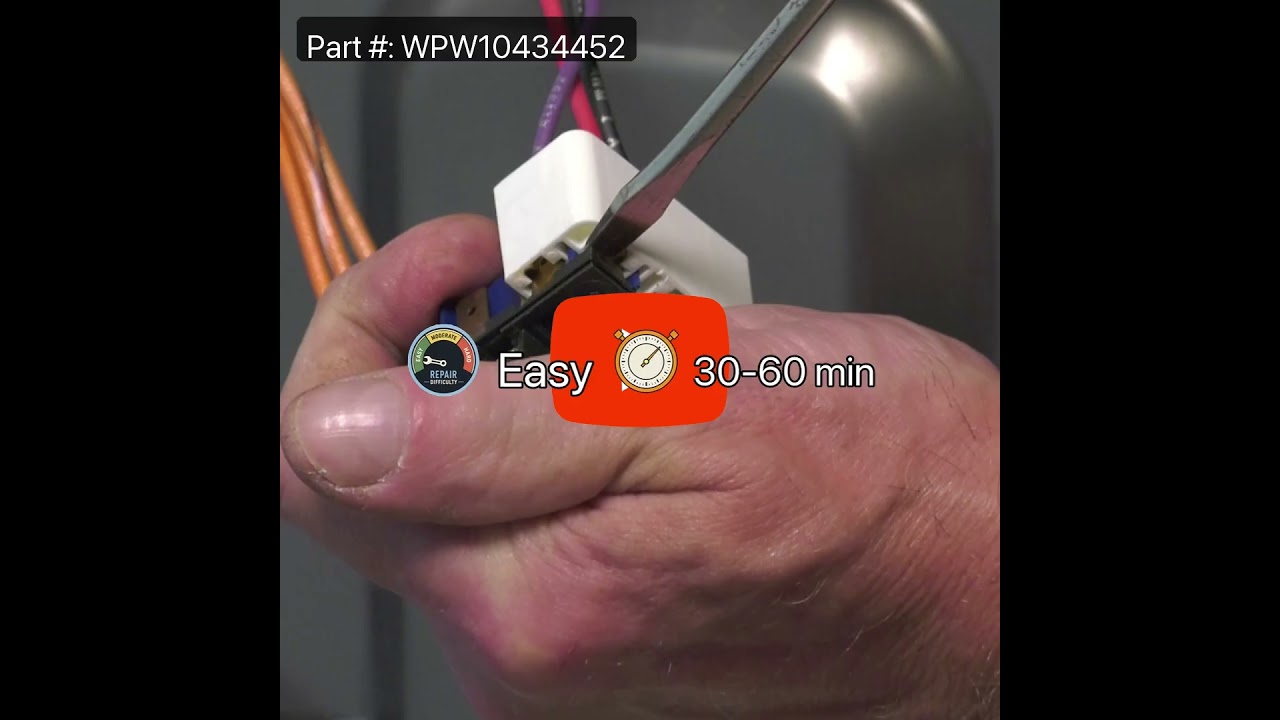
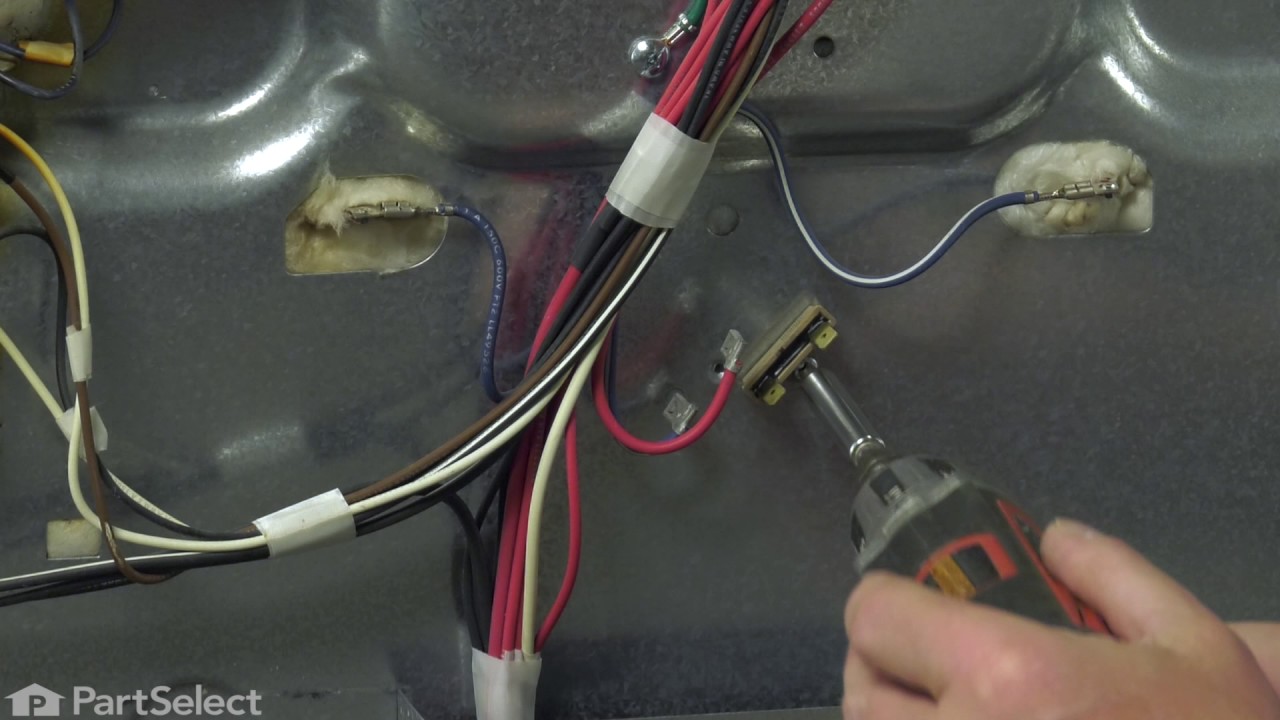
This control switch controls the stove top 8" surface burner. 8.9- 11.0 amp. This surface burner element switch is for an 8-inch surface burner on an oven, stove, or range. The element switch controls the heat of the surface burner. Disconnect power to your range before completing this repair because you will be working closely with elec...Read moretrical circuits. Remove the screws from back panel and the console, and remove the console to expose the switch. It is recommended to check for overheating or arcing on the wiring harness in case they need to be replaced as well. The harness that connects to the switch features a slip-on terminal for easy installation.
This 18 ml bottle of white appliance touch-up paint is used to cover scratches or marks on your appliance. The white touch-up paint can be used on refrigerators, microwaves, ranges, clothes dryers, and freezers. This is a genuine OEM part and includes a brush applicator. Please remember to wear gloves to protect your hands when applying this paint.
This temperature sensor detects the temperature within the oven cavity. This oven temperature sensor, for ranges, works together with the oven control board to measure and regulate the oven temperature. The sensor detects the temperature in the oven cavity. If the following symptoms occur, replacing the temperature sensor could be the sol...Read moreution: Little or no heat when baking, oven not heating evenly, oven will not start, and/or oven is overheating. Often, if the sensor is defective, the oven temperature will fluctuate and be inaccurate by more than 50 degrees. The tool needed for this replacement is a #2 square head screwdriver or a #2 Philips screwdriver. Remember to unplug the range before installing the part.
If your range’s burner isn’t heating properly or the temperature seems off, this dual element control switch could be the fix. It’s designed to manage heat for dual surface elements and fits a variety of models from Whirlpool and related brands. Whether your burner won’t start or heats unevenly, this part helps restore smooth operation. J...Read moreust make sure to check your model number before ordering—it’s not a one-size-fits-all part.
This Whirlpool OEM 2400-watt bake element has push-on terminals and is located on the bottom of the oven cavity. The bake element supplies heat while baking. If the oven is not heating properly the bake element may have burned out. If the element has burned out there would be visible damage such as holes, cracks, or blisters. When replaci...Read moreng the element, do not allow the wires to fall back through the rear of the oven. Disconnect the power to the range before starting your repair.
This is a door hinge active with spring, for your range. The hinge controls the opening and closing of the oven door. If your oven door seems to be sticking, you may want to consider replacing this part. We recommend replacing both hinges at the same time. This model is roughly 9.5 inches long, f4 inches wide, and almost 1inch thick.
This is a multi-use and multi-appliance screw. It can be used on a microwave, refrigerator, range/oven, air conditioner, dehumidifier, washer, or dryer. The measurements of this screw are 8 x 1/2 inch. It has 6 threads. Refer to the manual provided by the manufacturer for further information on repair and accurate guidance. Remember to wear work gloves as a safety precaution.
The light socket on your electric range connects the power source to the light bulb. If your oven light is malfunctioning, you may need to replace the light socket. The light socket is located in the back of your range, so in order to access it you will need to remove the back panel. Many of our customers have rated this repair as easy, a...Read morend it should take less than 15 minutes. Before you begin this repair, make sure to disconnect the power source from your range. This is an OEM part sourced directly from the manufacturer.
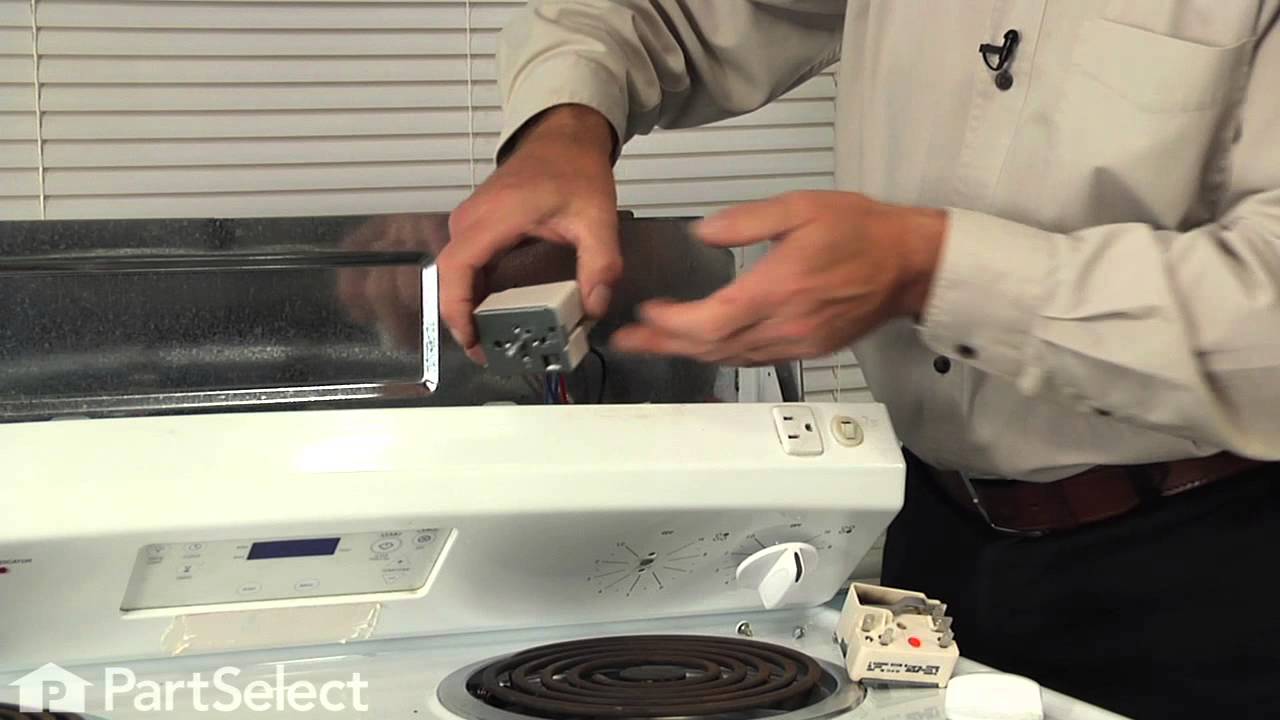
If your stove burner won’t heat up, stays on high, or won’t adjust, this switch might be the fix. It controls the heat for 6-inch electric burners and fits many Whirlpool, Maytag, and KitchenAid ranges. Easy to install—just be sure to unplug the appliance or flip the breaker first. Sold individually.
Ask our experts a question about this model and we'll get back to you as soon as possible!
We may have answered a similar question already! Search questions and answers left by others using simple keywords like "fit", "broken", "easy", or "quality" to find questions that match.
Search filter:
Clear Filter
Your search term must have 3 or more characters.
Sort by:
Prev
1
2
Next
Sorry, we couldn't find any existing answers that matched.Try using some different or simpler keywords, or submit your new question by using the "Ask a Question" button above!
Marty - For model number WFE510S0AS0
December 23, 2019
Will not keep temp set at, keeps beeping and says f1
Hello Marty and thank you for writing.
F1 - Control Board Failure - Replace control board (clock).
Control Board Part Number: PS11757323 is in the list of compatible items for your model. We hope this helps. Please contact us anytime.
My right front eye wont regulate it get hotter and hotter while on low,the knob wont control the heat.
Hello S, thank you for your question. If the burner will not regulate the issue is with the switch that controls that element. The right front burner switch is Part Number: PS11740783. We would recommend replacing this part. Good luck with your repair.
Hello Heny, Thank you for your inquiry. The oven rack is part# PS16543561. If you need help placing an order, customer service is open 7 days a week. Please feel free to give us a call. We look forward to hearing from you!
The right front cooktop element doesn’t get hot, only lukewarm. I once heard a “pop” from it and now it doesn’t get hot. Can the element be replaced? If so, what is the part number?
My serial number of the stove is R34550900.
Hello Kim, thank you for the question. We have researched your model and found that the issue could be caused by a faulty element switch, part number PS11740783. It controls the surface burner. If replacing it does not help, you may need to replace the element, part number PS16543522. If you need help placing an order for it, please feel free to give us a call. We look forward to hearing from you!
Hello Henry, Thank you for your inquiry. We show the oven rack as part# PS16543561, sold individually. If you need help placing an order, customer service is open 7 days a week. Please feel free to give us a call. We look forward to hearing from you!
See how others fixed this model. Time, tools, difficulty, and steps that lead to victory!View More
Search repair tips from other customers using simple keywords like "replace", "fit", "remove", "inspect". DIY doesn't mean you have to do it alone!
Search filter:
Clear Filter
Your search term must have 3 or more characters.
heating element burnt up
108 of 124 peoplefound this instruction helpful.
Esther from San Antonio, TX
Really Easy
15 - 30 mins
Nutdriver, Screw drivers
first I pulled the stove from the wall. Then unplugged the stove from the wall (electric stove) for safety. then I removed the middle back panel screws(2) and then the panel. I then pulled the wires off the heating element that was bad. I took the screws (2) off the heating element inside the oven. I had to use WD-40 to loosen the sc
... Read morerews because with the heat they were really stuck. I removed the heating element and replaced it with the one I got through partselect.com. Put everything back and walla finished. Partselect.com sent me the right part at the right price and fast. No hassles at all.
Read less
Was this helpful?
Thank you for voting!
mice had made nests in the insulation wrap in the range
129 of 211 peoplefound this instruction helpful.
Wendy from Red Hook, NY
Easy
More than 2 hours
Screw drivers
I numbered every part. ex: 1 L., for first part removed left side. I used a magic marker to circle the holes and wrote the number of screws used on the part, set the srews in a separete place, so that I new where these screws went to. The cleanup was pretty time consuming, but I was able to keep my stove, when every repairman I called to
... Read more fix my stove told me I was better off buying a new stove. ($600.00 stove 2 years old)Please Note: The insulation blanket needed for the entire stove is two pieces, the sides and top are one part # and the bottom and back, are another part #. I did not know this. I just purchased the top and sides. I got lucky, the back and bottom were still in good shape. So I guess I should have read the description of the part more carefully to see what it covers, before I ordered it. It took two people two hours to do the work, it was really nice to have an extra set of eyes, to remember what direction pieces of metal from the stove went. I would do it all over in a heart beat instead of buying a new stove.
Read less
Was this helpful?
Thank you for voting!
temperature not accurate after 3 1/2 years of happy usage
144 of 272 peoplefound this instruction helpful.
Ruth from Oregon, IL
Really Easy
15 - 30 mins
Screw drivers
Opened up the back of the stove. Unpluged the sensor. Replaced the sensor. Replace the back of the stove.
The sensor that has been replaced is not what is expected. After reading all of the instructions for adjusting the temperatures, the only temp that stays steady is when we first turn on the oven to 350 degrees. That stays s
... Read moreteady but when I turn it to 400 it slowly goes up to 425 degrees.



 My Orders