This drum support roller is sold individually. Most dryers require two. The tri-rings are included. This is a drum support roller for a dryer. It is a genuine replacement part. The part includes the d...
The Drive Belt is a 93 1/2" belt which wraps around the dryer drum to allow tension and movement. If broken the dryer will not turn properly, or there may be loud noises. The part is rated as "medium"...
This thermostat may differ in appearance, but functions the same as the original part. This part controls the temperature of the inside of the dryer drum and prevents the dryer from overheating.
If you notice that your dryer is noisy or will not tumble, you may need to replace the tri ring. This part is triangular, and is less than an inch in size. Tri rings can be found both on the idler pul...
Also known as Thermal Cut-Off kit. The thermostat acts as a safety mechanism that keeps the dryer from overheating and the fuse is like a backup system - it's set to trip at a higher temperature than...
This is the moisture sensor for your dryer. It helps detect the amount of moisture in your clothes during the dryer cycle. If you notice your clothes are still wet after an automatic dryer cycle is do...
The idler pulley wheel is now sold with this arm. This idler pulley is for dryers.
Idler pulley maintains correct tension on the drive belt to spin the drum.
This 18 ml bottle of white appliance touch-up paint is used to cover scratches or marks on your appliance. The white touch-up paint can be used on refrigerators, microwaves, ranges, clothes dryers, an...
This part seals the drum to prevents air from escaping. This includes silicone rubber adhesive.
$60.28
In Stock
Questions And Answers for WED95HEDW0
Ask our experts a question about this model and we'll get back to you as soon as possible!
3 questions answered by our experts.
< Prev
1
Next >
Sort by:
Search filter:
Clear Filter
Your search term must have 3 or more characters.
Keep searches simple. Use keywords, e.g. "leaking", "pump", "broken" or "fit".
Sorry, we couldn't find any existing answers that matched.Try using some different or simpler keywords, or submit your new question by using the "Ask a Question" button above!
Katie
June 24, 2021
My electric dryer lights will turn on but the dryer will not start when a mode is selected and the start button is pressed. It makes a click and then does not start, and a few seconds later, there is another clicking noise, and it doesn’t start. This happens on any mode.
For model number WED95HEDW0
Hello Katie, Thank you for the question. We suggest testing the Dryer Thermal Fuse. The Dryer Thermal Fuse is a 2 by ½ inch, white, plastic safety mechanism that stops the flow of electricity to the motor circuit when a dryer overheats. You can use an multi meter and test the continuity of the fuse. If no current is detected, it means there's no continuity and the fuse is defective. Good luck with this repair.
My duet dryer just stopped. No lights come on. Could it be a sensor or heating element.
For model number WED95HEDW0
Hi Lisa,
Thank you for your question. If your dryer will not start, there are some parts that you will need to check to see which one is causing the issue. You will need to check the thermal fuse, the internal-bias thermostat and the drive belt. We have included a link that you may reference on how to check these parts and some others as well. Once you have determined the part you need, please feel free to call customer service. We are open 7 days a week and anyone will be happy to assist you. We look forward to hearing from you!
We have developed a lot of vibration in our Whirlpool duet dryer. I removed the top, and rear panel, and watched it spin. The rollers appear to be good, as well as the roller contact area. Looking at it spin from the top,the drum almost looks like it is out of round for it seems to shift about every 360 degrees. I am thinking a bad roller would do this more often. Looking inside the dryer through the window, the felt seal appears to be have more gap in one section than the rest, though it isn't torn, and appears to be in good shape. Any ideas?
For model number WED95HEDW0
Hello Mark, thank you for writing. We would suggest the Maintenance Kit, part number PS373087 for your model dryer to fix this. Good luck with your repair!
Was this helpful?
Thank you for voting!
< Prev
1
Next >
✖
Ask a Question
Ask our experts a question on this model and we'll respond as soon as we can.
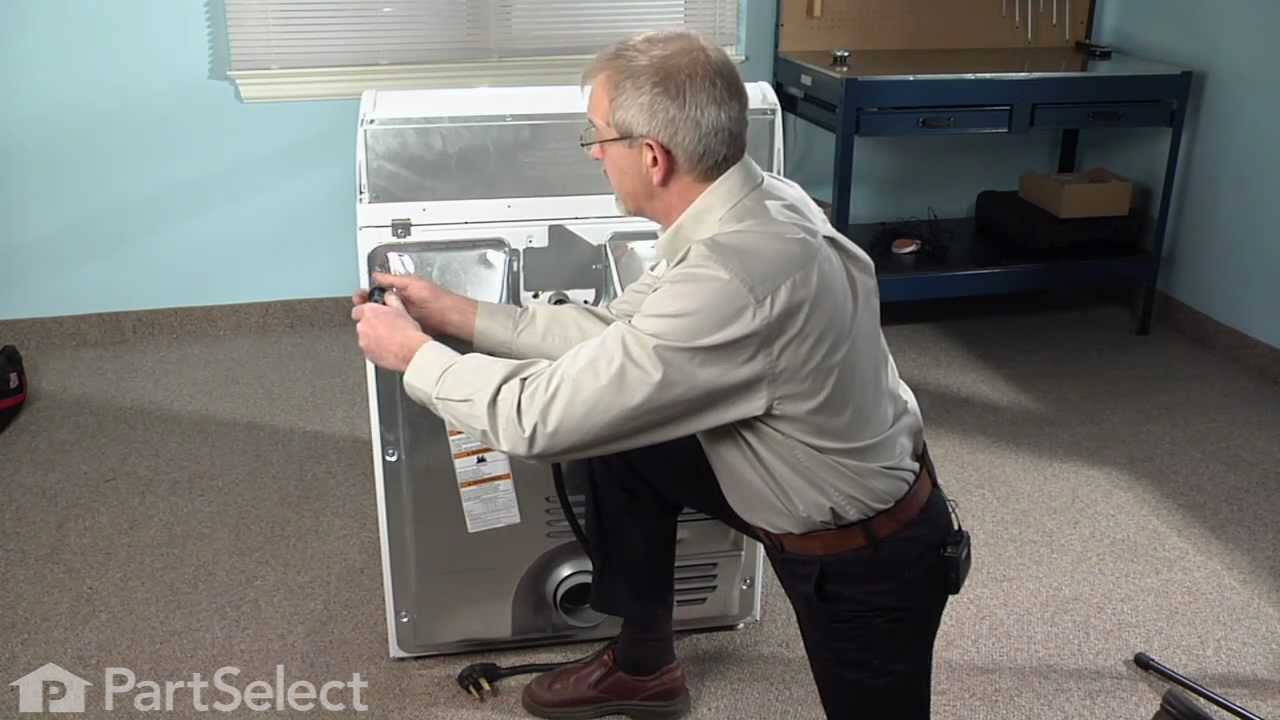
First I unplugged the dryer, then removed the back panel, this exposed most all of the wiring and I could see the heater coils. Not knowing what the problem was I started looking at the coils and could not see any broken parts. So then checked the thermal fuse for continuity I removed the two wires from it with a small pair of needle nose pliers, it was held in place by two screws, once they were removed the fuse came out easily, I checked continuity with a volt meter placing the meter on X1 Ohms and could not get a reading. I replaced with a new one and put it all back together the way I took it apart. Then I plugged it in and it worked first time, I now have warm dry clothes.
Cleaning the lint out of the whole machine took quite a bit of time--it was everywhere. Underneath the lint trap was a collection that ultimately ruined the thermal fuse where it restricted the air flow considerably.
Ascertaining the problem was the most time consuming part.
The actual repair was quite simple and didn't take but 15-20 minutes.
I started to repair this and got busy and ended up calling a repair service -- that was the first time. They repaired it for over $200 and said the cause was bad venting. I fixed the vent before using the fixed dryer but it blew again. So I ordered these parts and replaced them myself for a lot of savings. However, the dryer still overheated. Through lots of testing I found the root cause the repairman missed: The heating element had gotten so hot that the assembly holding it warped, hitting the element and shorting it. So a new element is on order. I still needed the parts I ordered here but the overall repair ended up more complicated and expensive. I was disappointed a paid repair person left without further diagnosis. If he had unplugged the vent and checked the heat on the exhaust vent (as I ended up doing) it would have been obvious more than a new thermal fuse/thermistor was necessary. Instead I wasted over $200 on his visit. So my advice is if you're at all handy, repair this yourself. The dryer has a service manual inside the front toe board that walks you through most diagnostics and tests. However, it took a little more than that for me to discover the heating element problem. This was a very dangerous situation that could have easily led to a fire, yet not found by a trained technician!


 Diagram and Parts List for Whirlpool Dryer")