


 My Orders


W266 Jenn-Air Microwave Oven Combo - Overview
Diagrams for W266
See every part. Know exactly what you need.
-
BLOWER MOTOR - CONVECTION FAN - LOWER

-
BLOWER MOTOR - COOLING FAN - LOWER

-
BLOWER MOTOR - UPPER

-
BODY - LINER / TRIM - LOWER OVEN

-
BODY - LINER / TRIM - LOWER OVEN

-
BODY - LINER / TRIM - UPPER & LOWER OVEN

-
BODY - LINER / TRIM - UPPER OVEN

-
CONTROL PANEL - LOWER OVEN

-
CONTROL PANEL - UPPER OVEN

-
DOOR - LOWER OVEN

-
DOOR - UPPER OVEN

-
INTERNAL CONTROLS - LOWER

-
INTERNAL CONTROLS - UPPER

Enter a part description. DIY Heroes keep it simple, eg. "belt" or "pump".
Search filter:
Clear Filter
Your search term must have 3 or more characters.

$26.41
In Stock
Light Bulb - 40W
Part #8009
This an authentic OEM 40-Watt replacement light bulb, used in a number of household appliances. It is specially designed to withstand extreme temperatures, which is why these replacement bulbs are most often used to light the inside of refrigerators and ranges. It features a standard socket base, which means you simply unscrew the burnt-o...Read moreut bulb and screw in the replacement. Depending on the appliance you may require a screwdriver or nut driver to access the light bulb. We recommend you wear work gloves while handling this replacement part. It is constructed of glass and metal and is sold individually. Depending on the appliance and location of the bulb within it, you may want to consider disconnecting power and using a flashlight for easier access to unscrewing and re-screwing in your bulb during this repair.
Read less

$30.40
In Stock
Screw
Part #W11233072
This is a multi-use and multi-appliance screw. It can be used on a microwave, refrigerator, range/oven, air conditioner, dehumidifier, washer, or dryer. The measurements of this screw are 8 x 1/2 inch. It has 6 threads. Refer to the manual provided by the manufacturer for further information on repair and accurate guidance. Remember to wear work gloves as a safety precaution.

$194.22
In Stock
Door Hinge
Part #WP74008014
This hinge is located on each side of the oven door. The hinges control the rate that the oven door opens and closes, and allows the door to stay open at an angle. This hinge can be used on either the left or right hand side of your oven, and is approximately 20 1/2 inches long. If your oven door will not open or close easily, you may nee...Read mored to replace this part. It may be a good idea to replace both hinges at the same time. If a spring has become loose on one hinge, the other hinge is likely to have the same issue. The repair is simple and only requires a Phillips screwdriver and a small bent nail. For a full step-by-step guide, check out the video below.
Read less

$10.95
In Stock
Range Screw
Part #WP179051
Sold individually. Lock washers are used with screws when vibration from an appliance may cause the screw to loosen. Lock washers are also used in the electrical components of an appliance to ensure an electrical connection is not lost.

$66.88
In Stock
2 Piece Broiler Pan
Part #4396923
This broiler pan and roasting rack set features a two-piece design that allows fat to drain away for cleaner cooking and reduced splatter. Made with a durable, high-heat resistant porcelain finish, it offers reliable performance and easy cleanup. Measuring approximately 16 3/4 inches long by 12 3/4 inches wide and 1 3/4 inches high, it provides a practical solution for everyday broiling and roasting.

$147.21
In Stock
Bake Element
Part #WPY04100020
This lower bake element is a metal alloy heating coil designed to generate consistent heat from the bottom of an electric oven cavity. It plays a vital role in baking and cooking by evenly distributing heat throughout the oven. Installed at the base of the oven interior, the element activates when electrical current passes through it, pro...Read moreducing the necessary thermal energy for food preparation. It is an ideal replacement for units experiencing issues such as uneven heating, lack of heat, or a visibly burnt-out coil. Installation typically involves disconnecting power, removing the old element, and securing the new one using existing mounting brackets and electrical connectors. Regular inspection and timely replacement help maintain optimal oven performance and energy efficiency.
Read less

$10.40
In Stock

$175.33
In Stock
Oven Door Seal
Part #WP701650
This oven door seal is twenty-one inches wide. This woven style door gasket is gray in color.

No Longer Available

$9.85
In Stock

$124.41
Special Order
Broil Element
Part #WPY04100514
This broil element is designed to deliver high-intensity radiant heat from the top of the oven ideal for broiling foods to achieve a crisp browned finish. Positioned at the top interior of the oven cavity it uses electric resistance to generate heat glowing red as it cooks. It serves as a reliable replacement for a worn or non-functioning...Read more element and is compatible with select range and oven models. Always unplug the appliance before installation to ensure safety.
Read less

$580.90
Special Order
Interior Window Assembly
Part #WP5700M600-60
This part includes 2 panes of glass enclosed in a metal frame. It's the innermost window for your oven door.
Common Symptoms of the W266
How this model fails, and the parts that fix it.
Door won’t close
Fixed by
these parts
these parts


Show All
Little to no heat when baking
Fixed by
these parts
these parts

Show All
Element will not heat
Fixed by
these parts
these parts

Show All
Little to no heat when broiling
Fixed by
these parts
these parts
Show All
Oven not heating evenly
Fixed by
these parts
these parts
Show All
Won’t turn on
Fixed by
these parts
these parts

Show All
Watch our pros, then fix it yourself.

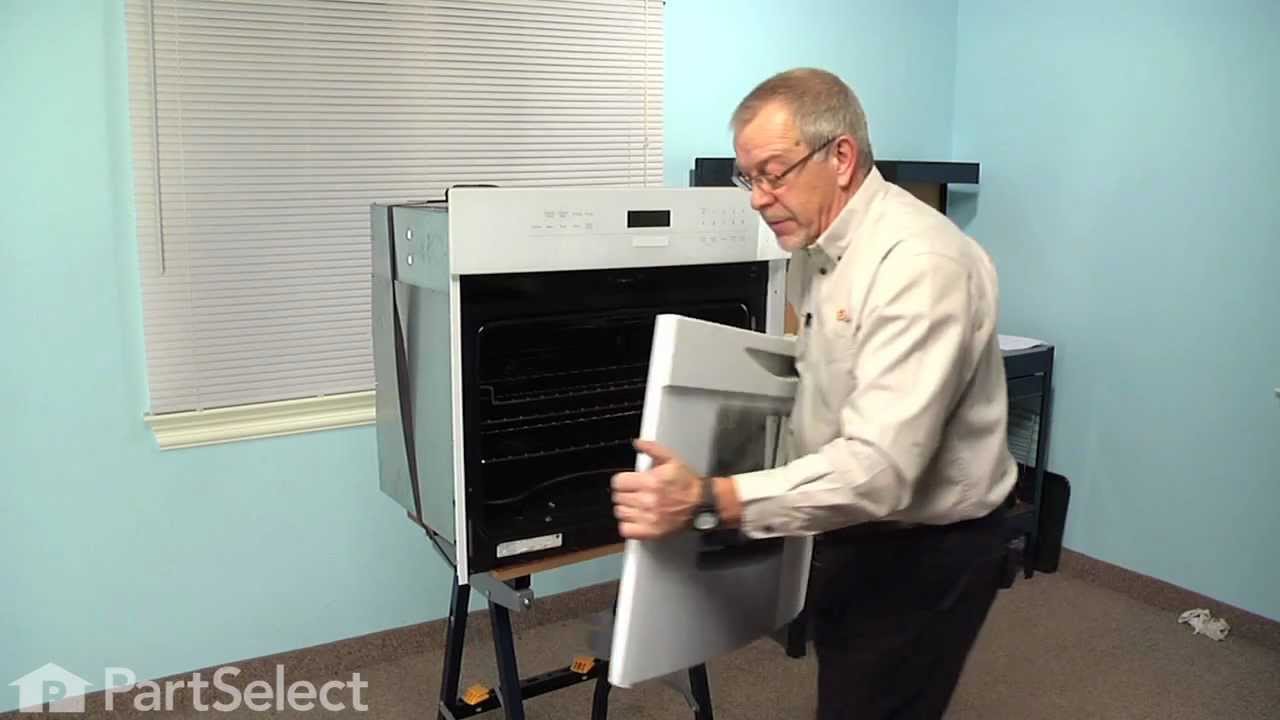
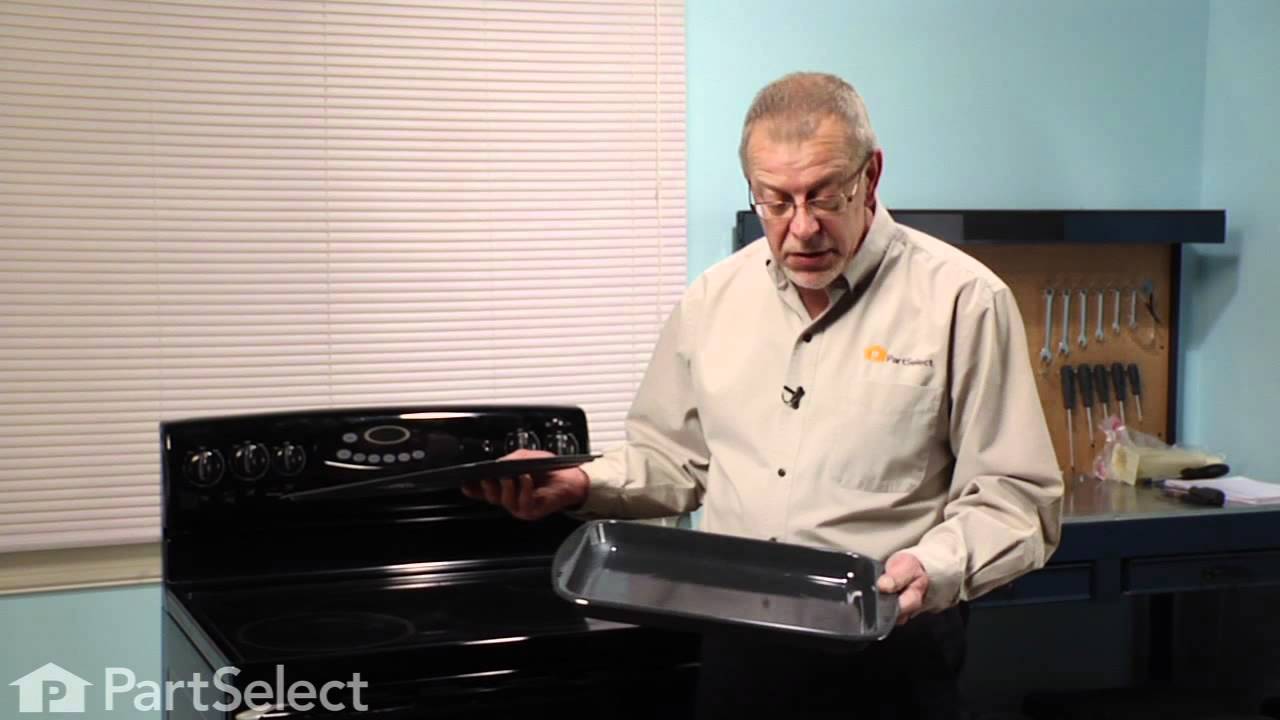
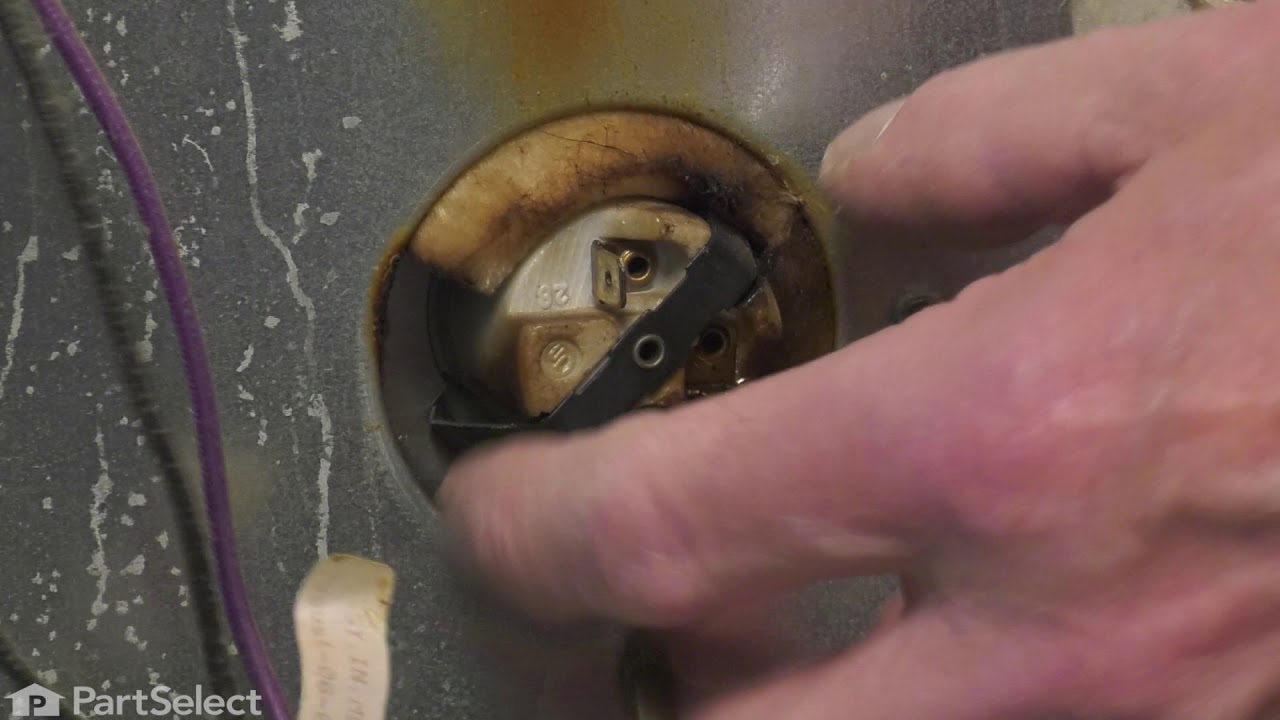
See how others fixed this model. Time, tools, difficulty, and steps that lead to victory!
View More