


 My Orders


TRS20WRHW1 Tappan Refrigerator - Overview
Diagrams for TRS20WRHW1
See every part. Know exactly what you need.


Enter a part description. DIY Heroes keep it simple, eg. "belt" or "pump".
Search filter:
Clear Filter
Your search term must have 3 or more characters.

$49.94
In Stock
Defrost Timer - 60Hz 120V
Part #215846602
This defrost timer will cycle for thirty minutes after every eight hours of run time.

$11.95
In Stock
Door Shelf End Cap - Left or Right Side
Part #215267701
This end cap can be used for the right or left side of the refrigerator door shelf or the freezer door shelf.

$12.62
In Stock
Door Shelf End Cap - Left or Right Side
Part #215473602
This Genuine OEM door shelf end cap is designed for use with a variety of Frigidaire refrigerators and freezers. Constructed from durable plastic, this component secures the door rack in place, helping to maintain proper storage and organization within the appliance. The end cap is compatible with either the left or right side and is sold...Read more individually. Installation is straightforward and may require a standard screwdriver for removal and replacement. For best results, consult your model’s diagram to ensure correct placement and compatibility.
Read less

$35.95
In Stock
Light Bulb
Part #316538904
This 40-watt appliance light bulb is a reliable replacement for use in select ranges, refrigerators, freezers, and microwaves. It provides bright, consistent lighting to help you see clearly inside your appliance. Installation is simple—just unscrew the old bulb and replace it with the new one. If the existing bulb is broken, disconnect p...Read moreower and use needle-nose pliers to safely remove the remaining base. Sold individually, this bulb is a commonly replaced part—consider keeping a spare on hand.
Read less

$58.82
In Stock
Run Capacitor
Part #5304464438
This part is attached to the compressor. It helps the compressor kick on and off while maintaining a constant temperature to keep things frozen in your freezer.

$50.69
In Stock
Defrost Thermostat
Part #5303917954
This limiter thermostat cuts out when the temperature inside your refrigerator reaches 55 degrees Fahrenheit and kicks back in when the internal temperature drops to 20 degrees Fahrenheit.

$229.16
In Stock
Refrigerator Ice Maker Assembly
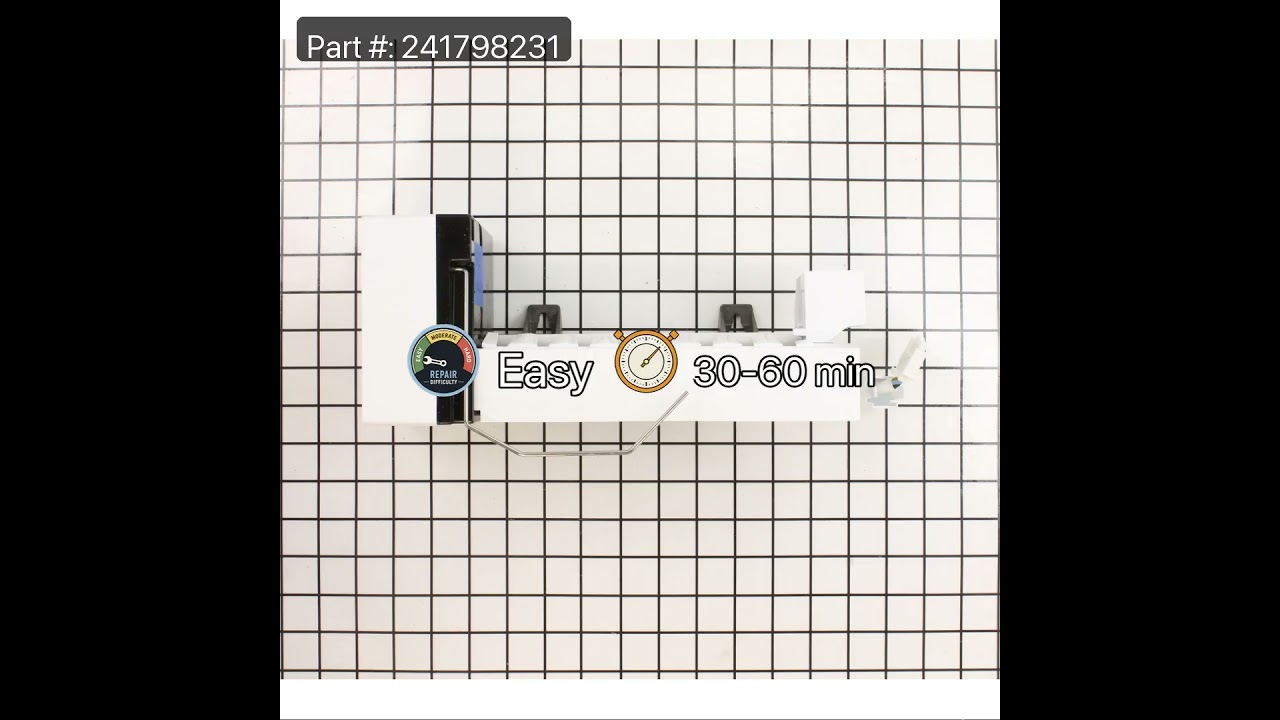
Part #241798231
This 8-cube ice maker is used to create ice for your refrigerator. The ice maker receives water from the water inlet valve and will freeze until ice cubes are formed. Once the water has been frozen the cubes will be ejected from the mold in to the ice bucket. The ice maker will continue the process until the ice bucket has reached the l...Read moreimit. If your ice maker is not making ice you may need to replace this part. Please remember to disconnect the power and water supply before starting your repair. This ice maker is a genuine OEM part.
Read less

$136.61
In Stock
Replacement Ice Maker
Part #5303918277
This part is the replacement heat-release ice maker unit only. This kit comes with four round female connectors at the end of the wire harness. It also comes with the adaptor that converts the harness to three round female and one round male connectors.

$21.95
In Stock
Door Shelf End Cap - Left Side
Part #3206166
This is the door shelf end cap for your refrigerator. It connects to the refrigerator door and keeps the door bar in place. Your refrigerator will have two shelf end caps, one for the right side and one for the left. This part is the left side door shelf end cap. It is made of white plastic and is a little over one inch long. This is an OEM part from the manufacturer and is sold individually.

$21.35
In Stock
Door Shelf End Cap - Right Side
Part #3206165
This is the door shelf end cap for your refrigerator. It connects to the refrigerator door and keeps the door bar in place. Your refrigerator will have two shelf end caps, one for the right side and one for the left. This part is the right side door shelf end cap. It is made of white plastic and is a little over one inch long. This is an OEM part from the manufacturer and is sold individually.

$199.76
In Stock
Upper Crisper Drawer
Part #5303288971
The front for this part is sold separately or you can use your existing part.

$67.04
In Stock
Manuals & Care Guides for TRS20WRHW1
Click to downloadCommon Symptoms of the TRS20WRHW1
How this model fails, and the parts that fix it.
Fridge too warm
Fixed by
these parts
these parts


Show All
Ice maker not making ice
Fixed by
these parts
these parts


Show All
Freezer section too warm
Fixed by
these parts
these parts
Show All
Freezer not defrosting
Fixed by
these parts
these parts
Show All
Ice maker won’t dispense ice
Fixed by
these parts
these parts


Show All
Will Not Start
Fixed by
these parts
these parts

Show All
Leaking
Fixed by
these parts
these parts

Show All
Noisy
Fixed by
these parts
these parts

Show All
Fridge and Freezer are too warm
Fixed by
these parts
these parts
Show All
Too warm
Fixed by
these parts
these parts
Show All
Fridge runs too long
Fixed by
these parts
these parts
Show All
Won’t start
Fixed by
these parts
these parts
Show All
Freezer too cold
Fixed by
these parts
these parts
Show All
Fridge too cold
Fixed by
these parts
these parts
Show All
Light not working
Fixed by
these parts
these parts


Show All
Frost buildup
Fixed by
these parts
these parts
Show All
Ice maker dispenses too much ice
Fixed by
these parts
these parts
Show All
Clicking sound
Fixed by
these parts
these parts
Show All
Not dispensing water
Fixed by
these parts
these parts
Show All
Doesn’t stop running
Fixed by
these parts
these parts
Show All
Door won’t open or close
Fixed by
these parts
these parts

Show All
Ice maker dispenses too little ice
Fixed by
these parts
these parts
Show All
Watch our pros, then fix it yourself.
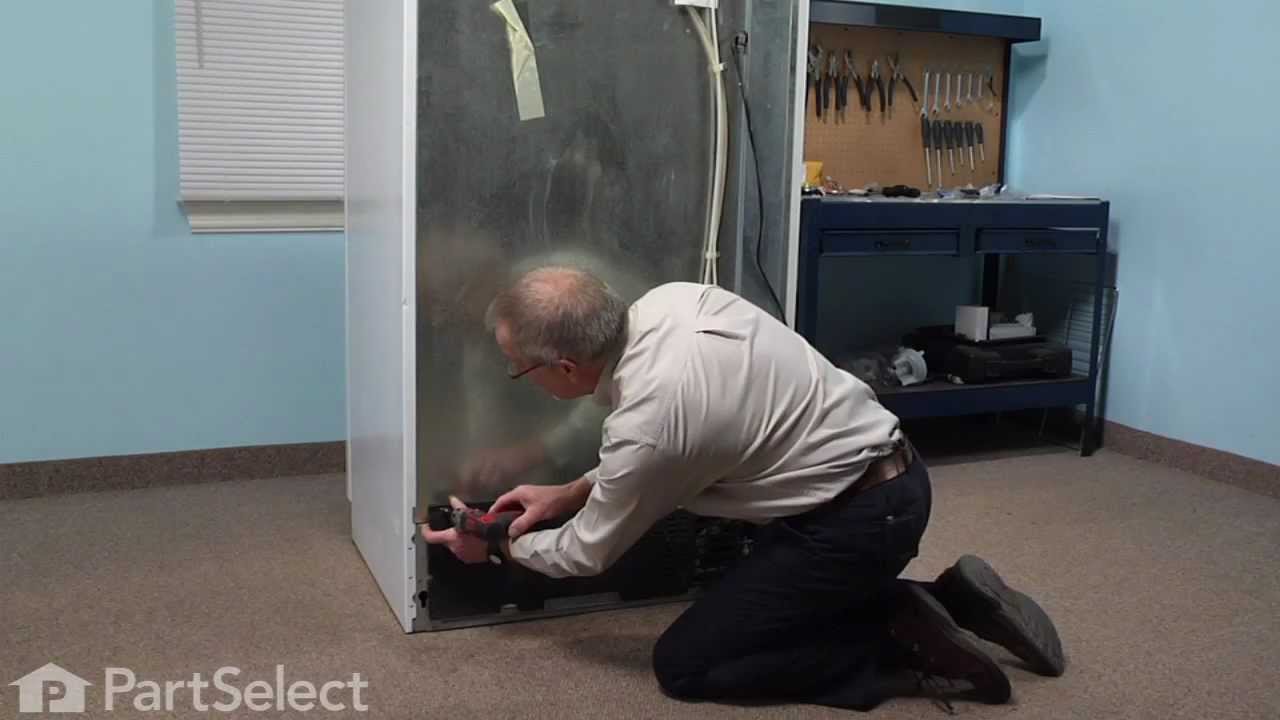
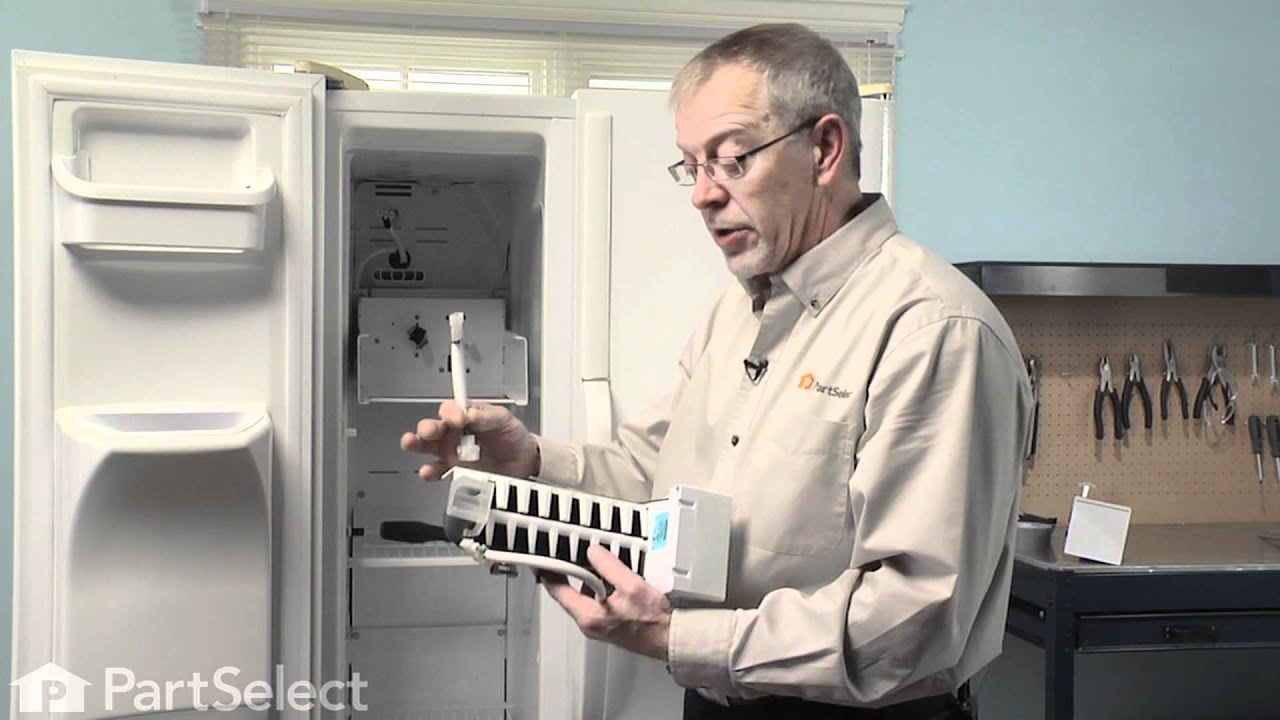
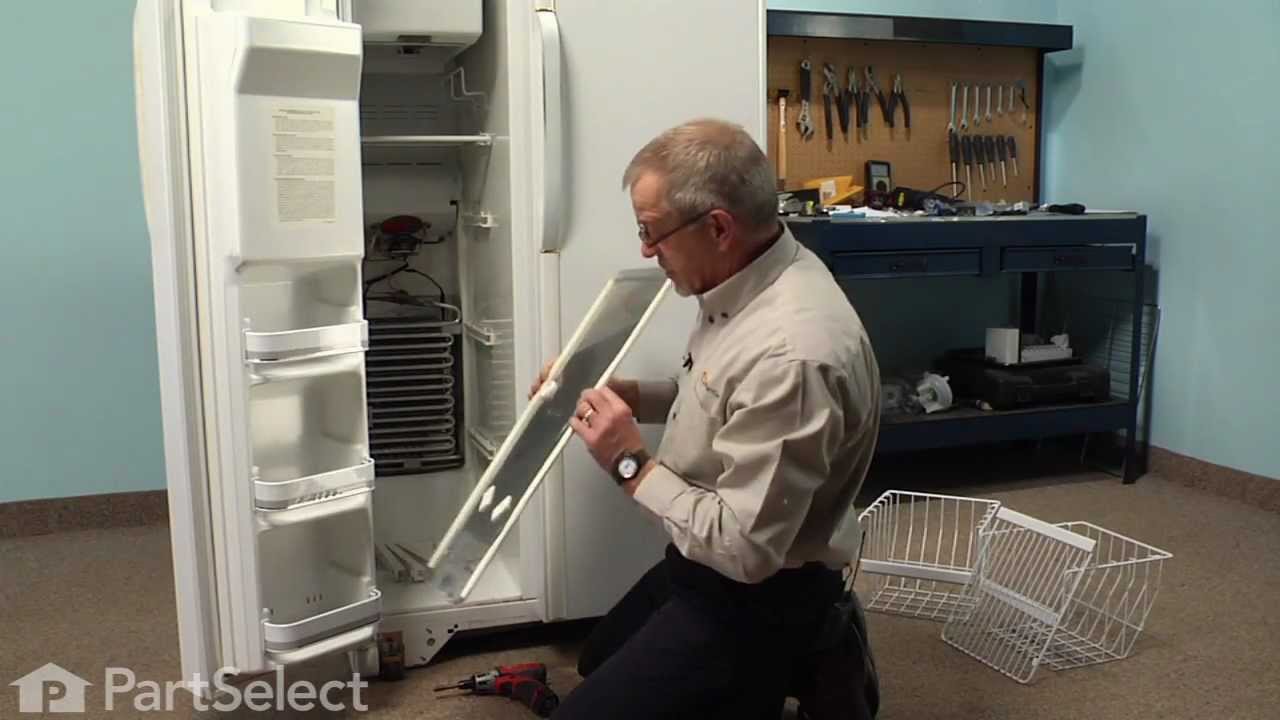
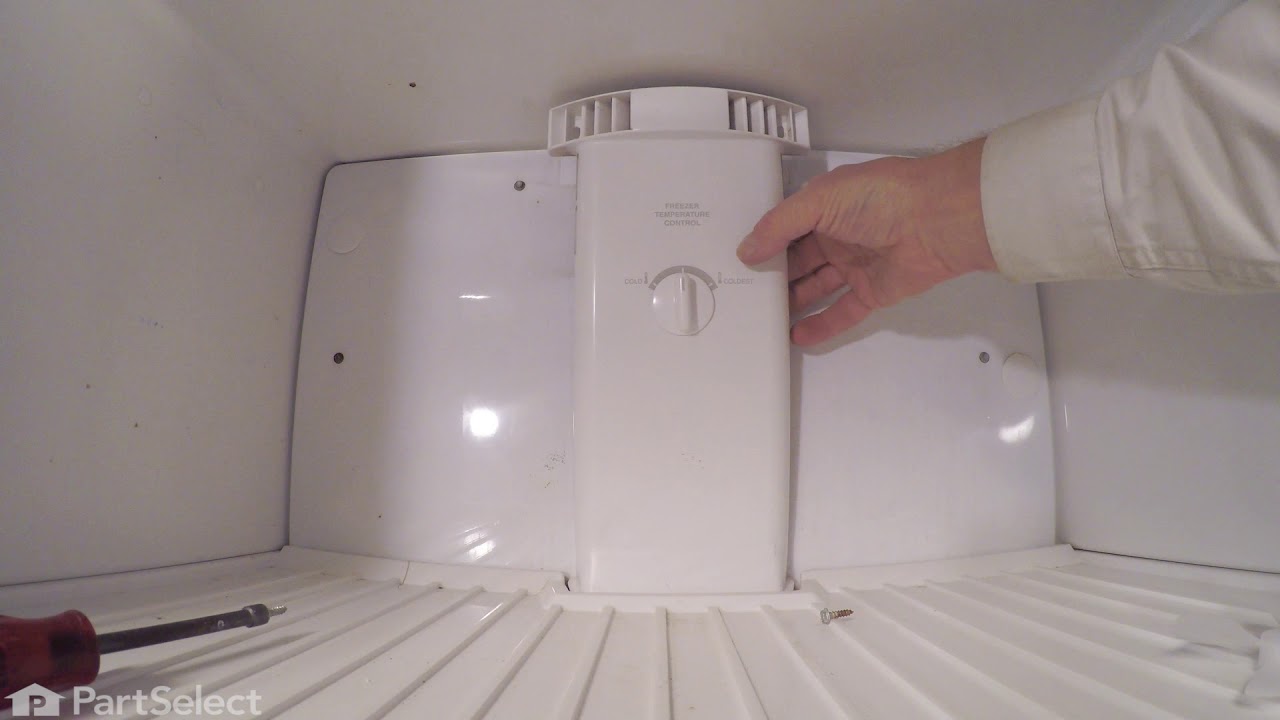
See how others fixed this model. Time, tools, difficulty, and steps that lead to victory!
View More
Search repair tips from other customers using simple keywords like "replace", "fit", "remove", "inspect". DIY doesn't mean you have to do it alone!
Search filter:
Clear Filter
Your search term must have 3 or more characters.
Fridge got warm and freezer coils were frosted
340 of 407 people
found this instruction helpful.
Fridge is a side by side. The freezer is pretty narrow for a guy with wide shoulders.
Pulled plug.
Had to remove bottom drawers then used nut driver to remove screws closest to back wall in drawer runners. Once the back screws were removed the runners could be swung up or down out of way so back cover could be re ... Read more moved.
Once back cover was removed thermostat was located attached to top pipe going into coil using a spring clamp.
Cut the wires just outside the crimp connectors going into thermostat. Released the spring clamp buy squeezing botton together.
Removed old badly corroded thermostat.
I wish I had attached the crimp connectors to the new thermostat wires before mounting it. Reaching way in the back, while turning shoulders verticly and trying to get the wire connectors set from both sides was awkward and uncomfortable...The biggest PIA of the whole task.
Once connected I let the fridge (thermostat) cool for 10 min. Turned the dial defrost timer to get it into defrost mode. Stupidly touched the heating element to see if it was getting warm...it was very hot.
Coils steamed...every looked like it was working. Unplugged, put back cover back on and retattached drawer mounts.
Plugged back in and everying is working great!
Read less
Other Parts Used:


Was this helpful?
Thank you for voting!