This 18 ml bottle of white appliance touch-up paint is used to cover scratches or marks on your appliance. The white touch-up paint can be used on refrigerators, microwaves, ranges, clothes dryers, and freezers. This is a genuine OEM part and includes a brush applicator. Please remember to wear gloves to protect your hands when applying this paint.
This is a multi-use and multi-appliance screw. It can be used on a microwave, refrigerator, range/oven, air conditioner, dehumidifier, washer, or dryer. The measurements of this screw are 8 x 1/2 inch. It has 6 threads. Refer to the manual provided by the manufacturer for further information on repair and accurate guidance. Remember to wear work gloves as a safety precaution.
The pilot stays lit all the time and, when the oven is turned on, the flame gets bigger and surrounds the thermocouple. When the thermocouple senses the required heat, the safety valve opens to let the gas flow to the oven burner tube where the pilot flame ignites the gas.
Ask our experts a question about this model and we'll get back to you as soon as possible!
We may have answered a similar question already! Search questions and answers left by others using simple keywords like "fit", "broken", "easy", or "quality" to find questions that match.
Search filter:
Clear Filter
Your search term must have 3 or more characters.
Sort by:
Prev
1
Next
Sorry, we couldn't find any existing answers that matched.Try using some different or simpler keywords, or submit your new question by using the "Ask a Question" button above!
Jeremy - For model number TGP200VDQ0
May 11, 2023
The oven pilot light on this model is currently very noisy. The flame is large and blue and makes an audible crackling noise at all times. Is there a way to turn it down?
Hi Jeremy, thank you for reaching out. Based on the description that you have provided, we would recommend checking the pilot with thermocouple, part number PS11750349. We hope this solves your issue!
See how others fixed this model. Time, tools, difficulty, and steps that lead to victory!View More
Search repair tips from other customers using simple keywords like "replace", "fit", "remove", "inspect". DIY doesn't mean you have to do it alone!
Search filter:
Clear Filter
Your search term must have 3 or more characters.
mice had made nests in the insulation wrap in the range
129 of 211 peoplefound this instruction helpful.
Wendy from Red Hook, NY
Easy
More than 2 hours
Screw drivers
I numbered every part. ex: 1 L., for first part removed left side. I used a magic marker to circle the holes and wrote the number of screws used on the part, set the srews in a separete place, so that I new where these screws went to. The cleanup was pretty time consuming, but I was able to keep my stove, when every repairman I called to
... Read more fix my stove told me I was better off buying a new stove. ($600.00 stove 2 years old)Please Note: The insulation blanket needed for the entire stove is two pieces, the sides and top are one part # and the bottom and back, are another part #. I did not know this. I just purchased the top and sides. I got lucky, the back and bottom were still in good shape. So I guess I should have read the description of the part more carefully to see what it covers, before I ordered it. It took two people two hours to do the work, it was really nice to have an extra set of eyes, to remember what direction pieces of metal from the stove went. I would do it all over in a heart beat instead of buying a new stove.
Read less
Was this helpful?
Thank you for voting!
Pilot Light Won't Stay Lit
30 of 34 peoplefound this instruction helpful.
Peter J from Brooklyn, NY
A Bit Difficult
15 - 30 mins
Nutdriver, Screw drivers, Wrench (Adjustable)
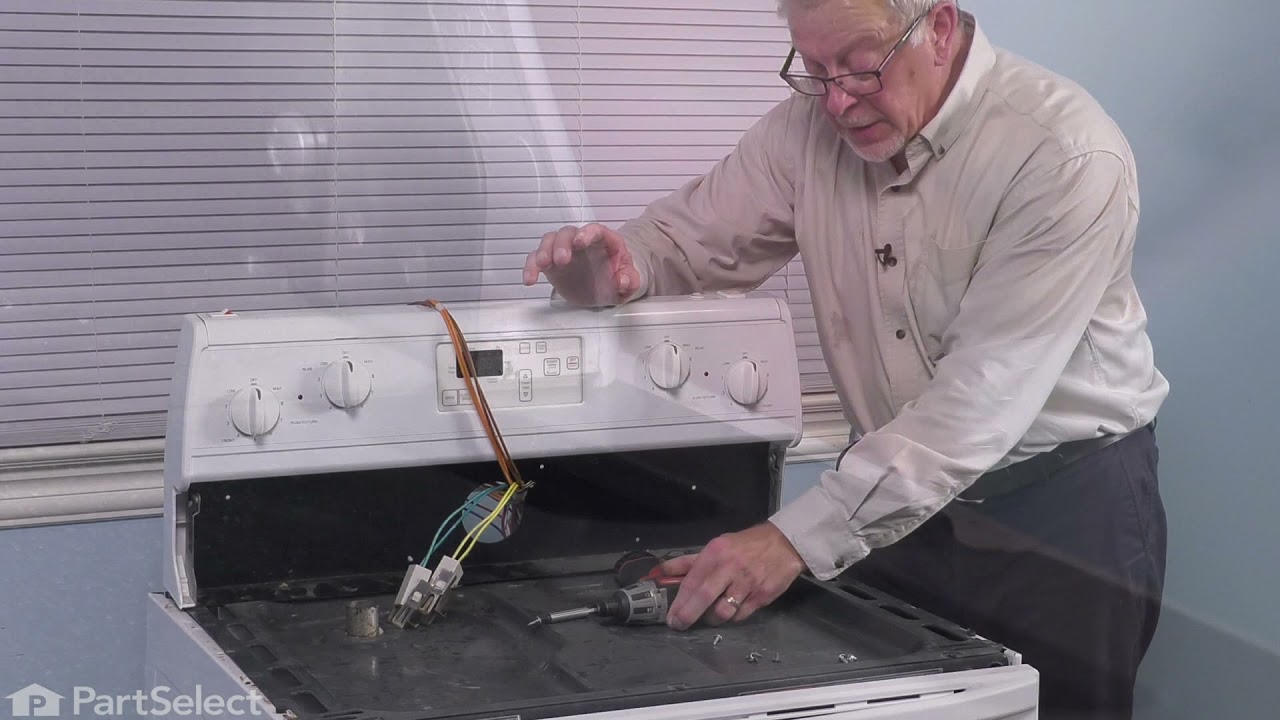
First I removed the oven door by pulling straight up off of the hinges in the open postion. Next remove oven racks,then use 1/4 nutdriver to remove back screws on inside oven bottom plate. Next remove gold nut on silver tube @ pilot connection,then remove 1/4 nuts that hold pilot assembly. Next open top of stove and remove small gold nu
... Read moret "with the thin wire from pilot"attached to the back left of oven control knob. Snake that nut and wire from the top of the stove down to the oven and removethe whole pilot assembly. To install carefully unroll the new pilot assembly starting from the oven "there are two round holes you need to snake the tube into"and up behind the back & into the stove top. Make your connection@ the oven assembly. Next attach the assembly with the 1/4 screws that you removed,then make your connection"gold screw silver tube" now push in your oven control knob to alllow gas to flow to the pilot tube and check for leaks with a water @ soap solution. No bubbles no leaks. Light your pilot . . . . You must hold in the oven knob. Put back in oven plate,,,, 1/4 screws,,,,racks close the stove top ,put door back on hinges and your done. . . . . Hope I helped,. . Pete
Read less
Was this helpful?
Thank you for voting!
Scratches in Surface
83 of 227 peoplefound this instruction helpful.
Michelle from Richardson, TX
Really Easy
Less than 15 mins
This product comes in a bottle with a brush like Liquid Paper. It goes on incredibly easy. A second coat might be needed. I wanted to prevent rust from setting in so I covered the scratches and dings. The paint is a little brighter since my washer is 10 years old but it still looks great.



 My Orders