


 My Orders


TFX22KPDAWW General Electric Refrigerator - Overview
Diagrams for TFX22KPDAWW
See every part. Know exactly what you need.


Enter a part description. DIY Heroes keep it simple, eg. "belt" or "pump".
Search filter:
Clear Filter
Your search term must have 3 or more characters.

$155.93
Special Order
Defrost Heater Harness Kit
Part #WR51X10101
This dual heater kit replaces the single heater. It's redesigned to use two heating elements for a better defrost cycle.

$19.10
Special Order
Light Bulb - 40W
Part #40A15
This 40-Watt light bulb is sold individually.
It is specially designed to withstand extreme temperatures, so this bulb is compatible with a variety of appliance types including refrigerators, ranges, microwaves, and dryers. It features a frosted glass bulb with a standard metal socket base, which allows you to easily unscrew the burnt-out light and twist the new bulb into place.

$17.70
Special Order
Evaporator/Condensor Fan Grommet
Part #WR02X10098
This evaporator fan motor grommet, or condenser fan grommet is built for refrigerators. It provides a cushion between the fan motor and the motor mounting bracket. It is made or round, black plastic and is approximately one inch in diameter. If your grommet is torn or damaged and you are getting noise from the fan motor, you may need to replace it. This is an OEM part sourced directly from the manufacturer.

$79.98
Special Order
Bottom Hinge Assembly
Part #WR13X10020
Comes with both cam risers. This hinge kit is suitable for the bottom of either the freezer door or the refrigerator door of some refrigerators.

$47.57
Special Order
Plastic Tubing - 5/16 Inch
Part #WR17X2891
This part is the replacement water line for your refrigerator. It is a long plastic tube, which is 5/16 of an inch in diameter. If your refrigerator is leaking, or will not dispense water or ice, you may have a damaged water line. When you replace the water line, you may want to pick up a new water tube union as well. You can use a utilit...Read morey knife to cut the old water line where it is damaged, and use the union to attach the new water line to the old one. This tubing is sold individually and is an OEM part.
Read less

$267.74
Special Order
Ice Maker
Part #WR30X10093
This ice maker assembly is used to make ice in your refrigerator. The ice maker receives water from the water inlet valve and will freeze until ice cubes are formed. Once the water has been frozen the cubes will be ejected from the mold into the ice bucket. The ice maker will continue the process until the ice bucket has reached the limit...Read more. If your ice maker is not making ice you may need to replace this part. This kit includes the fill cup, 4-pin wire harness adapter, and a tube. Disconnect the power and water supply before starting your repair. This ice maker is a genuine OEM part.
Read less

$20.24
Special Order
Hinge Cam Riser
Part #WR02X10140
This part helps with the closing of the door and helps keep it in position.

$29.12
Special Order
Dispenser Door Assembly or Flapper
Part #WR17X11653
This ice dispenser door flap, also known as a damper door, is designed to seal the ice chute in compatible refrigerator models, preventing warm air from entering the freezer compartment. Constructed from durable plastic and rubber materials, it opens when the dispenser lever is pressed to release ice, then closes to maintain internal temp...Read moreerature and prevent frost buildup. A faulty flap can lead to condensation, frost accumulation, leaking, or ice dispensing issues. This genuine OEM replacement is compatible with select models from GE, Hotpoint, and Kenmore, and restores proper sealing and dispenser function. Installation typically involves accessing the dispenser housing and securing the flap in place.
Read less

$27.84
Special Order
Water Filter Adapter
Part #ADAPTER
This is a replacement water filter adapter for your refrigerator. It is approximately 2.5 inches in diameter and is made of plastic. The filter adapter allows you to connect your water filter to your refrigerator. If the adapter is broken, your ice maker may not dispense ice, and your refrigerator may not dispense water. This part is sold...Read more individually and is an authentic OEM part sourced directly from the manufacturer.
Read less

$128.36
Special Order
Primary Water Inlet Valve
Part #WR57X10023
This part has one port and 2 solenoids and comes with a mounting bracket. The water valve is a solenoid-operated switch located at the bottom of the refrigerator. When it is energized by electrical power, water is released from the supply line through the water valve and into the compact icemaker mold.

$70.92
Special Order

$142.47
Special Order
Secondary Water Inlet Valve
Part #WR57X10024
*Please note, this part is a substitute from the original. The valve is a new quick connect. No nuts or connectors are needed, just cut the old nuts off of the tubing and gently push them into the valve.
Common Symptoms of the TFX22KPDAWW
How this model fails, and the parts that fix it.
Leaking
Fixed by
these parts
these parts


Show All
Fridge too warm
Fixed by
these parts
these parts


Show All
Ice maker not making ice
Fixed by
these parts
these parts

Show All
Freezer section too warm
Fixed by
these parts
these parts

Show All
Door won’t open or close
Fixed by
these parts
these parts

Show All
Freezer not defrosting
Fixed by
these parts
these parts
Show All
Noisy
Fixed by
these parts
these parts


Show All
Ice maker won’t dispense ice
Fixed by
these parts
these parts

Show All
Not dispensing water
Fixed by
these parts
these parts
Show All
Door Sweating
Fixed by
these parts
these parts
Show All
Frost buildup
Fixed by
these parts
these parts
Show All
Freezer too cold
Fixed by
these parts
these parts
Show All
Fridge runs too long
Fixed by
these parts
these parts
Show All
Too warm
Fixed by
these parts
these parts
Show All
Clicking sound
Fixed by
these parts
these parts
Show All
Ice maker dispenses too little ice
Fixed by
these parts
these parts
Show All
Fridge too cold
Fixed by
these parts
these parts
Show All
Fridge and Freezer are too warm
Fixed by
these parts
these parts
Show All
Ice maker dispenses too much ice
Fixed by
these parts
these parts
Show All
Won’t start
Fixed by
these parts
these parts
Show All
Watch our pros, then fix it yourself.
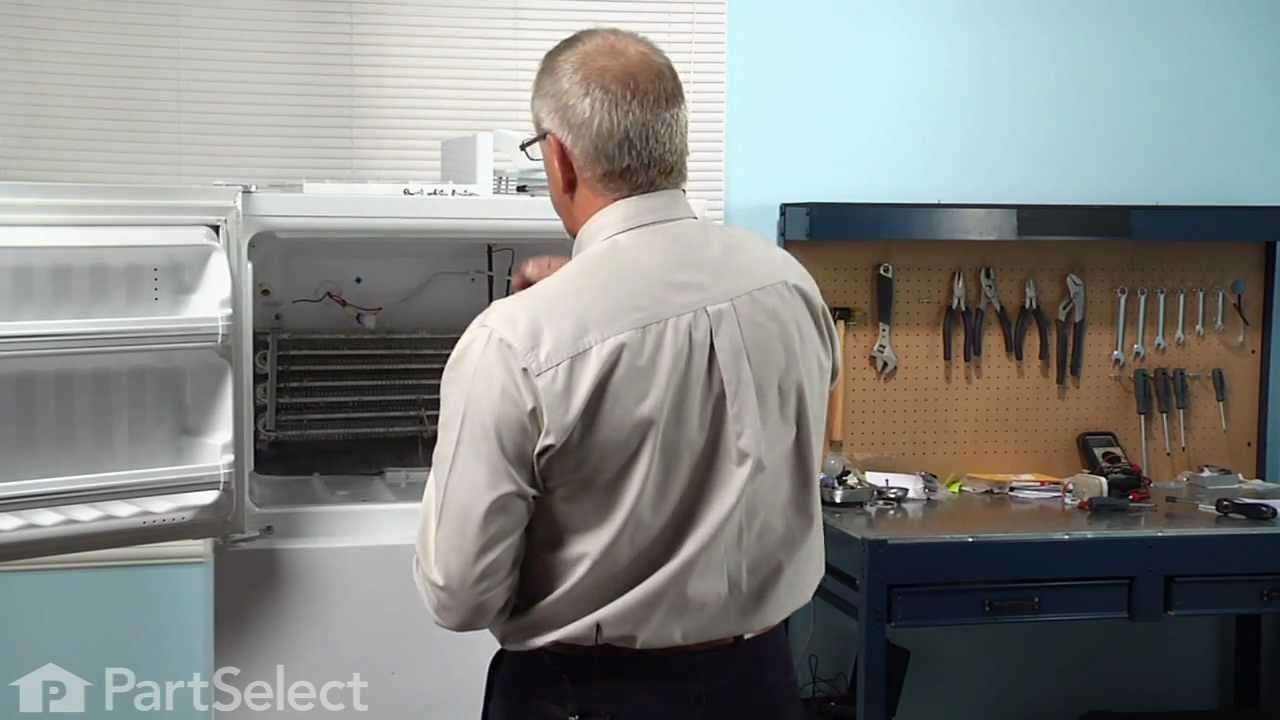
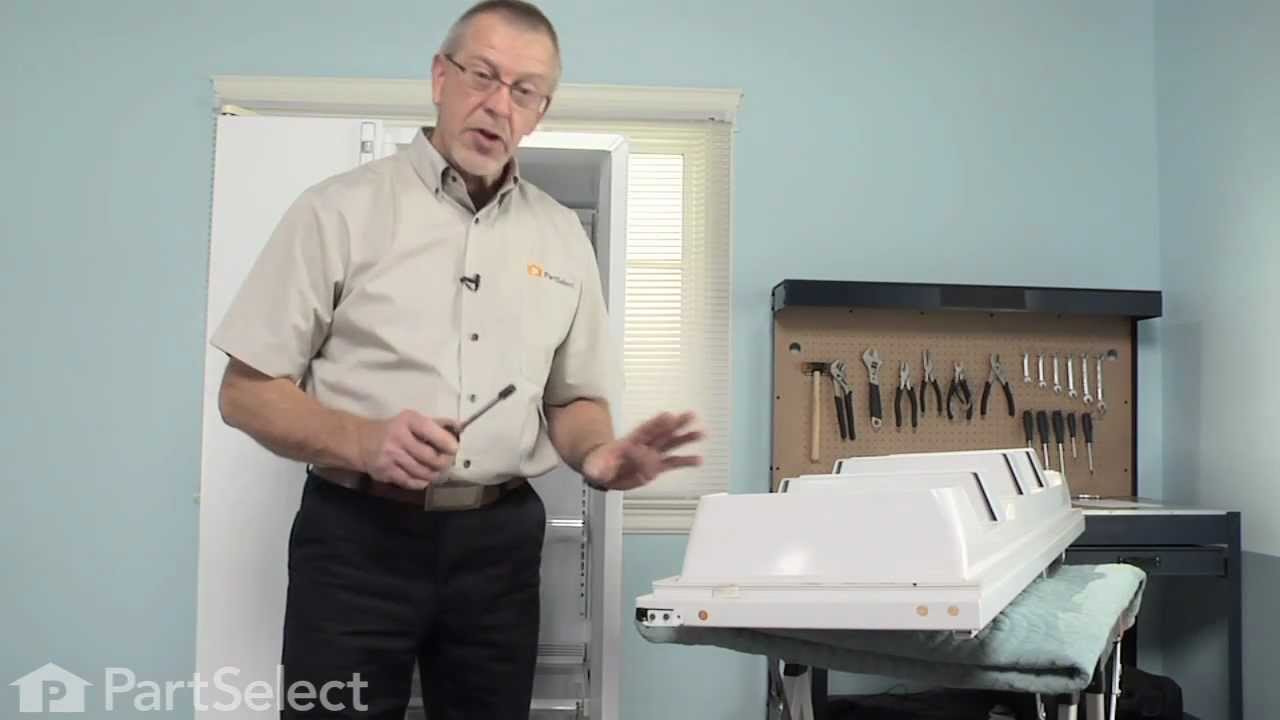
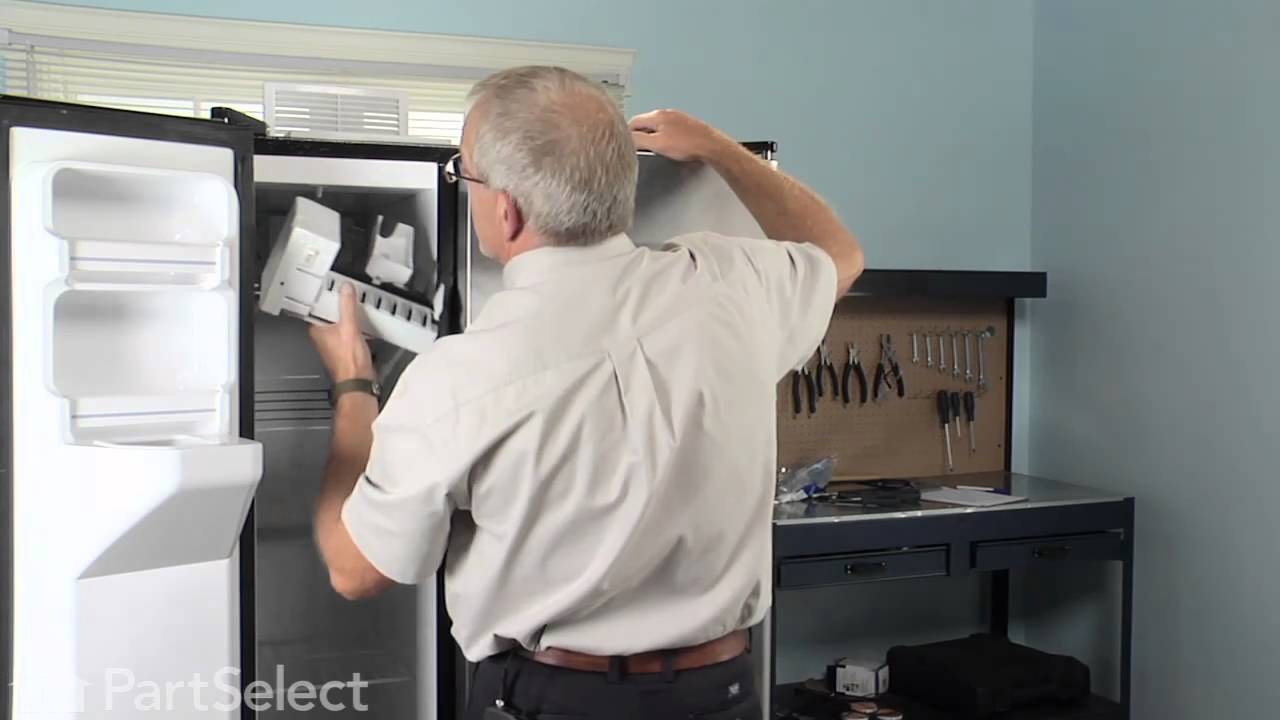
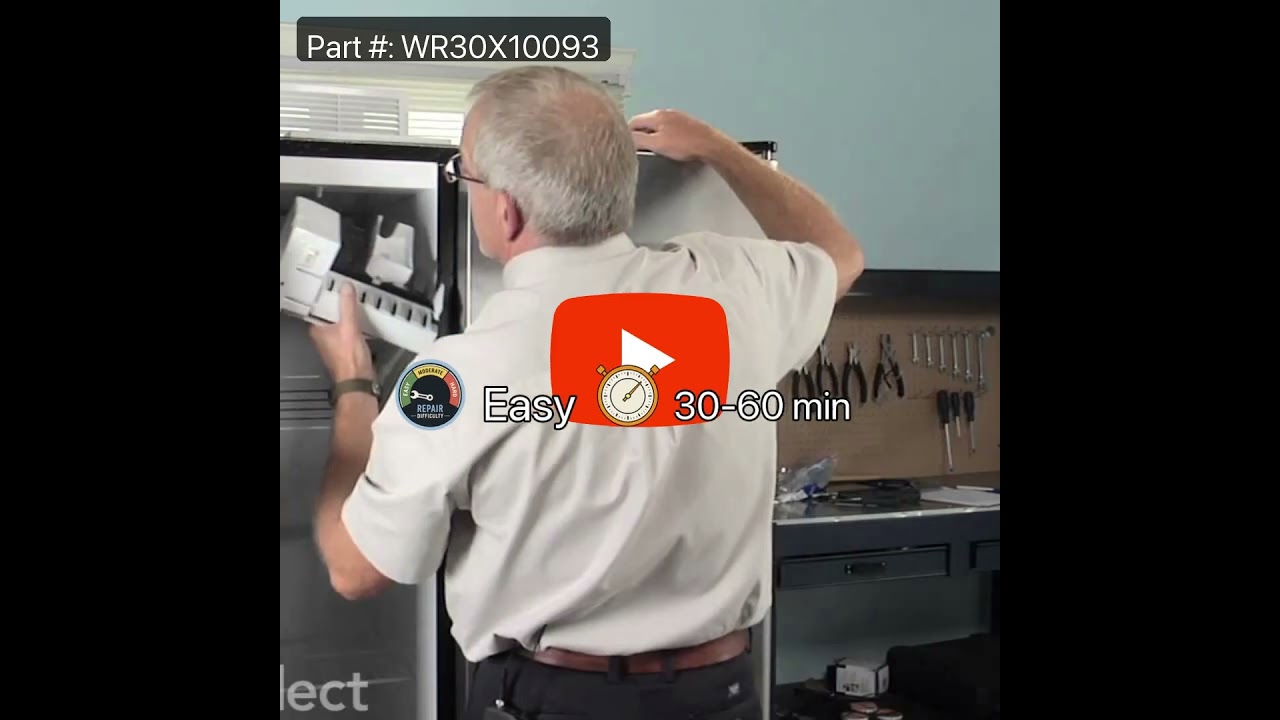
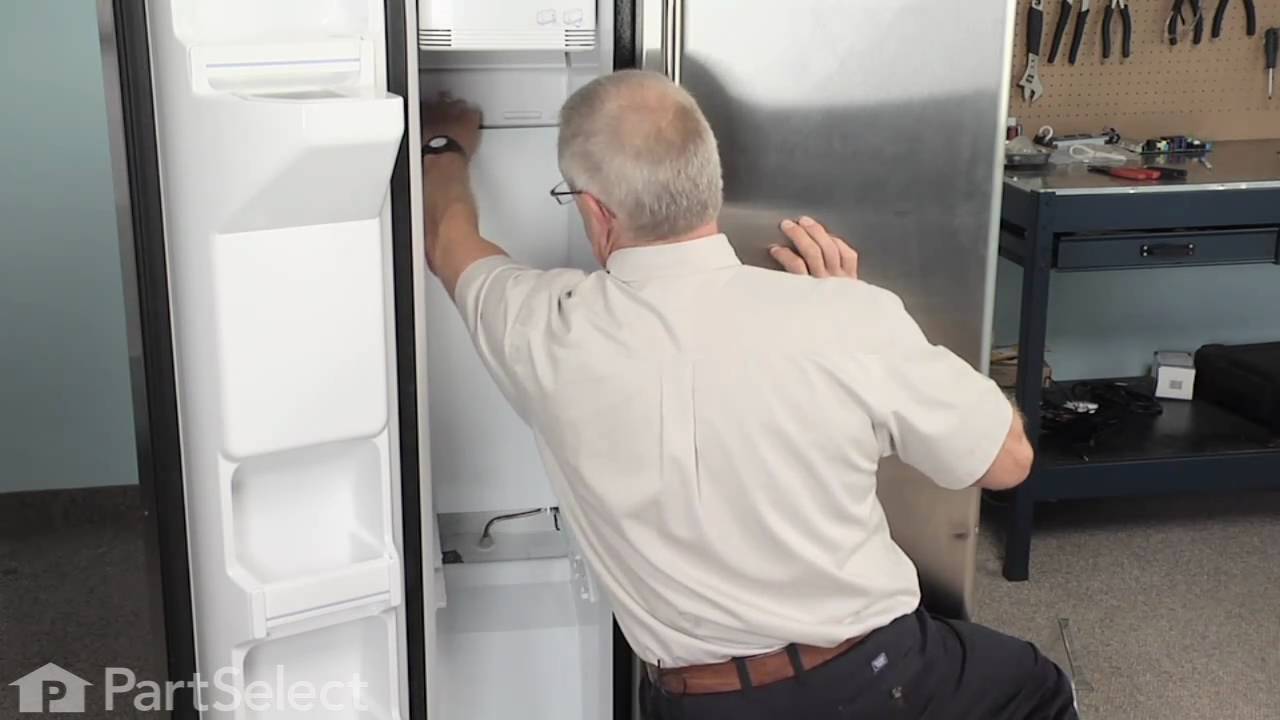
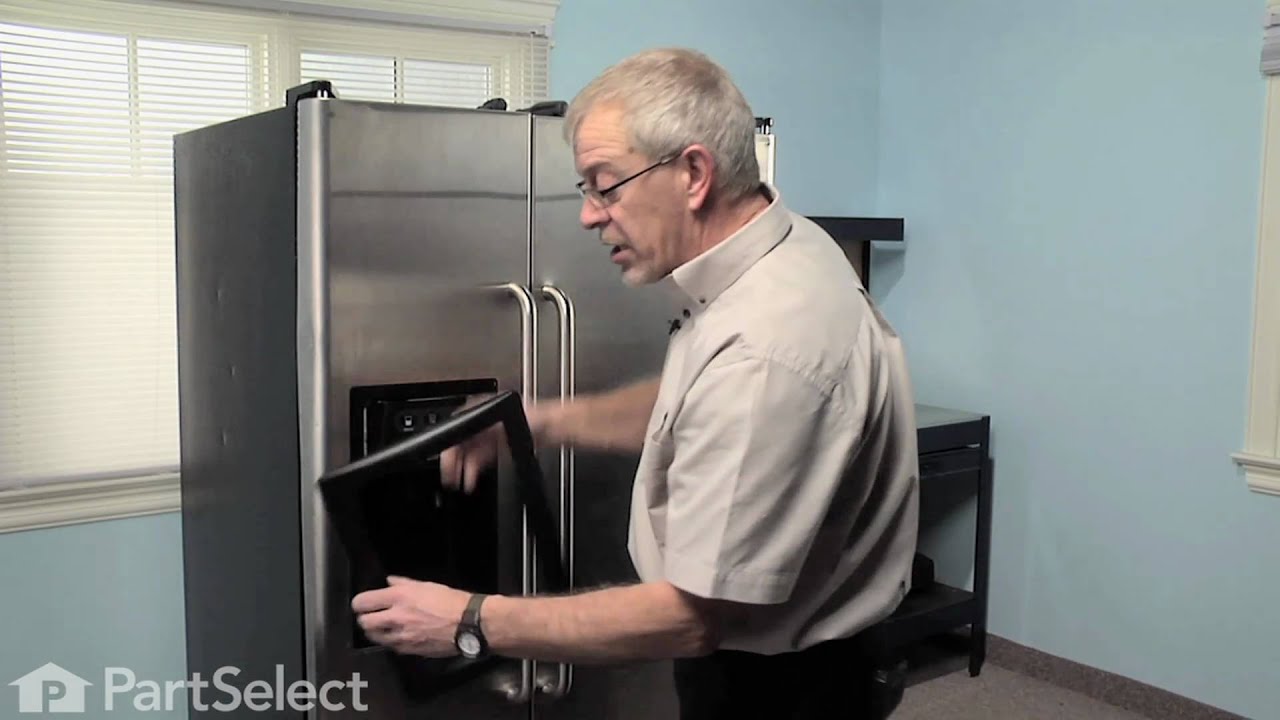
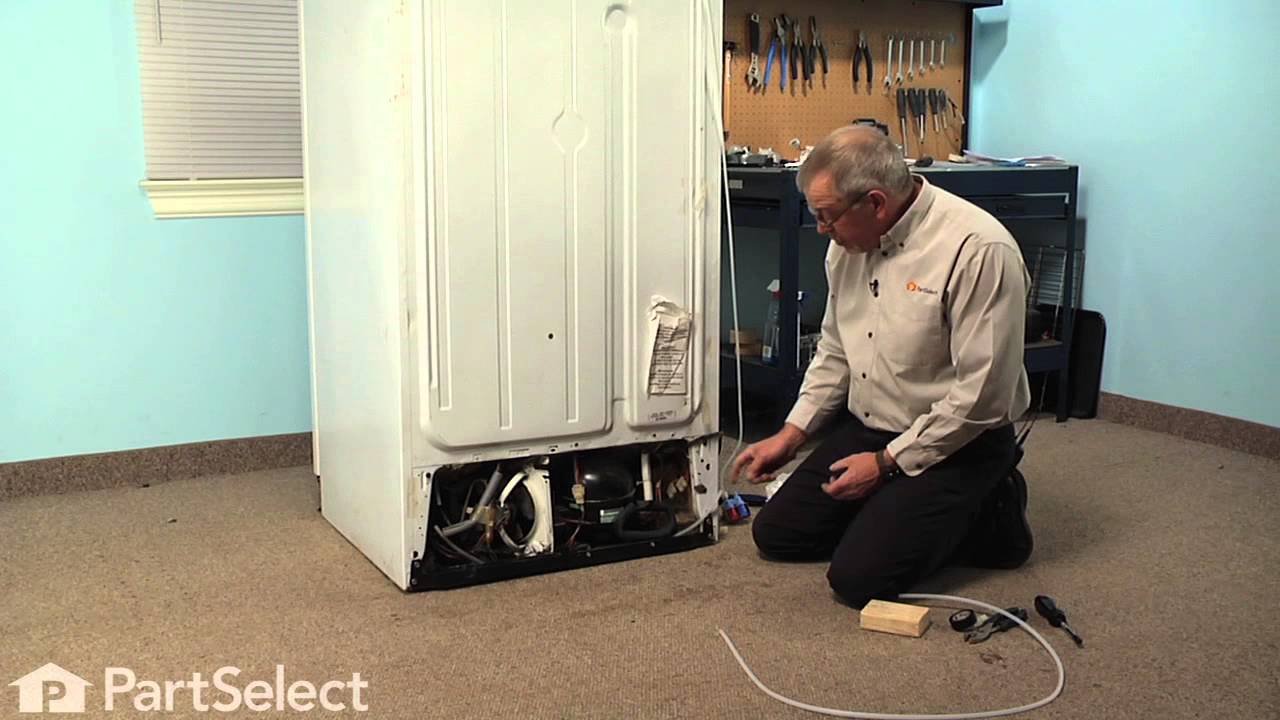

See how others fixed this model. Time, tools, difficulty, and steps that lead to victory!
View More