


 My Orders


TEC6X3XCC1 Tappan Cooktop - Overview
Diagrams for TEC6X3XCC1
See every part. Know exactly what you need.


Enter a part description. DIY Heroes keep it simple, eg. "belt" or "pump".
Search filter:
Clear Filter
Your search term must have 3 or more characters.

$20.88
In Stock
Terminal Block Kit
Part #5303935058
This surface burner terminal block kit comes with interchangeable mounting brackets, terminal box, ceramic wire nuts, heat shrink protective tubing and wires.

$19.75
In Stock
Drip Bowl - 8"
Part #316048413
This drip bowl is located beneath the element and catches any spills. It is sold individually and has a diameter of approximately 10 inches.

$18.65
In Stock
Chrome Drip Bowl - 6"
Part #316048414
This drip bowl is sold individually. This part is located beneath the element and catches spills from cooking.

$72.50
In Stock

No Longer Available

$239.34
Special Order
Surface Burner Coil Element - 8" - 2100W
Part #5308011964
Bring steady heat back to a large cooking area with this 8-inch electric coil element. Rated at 2,100 watts, it turns electrical power into heat for boiling, frying, and other stovetop tasks. The burner has five coil turns, looped terminals, and a chrome center cap. Replacement may be needed when the old element does not heat, works only ...Read moreat times, or has visible cracks, blisters, or burned areas. Check the burner socket for damage before installation. Unplug the range or switch off its circuit breaker, let the cooking surface cool, and wear work gloves before removing the old element.
Read less

$83.50
In Stock

$37.95
Special Order
BUSHING
Part #318146010

$212.83
Special Order
ELEMENT
Part #5303299749

$29.95
Special Order
ROD
Part #3016817

No Longer Available
MAIN TOP
Part #5303299164
No Longer Available
MEDALLION
Part #5303301461
Common Symptoms of the TEC6X3XCC1
How this model fails, and the parts that fix it.
Element will not heat
Fixed by
these parts
these parts


Show All
Will Not Start
Fixed by
these parts
these parts
Show All
Oven not heating evenly
Fixed by
these parts
these parts
Show All
Watch our pros, then fix it yourself.
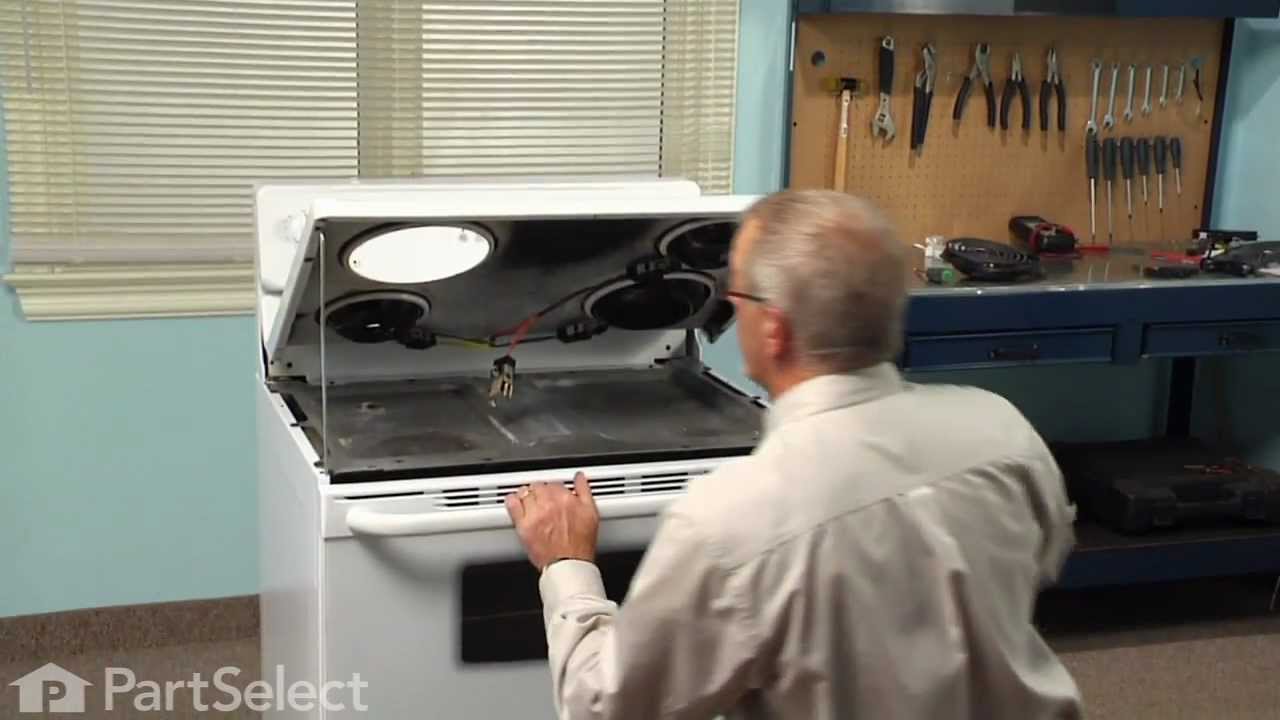
See how others fixed this model. Time, tools, difficulty, and steps that lead to victory!
View More
Search repair tips from other customers using simple keywords like "replace", "fit", "remove", "inspect". DIY doesn't mean you have to do it alone!
Search filter:
Clear Filter
Your search term must have 3 or more characters.
Old pans/bowls were corroded
48 of 55 people
found this instruction helpful.
Very easy---simply unplug the burners, remove the old pans and replace with the new ones
I was extremely pleased with the easy ordering and prompt delivery of parts that actually fit as they should!
I was extremely pleased with the easy ordering and prompt delivery of parts that actually fit as they should!
Other Parts Used:


Was this helpful?
Thank you for voting!