RWS214UD (P1132442N D) Amana Range - Overview

Enter a part description. DIY Heroes keep it simple, eg. "belt" or "pump".

Search filter:
Clear Filter
Your search term must have 3 or more characters.
Flat Style Oven Igniter – Part Number: 786324
$83.55
In Stock
Flat Style Oven Igniter
★★★★★
★★★★★
(13)
Part #786324
You must reuse the original bracket. Be very careful to not touch the black element part of this igniter as it is very fragile.
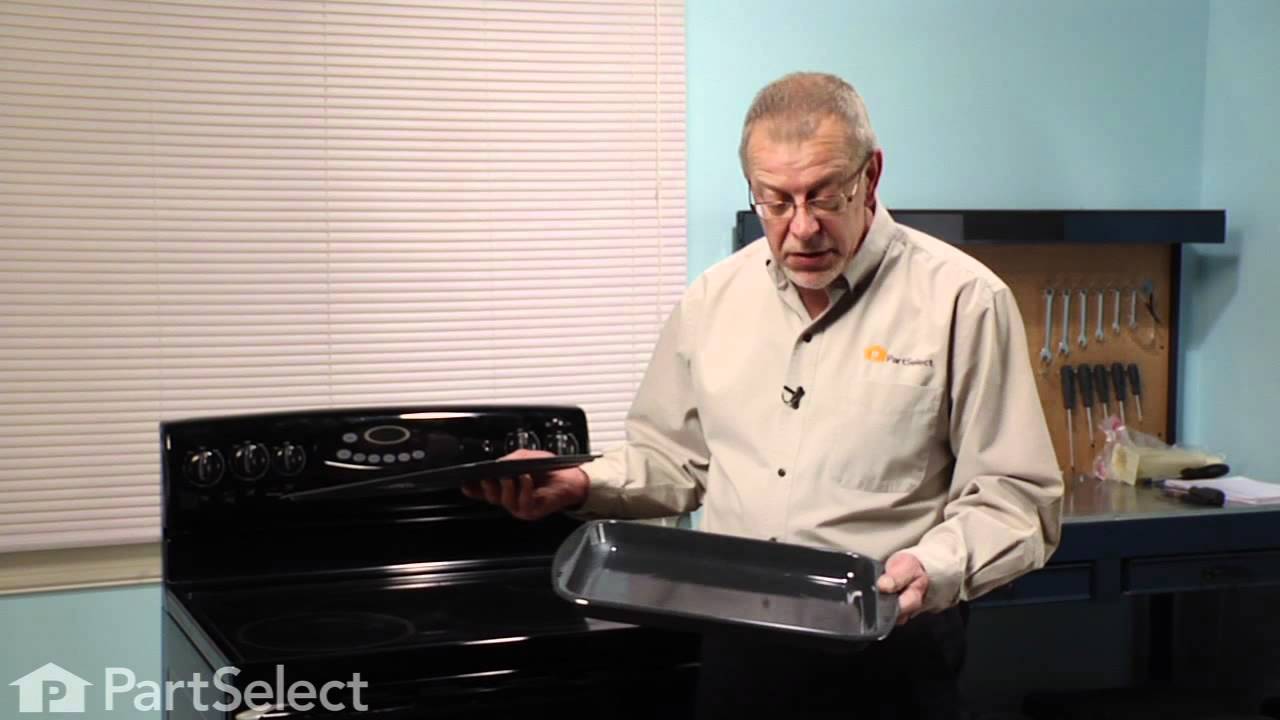
2 Piece Broiler Pan – Part Number: 4396923
$66.88
In Stock
2 Piece Broiler Pan
★★★★★
★★★★★
(2)
Part #4396923
This broiler pan and roasting rack set features a two-piece design that allows fat to drain away for cleaner cooking and reduced splatter. Made with a durable, high-heat resistant porcelain finish, it offers reliable performance and easy cleanup. Measuring approximately 16 3/4 inches long by 12 3/4 inches wide and 1 3/4 inches high, it provides a practical solution for everyday broiling and roasting.
SCREW – Part Number: 8169479
$9.85
Special Order
SCREW
Part #8169479
Sold individually.
Range Frame Screw – Part Number: WP7101P126-60
$10.93
In Stock
Range Frame Screw
Part #WP7101P126-60
Sold Individually.
Oven Control Knob – Part Number: Y0057451
No Longer Available
Oven Control Knob
Part #Y0057451
Sold individually.
DISCONTINUED – Part Number: Y07715600
No Longer Available
DISCONTINUED
Part #Y07715600
MOUNTING CHANNEL, L.H. – Part Number: Y0609122
No Longer Available
MOUNTING CHANNEL, L.H.
Part #Y0609122
DISCONTINUED – Part Number: Y0071820
No Longer Available
DISCONTINUED
Part #Y0071820
SHOULDER SCREW – Part Number: Y0060923
No Longer Available
SHOULDER SCREW
Part #Y0060923
INSULATION – Part Number: 31975801
No Longer Available
INSULATION
Part #31975801
OVEN BOTTOM – Part Number: 77299CG
No Longer Available
OVEN BOTTOM
Part #77299CG
VALVE, GAS – Part Number: Y0060501
No Longer Available
VALVE, GAS
Part #Y0060501

Common Symptoms of the RWS214UD

How this model fails, and the parts that fix it.

Watch our pros, then fix it yourself.

See how others fixed this model. Time, tools, difficulty, and steps that lead to victory! View More

Search repair tips from other customers using simple keywords like "replace", "fit", "remove", "inspect". DIY doesn't mean you have to do it alone!

Search filter:
Clear Filter
Your search term must have 3 or more characters.
Oven wouldn't heat. Glow ignitor was weak and wouldn't ignite flame.
93 of 102 people found this instruction helpful.
  • John from Niles, MI
  • Easy
  • 15 - 30 mins
  • Screw drivers
After shutting off the gas and removing the oven door, which simply slid off of the hinges, I removed the oven plate. The ignitor was attached to the manifold. I removed that and noted the wires were attached back behind a hole in the back of the oven. I thought I would have to access them from the back but when I pulled on them I was able to reach them from the front. I was surprised to find plastic lugs covering the wire ends, rather than ceramic. I attached the new ignitor wires and reused the plastic lugs, as no ceramic ones came with the new ignitor. I carefully slid the new ignitor back into the cage/shield attached to the manifold and replaced the manifold. I then turned the gas back on and tested the ignitor (which worked perfectly) before replacing the oven plate. The repair took less than 30 minutes, but my wife and I thoroughly cleaned the door and interior while we had it apart. The hardest part was getting the door back on the hinges, but this too was accomplished after several attempts. The oven heats up beautifully now.
Was this helpful?
Thank you for voting!
Oven would not light
14 of 15 people found this instruction helpful.
  • Rick from Laguna HIlls, CA
  • Really Easy
  • 15 - 30 mins
  • Nutdriver, Screw drivers
After the appliance store told me that the repair would cost about $500 to fix an oven that wouldn't light we didn't have the money to repair it or buy a new one so we went without an oven (only the oven) for almost 1 year. The igniter would glow but the oven would not light. my son found your site online and passed it on to me. It was so simple it's almost funny. I opened the oven door and removed the burner cover. Then reached in and removed the three screws that held the igniter in place. Turned off the gas, disconedted it so I could pull the stove out to get behind it. Found the wires to the igniter and undid the 2 wire nuts. Removed the igniter cover from the old one and slid it onto the new one. Be very careful because the igniter is very delicate and be sure to not toucjh the heating eliment. Slid the new part into place, reinstalled the screws, connected the new wires with the old wire nuts, reconnected the gas and turned on the oven. BAM it worked like a charm.
Was this helpful?
Thank you for voting!
Oven ignitor stopped working (does this every 6-7 years)
13 of 15 people found this instruction helpful.
  • Jean from Manalapan, NJ
  • Easy
  • 30 - 60 mins
First we removed the oven doors. Then removed the shelf that separates the oven from the broiler, giving us more room to work. At first we thought we needed to loosen the screws around the bracket holding the ignitor, but we realized that the burner needed to be removed. Lifting the burner up from the front gave us the room to pull it gently from the back of the oven wall, giving more room to pull the wires connected to the ignitor from the back of the oven wall out and then disconnecting them. Then carefully pulling the ignitor out of the bracket.

Putting the new ignitor in was easy. Carefully sliding it into the bracket, not touching the ceramic piece, connected the electric wires, pushed the wires back into the hole in the back of the oven. Then placing the burner back into place.

We then turned on the gas and the electricity and the ignitor glowed and the burner lit. PERFECT! In the past we've had a repair man come in and this time we saved $100. Even more perfect.
Was this helpful?
Thank you for voting!