RST399UL (P1132622N L) Caloric Range - Overview

Enter a part description. DIY Heroes keep it simple, eg. "belt" or "pump".

Search filter:
Clear Filter
Your search term must have 3 or more characters.
Flat Style Oven Igniter – Part Number: 786324
$83.55
In Stock
Flat Style Oven Igniter
★★★★★
★★★★★
(13)
Part #786324
You must reuse the original bracket. Be very careful to not touch the black element part of this igniter as it is very fragile.
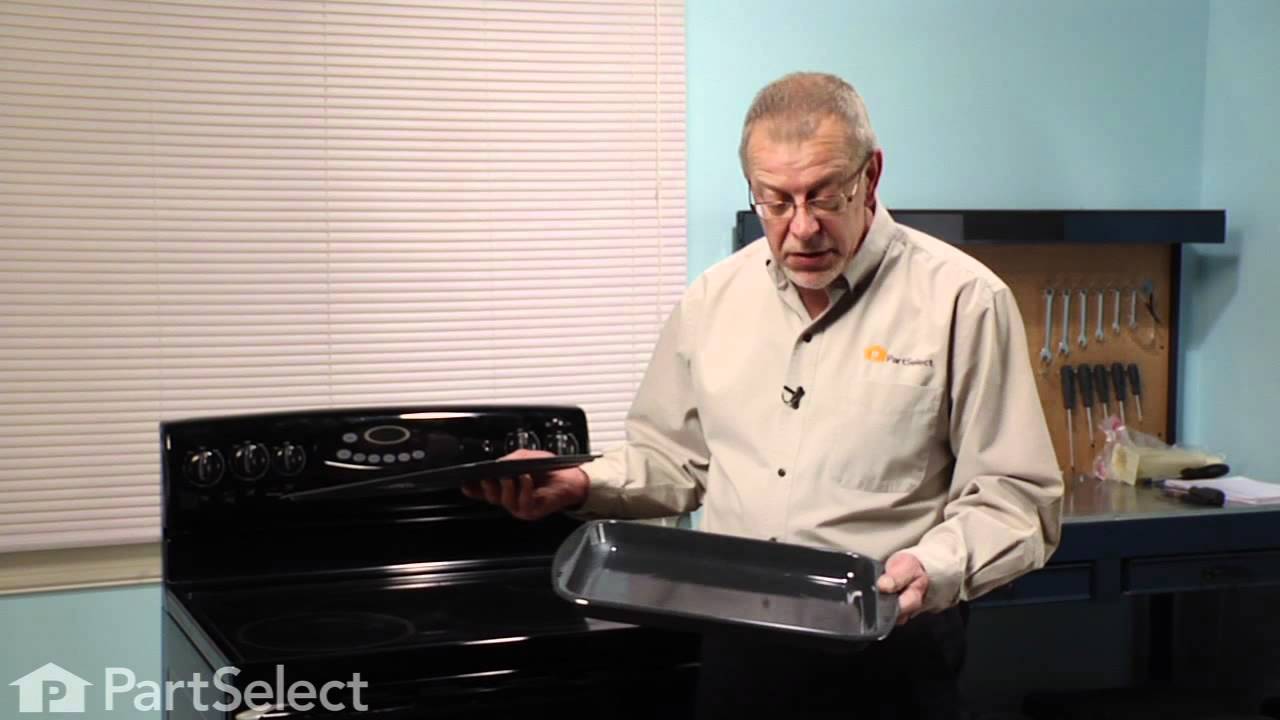
2 Piece Broiler Pan – Part Number: 4396923
$66.88
In Stock
2 Piece Broiler Pan
★★★★★
★★★★★
(2)
Part #4396923
This broiler pan and roasting rack set features a two-piece design that allows fat to drain away for cleaner cooking and reduced splatter. Made with a durable, high-heat resistant porcelain finish, it offers reliable performance and easy cleanup. Measuring approximately 16 3/4 inches long by 12 3/4 inches wide and 1 3/4 inches high, it provides a practical solution for everyday broiling and roasting.
Spark Electrode – Part Number: WP3185804
No Longer Available
Spark Electrode
★★★★★
★★★★★
(4)
Part #WP3185804
This part helps your burner ignite and produce flame.
Wire Oven Rack – Part Number: WP314763J
$74.95
In Stock
Wire Oven Rack
Part #WP314763J
This wire oven rack is used on some ovens and ranges. It is twenty-three inches long and it is made of metal.
Oven Light – Part Number: WP74011278
$127.83
In Stock
Oven Light
★★★★★
★★★★★
(3)
Part #WP74011278
This oven light assembly is a little over four inches long. It is a six hundred an sixty watt light bulb.
Spark Ignition Module with Bracket – Part Number: 32020101
No Longer Available
Spark Ignition Module with Bracket
Part #32020101
This part comes with the mounting bracket.
Range Light Blub Fluorescent 18 Watt – Part Number: WP95292
$105.34
In Stock
Range Light Blub Fluorescent 18 Watt
Part #WP95292
This light bulb is used in a range's control panel.
Hinge Kit - Left Side – Part Number: R0706010
No Longer Available
Hinge Kit - Left Side
Part #R0706010
Gas Burner Grate – Part Number: WP314647B
No Longer Available
Gas Burner Grate
Part #WP314647B
This gas burner grate is used for some gas ranges and cooktops. This is a black burner grate with each side measuring almost eight inches.
Gas Spark Ignition Switch – Part Number: WPY0300521
No Longer Available
Gas Spark Ignition Switch
Part #WPY0300521
This burner ignition switch is a little over an inch long. It is made of plastic and has a white center cam. This switch has some metallic components.
Hinge Kit - Right Side – Part Number: R0706011
$56.07
Special Order
Hinge Kit - Right Side
★★★★★
★★★★★
(2)
Part #R0706011
This hinge is located on the right side of the door.
Surface Burners Spark Module Kit – Part Number: 1430322
No Longer Available
Surface Burners Spark Module Kit
Part #1430322
This part sends enough current to the igniter to create a spark to the bottom of the burner cap.

Common Symptoms of the RST399UL

How this model fails, and the parts that fix it.

Watch our pros, then fix it yourself.

See how others fixed this model. Time, tools, difficulty, and steps that lead to victory! View More

Search repair tips from other customers using simple keywords like "replace", "fit", "remove", "inspect". DIY doesn't mean you have to do it alone!

Search filter:
Clear Filter
Your search term must have 3 or more characters.
Oven wouldn't heat. Glow ignitor was weak and wouldn't ignite flame.
93 of 102 people found this instruction helpful.
  • John from Niles, MI
  • Easy
  • 15 - 30 mins
  • Screw drivers
After shutting off the gas and removing the oven door, which simply slid off of the hinges, I removed the oven plate. The ignitor was attached to the manifold. I removed that and noted the wires were attached back behind a hole in the back of the oven. I thought I would have to access them from the back but when I pulled on them I was able to reach them from the front. I was surprised to find plastic lugs covering the wire ends, rather than ceramic. I attached the new ignitor wires and reused the plastic lugs, as no ceramic ones came with the new ignitor. I carefully slid the new ignitor back into the cage/shield attached to the manifold and replaced the manifold. I then turned the gas back on and tested the ignitor (which worked perfectly) before replacing the oven plate. The repair took less than 30 minutes, but my wife and I thoroughly cleaned the door and interior while we had it apart. The hardest part was getting the door back on the hinges, but this too was accomplished after several attempts. The oven heats up beautifully now.
Was this helpful?
Thank you for voting!
2 of 4 burners wouldn't light
25 of 29 people found this instruction helpful.
  • John from Alexandria, VA
  • Really Easy
  • Less than 15 mins
  • Screw drivers
Unplugged the stove, removed all 4 burner discs from the stove top (2 screws each) and disconnecting electrode wires as I pulled them out, removed the stove top, unscrewed the old module, removed the 6 wires, connected wires to the new module, screwed it into place, reinstalled the top while poking the electrode wires through the top one by one, put the stove top in place, connected the wires to the burner discs. Done, and it works! It took longer to find and order the part than it did to change it out.
Was this helpful?
Thank you for voting!
There was a crack in the porcelain not letting it spark
23 of 36 people found this instruction helpful.
  • Billy from Martinsville, IN
  • Really Easy
  • Less than 15 mins
  • Screw drivers
I used a screwdriver to pry the electrode assy. out of the burner. then disconnected the wire.
Then just connected the new electrode and place the assy, in the burner.
Was this helpful?
Thank you for voting!